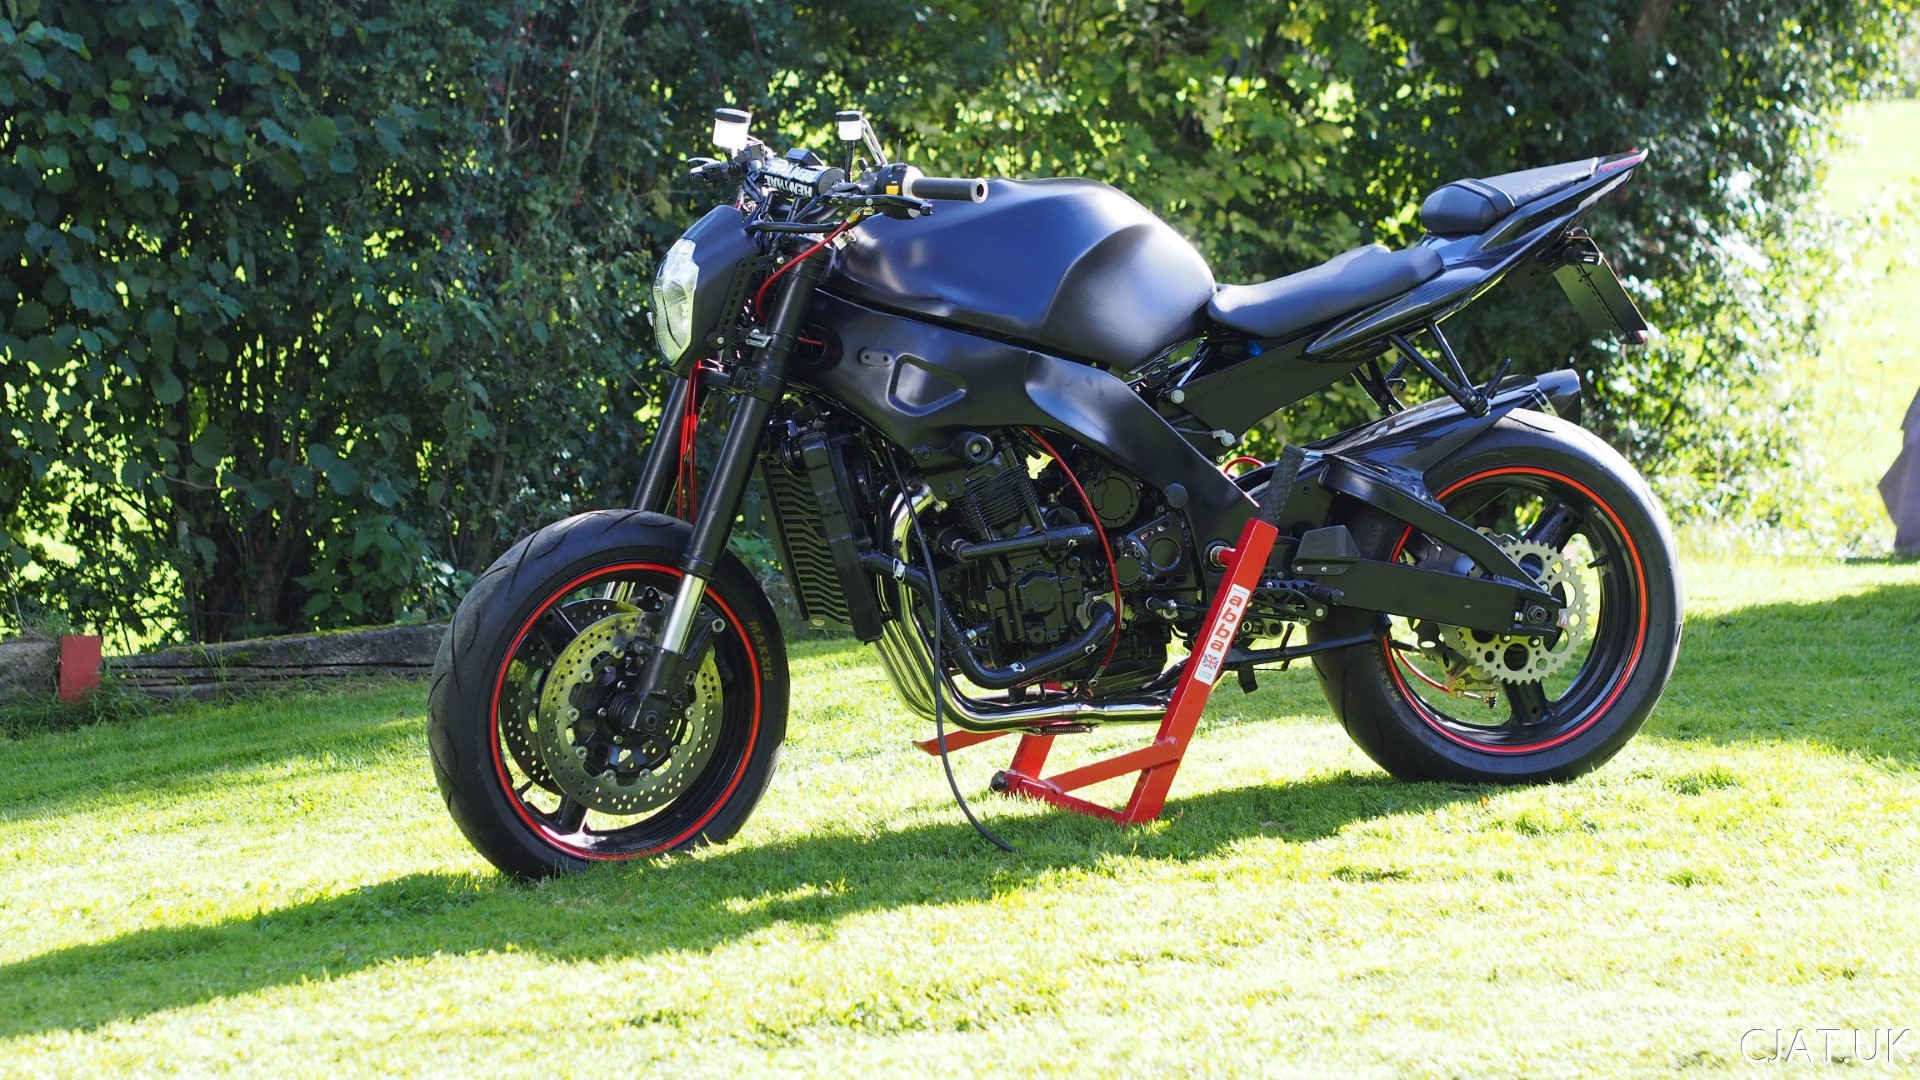
OK so I’ll admit it, it’s been a while since I’ve updated my RF900 streetfighter blog… a very very long while but there’s a good reason for that… I hadn’t done much with it…. So apologies for the long wait but I have finally done a couple of things and can update you on how the RF900 streetfighter is coming along.
Getting rid of some the dust covers that was put on over a year ago (this was summer of 2015).
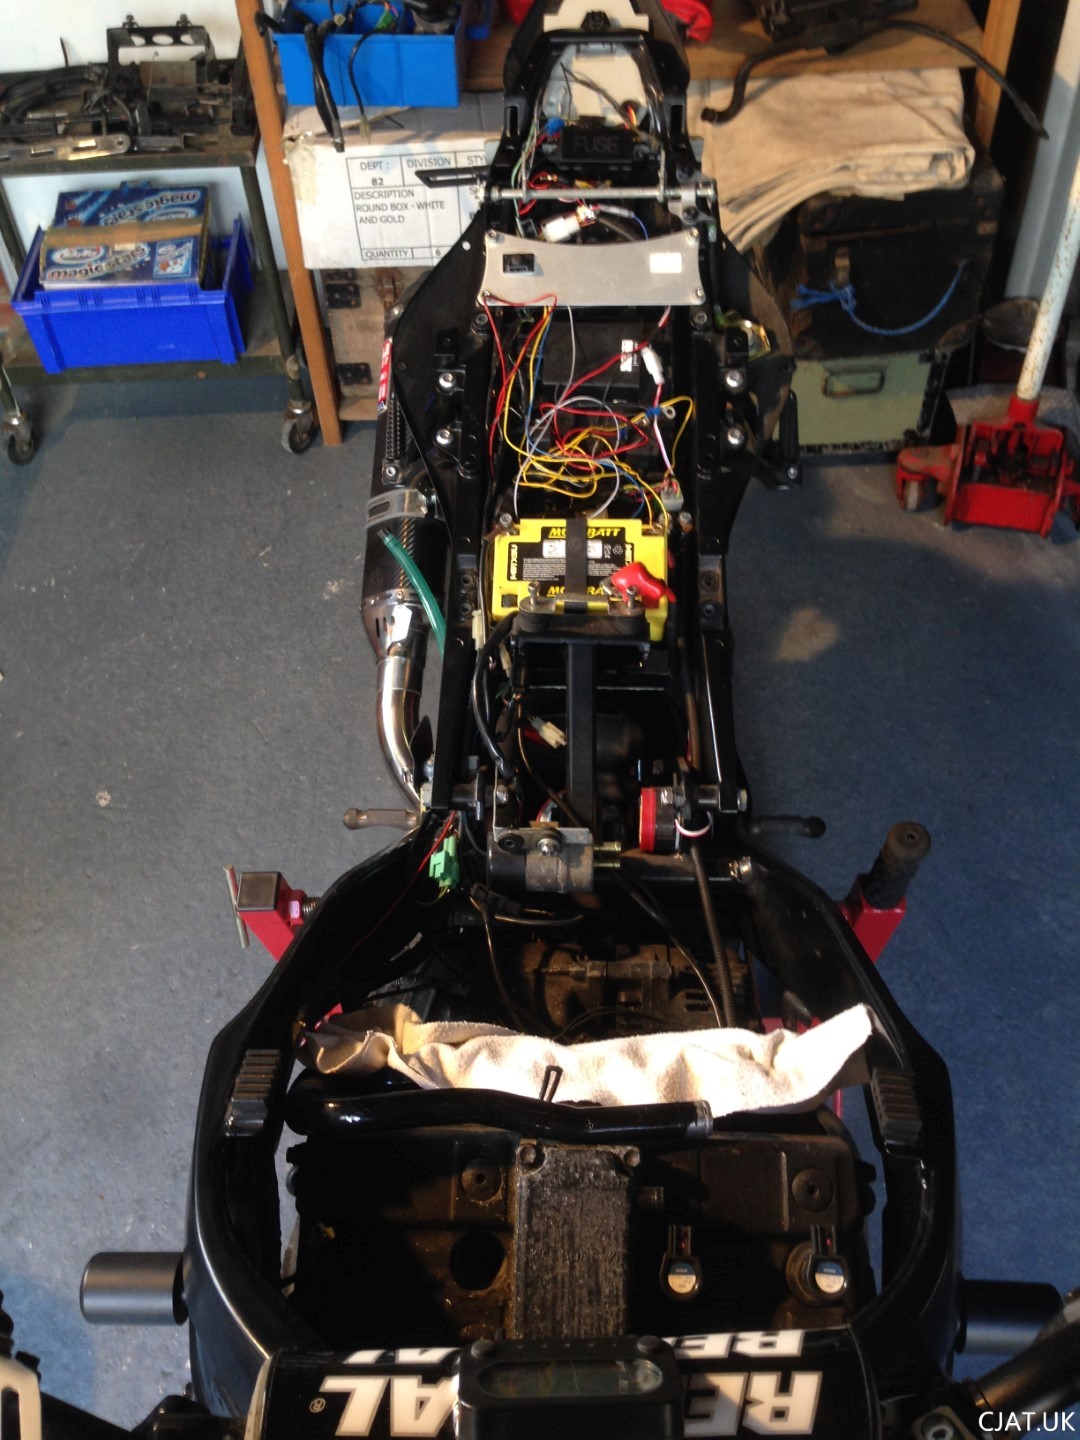
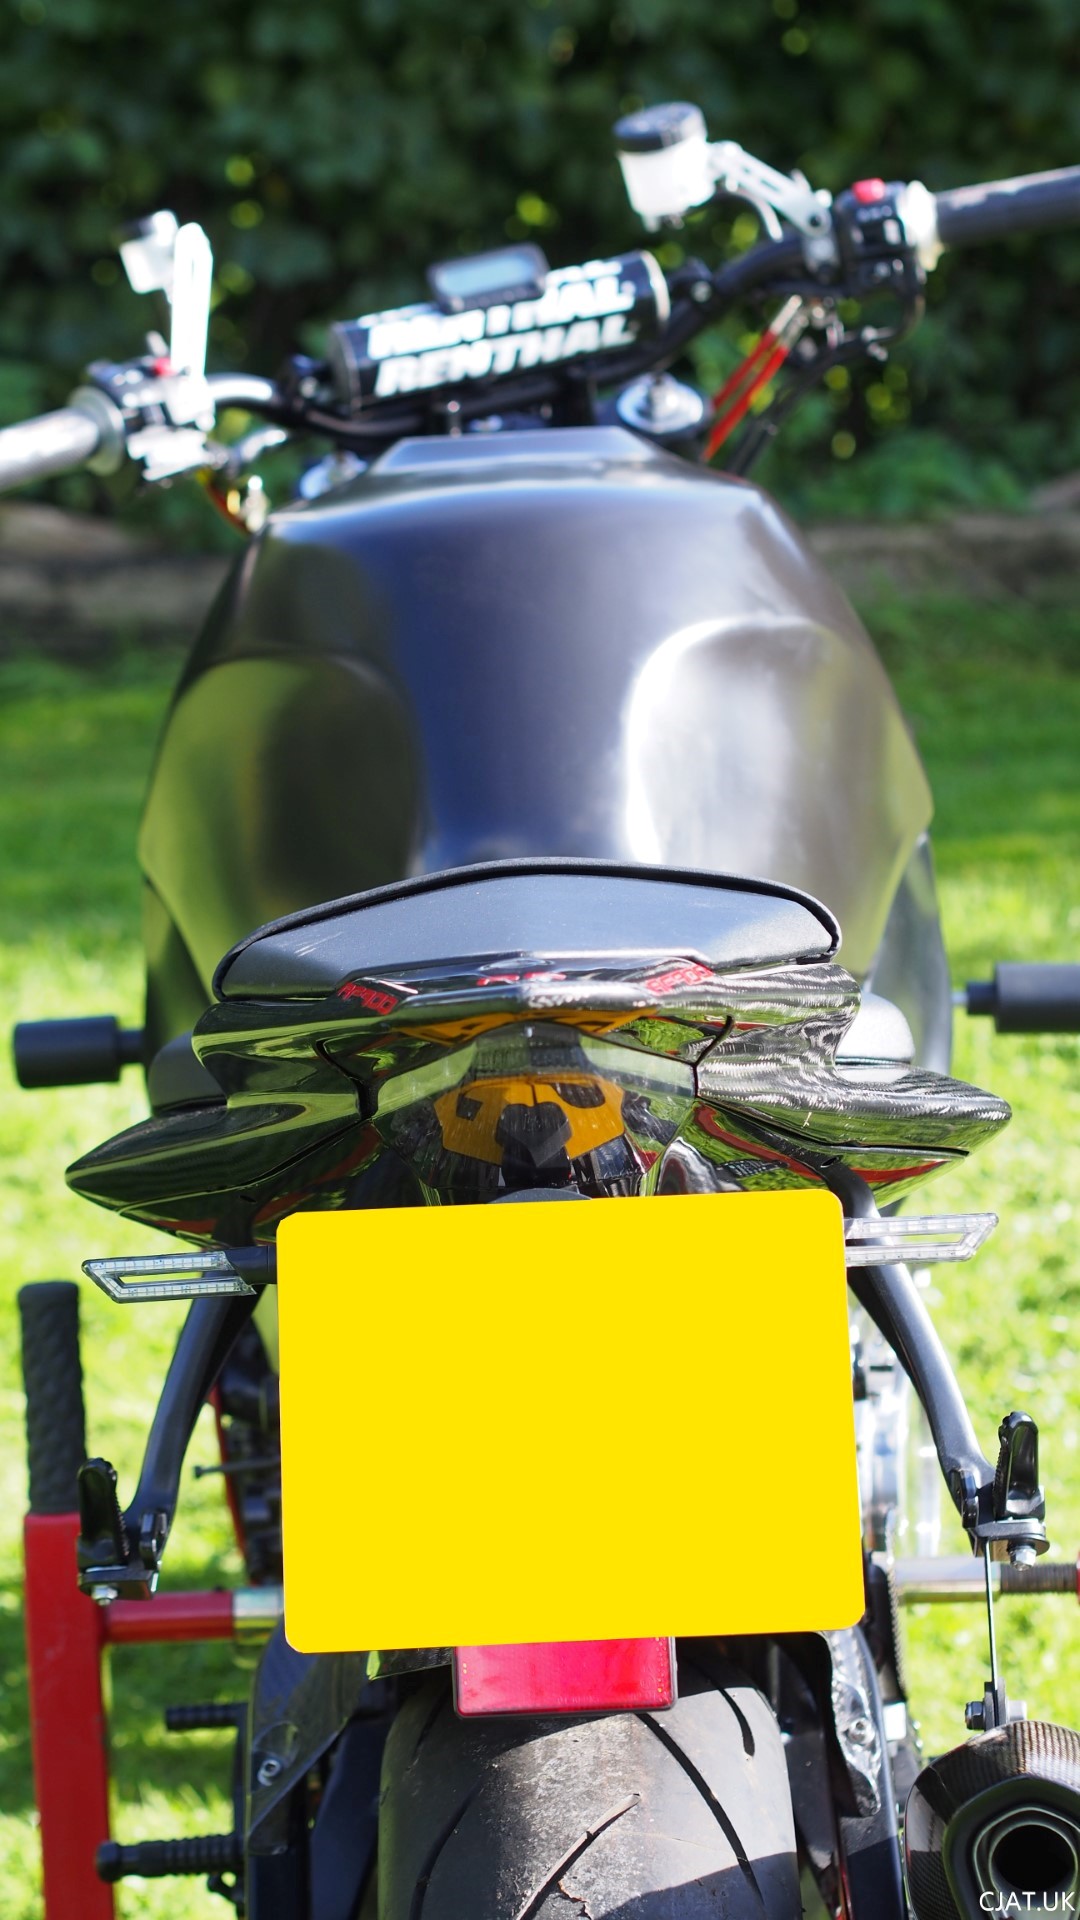
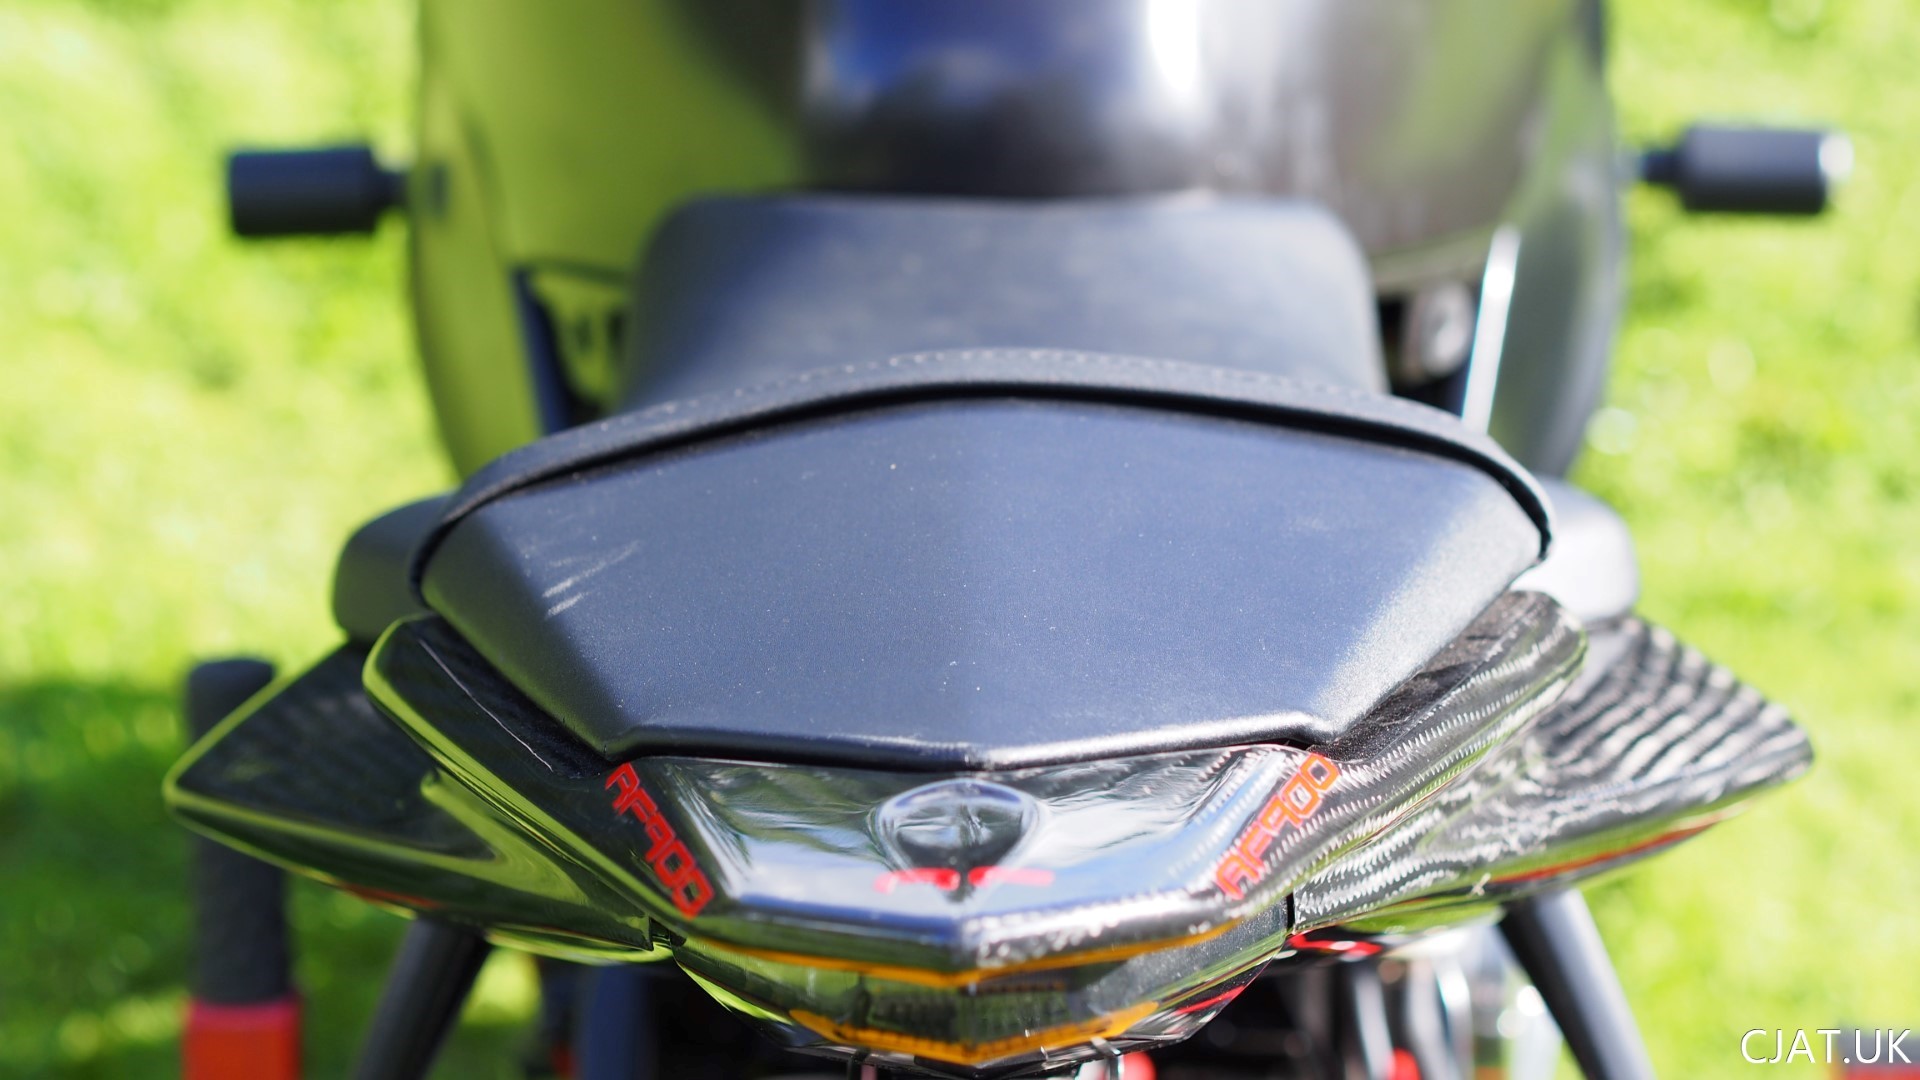
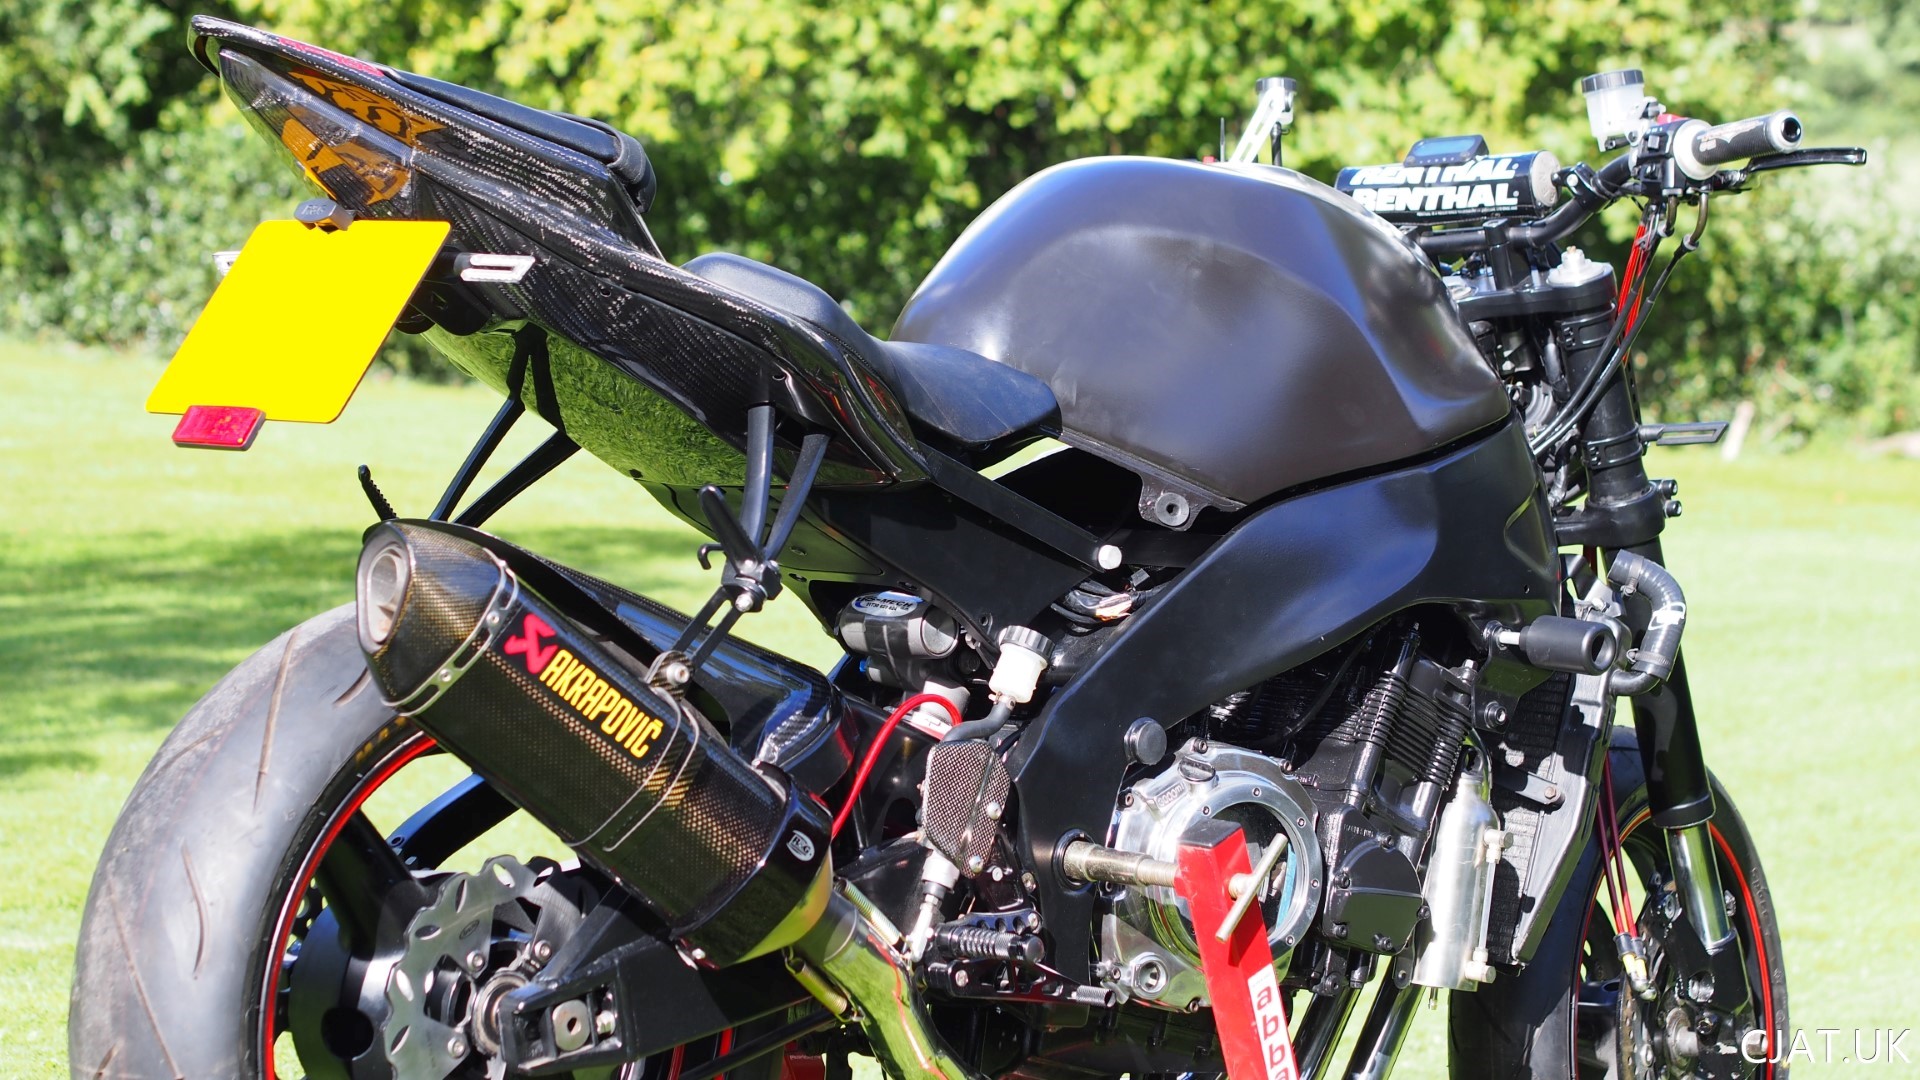
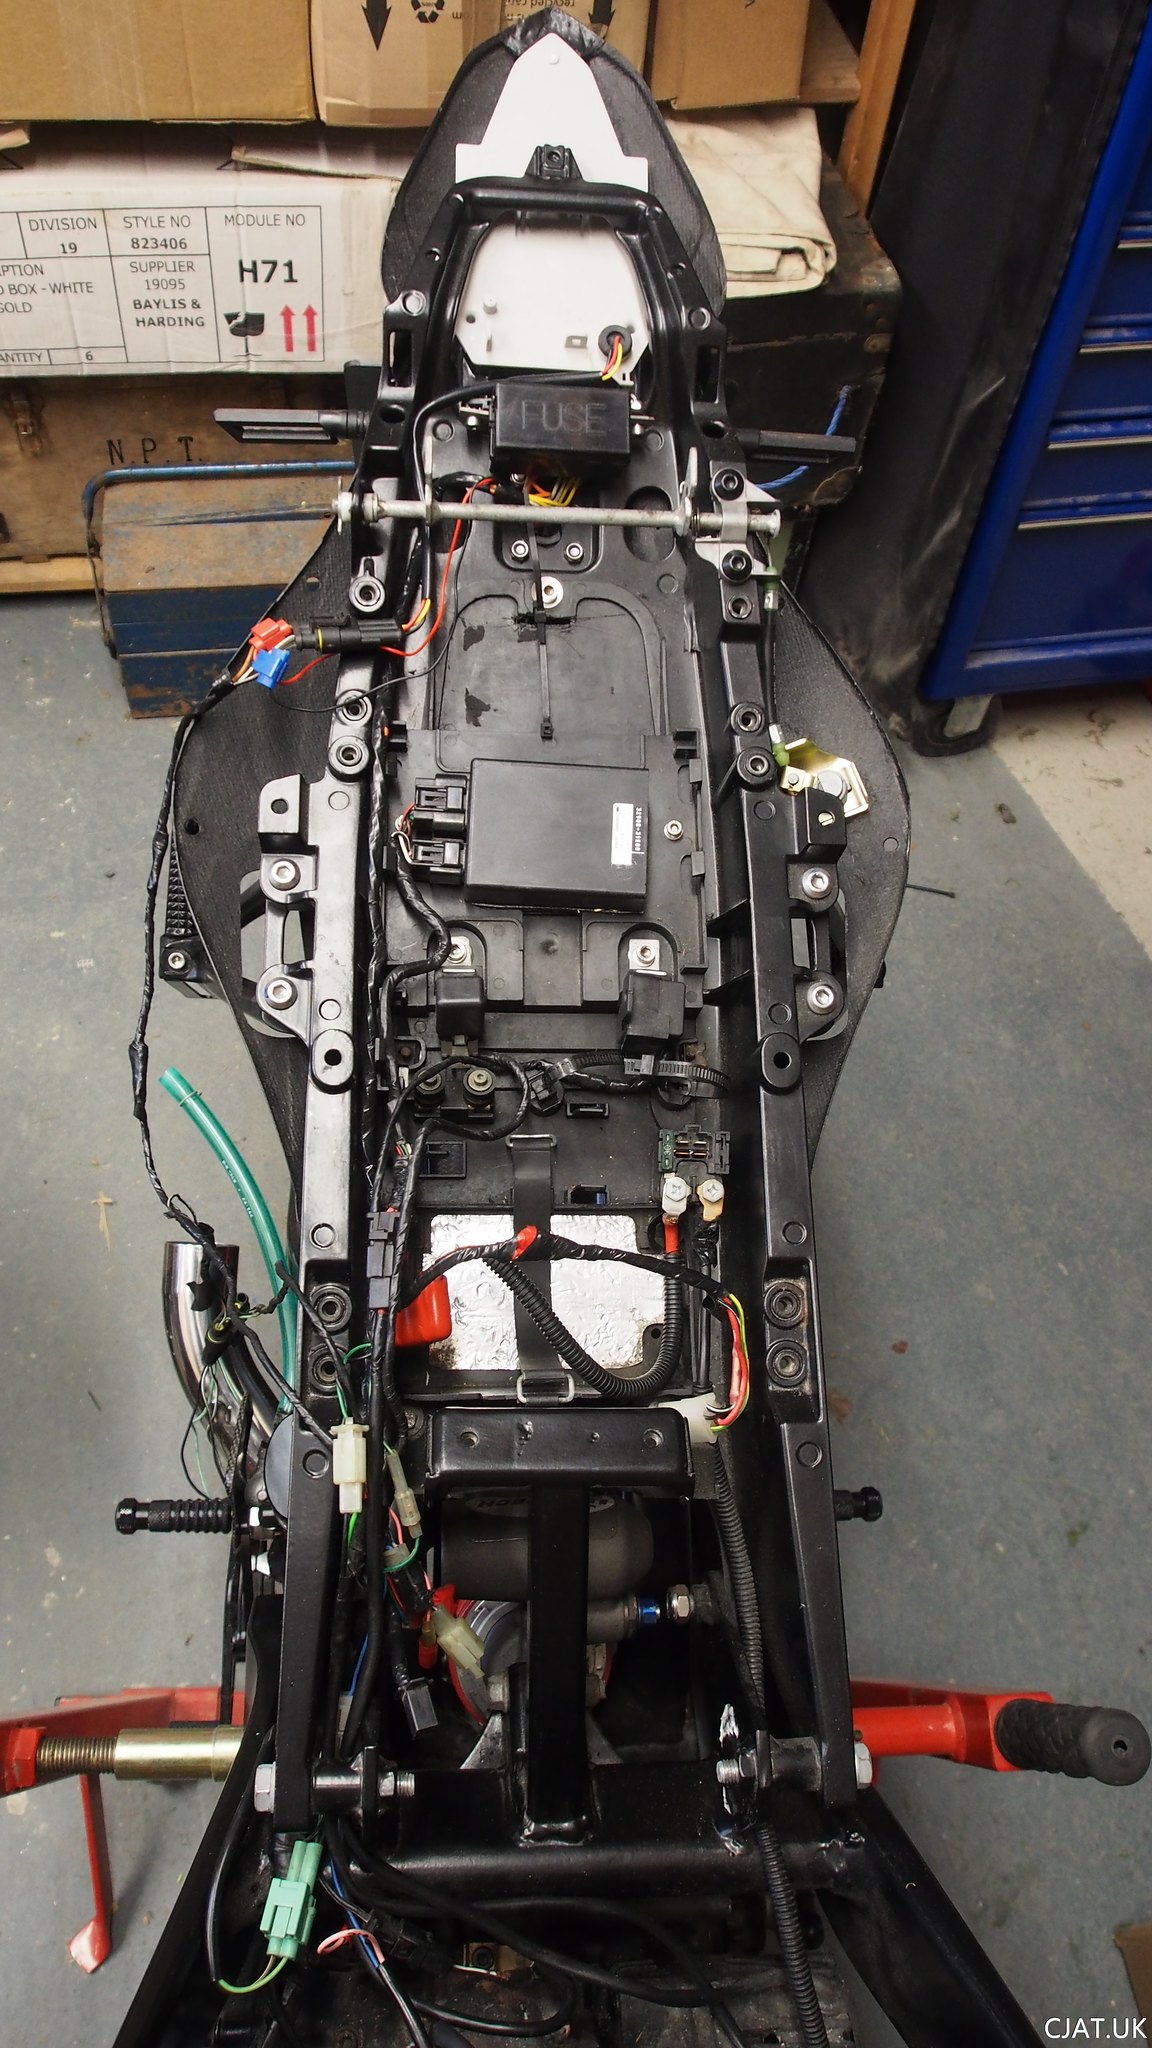
So did some tiding up of the electrics as the new R6 subframe has a lot less room that the fat arse of the RF900.
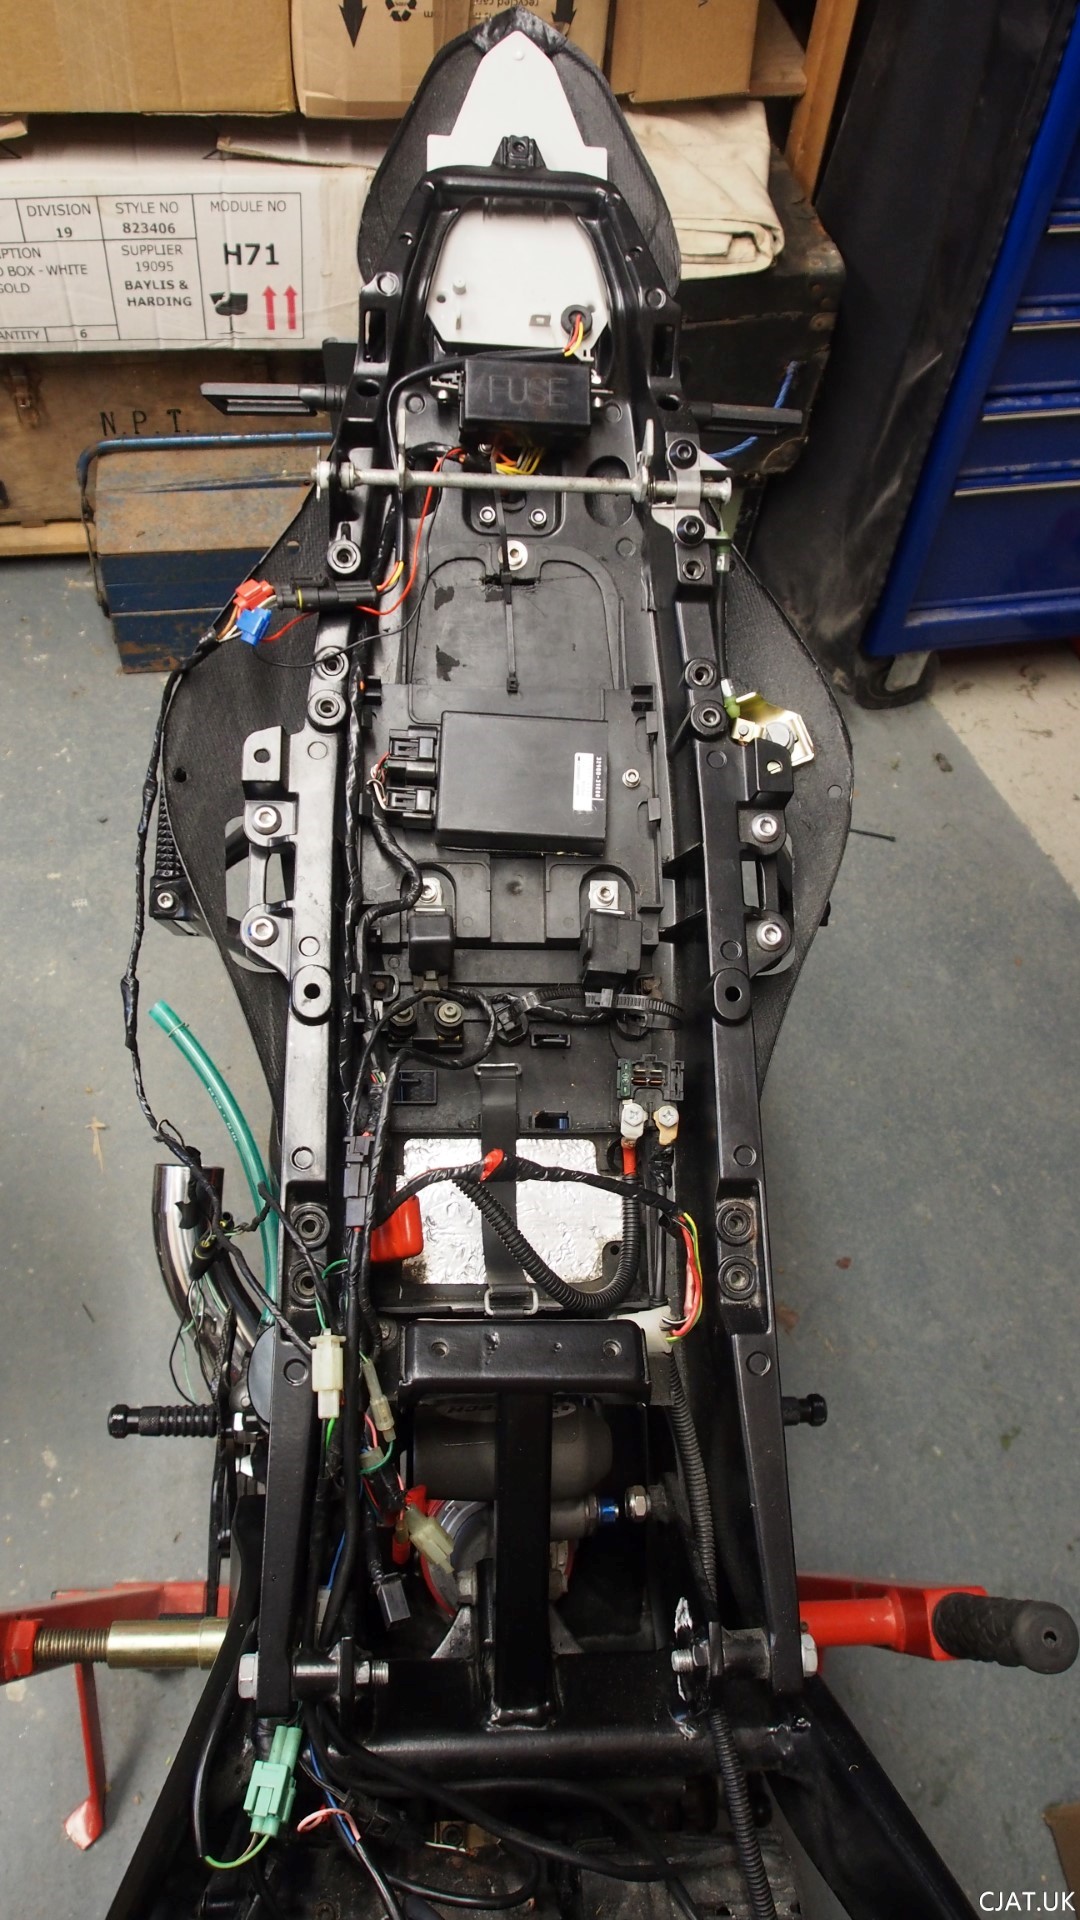
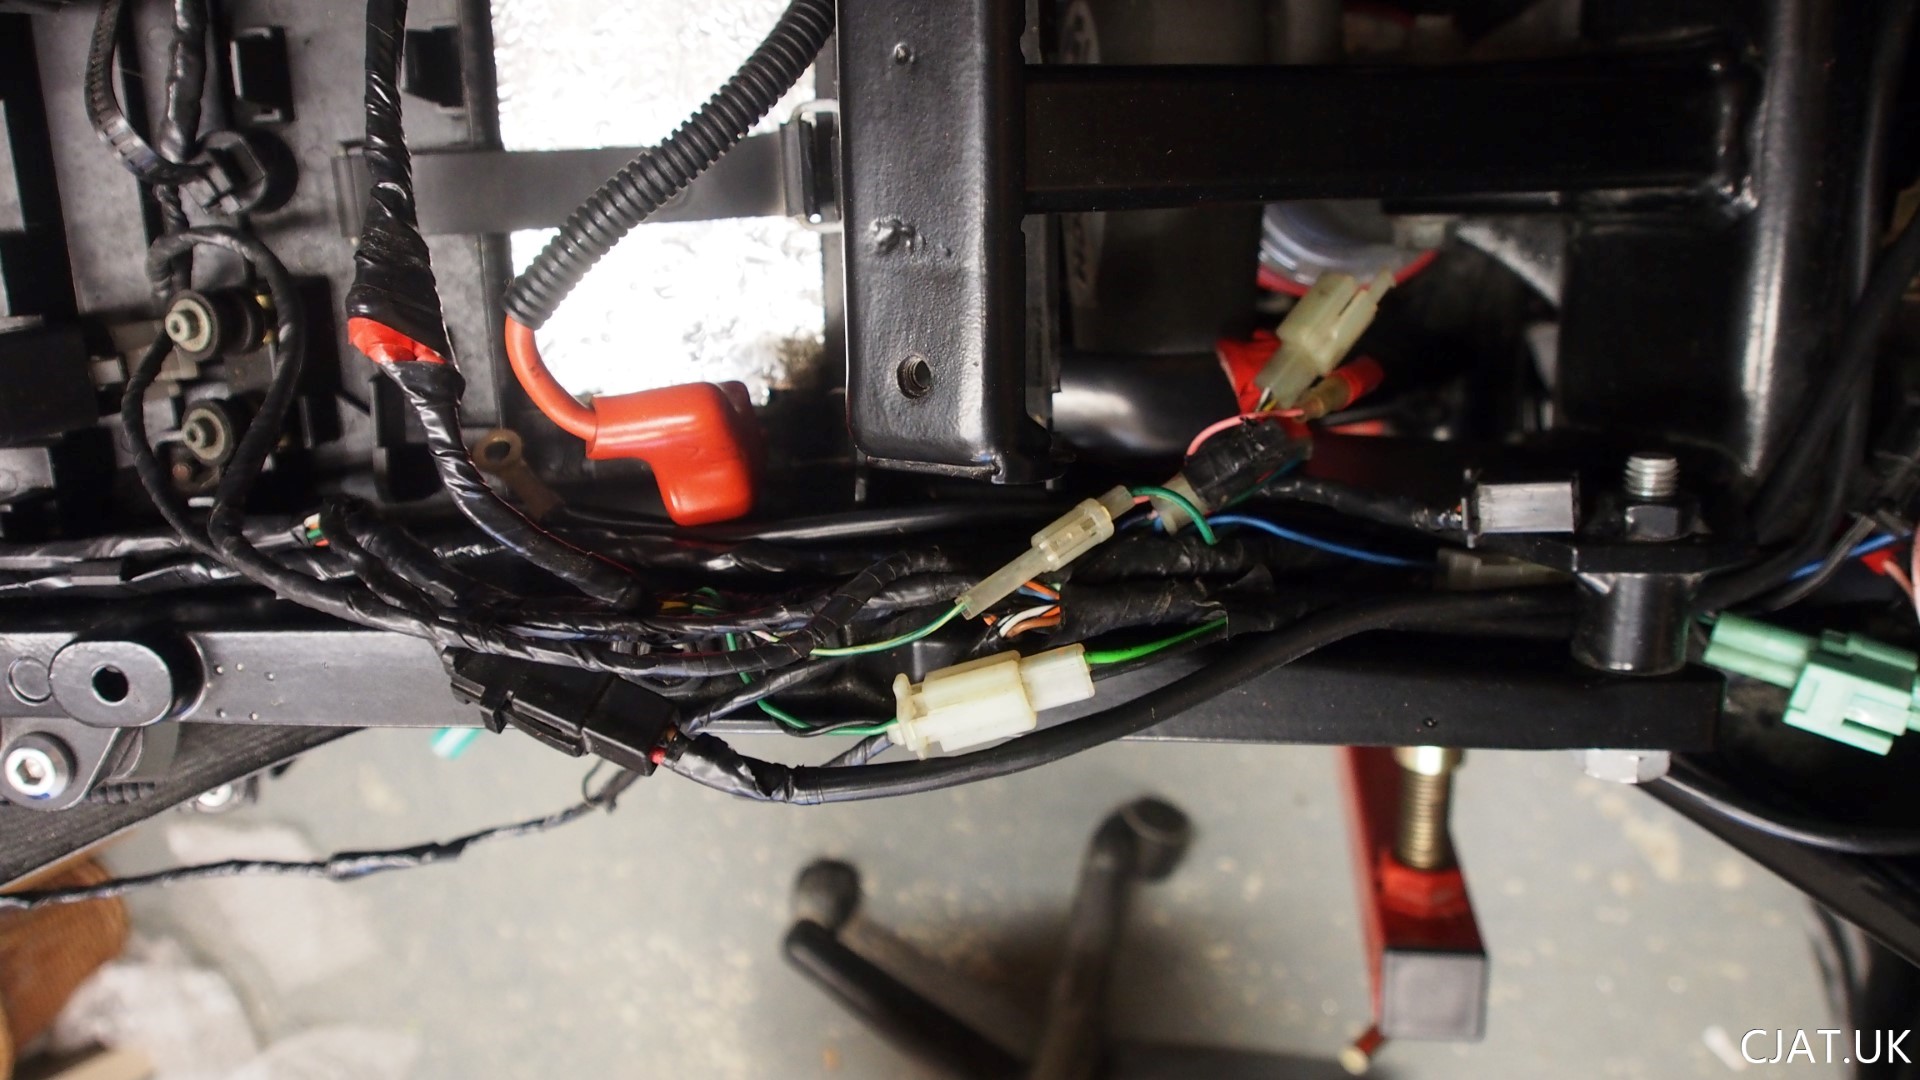
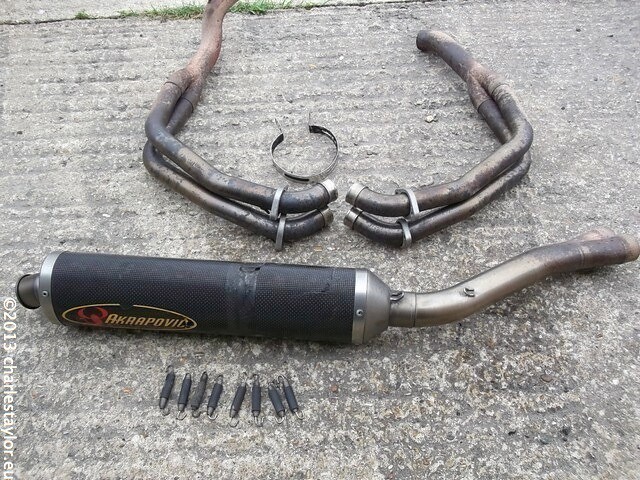
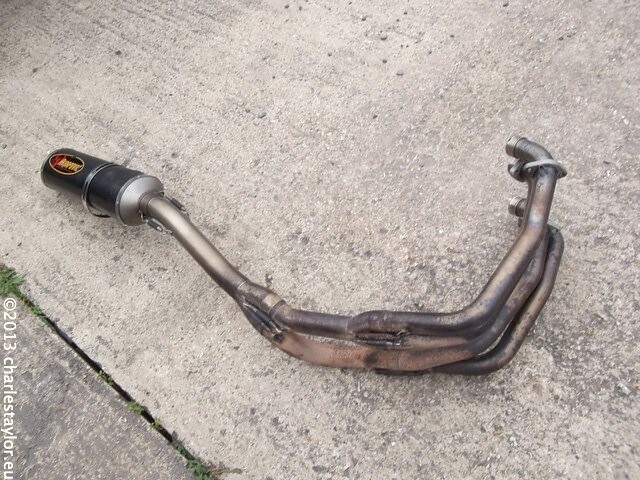
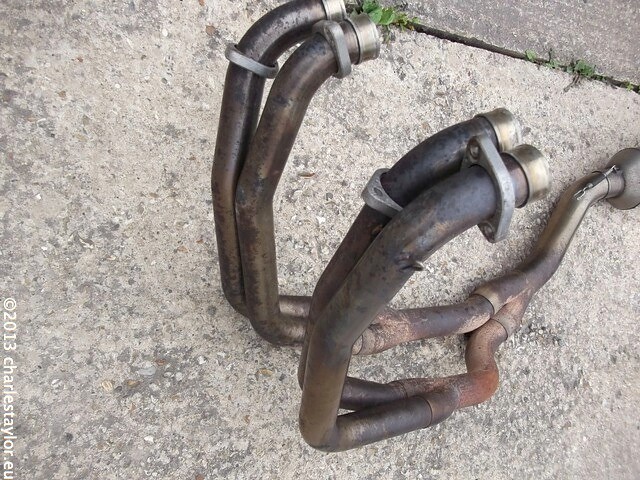
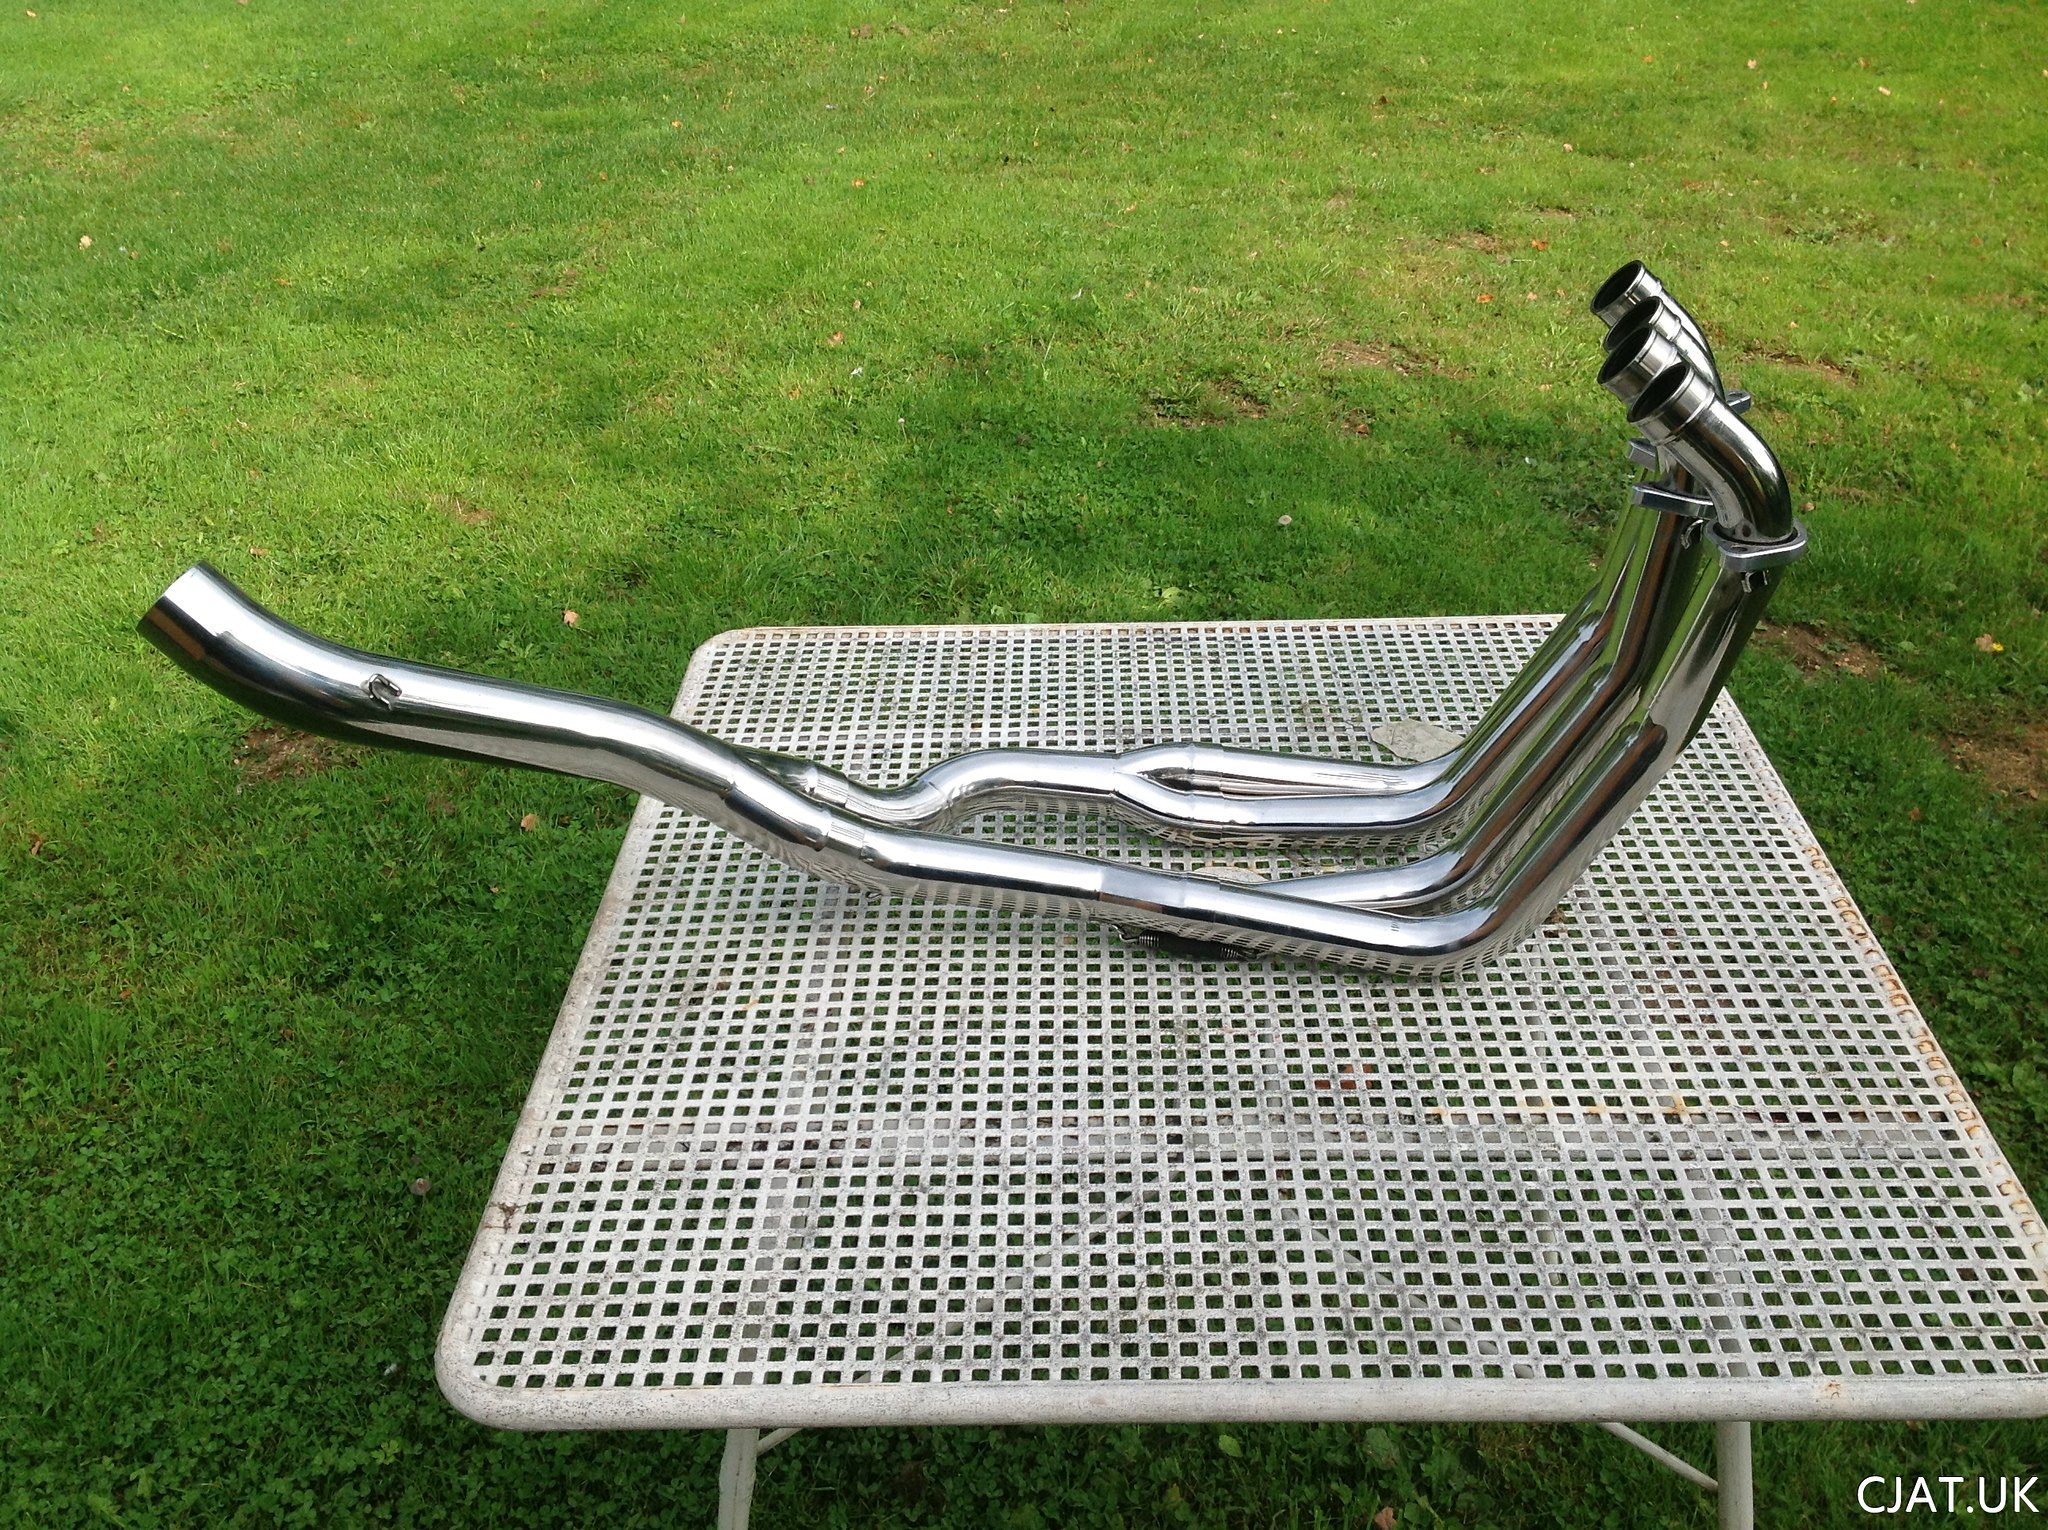
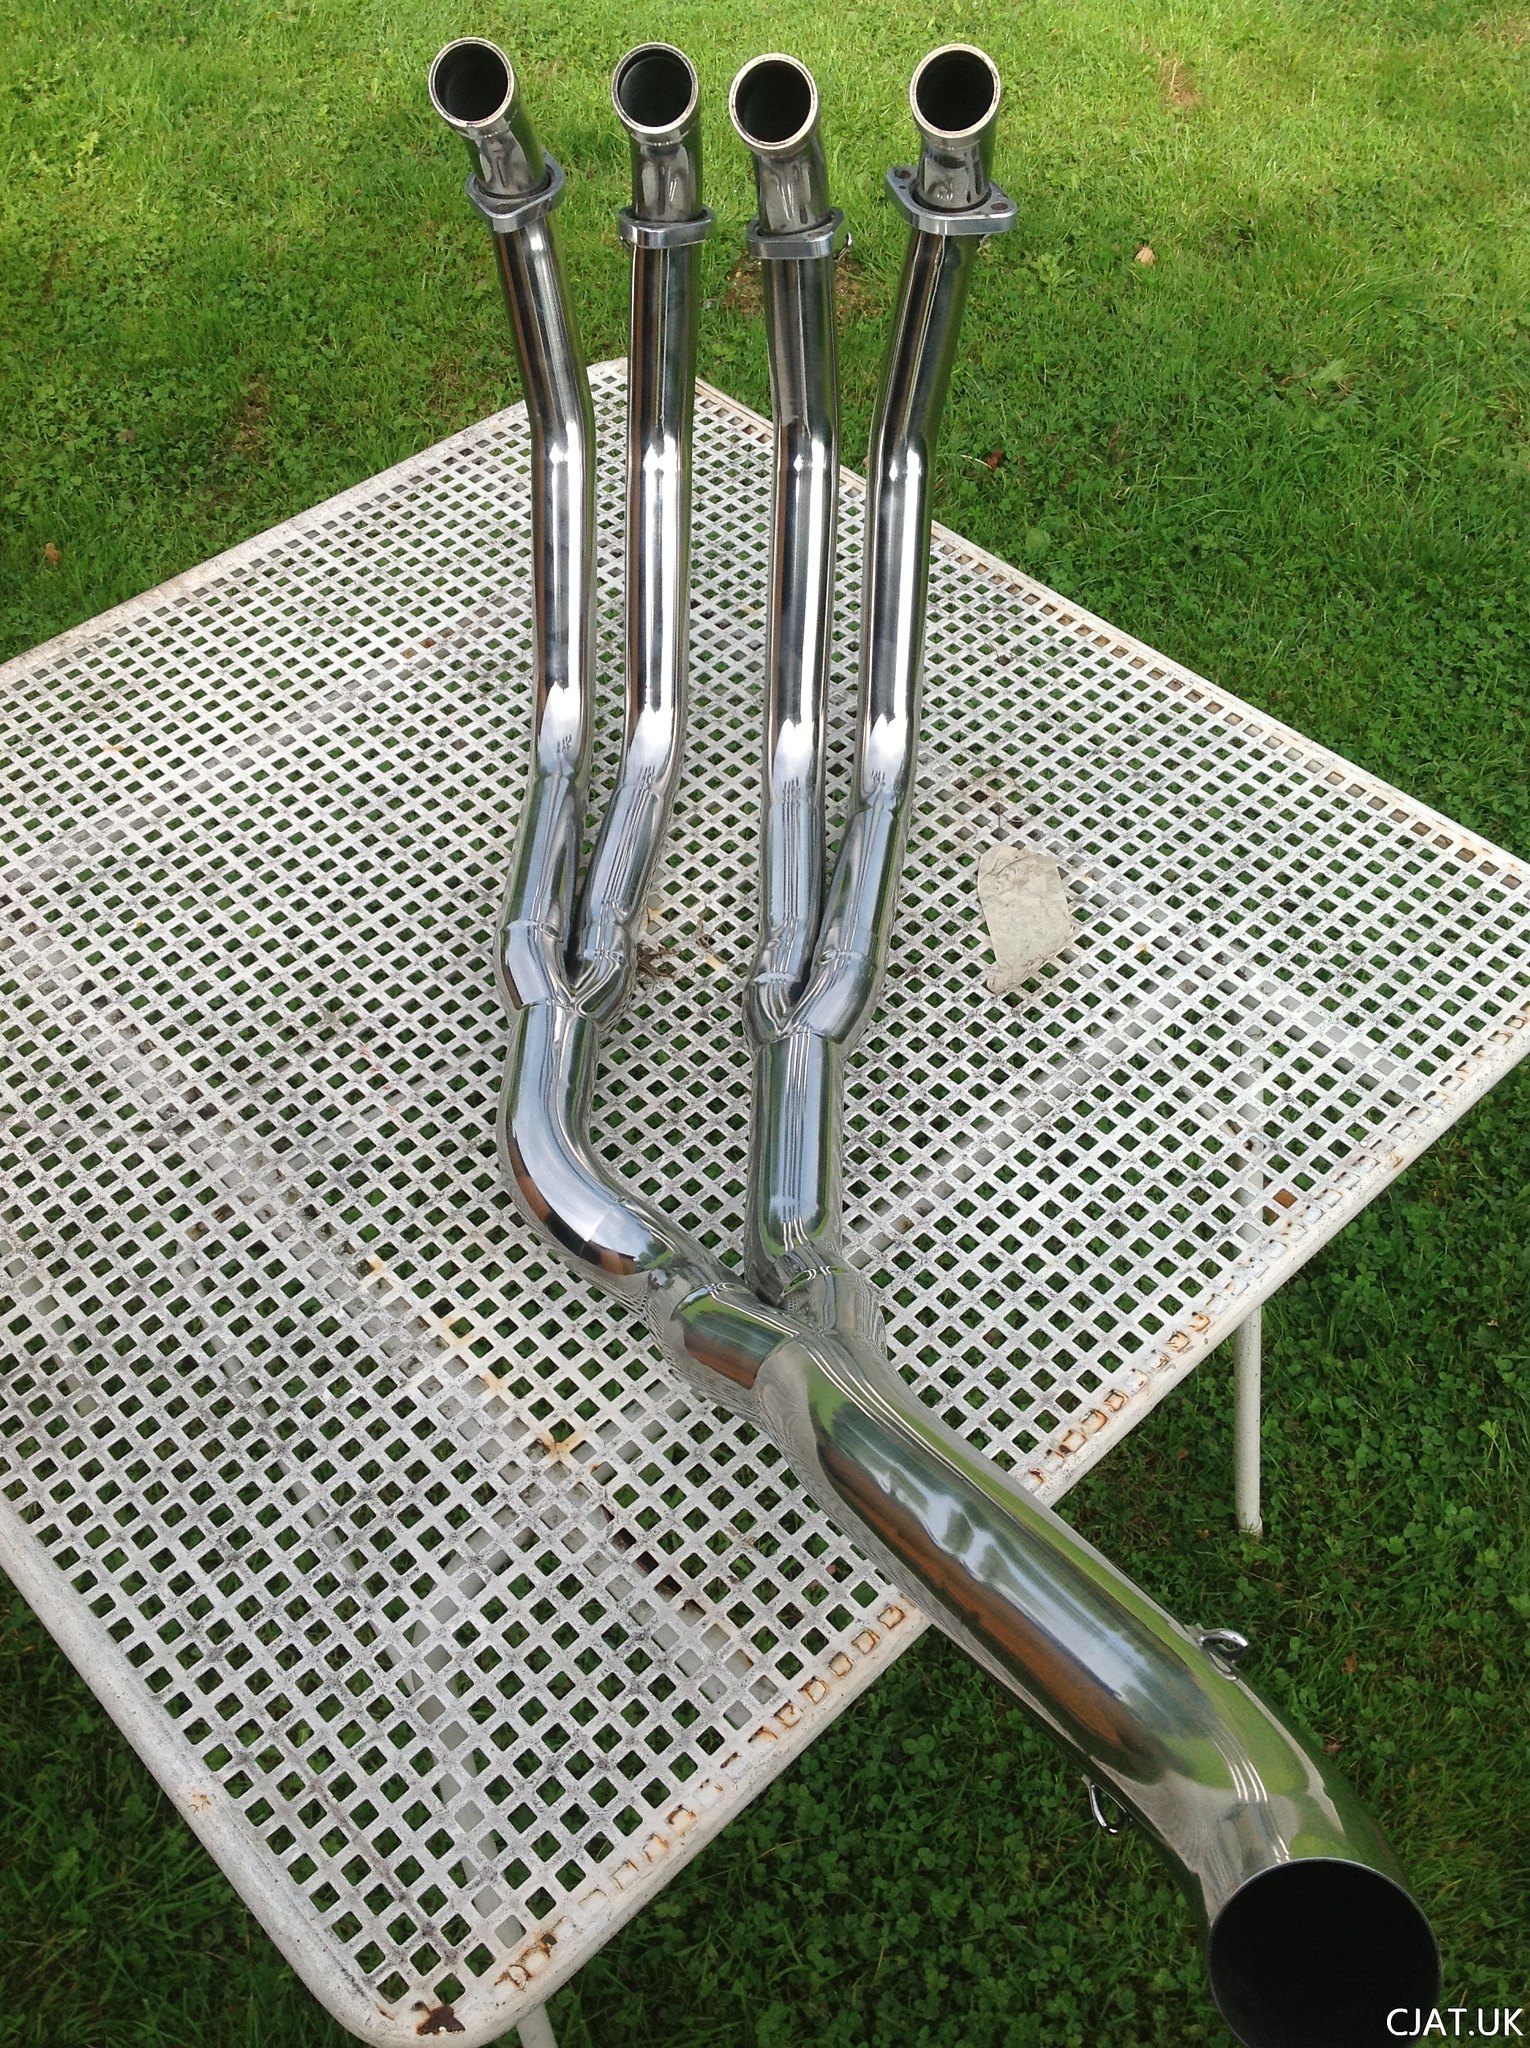
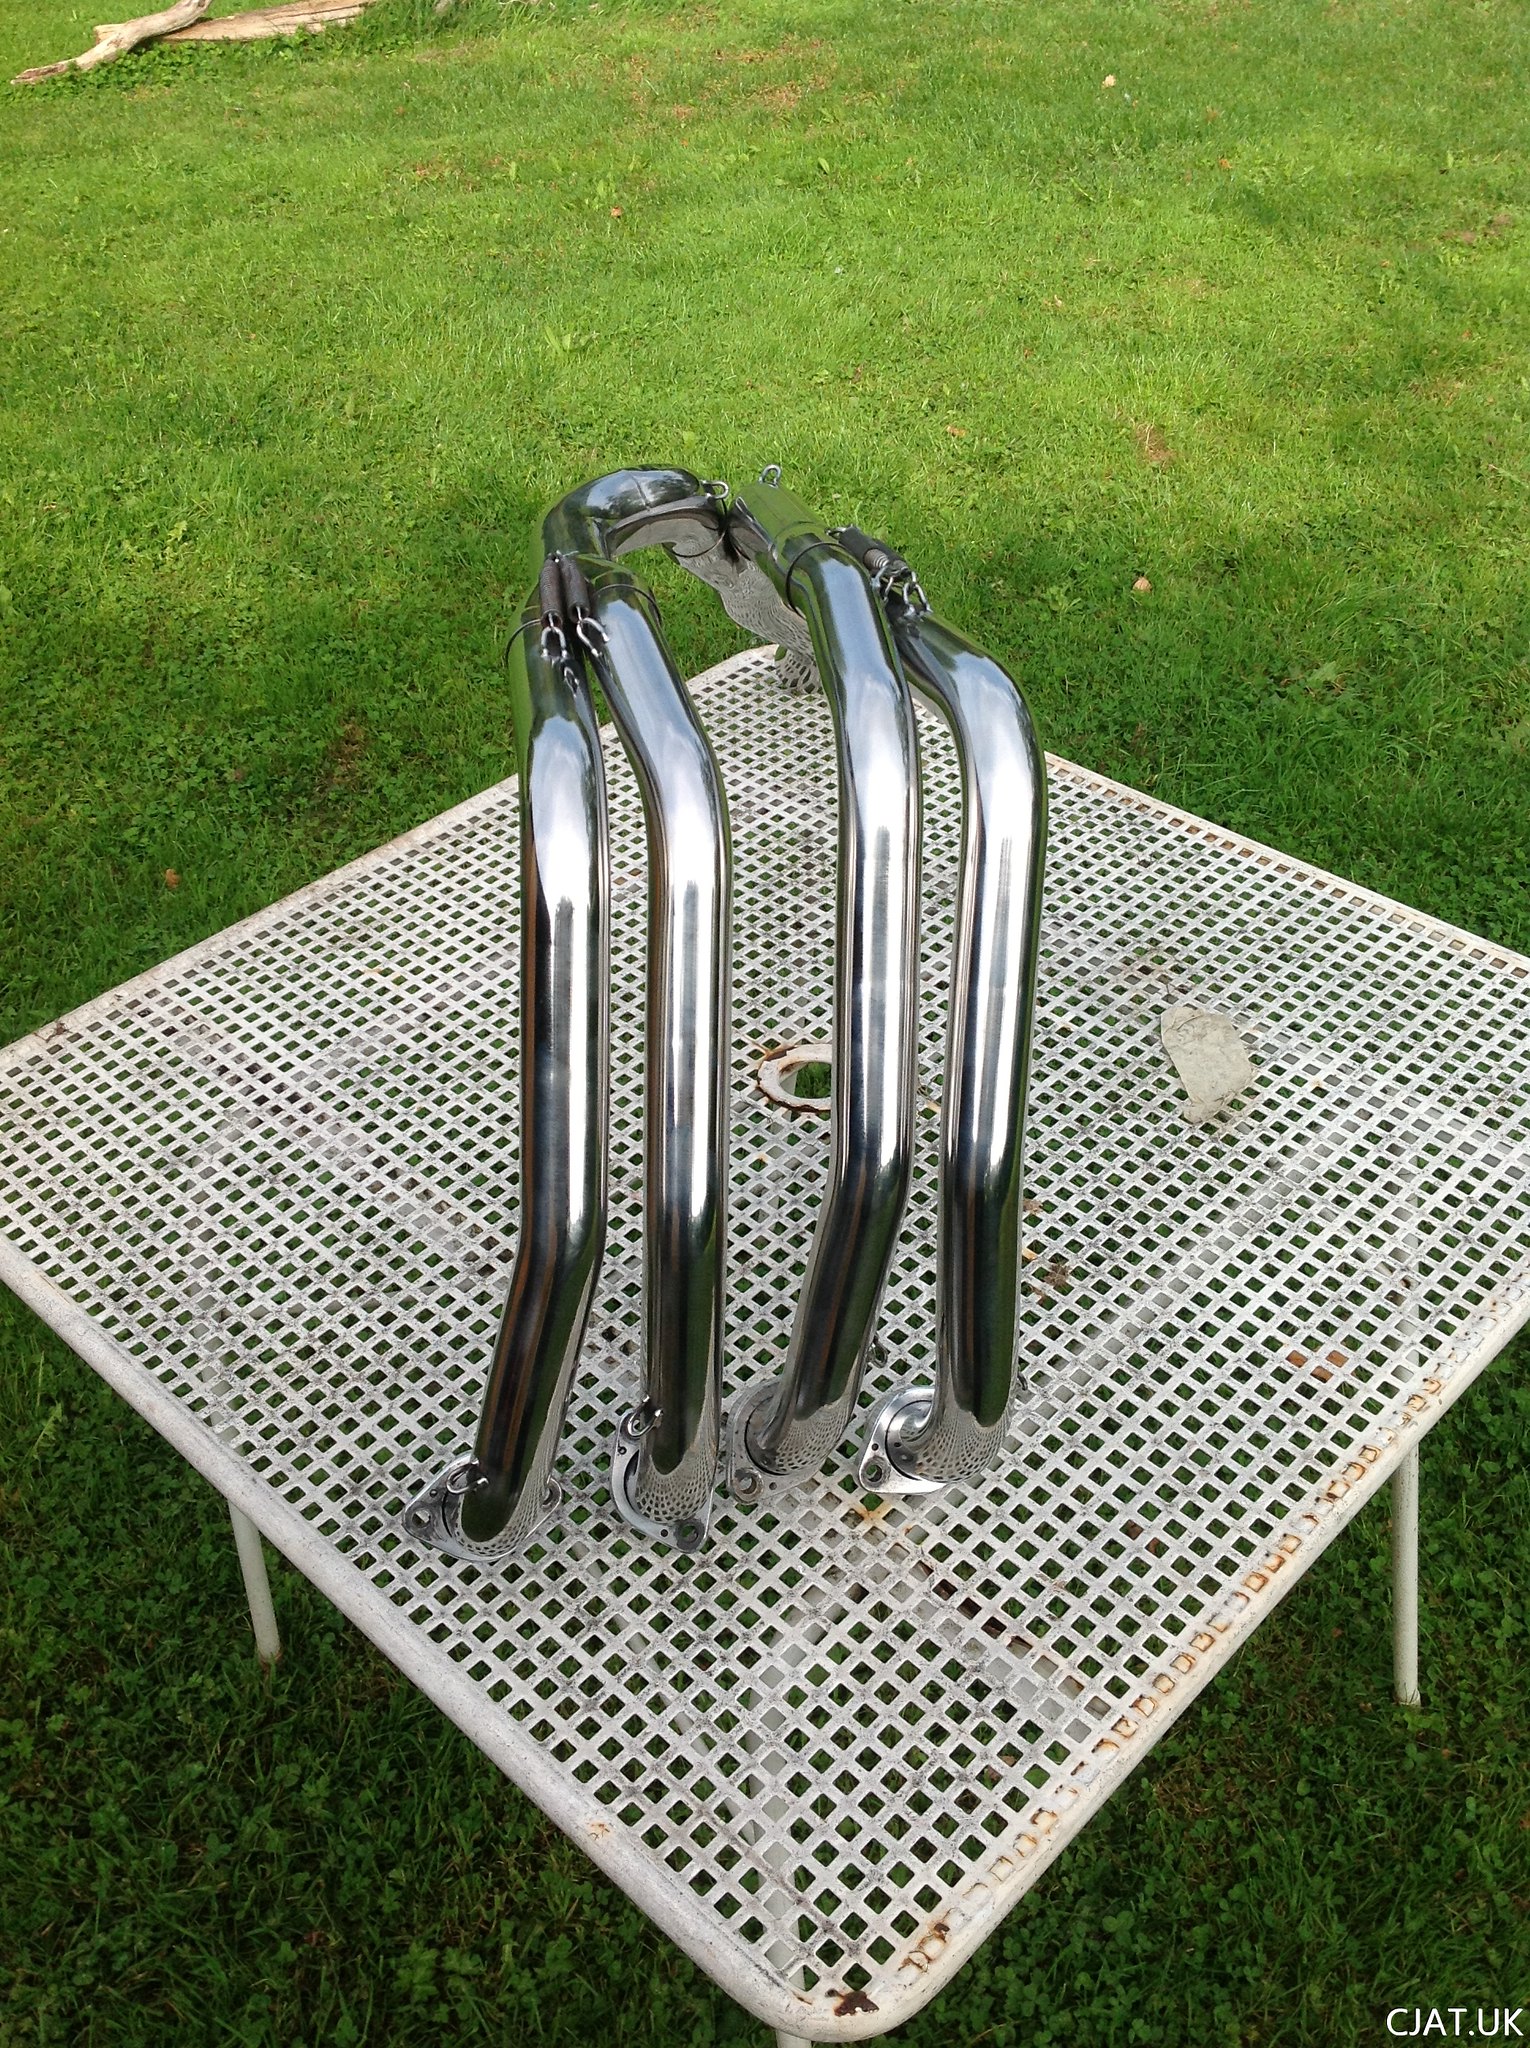
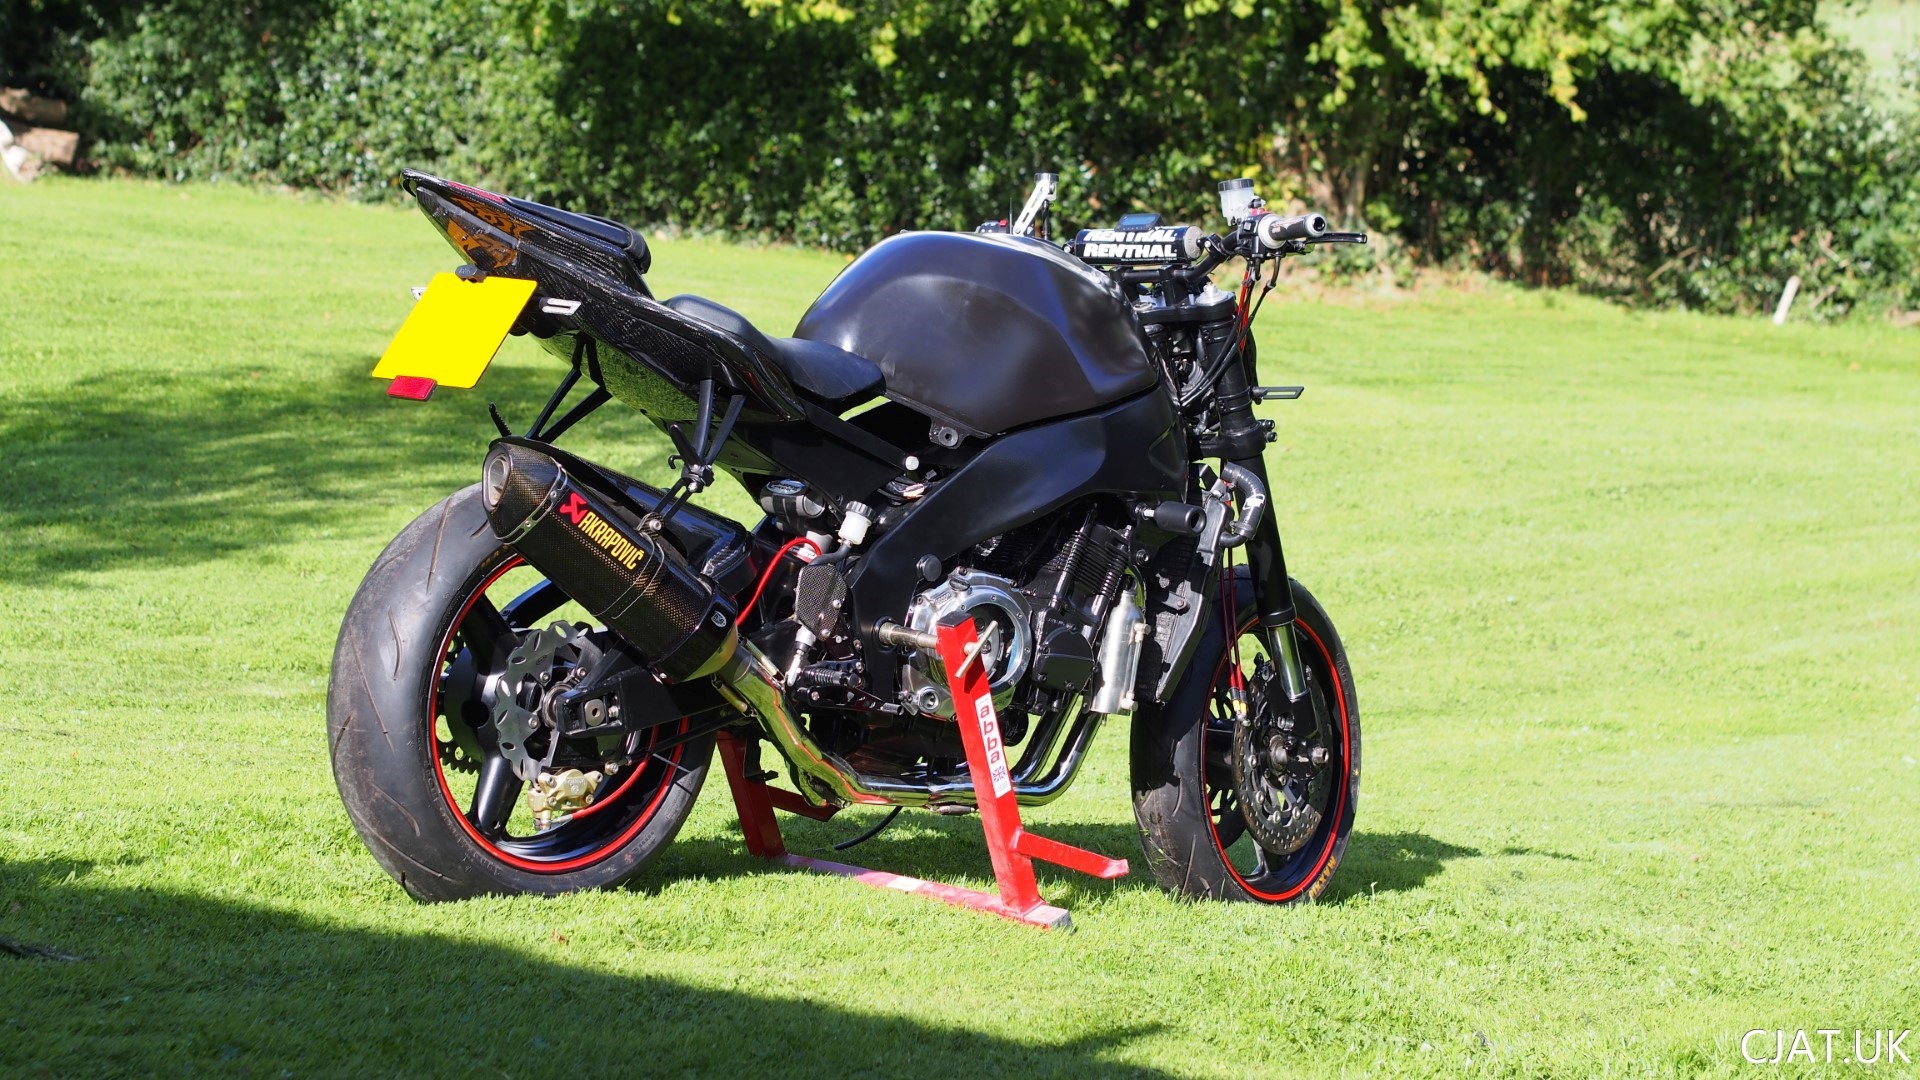
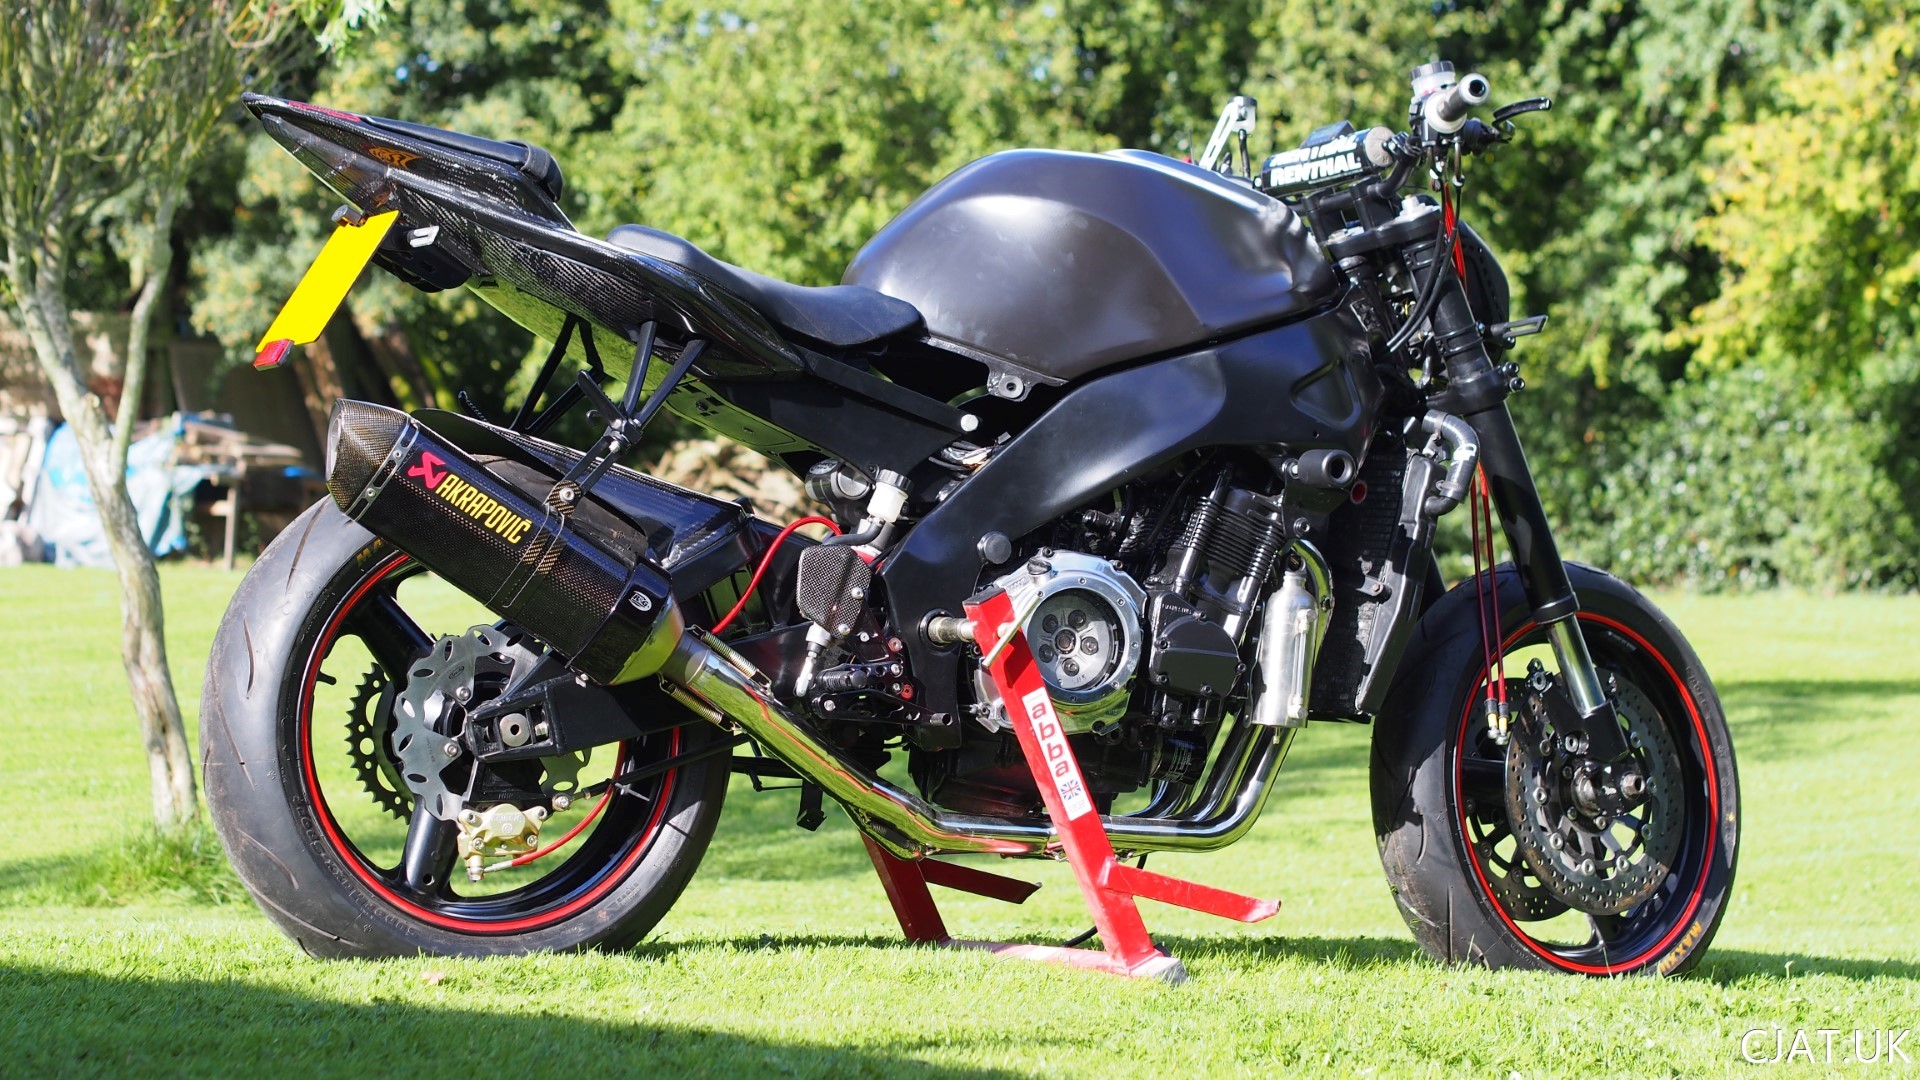
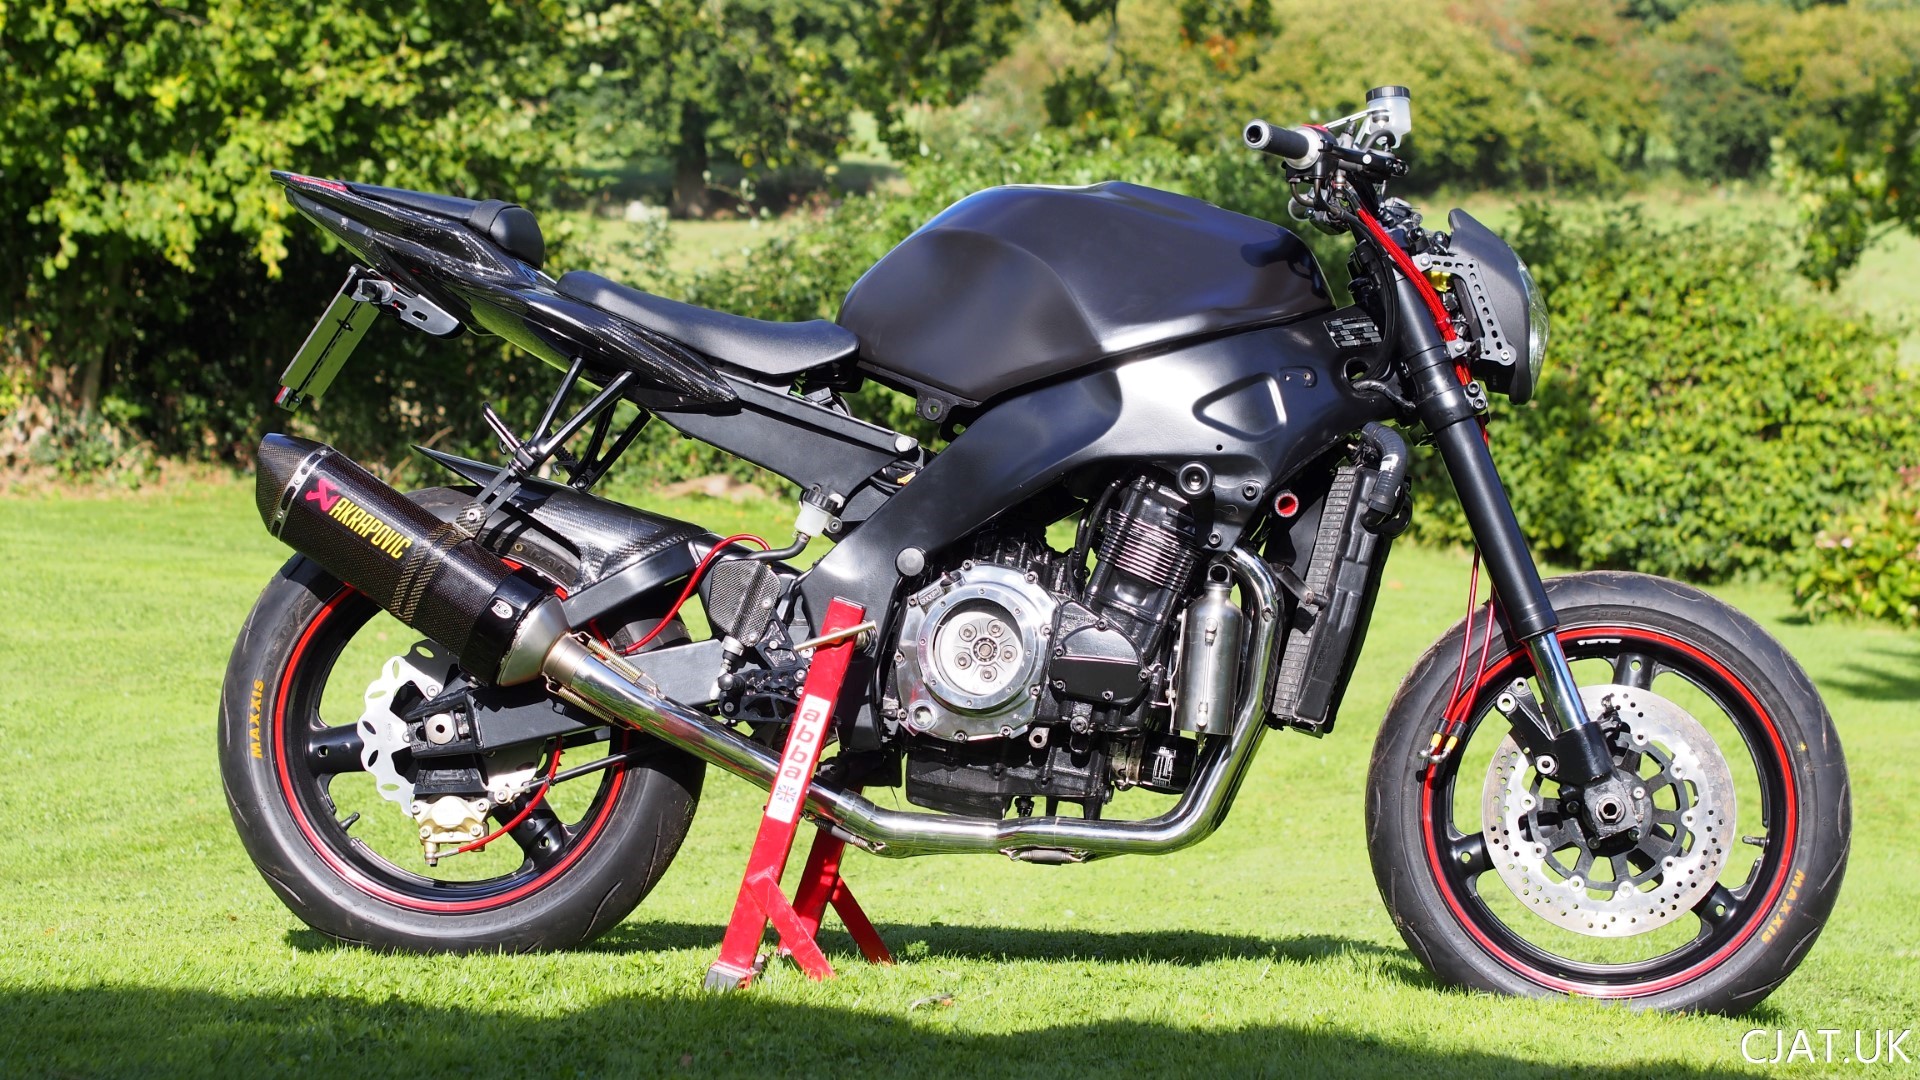
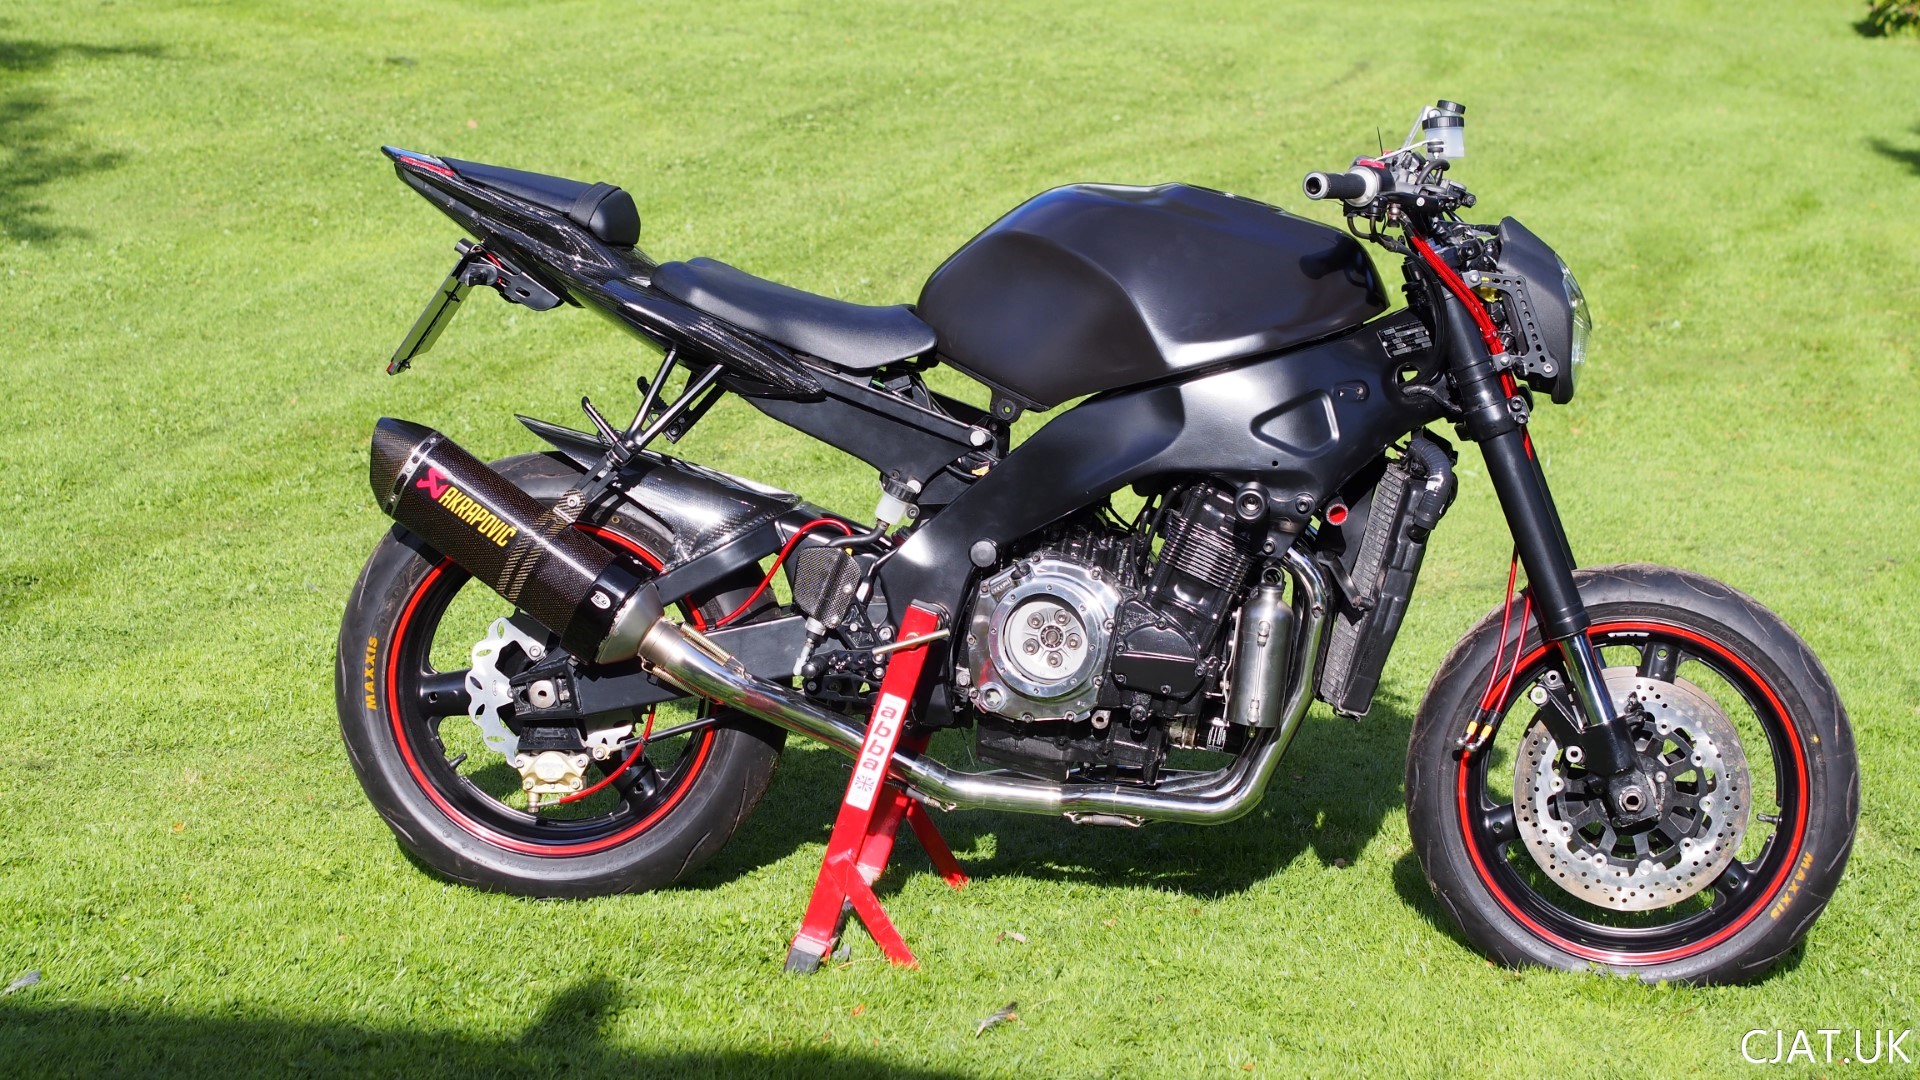
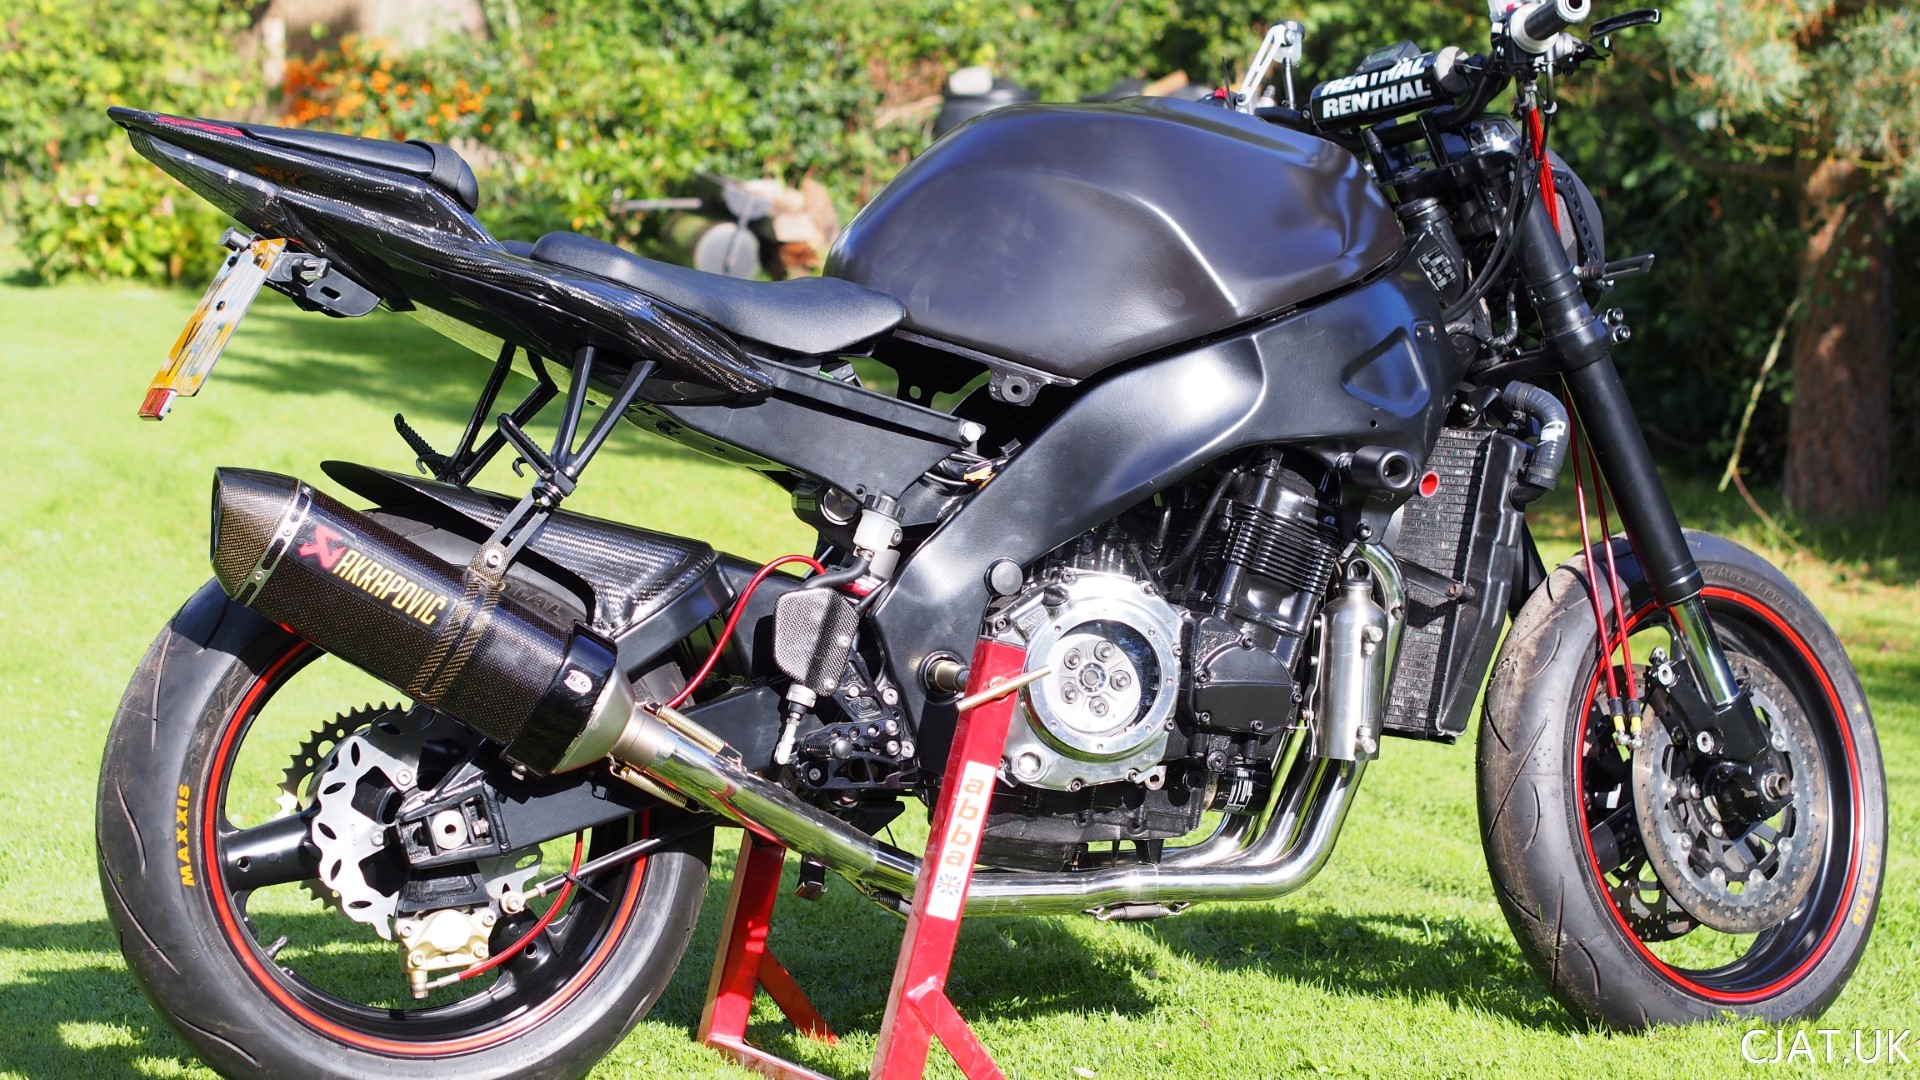
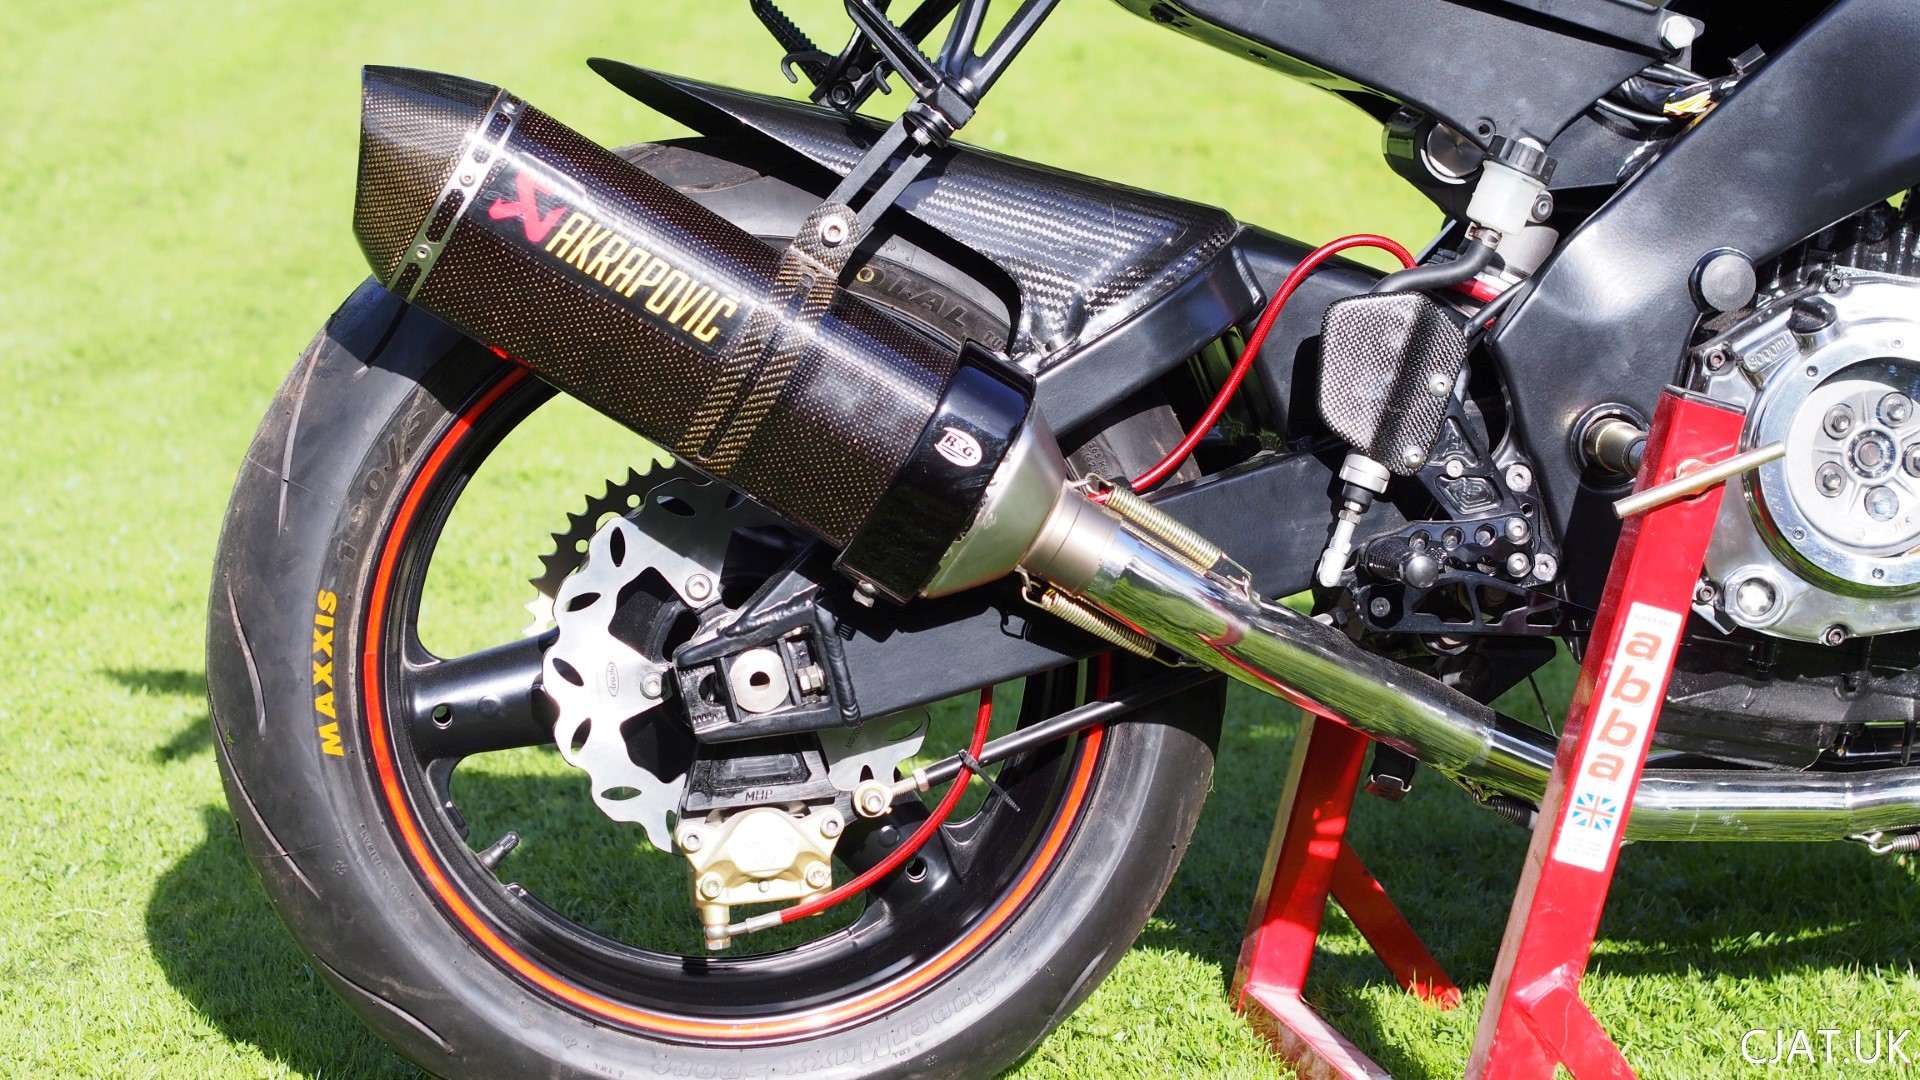
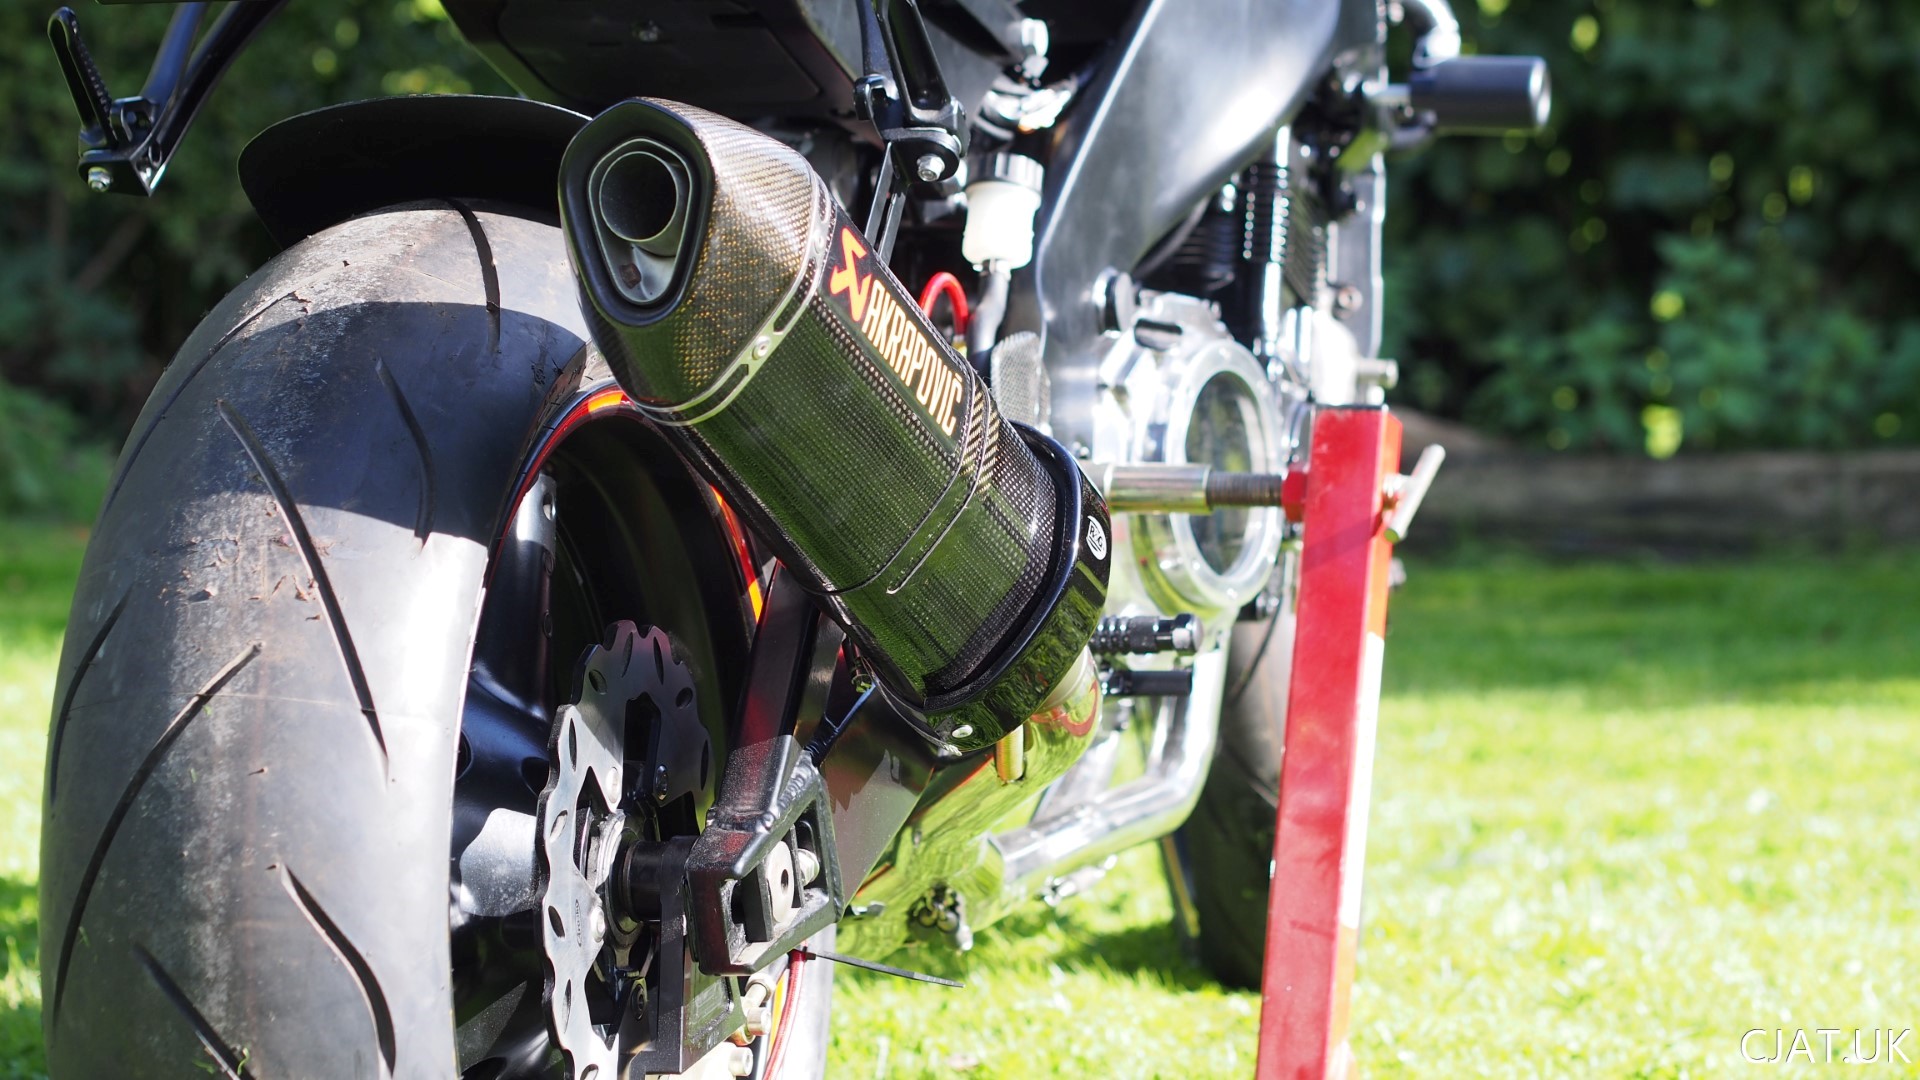
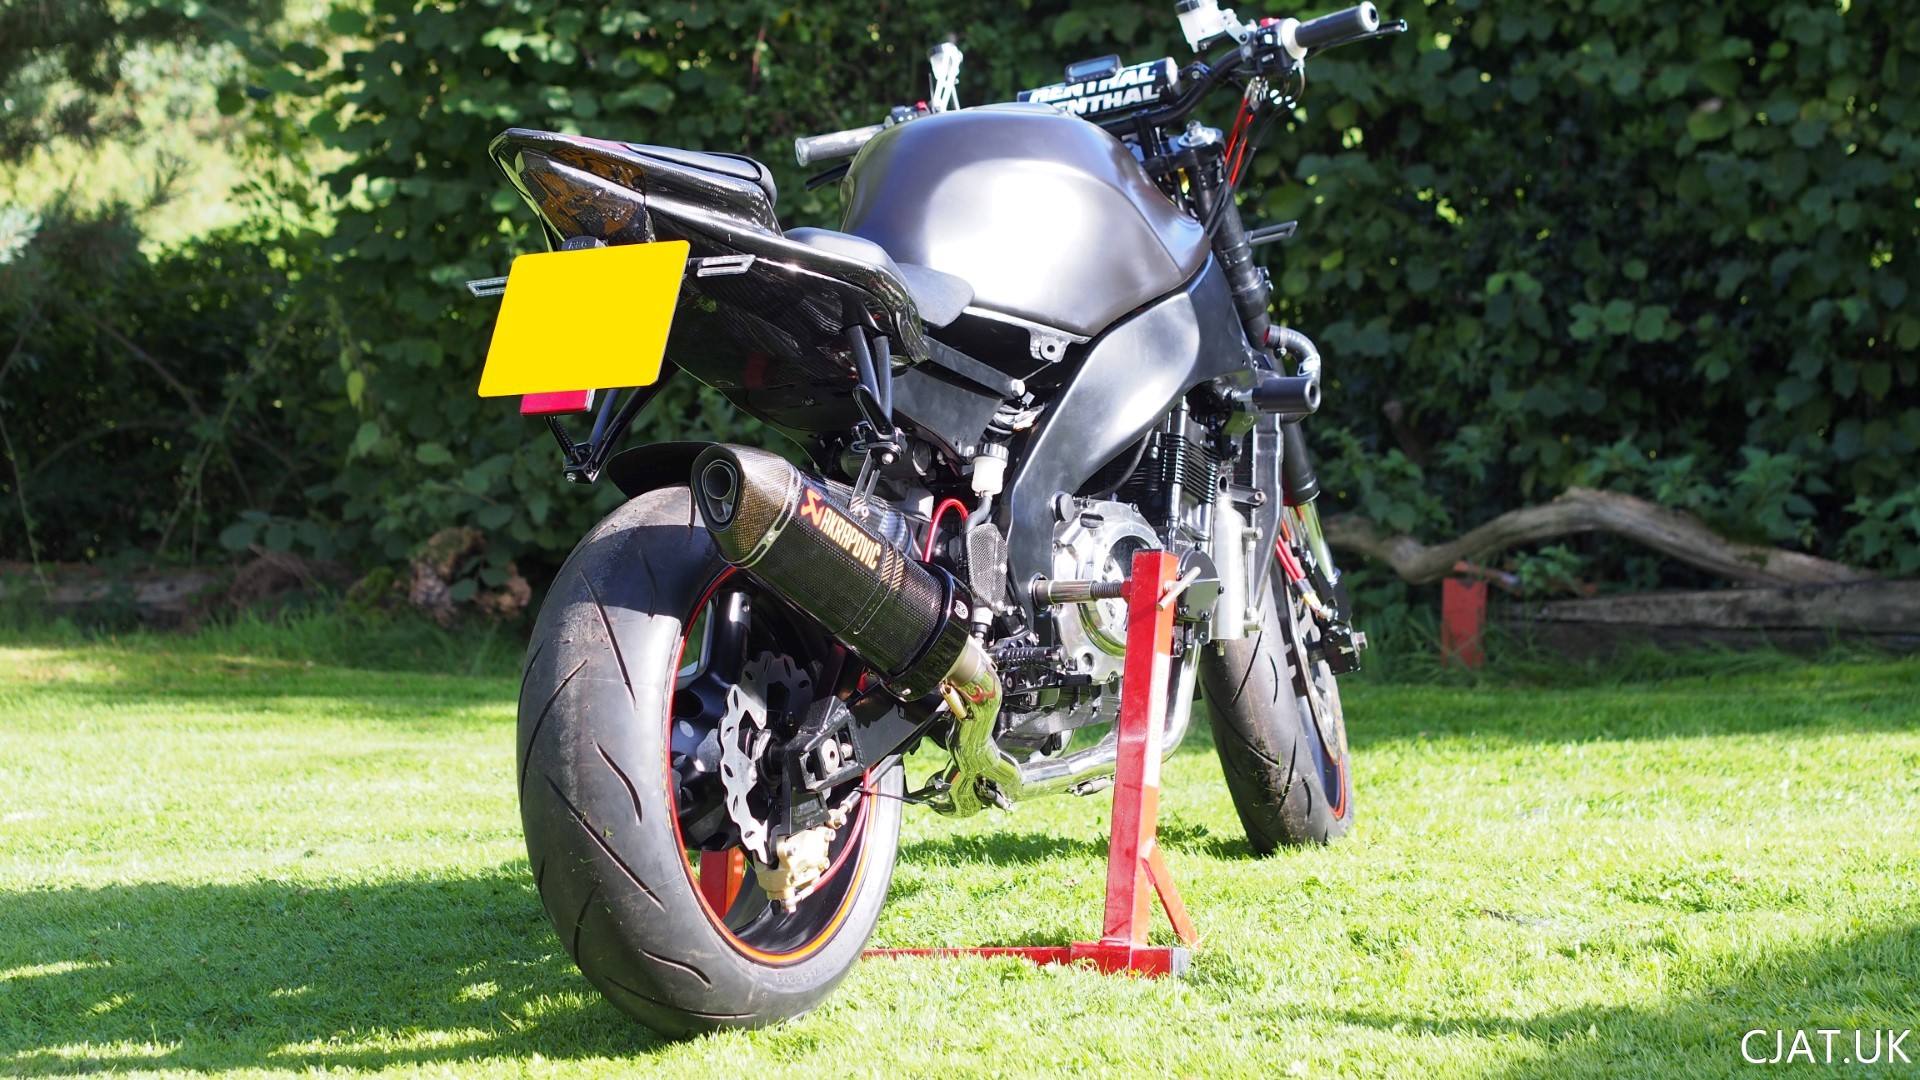
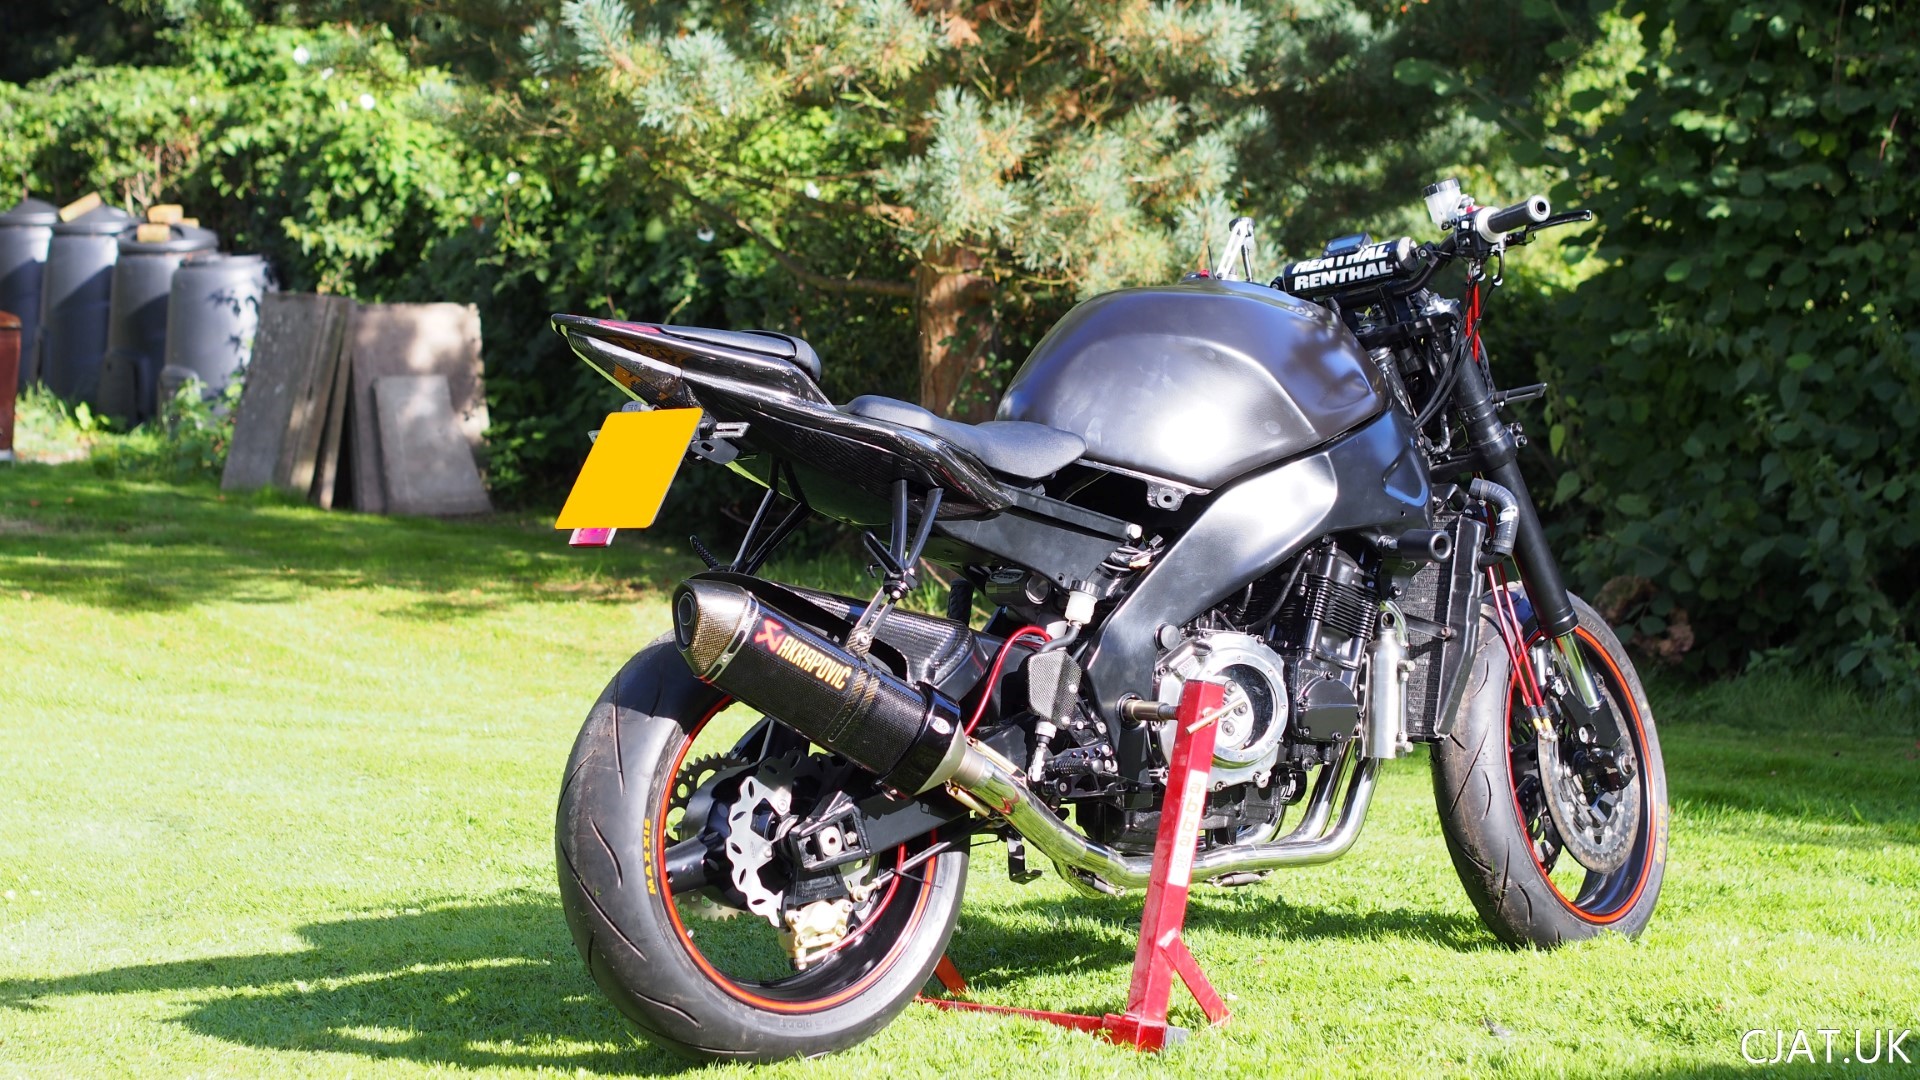
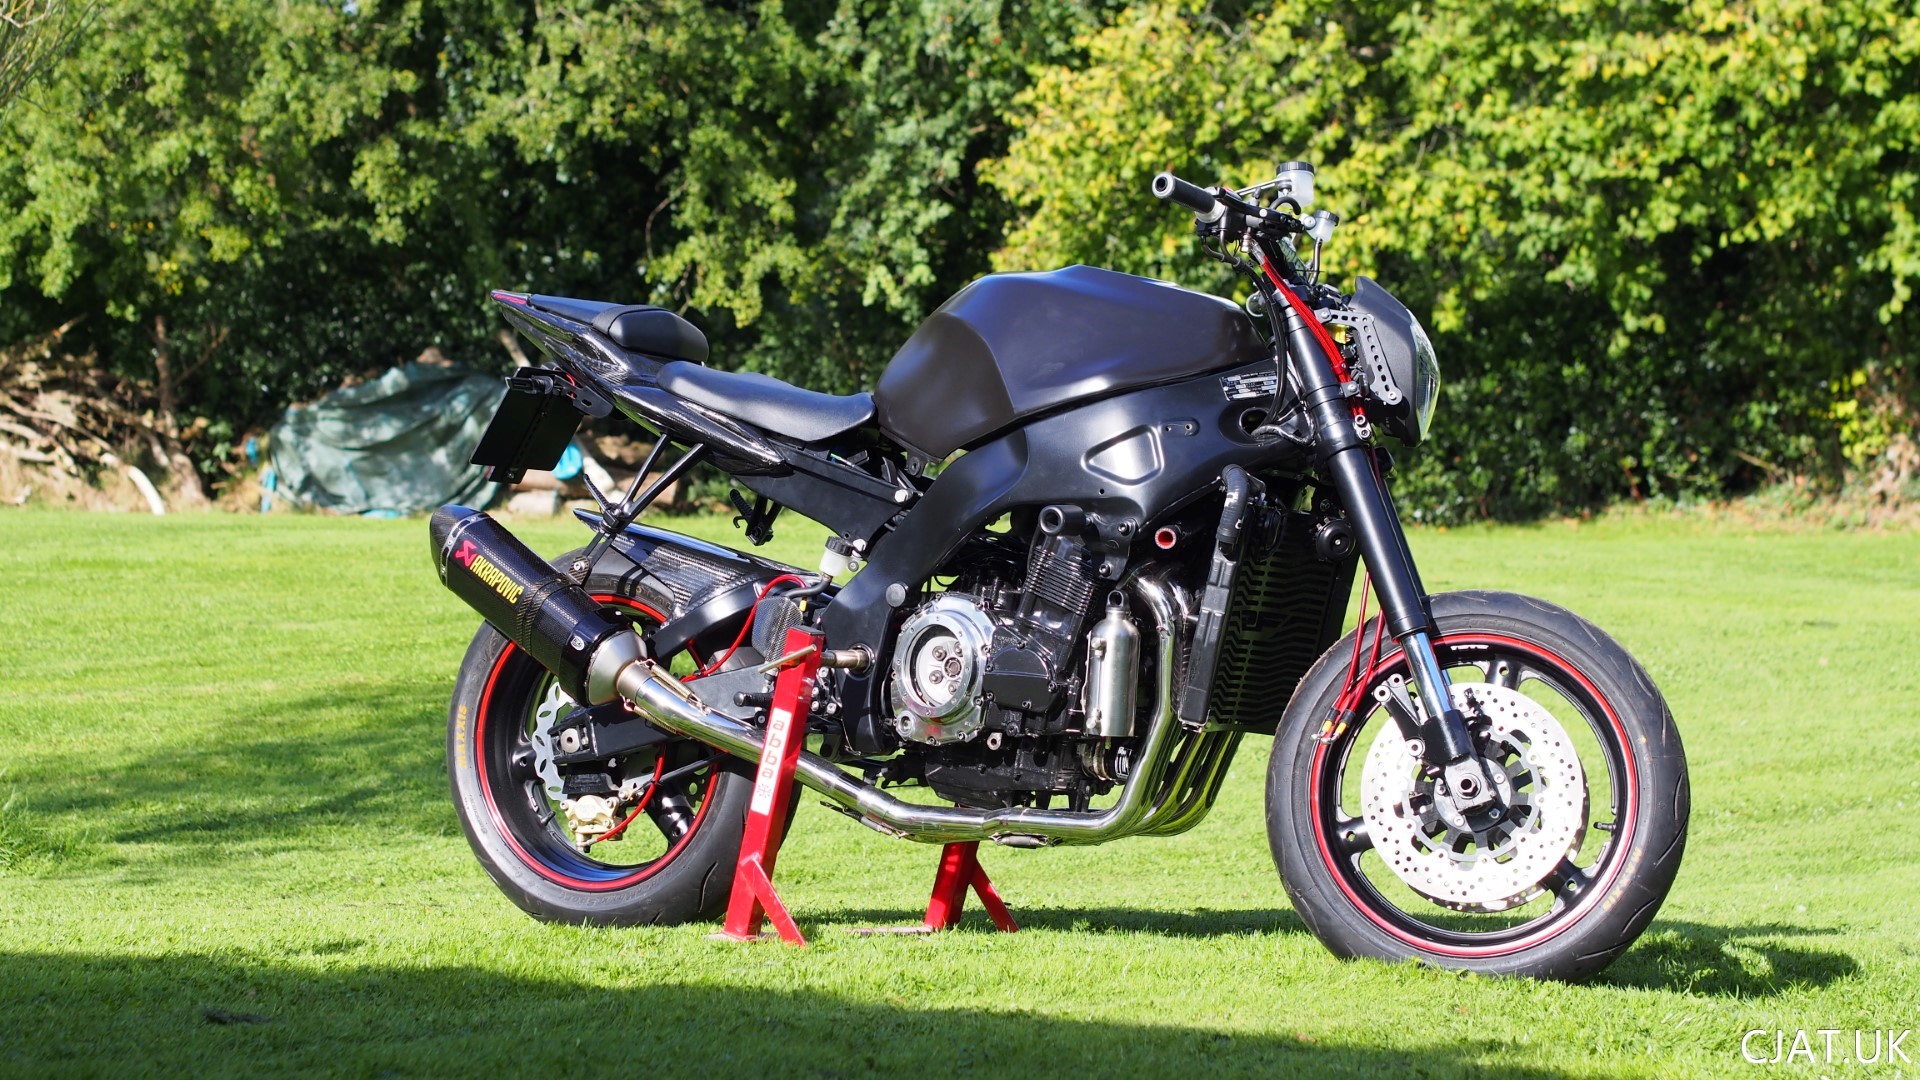
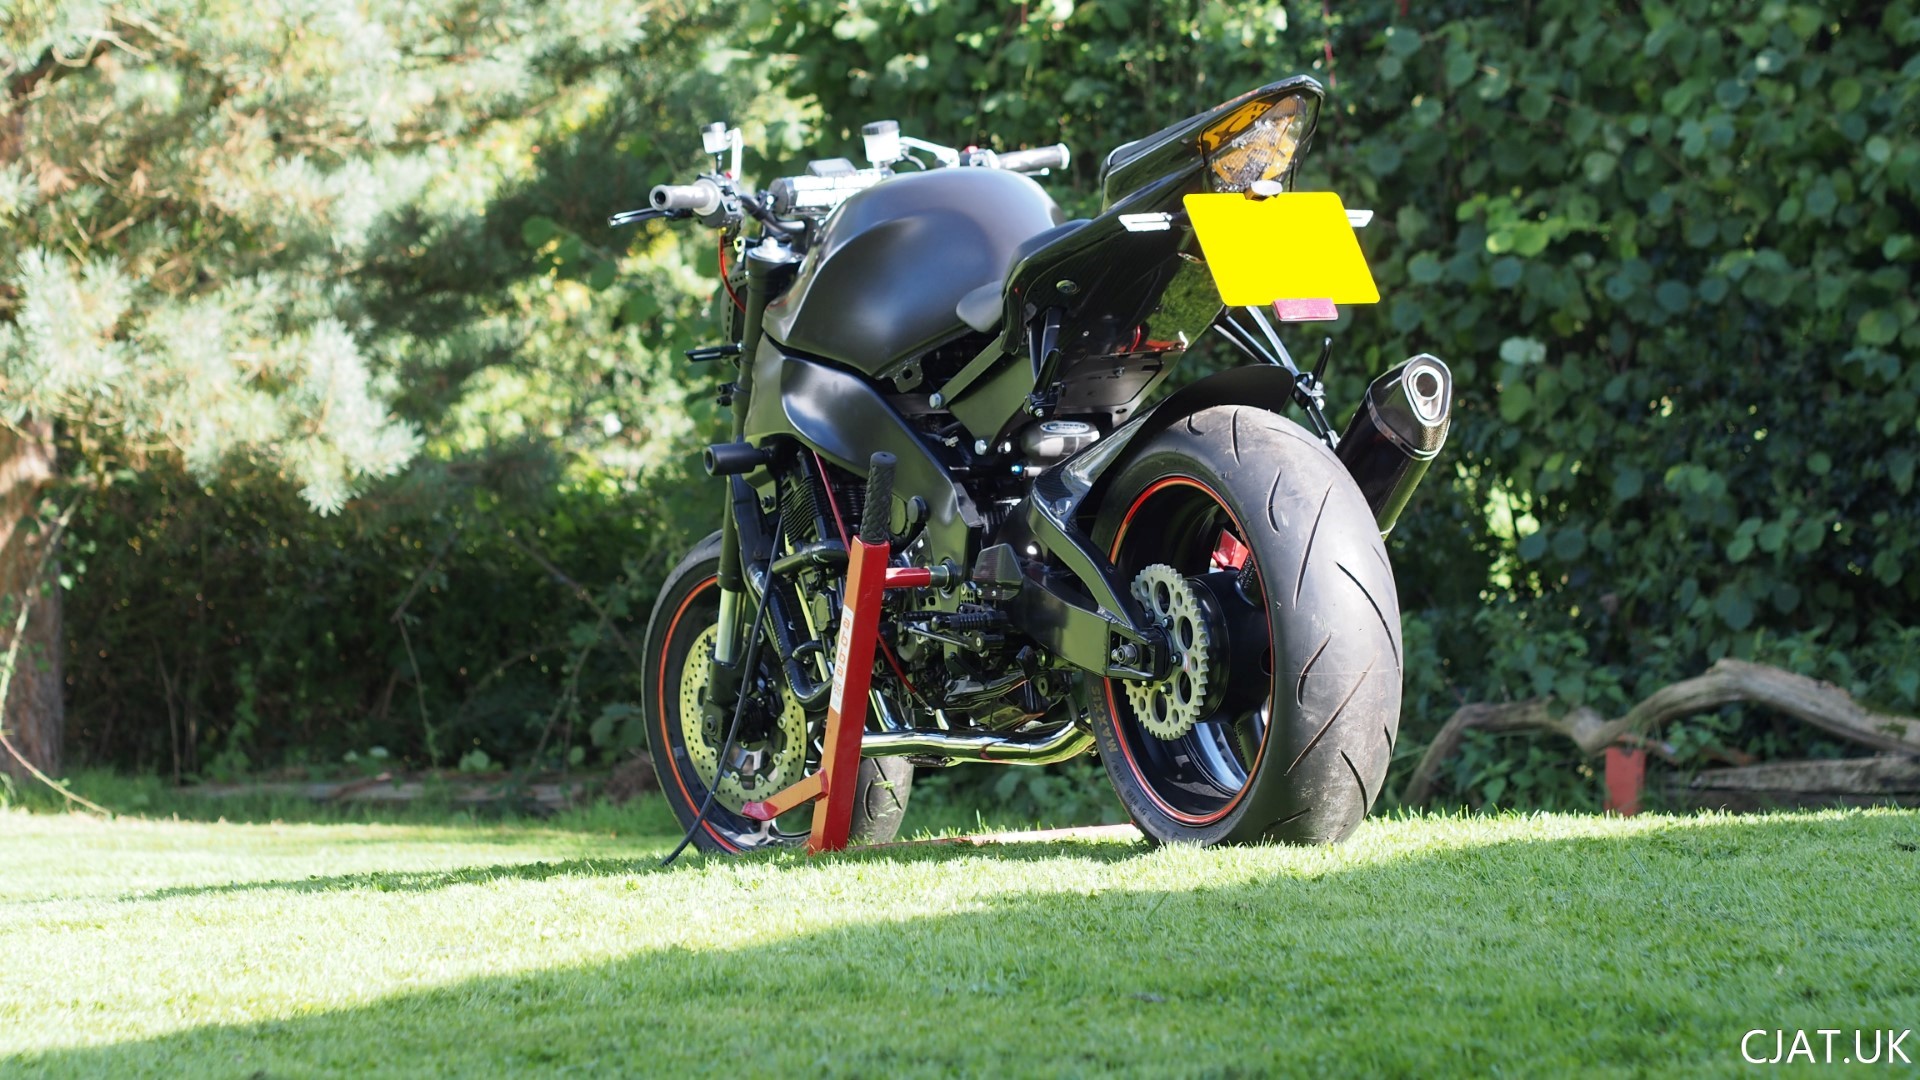
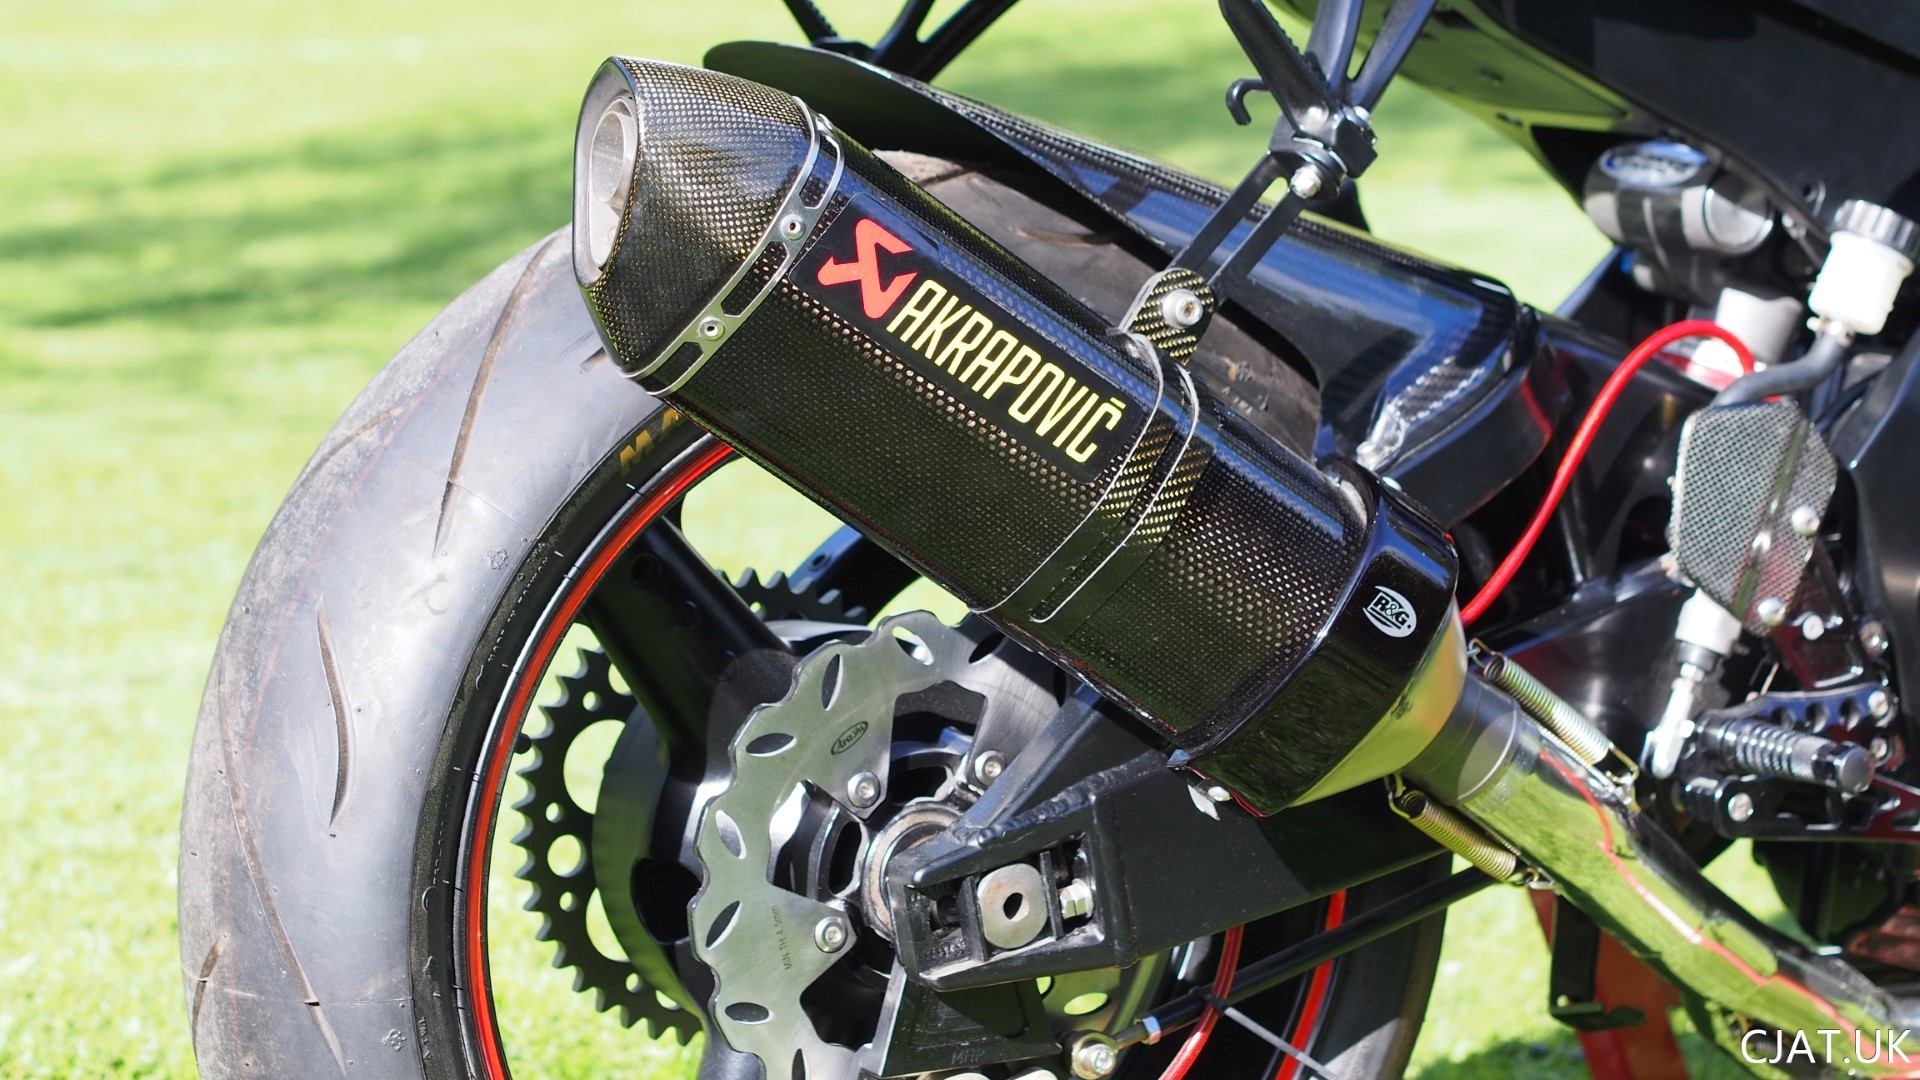
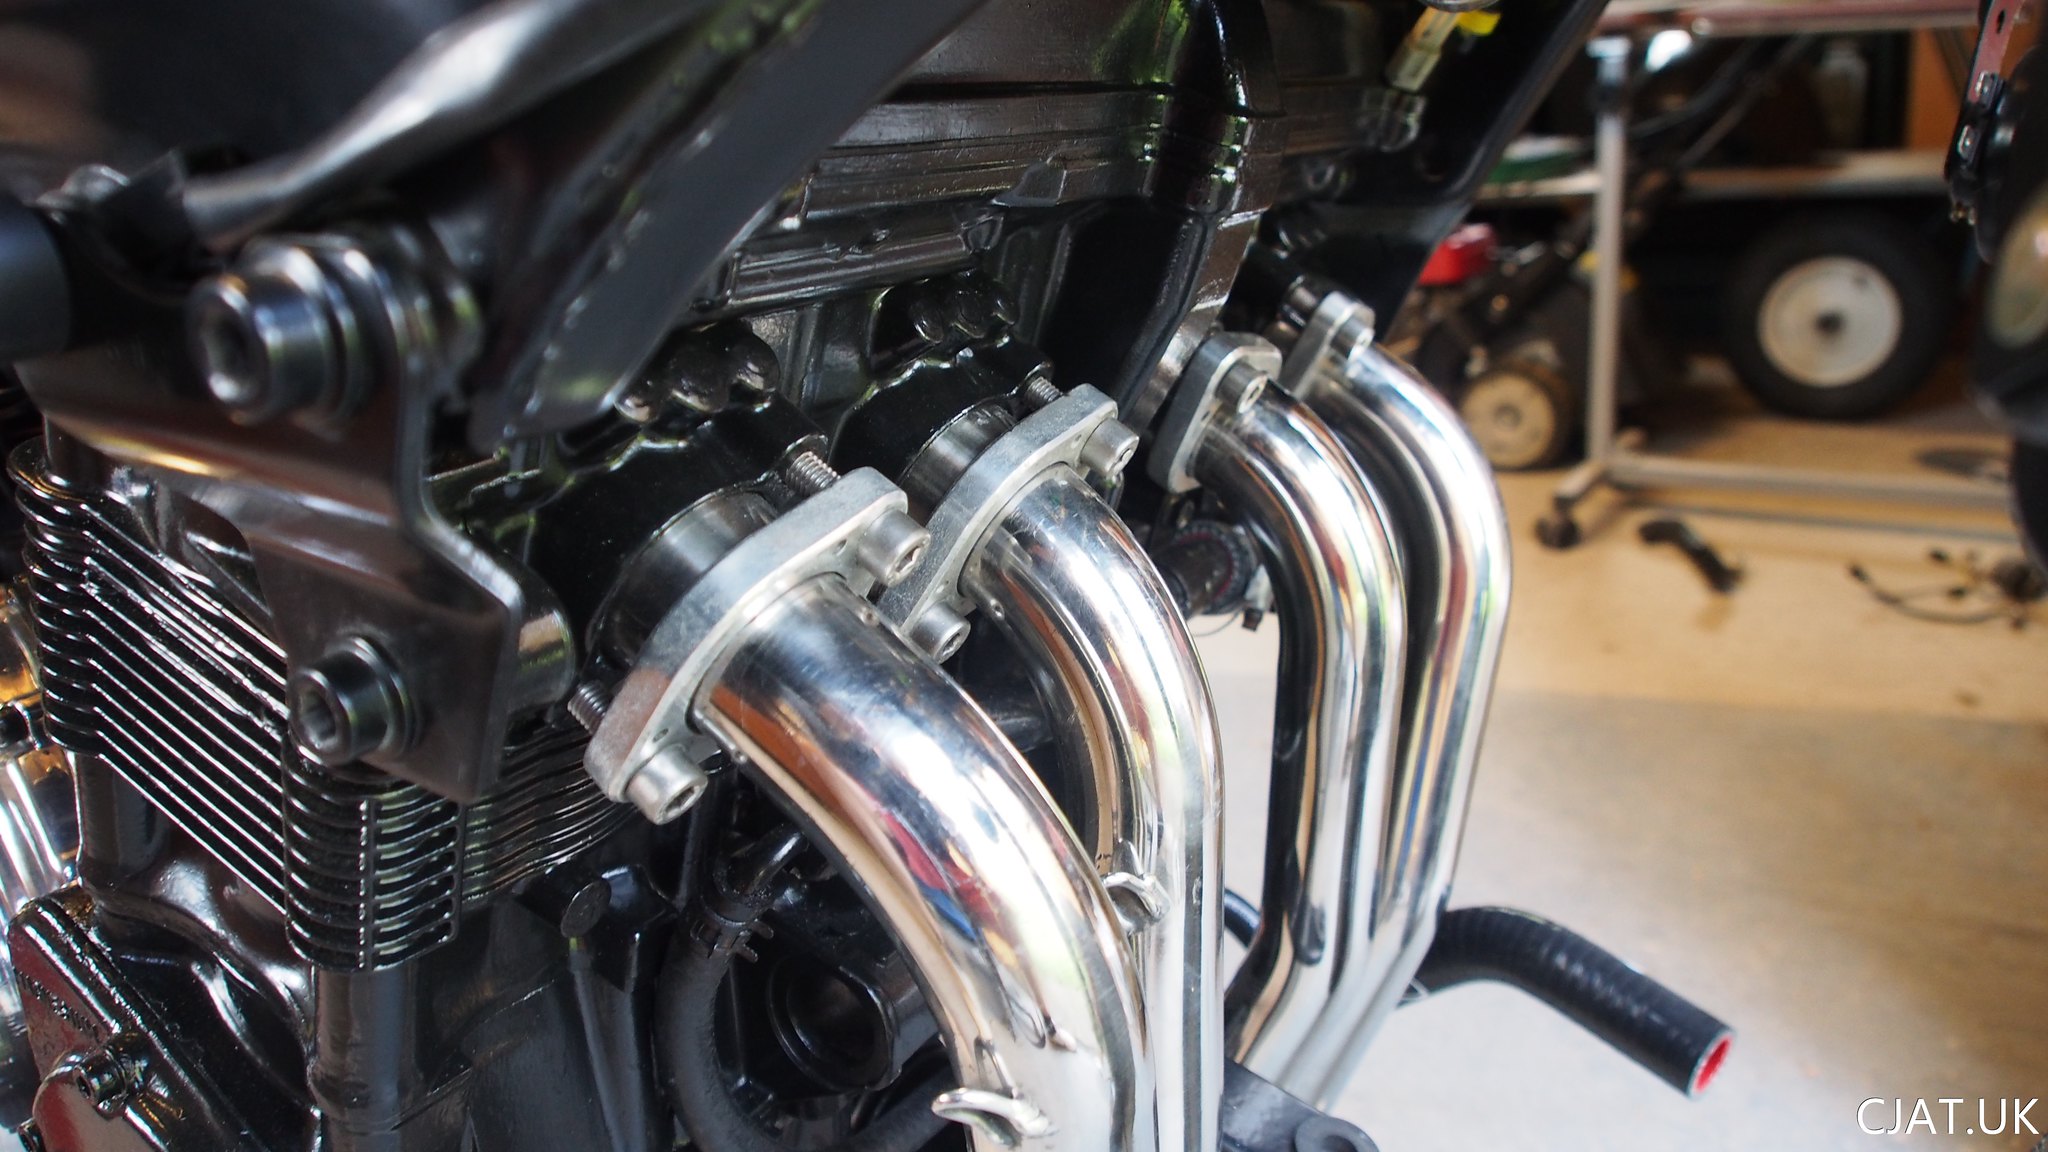
Also fitted the Akrapovic Headers which needed a little bit of fiddling to get fitting correctly but look very nice. As it’s a streetfighter now and there are no fairings to hide the headers, I am so glad I went with the Stainless steel exhaust system and the fact it’s an Akrapovic one is just the icing on the RF 😉
The carbs have now sat for the best part of 3/4 years and need some TLC but I thought I may try and start the RF900 up and see if the bike was still working after its hibernation before sending the carbs off to rebuilt.
However, I can never make life easy for myself and being the idiot that I can, I attempted to start the RF using just the trickle charger, which I later learnt did not produce enough power to turn the engine over. Being the ignorant of that fact, I convinced myself that the starter motor had broken during its long rest, and I bought a second hand one from eBay and proceed to try and fit it. This resulted in me shearing both of the bolts attaching the starter motor and me swearing a lot.
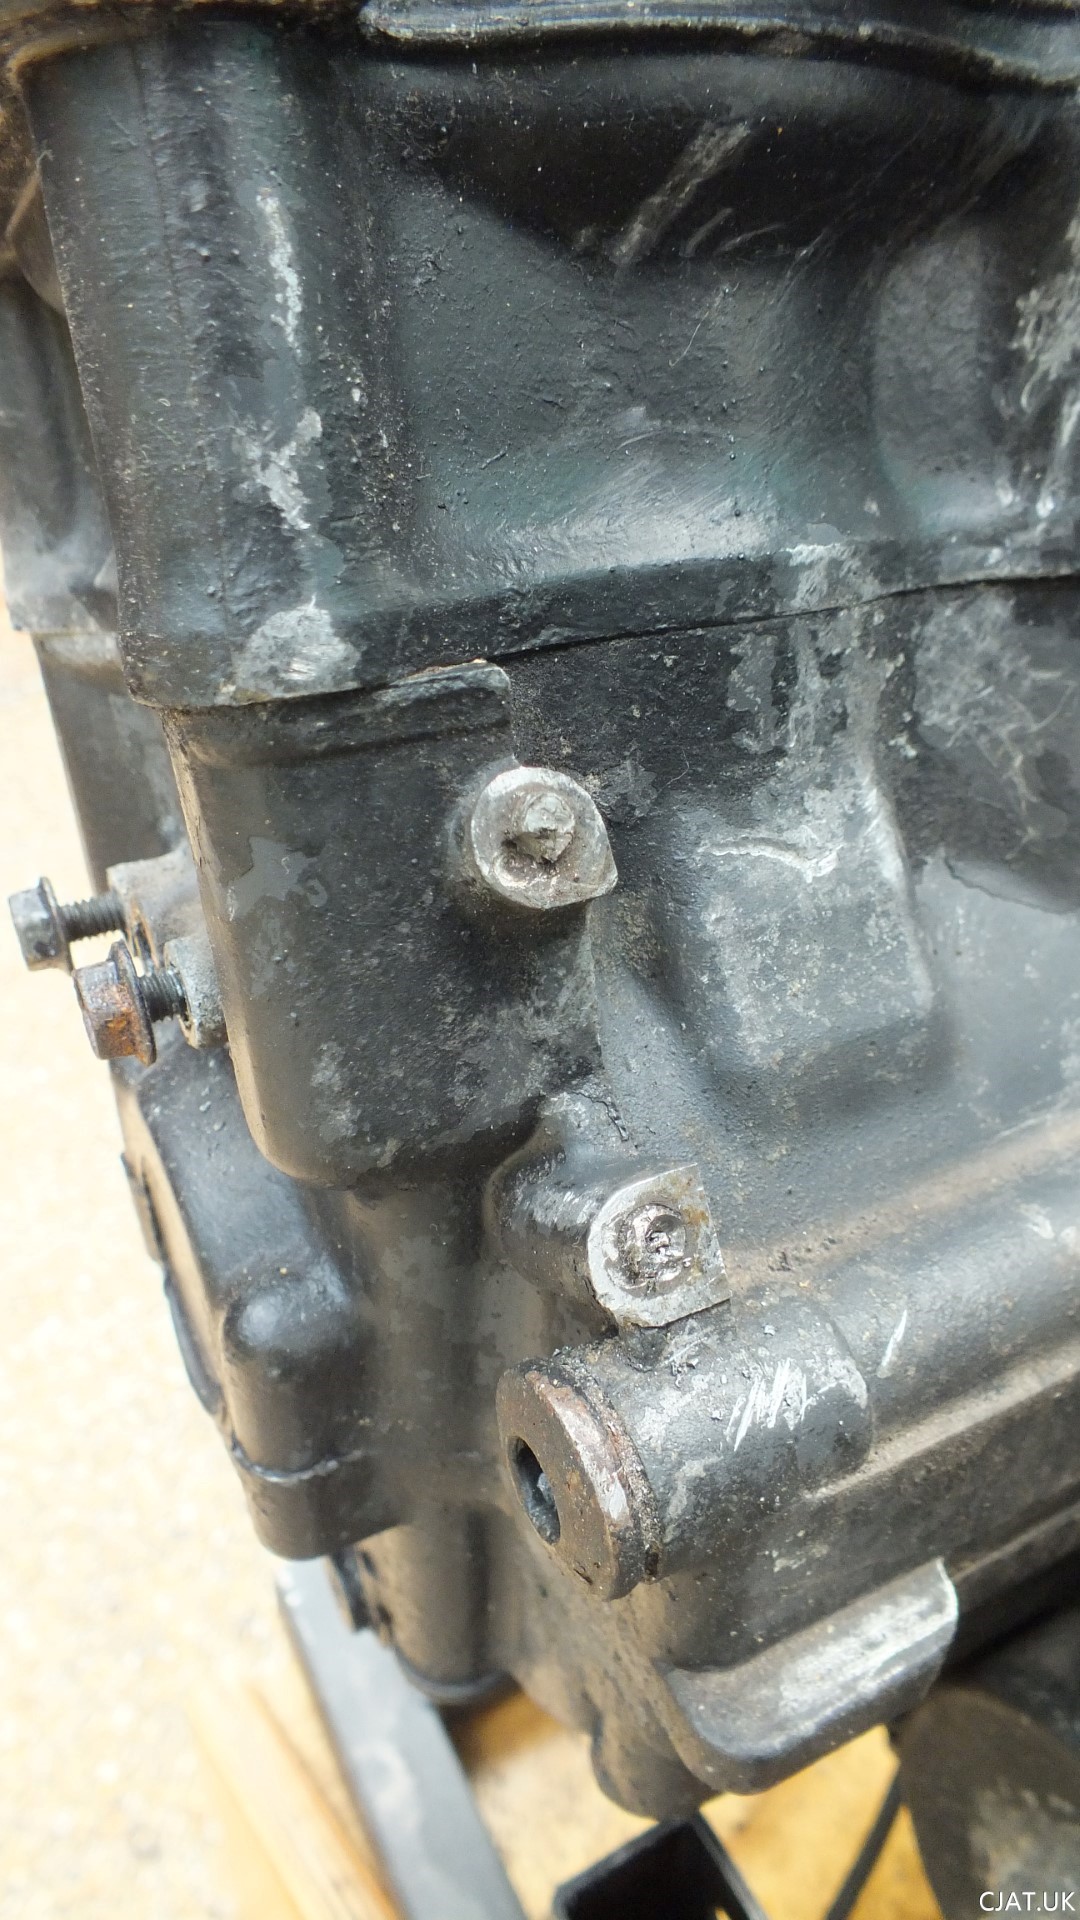
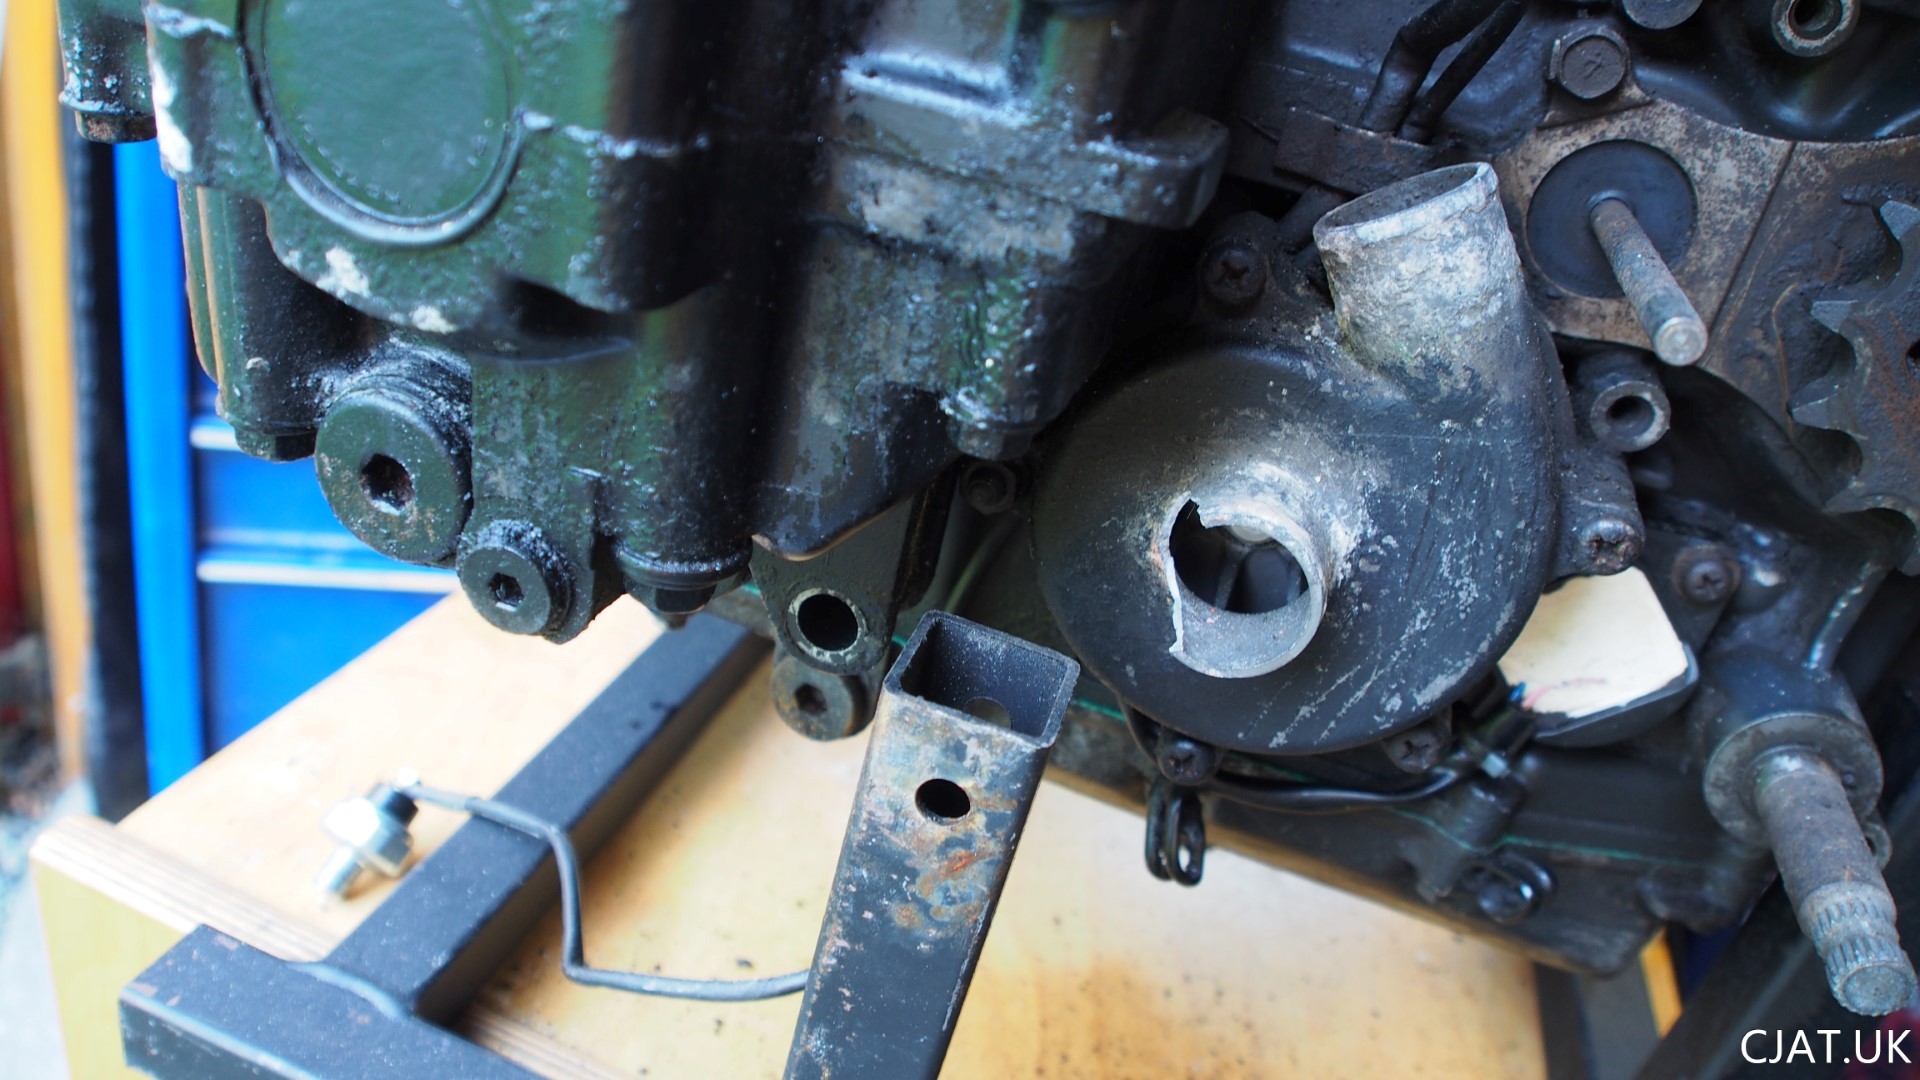
To top this off, I then took the engine out of the frame to make some room to get a drill in and remove the bolts, only to drop the engine and break the waterpump hose connector....
I then decided that with the engine out I should at least attempt something productive and remove the bolts, only to brake my brand new diamond drill bit off inside one of the bolts… honestly I was so angry at myself I didn’t touch the bike again for 3/4 months and decided to get on with other things before I broke something else.
Skip forward to the beginning of this year (2016) and enough time has past for me to calm down and with a bit more time and money in hand, felt it was time to try and get the RF900 back on the right track to being a streetfighter and not just an ornament that my friends ask me when I’m going to finish.
After searching eBay and rfownersclub it seemed that a “new” engine would be cheaper than the cost of removing the sheared bolts and buying a new water pump (the water pump alone was £150!!!).
After nearly 6 months of looking for an engine and nothing appearing, it seemed that progress on the RF streetfighter was once again stalled. But my patience paid off and a “like new” water pump appeared on eBay for £40!!! and I decided the “new” engine wasn’t worth wait for and fixing my mistakes was the way forward.
NEW PLAYER HAS ENTER THE GAME … well not quite but I felt that I needed help, both to get the bolts removed from the engine and to fit the new waterpump Also if the engine was going to get some work done, it would be best to get it checked over to make sure nothing else was broken. Also, after 17 years the engines’ paint was looking a mess and it could do with a cleanup and a new lick of paint. I had previous found a company in Southampton called Hampshire Motorcycles when I was looking for upgraded front brake calipers to match the Brembo rear calipers I bought, which they do a conversion kits (will touch on this point in a later post).
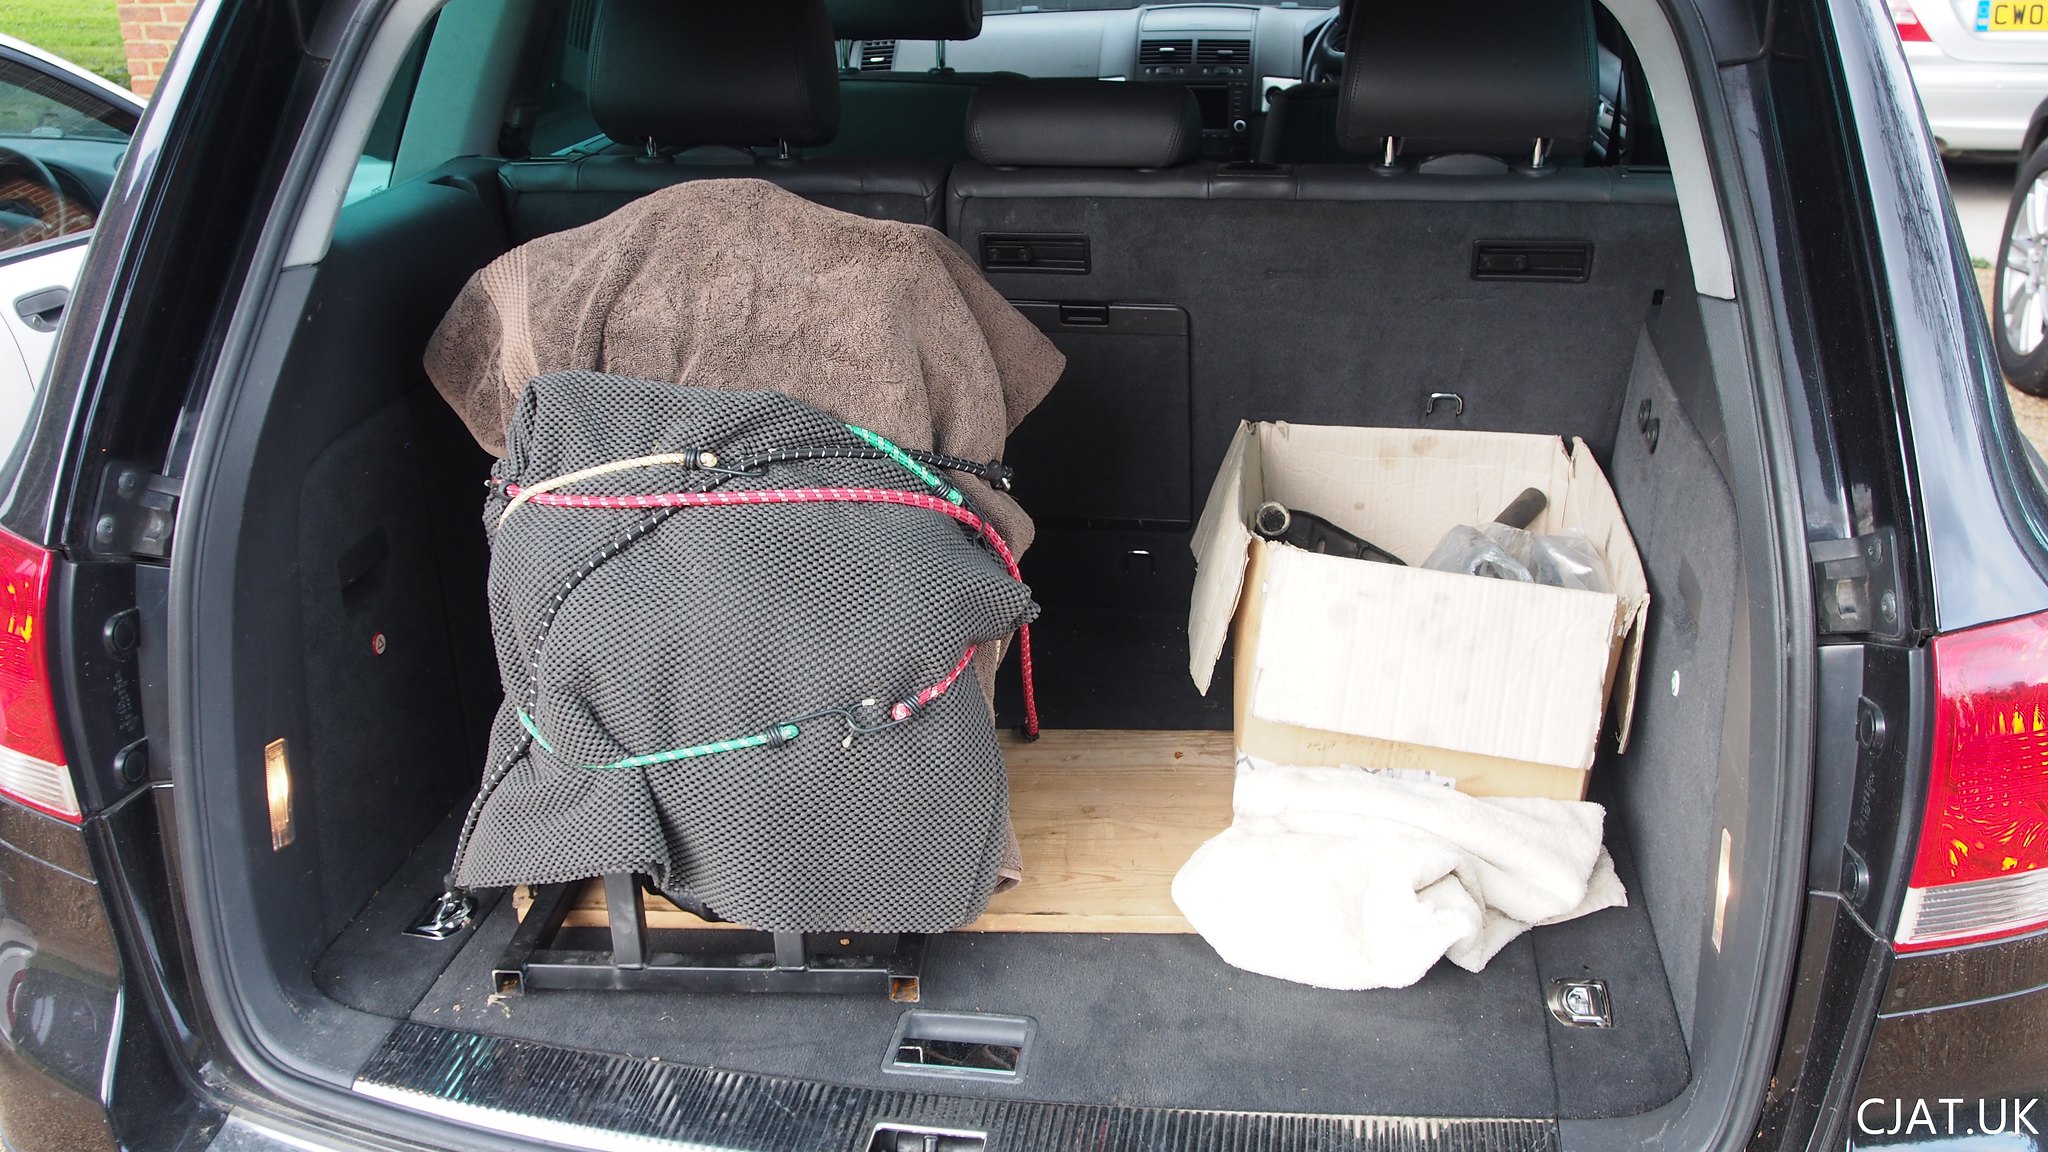
After a great conversation with their mechanic Rob, who is a top bloke, really knowledgeable and understanding about what I was trying to do (recommended for anyone who needs work done in the area), I came up with a job list for them to complete and at the end of July I took the engine and Carbs down to Southampton for work to begin. Rob Explained that if they couldn’t get the sheared bolts out then a new engine would be needed.
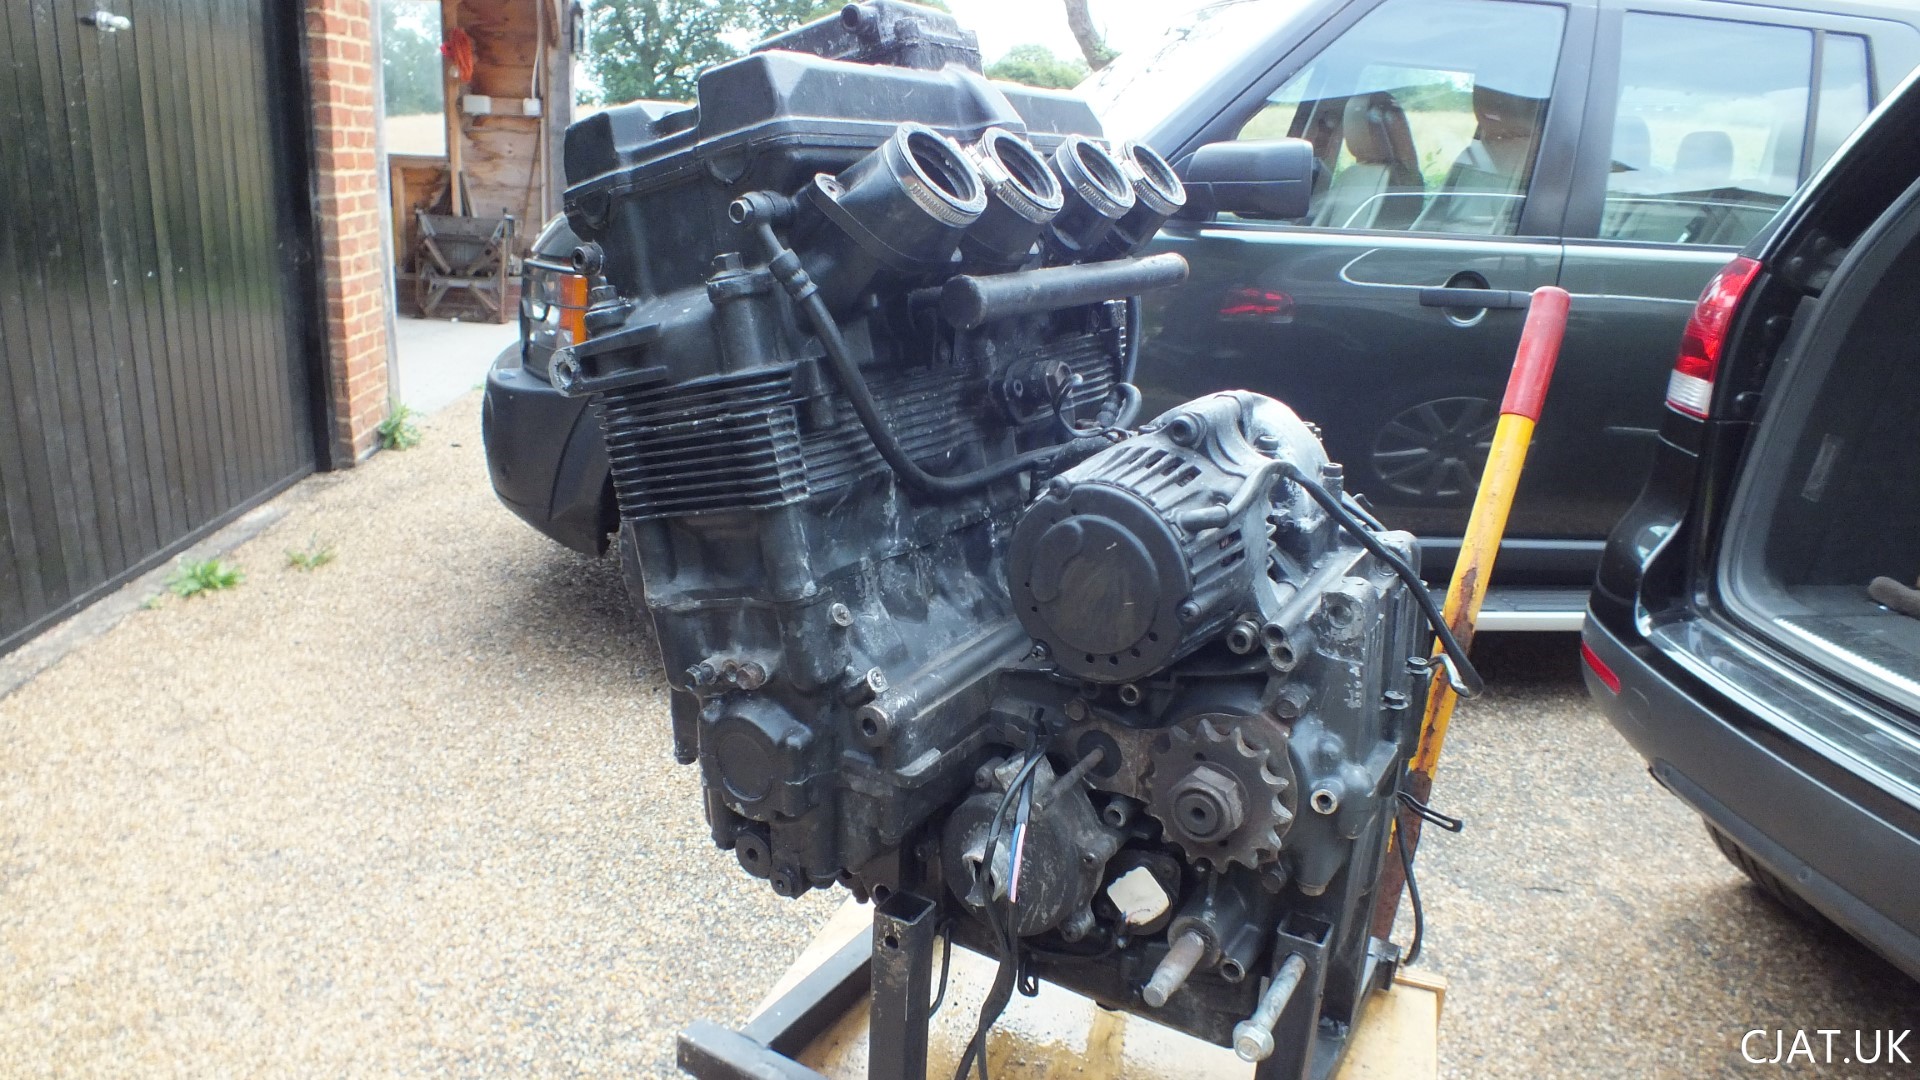
All that was left to do now was wait and hope that the damage I had caused was repairable.




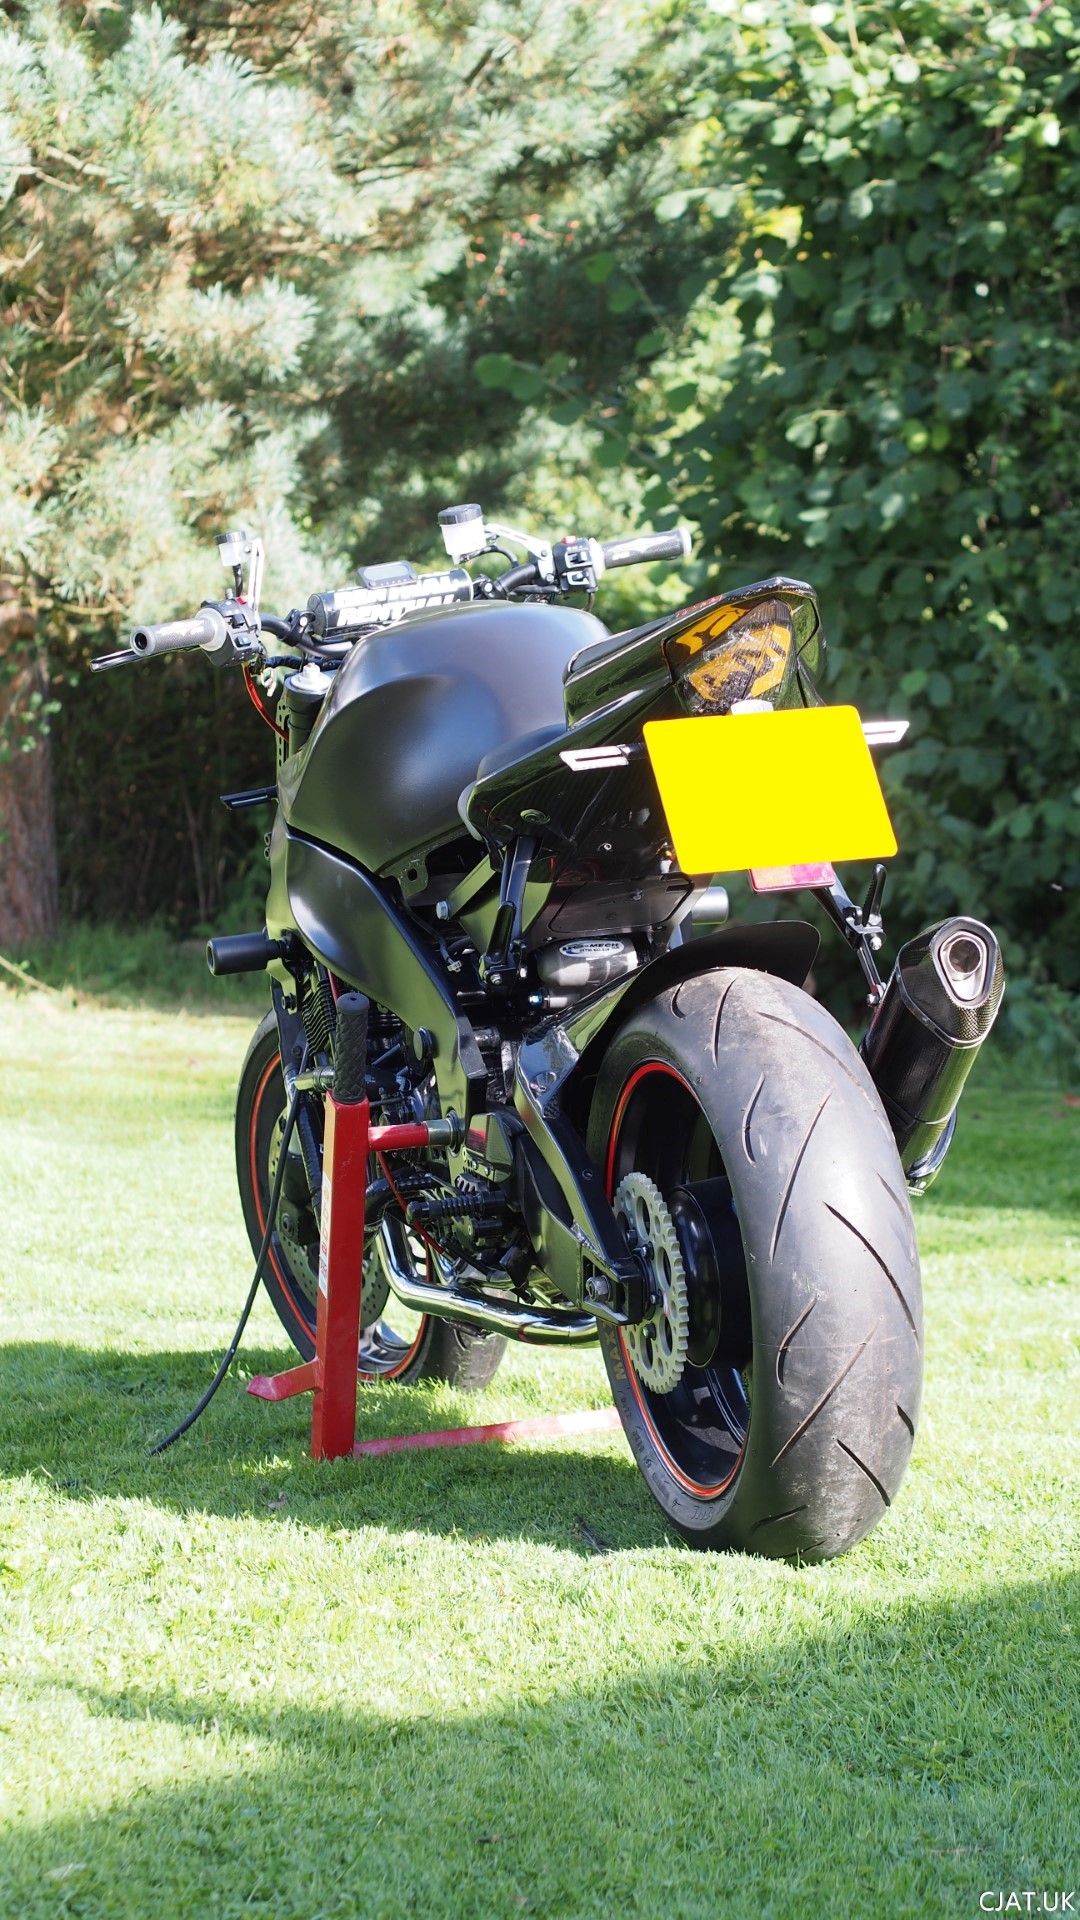
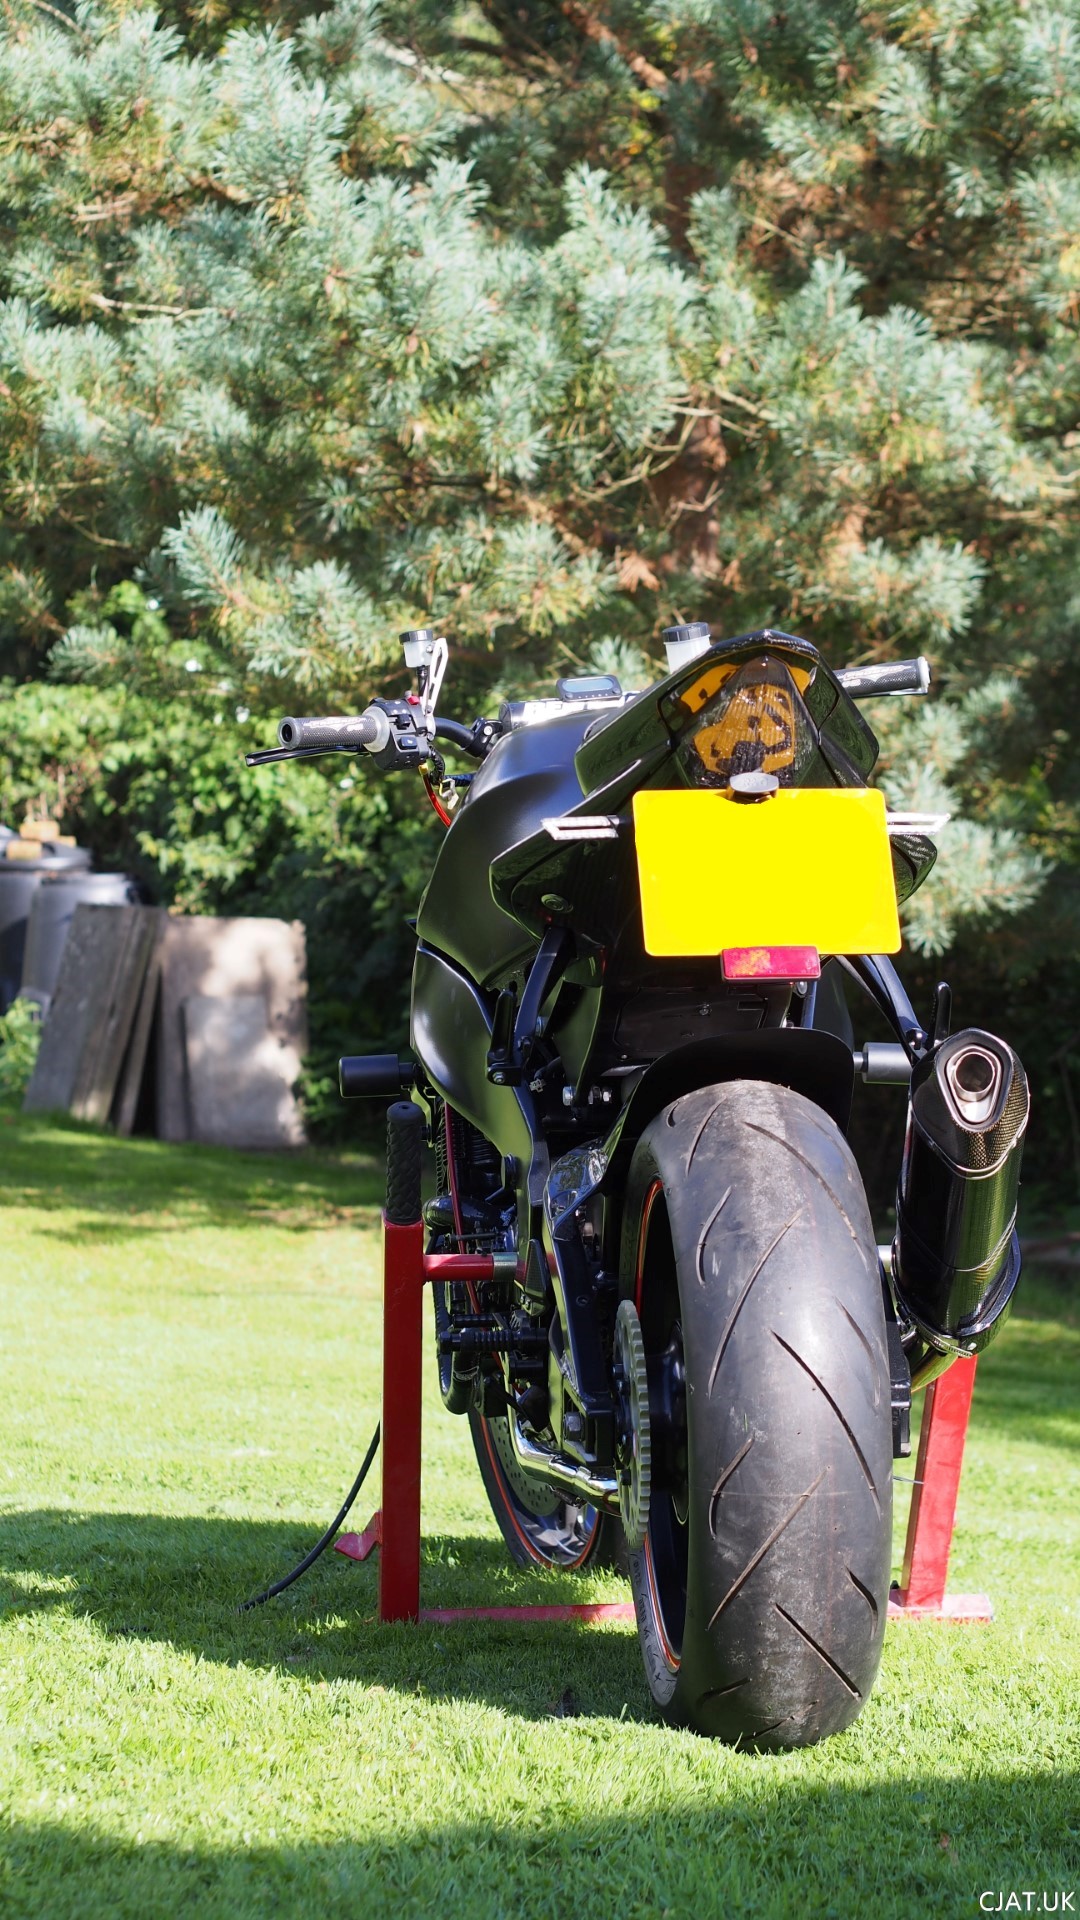

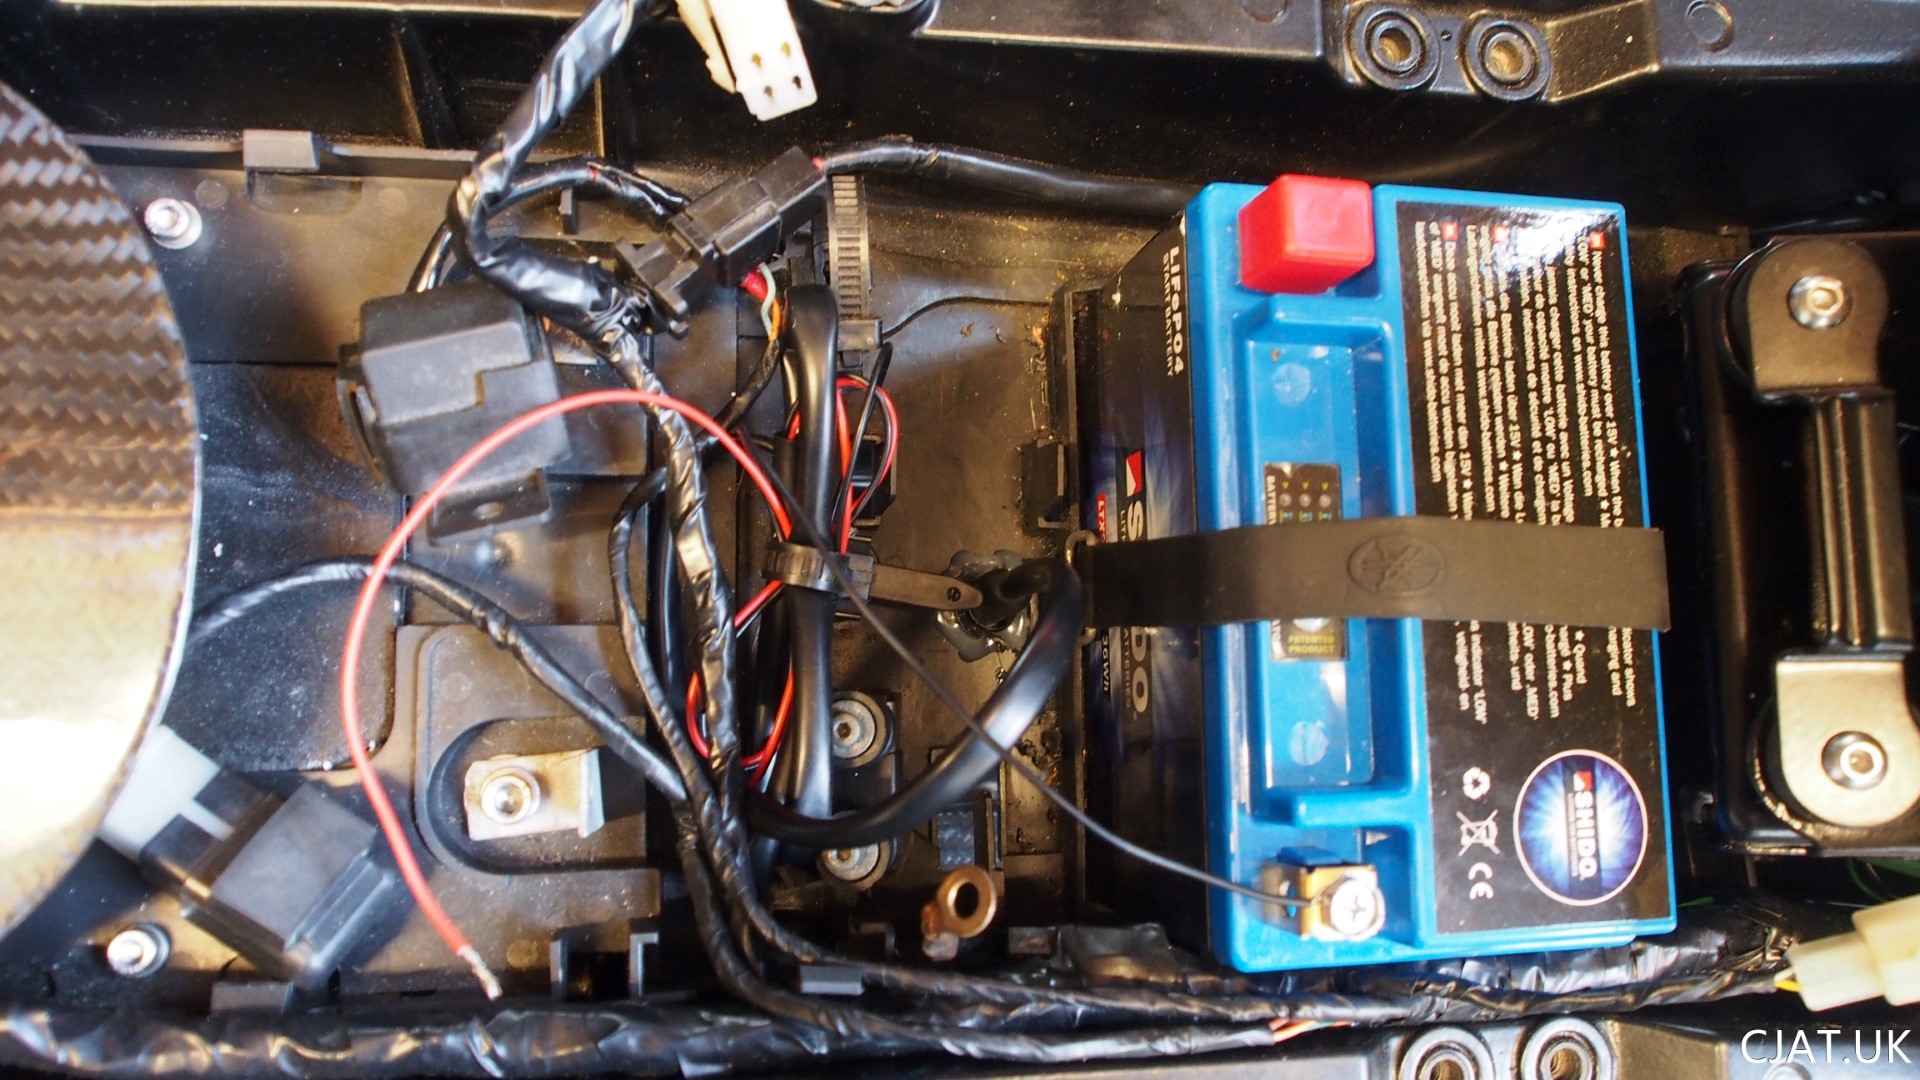
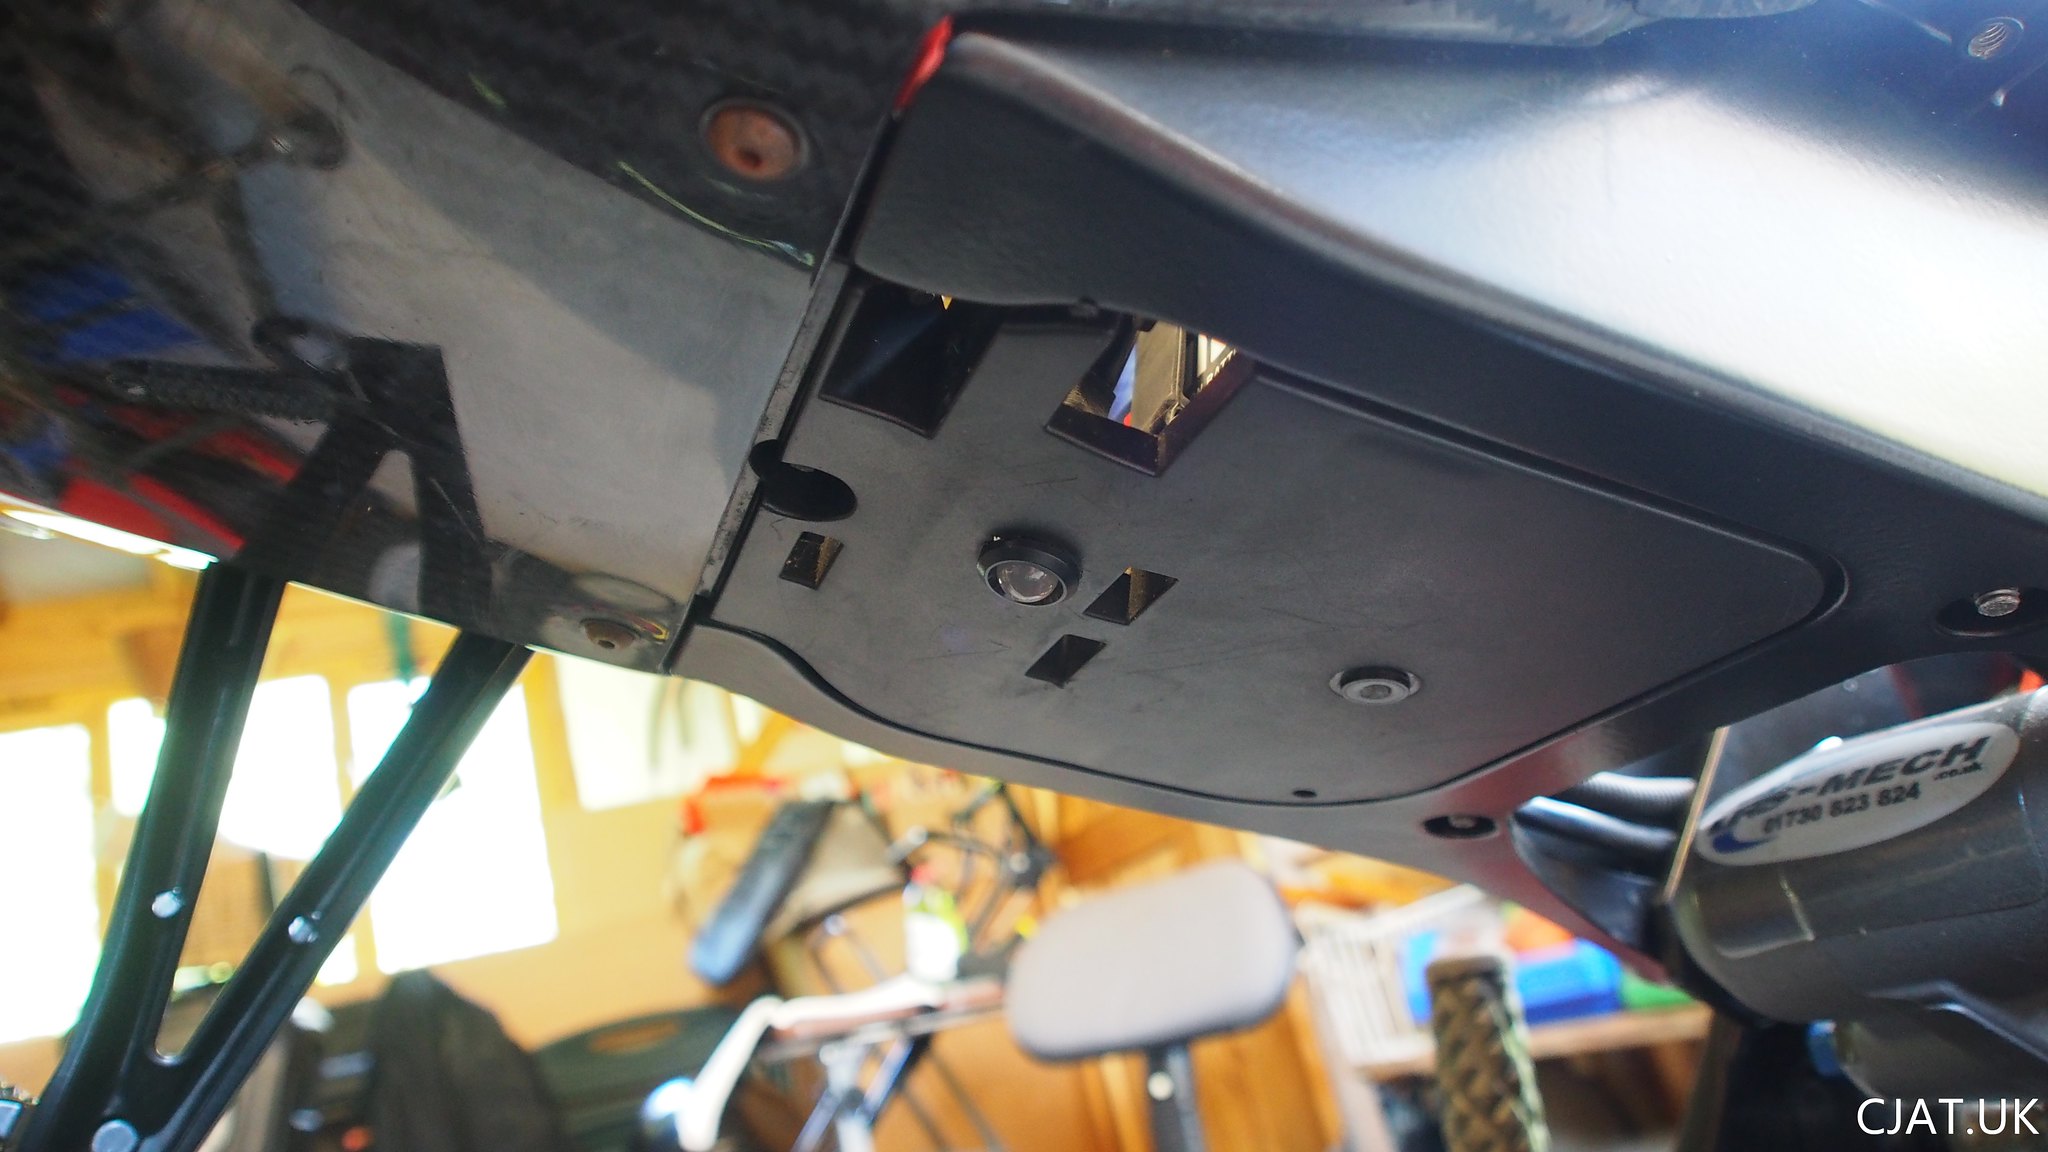
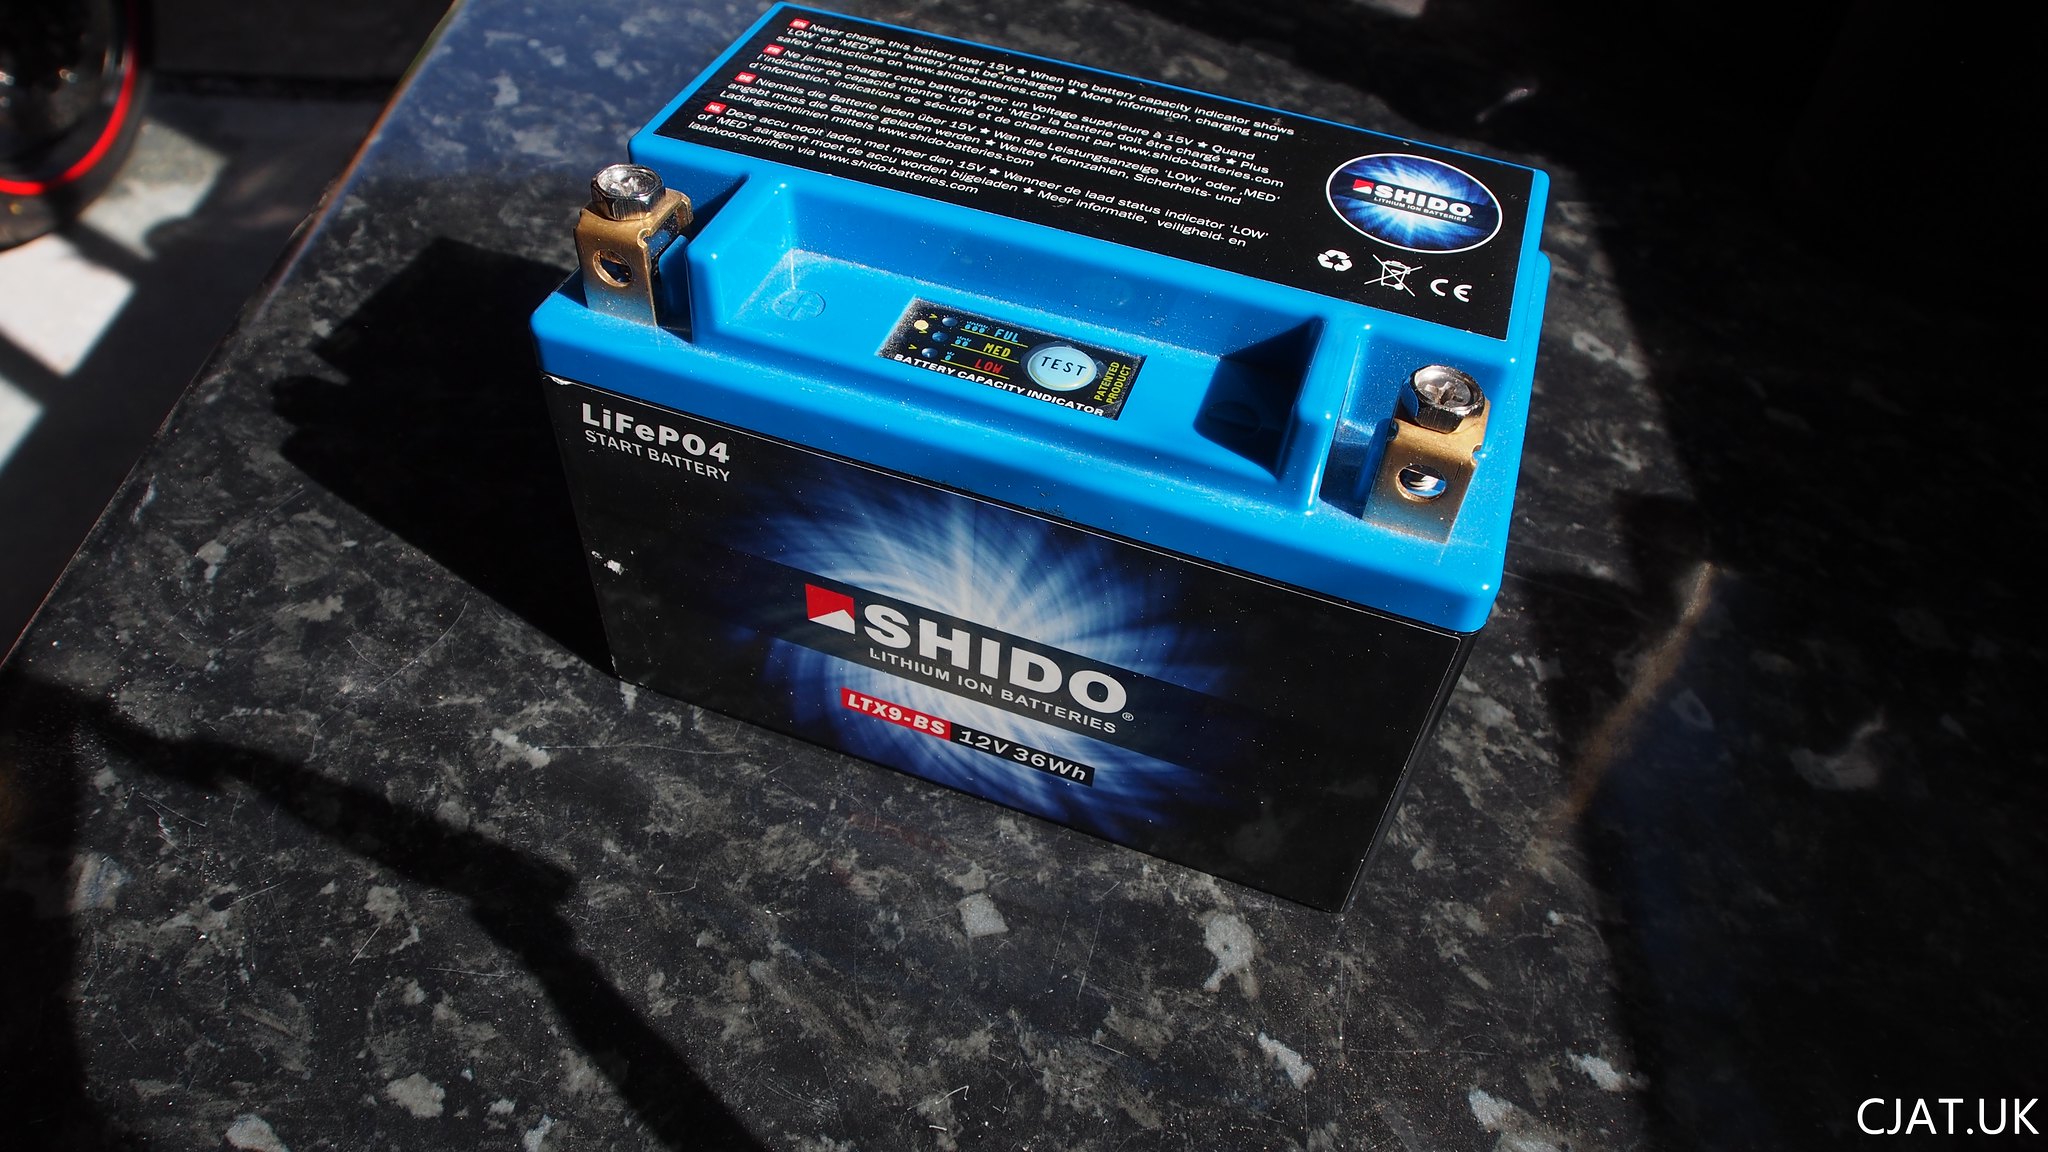 “Shido Lithium Ion 36W Battery” as you can tell by its name, is a lithium ion battery which means it is as light as a feather and apparently puts out much more power to turn the bike over. Also has pretty lights 🙂 I also picked up this little gadget that I have fitted into the underside of the subframe which flashes (looks like an alarm flash) so I can see what charge is on the bike (red.. yellow.. green..).
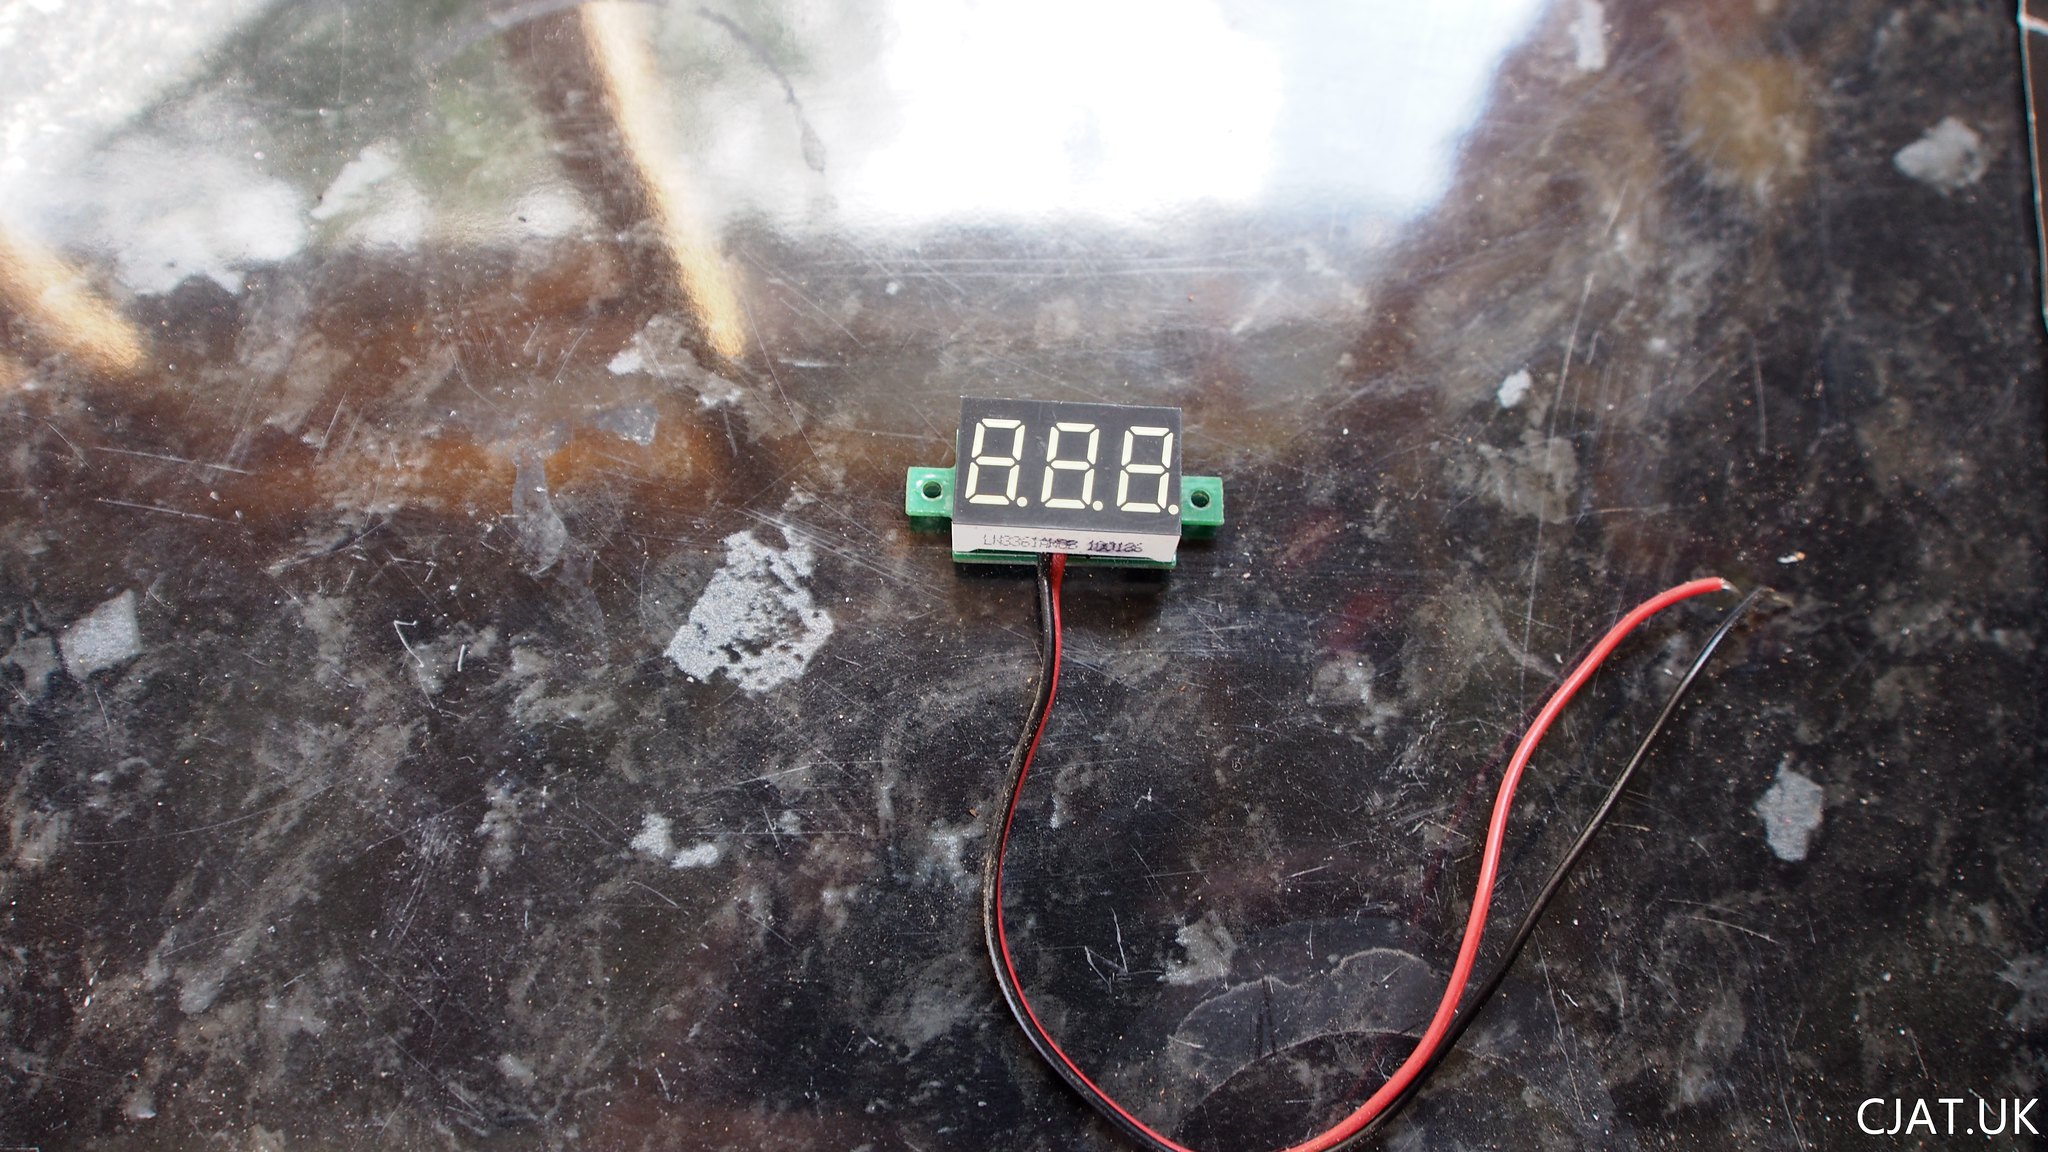
 If I’m still not sure, this £3 dial shows the real voltage of the battery. As I couldn’t find a place I was happy to mount it on the front dash (I will come to the details on the changes to the front dash later in this post) I decided to mount it next to the fuse box (logical)(no pictures of it mounted yet).
 Again, some of you may have noticed I relocated the fuse box to under the new passenger seat of the R9 subframe as I can quickly access this with a key (whereas the main seat needs an alan key).
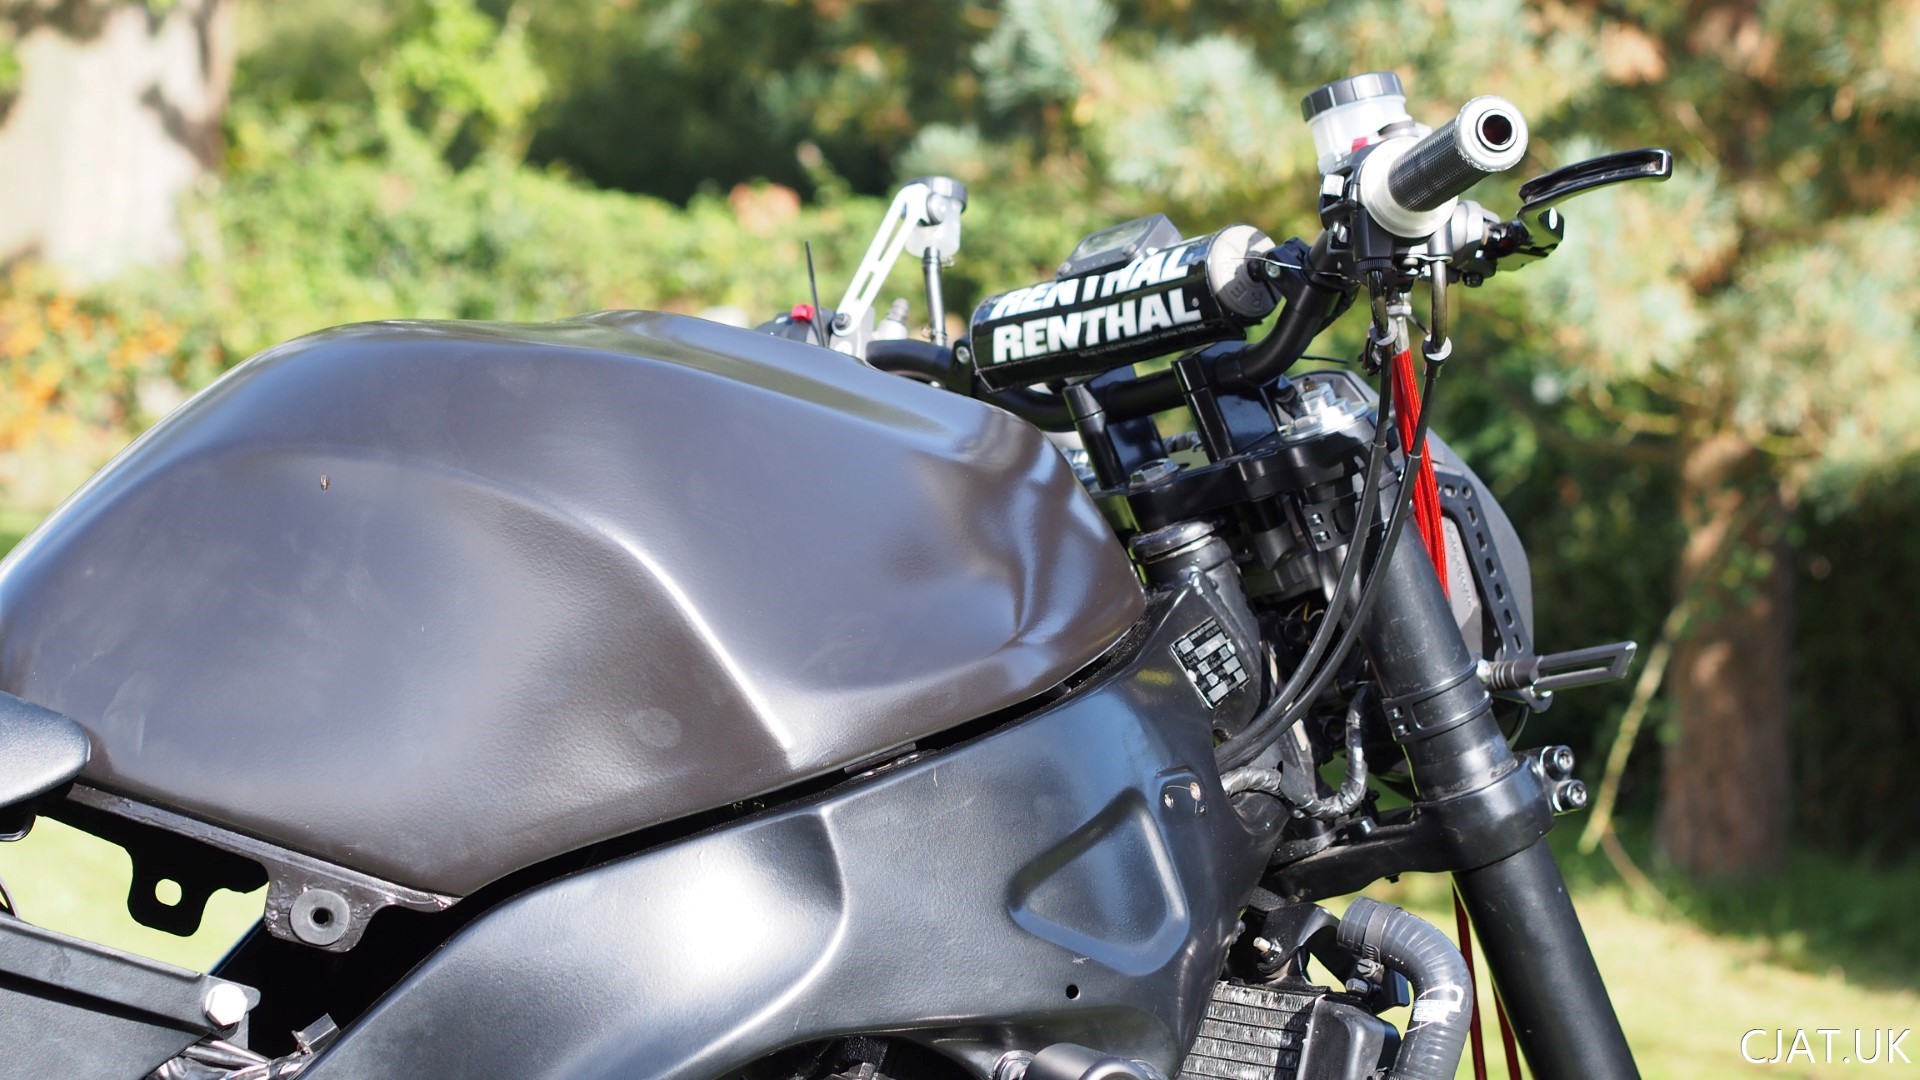
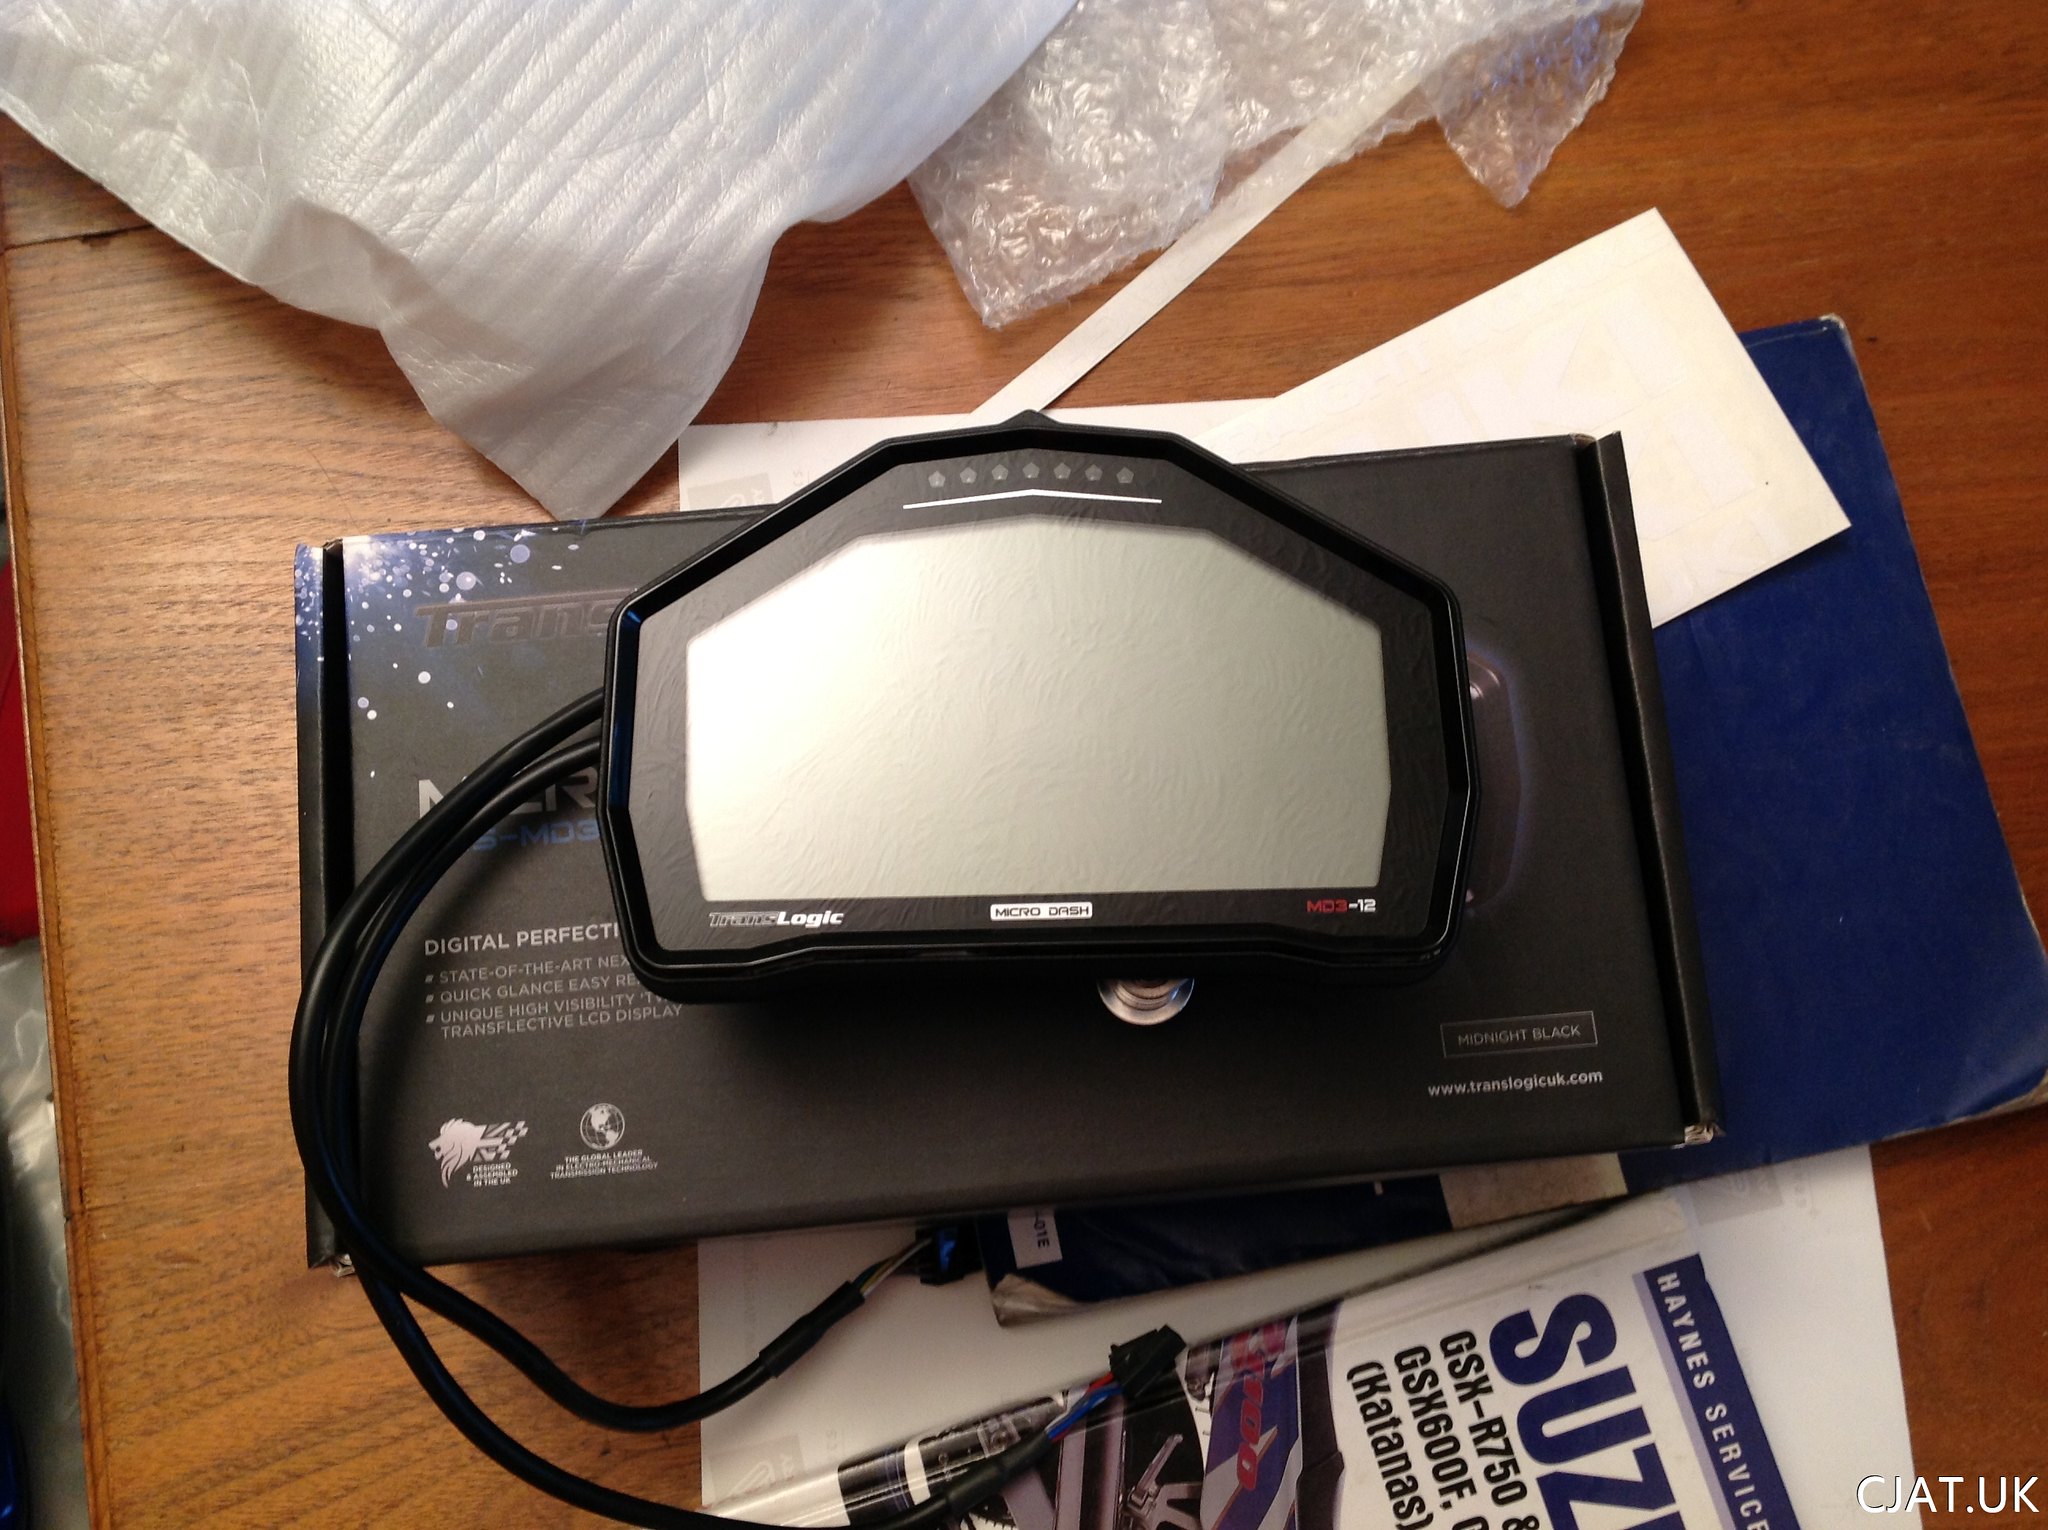 Yes this is an amazing speedo and would be great on any bike but in my opinion it does not look right on a street fighter. It’s too big for a bike that is meant to be about minimalizing and looking aggressive.
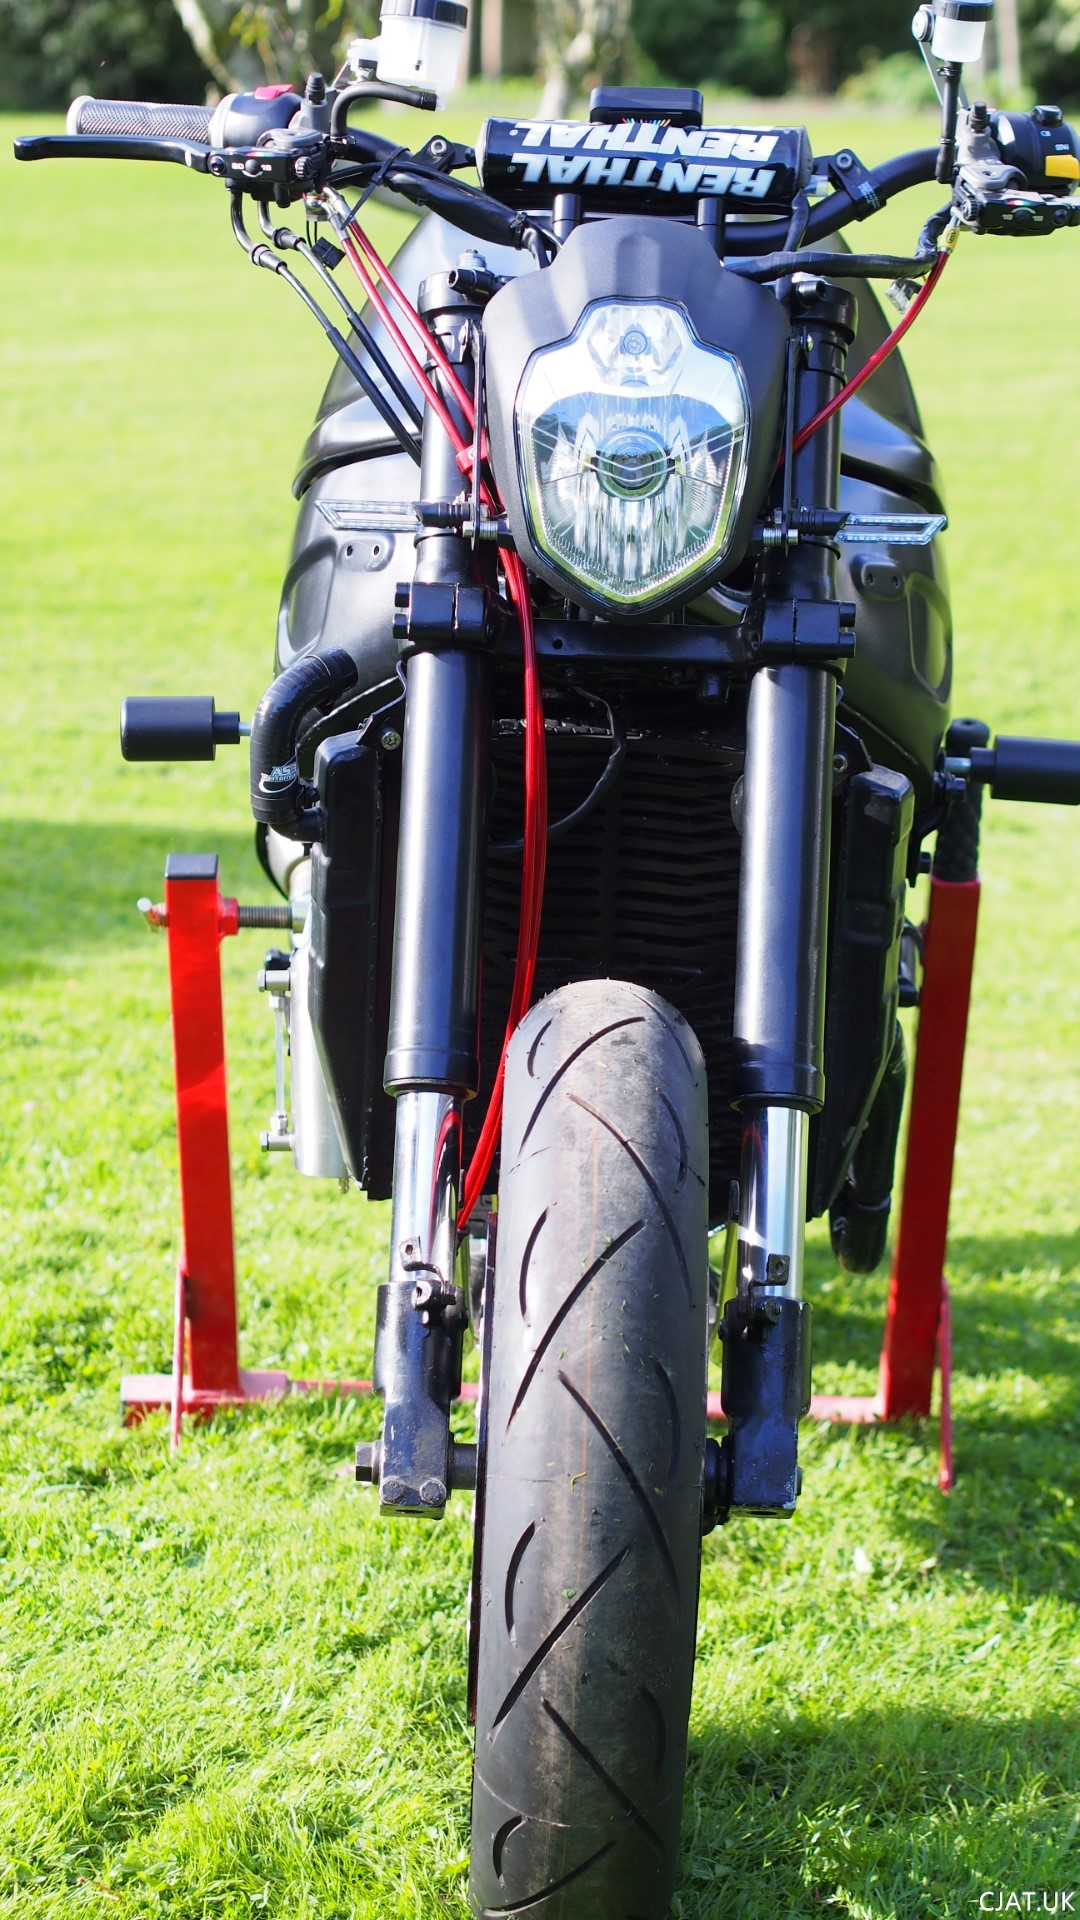
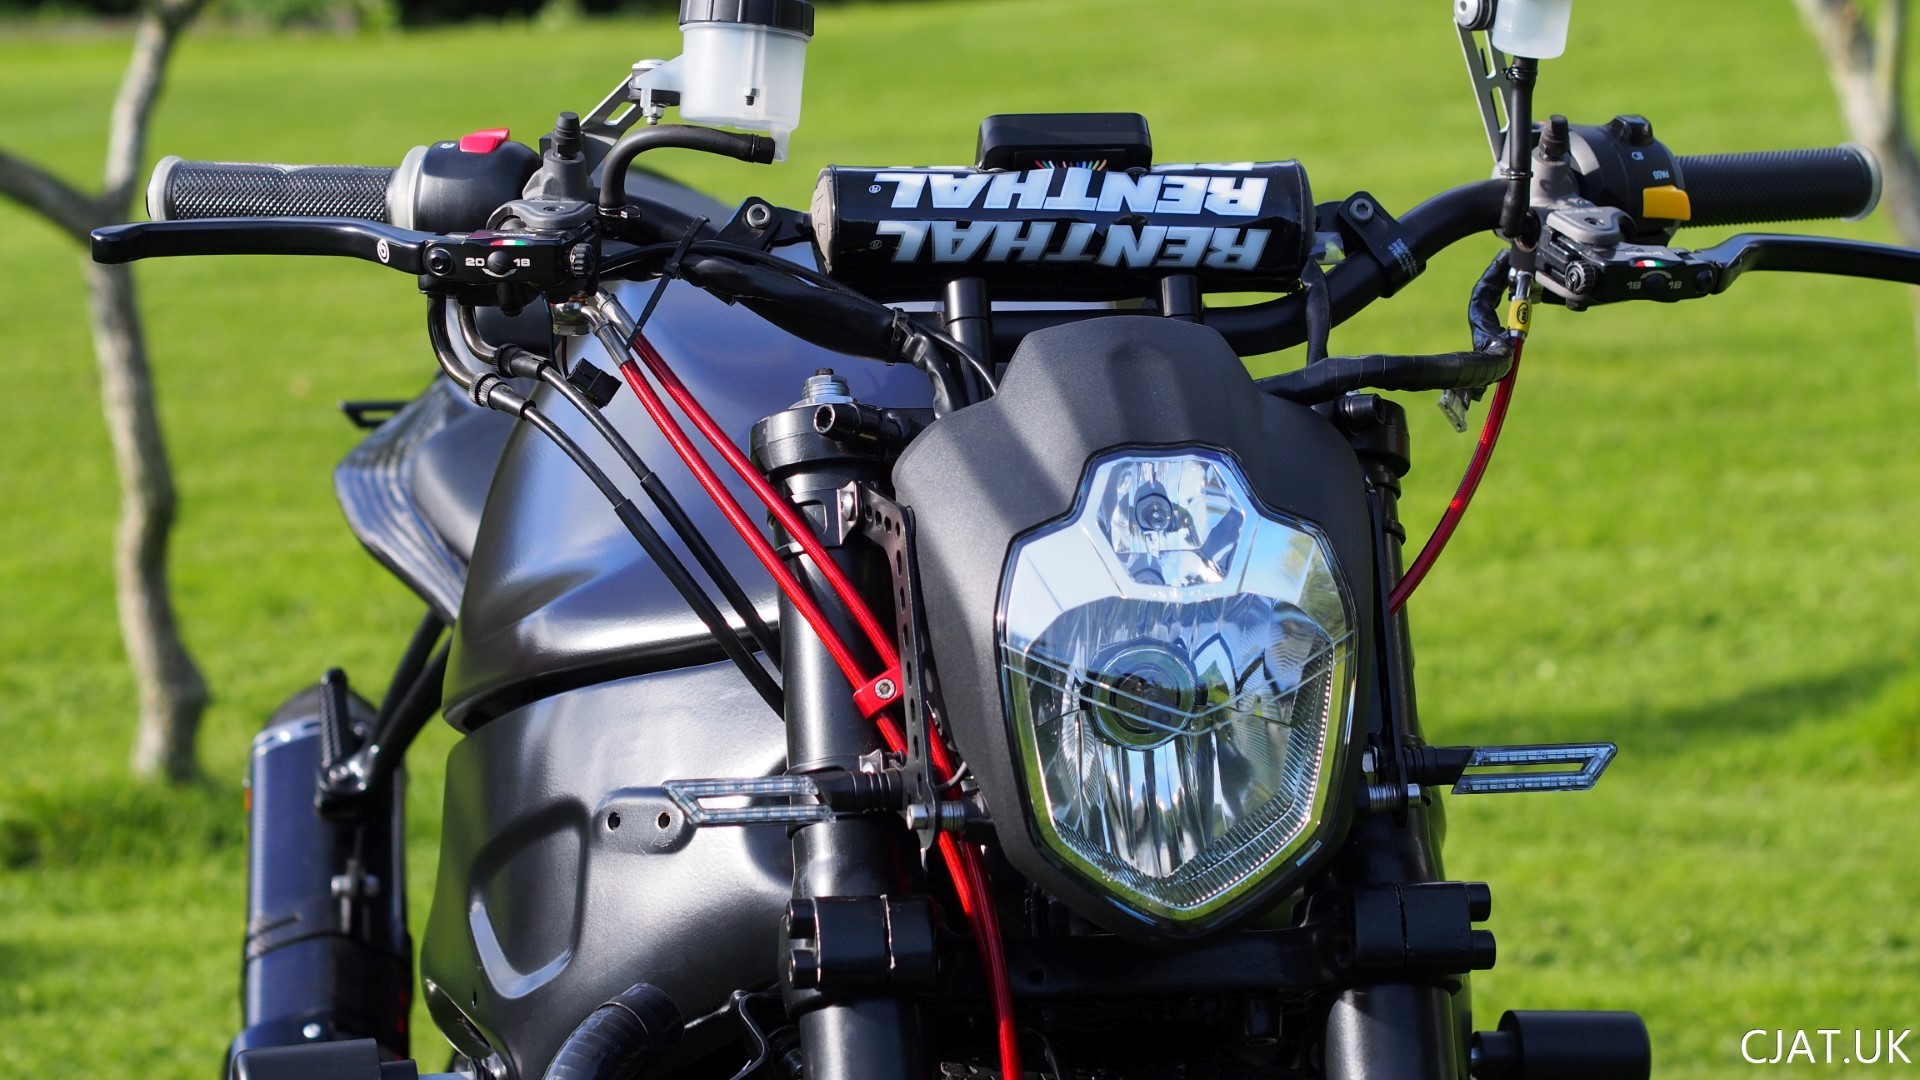
So the speedo I went for was a Dan Moto - Nano Dash.
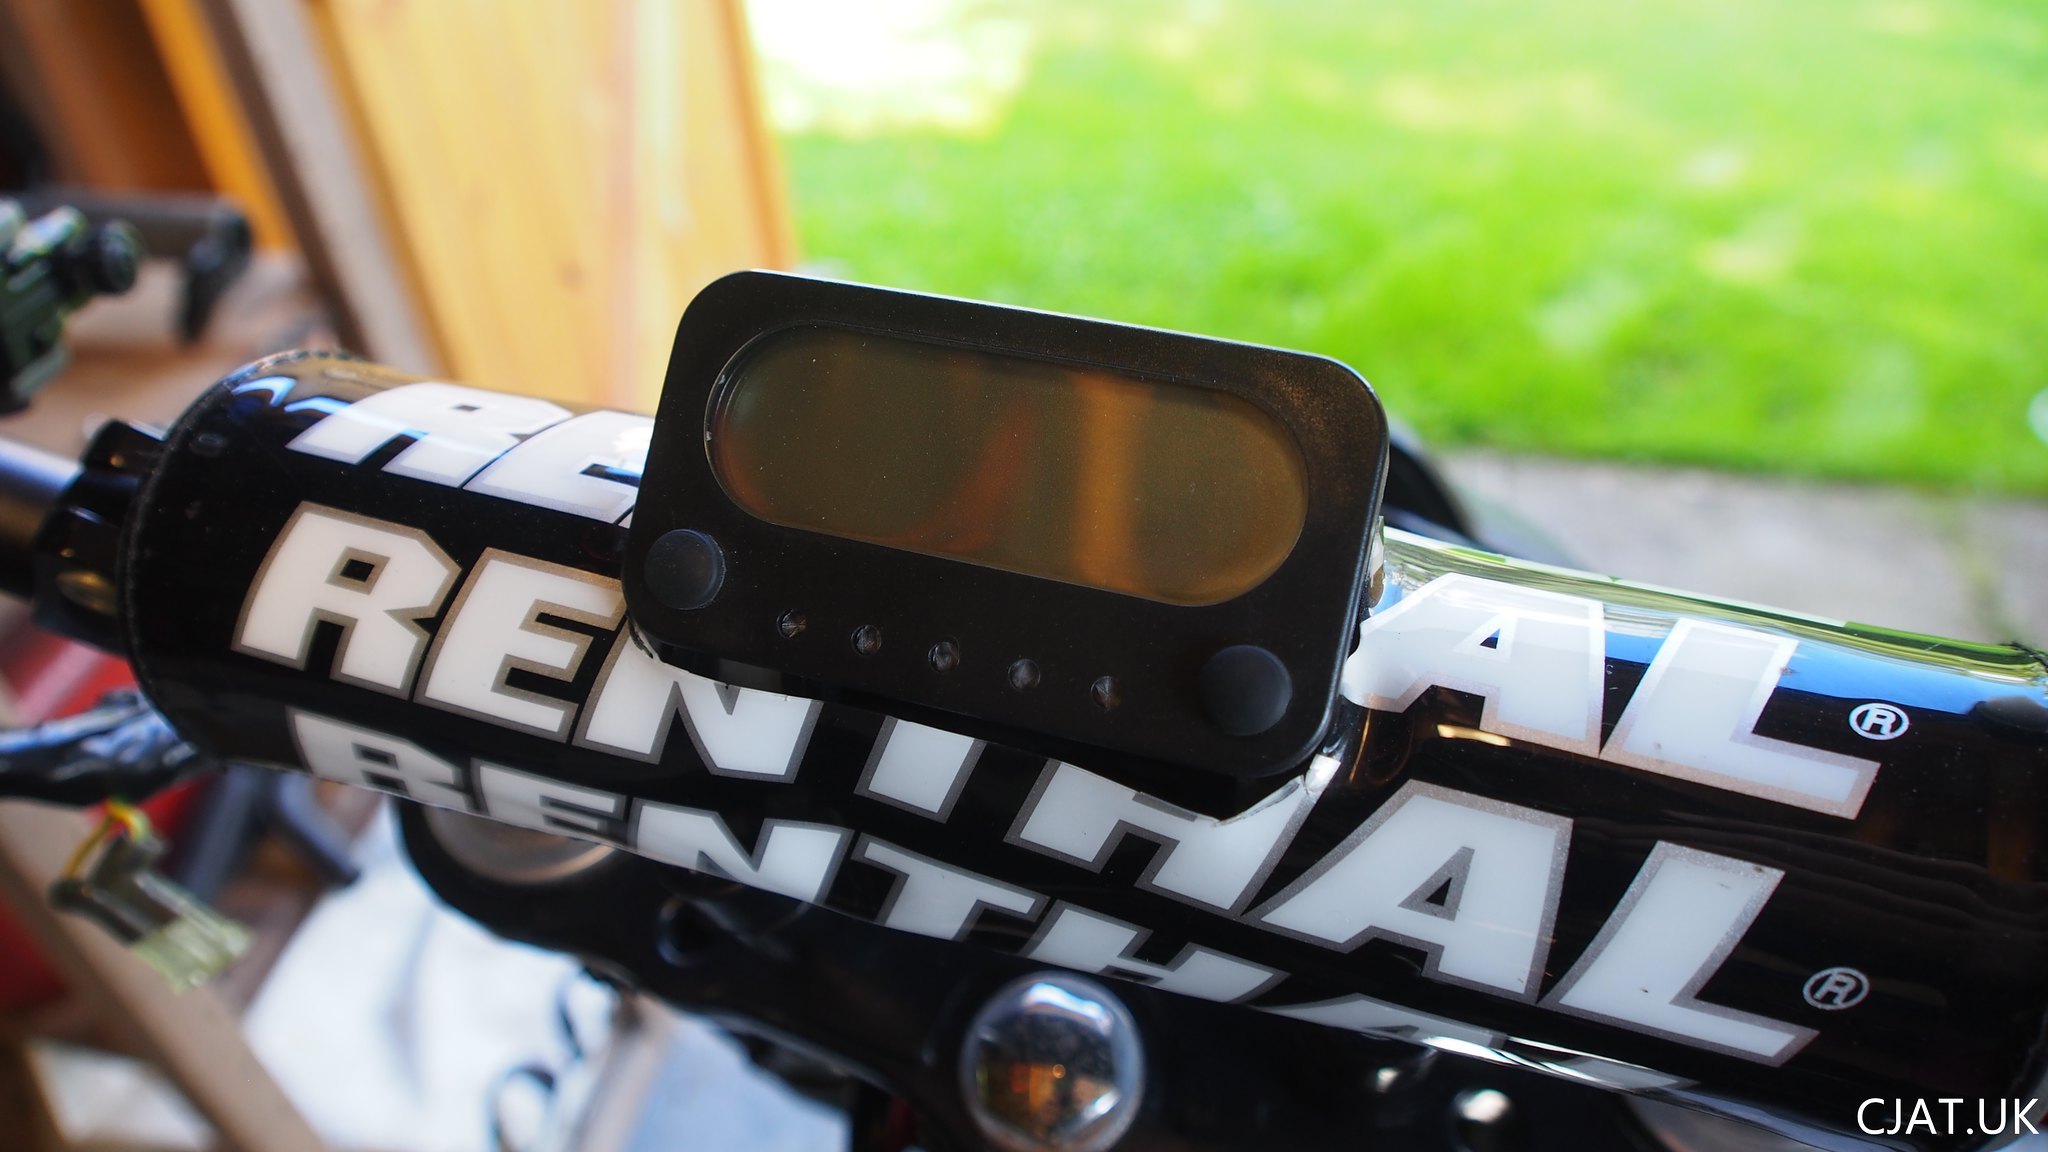
 Not sure how it will work out as haven’t used the bike yet but it fits nicely in the brace on the handle bars and works well with the look. Still need to add the speed sensor and calibrate it but will do that later when I tackle the front brakes.
Hand controls
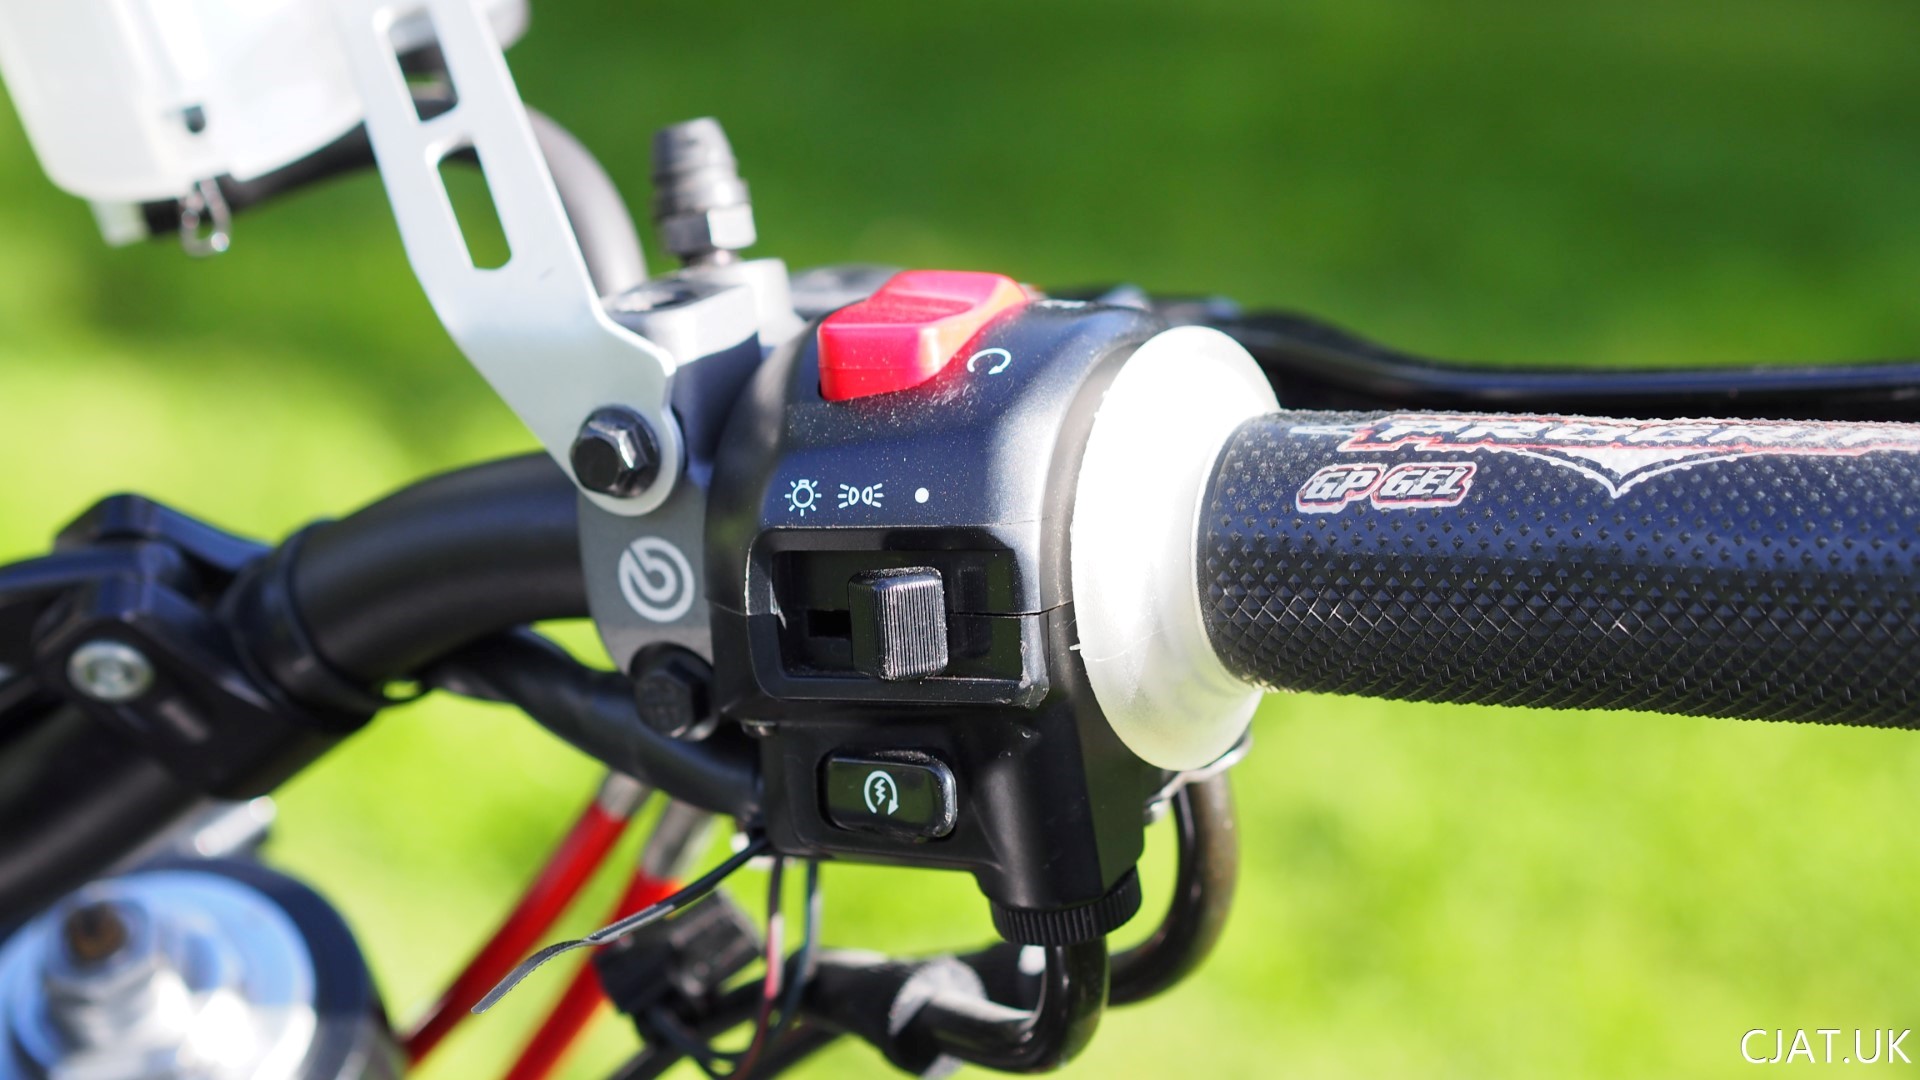
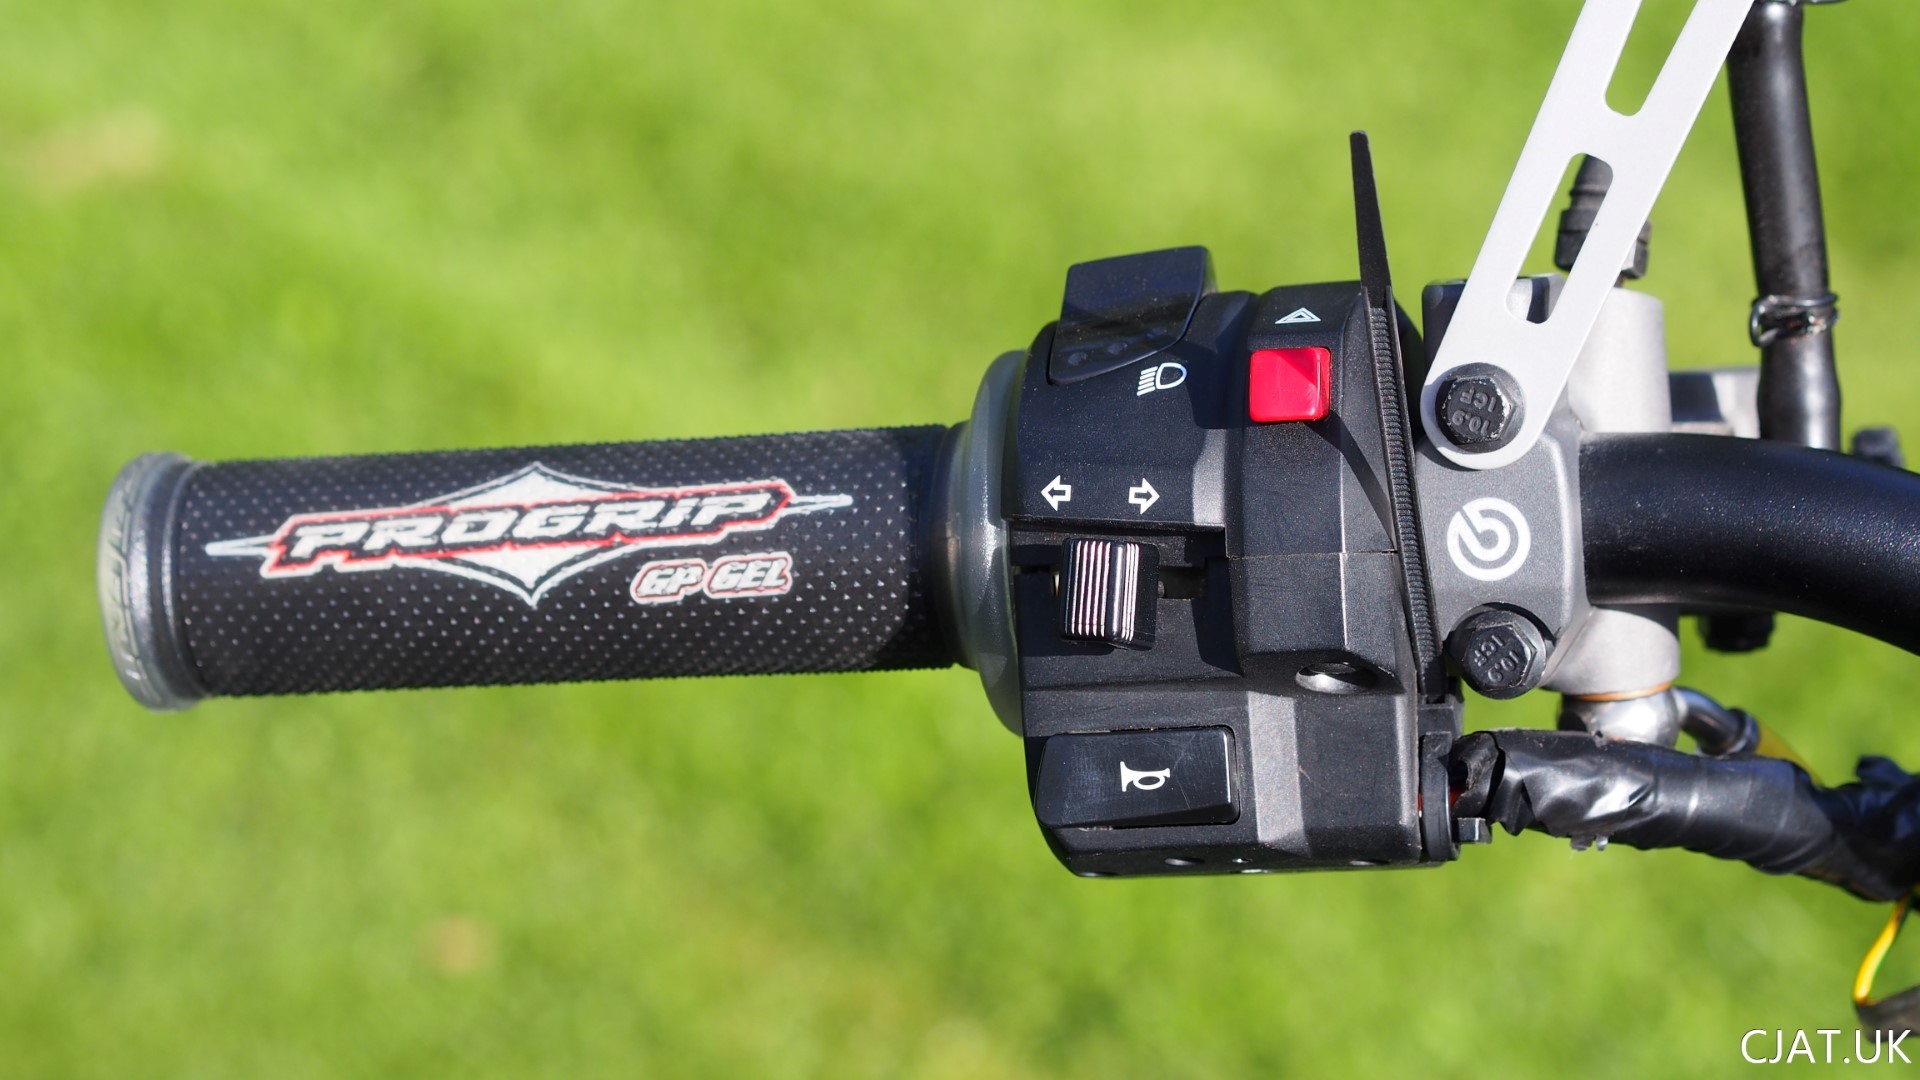
The RF900 hand controls looked…in a single word…tired. However, the design was an even bigger issue - very much of a certain era, with those sharp angles and button shape. I felt like it need an update to complement the speedo and Brembo RCS Cylinders next to them.
The left hand controls are from a 06 Bandit 1200 . As always, bought from eBay. Much better looking and was fairly easy to match up the correct wires. Also has a hazard button which could come in handy 🙂
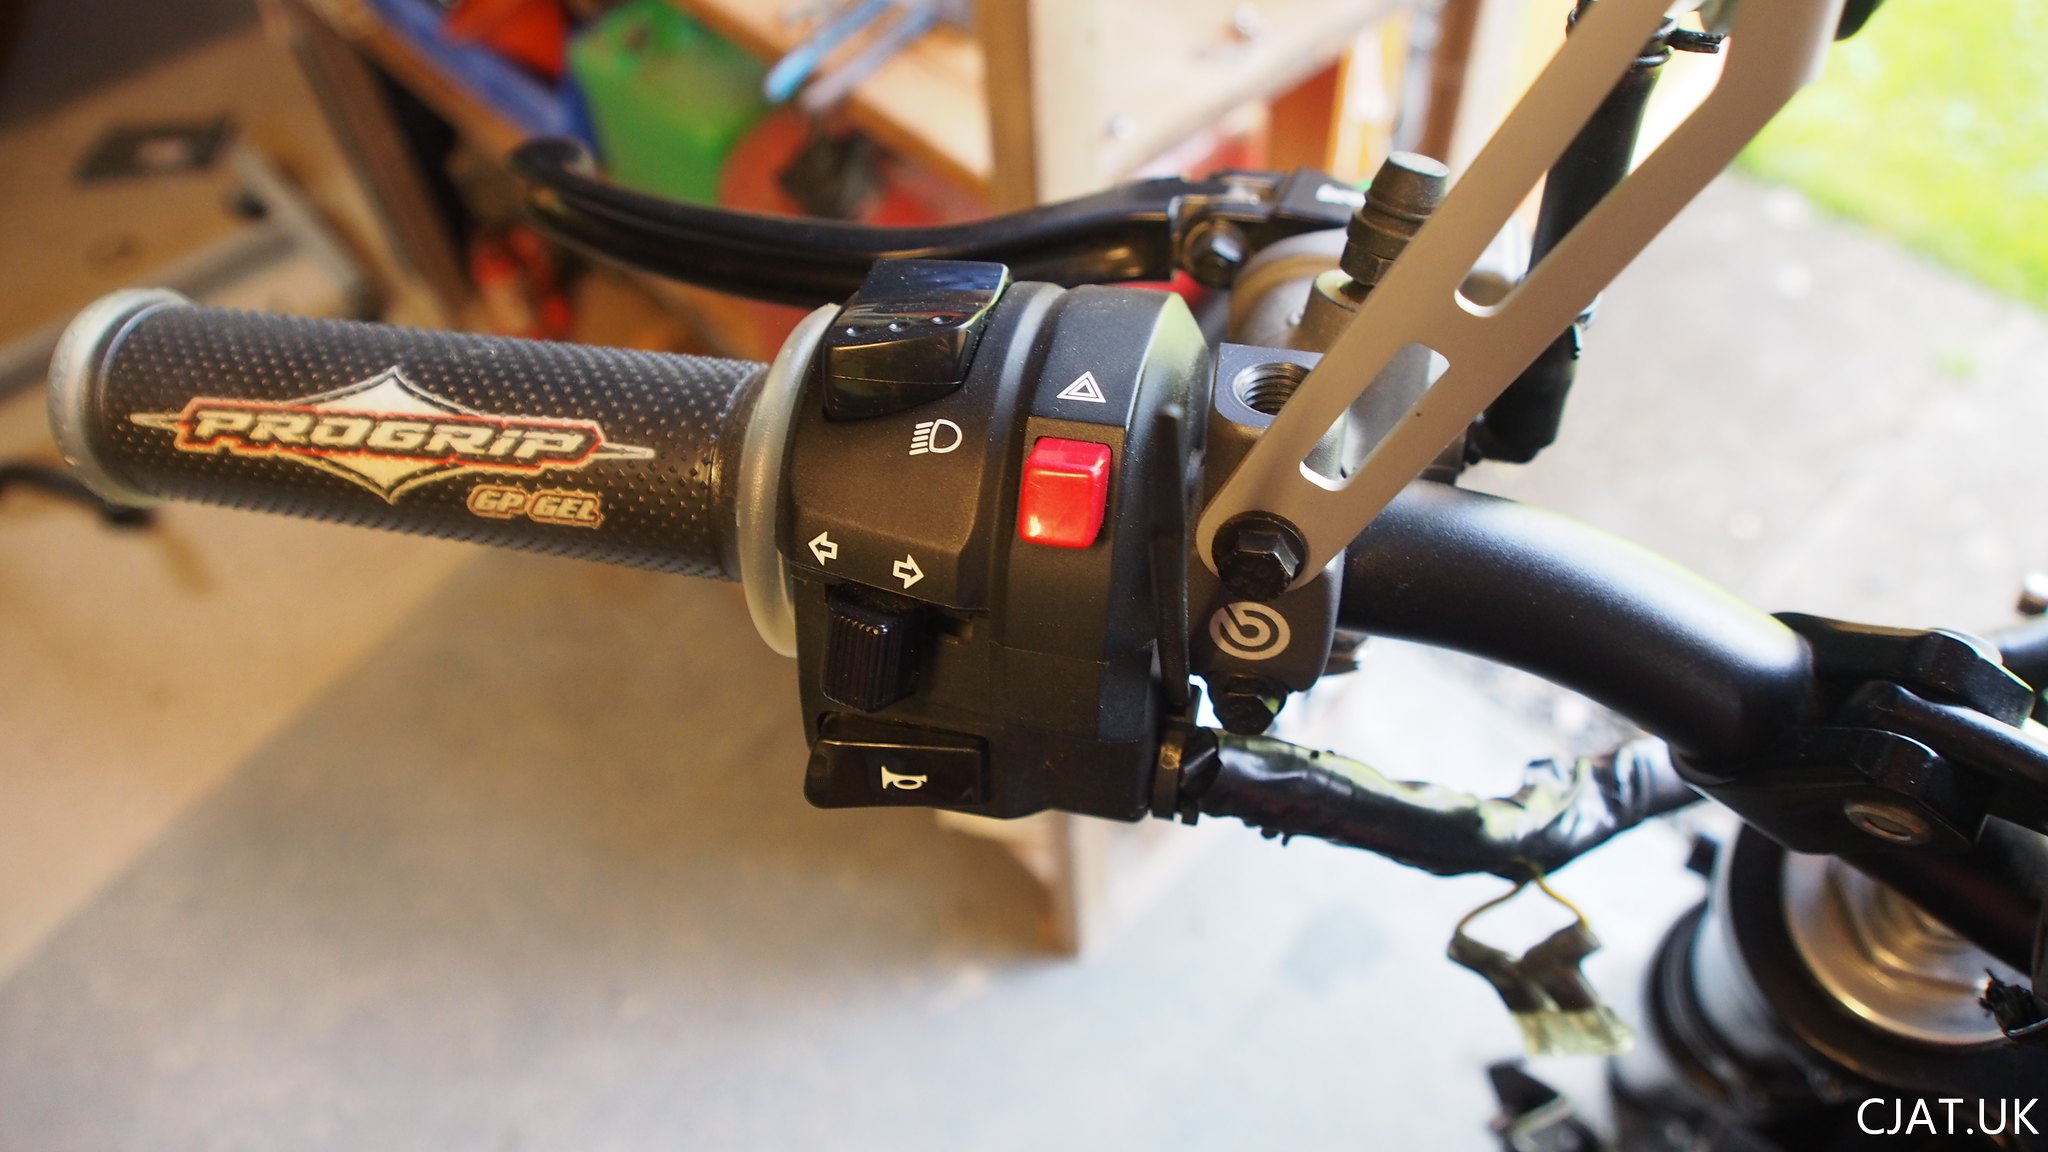 The right hand controls are from a 02 Hayabusa . Originally I bought the right hand controls from another Suzuki (can’t remember which model) as there was no throttle casing on the controls. This was because I was planning to add a quick throttle.
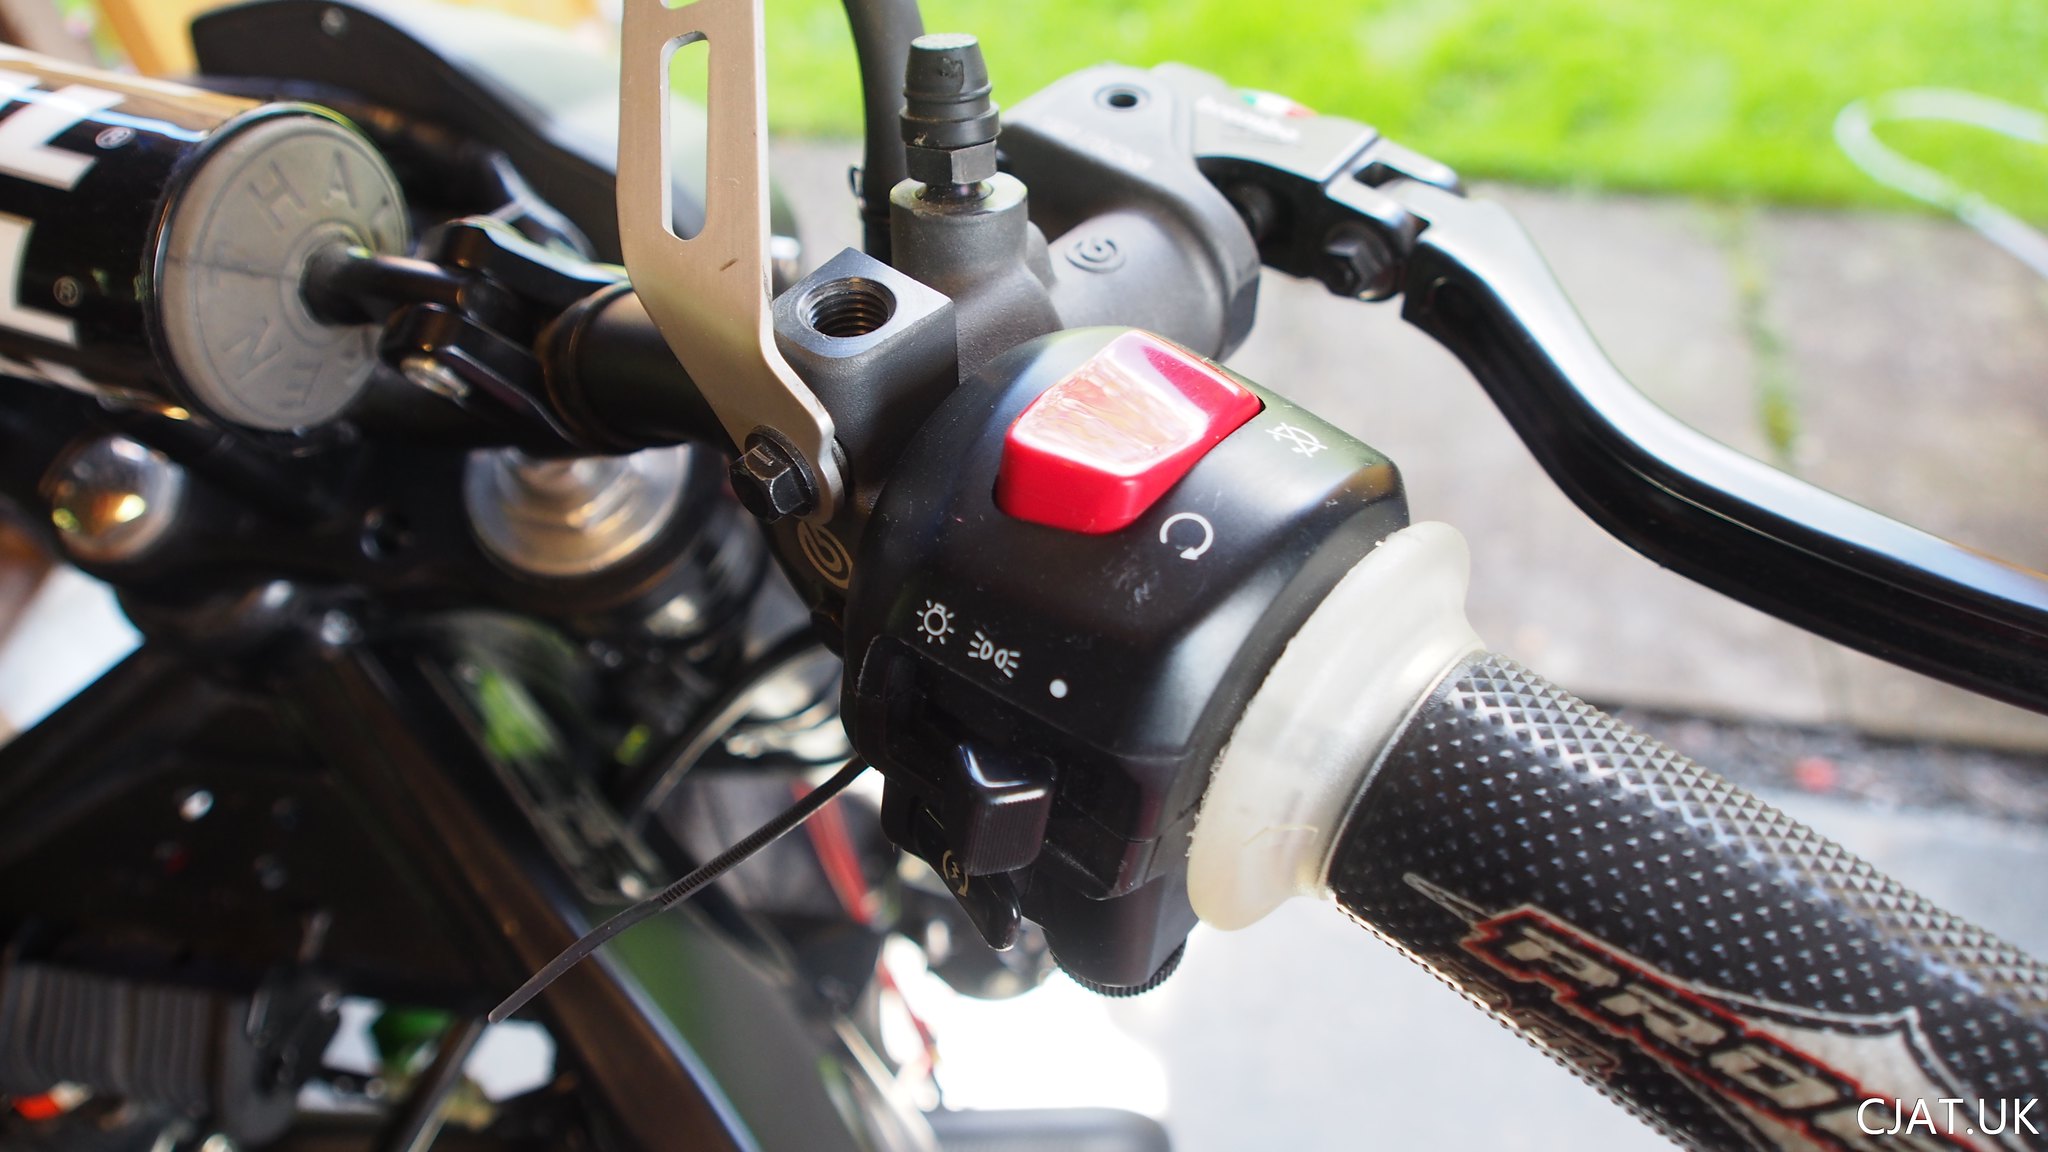 I can still do this in the future but for the moment I am using the standard throttle and cabling which will probably suit my riding better.
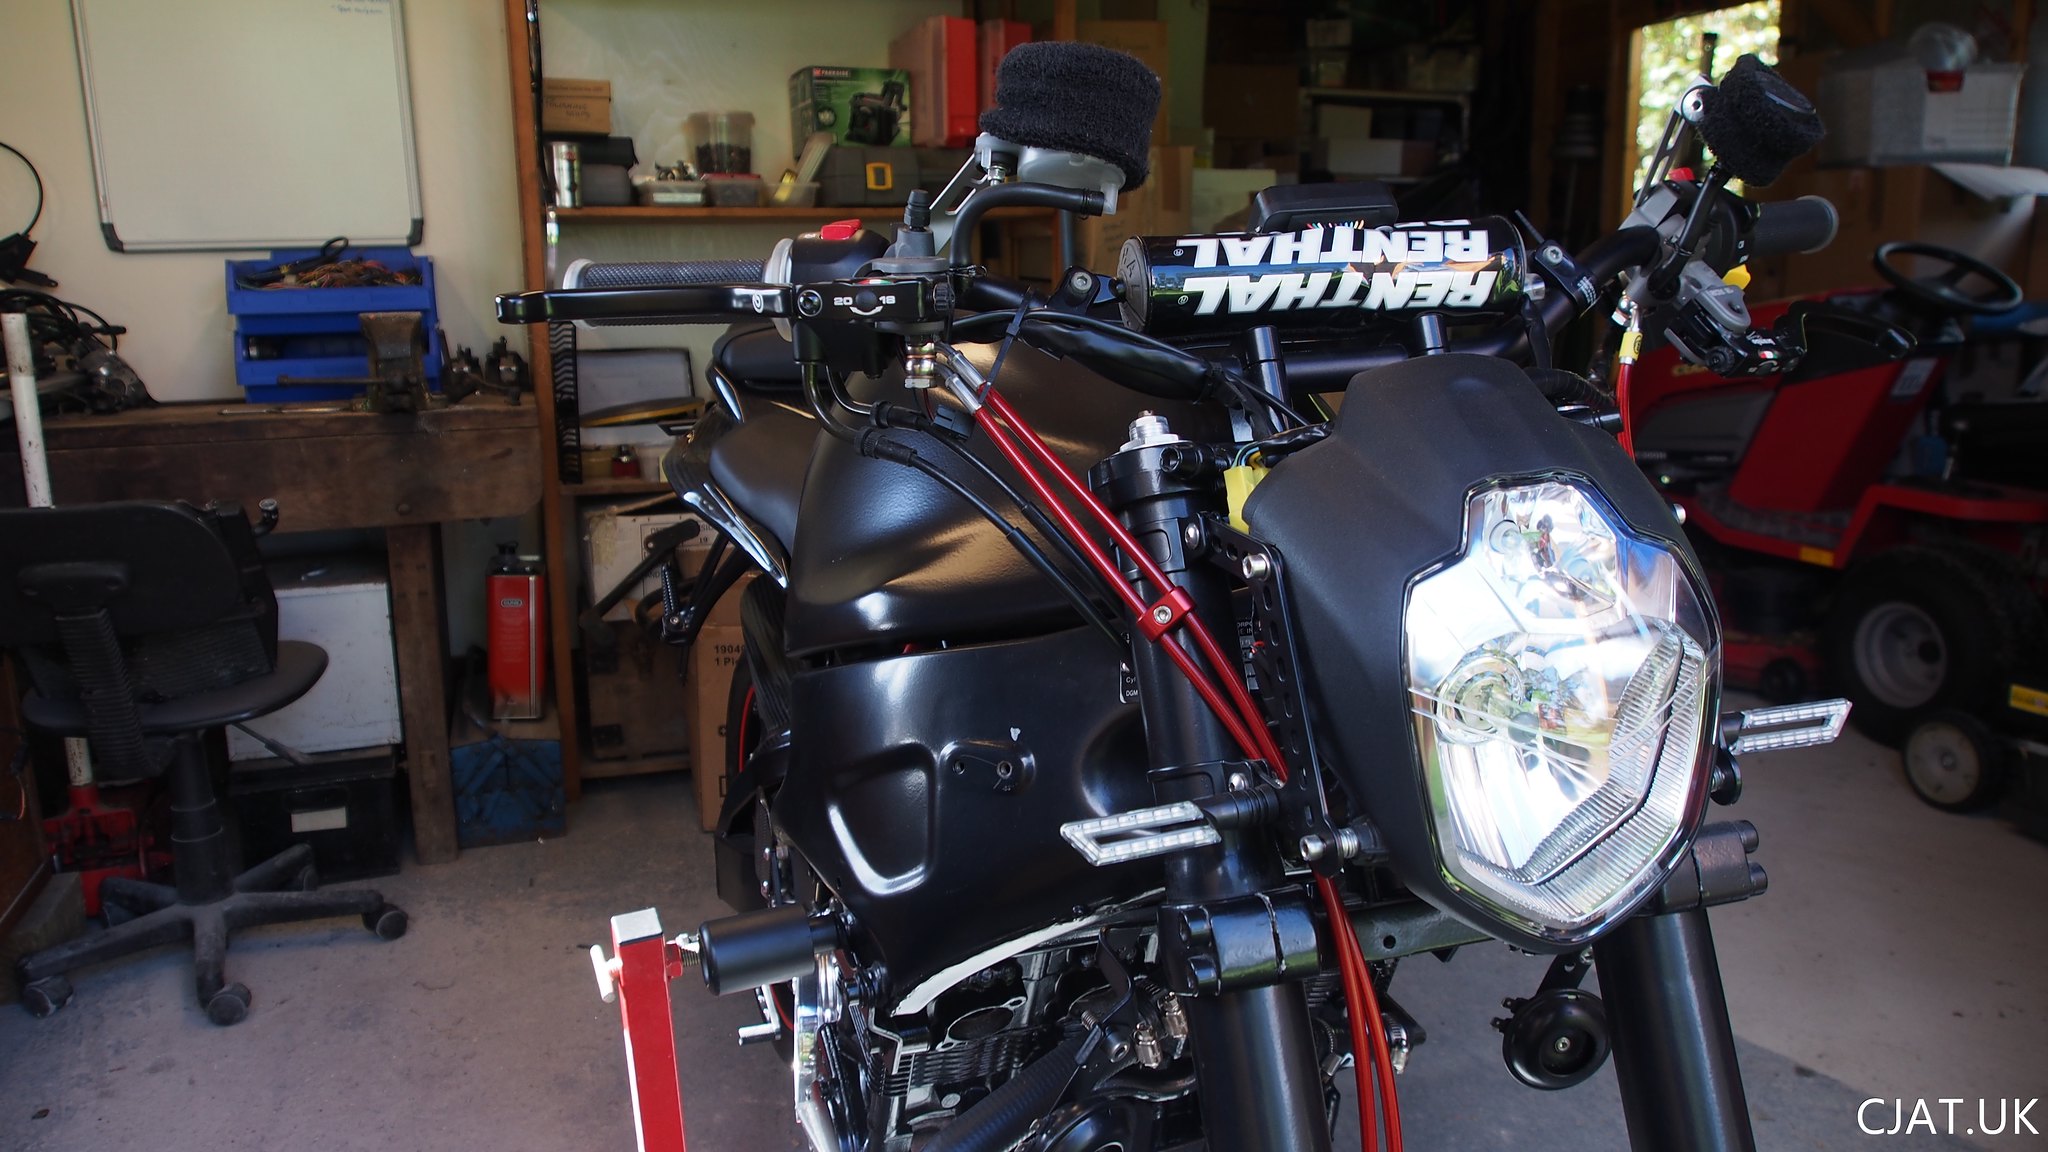
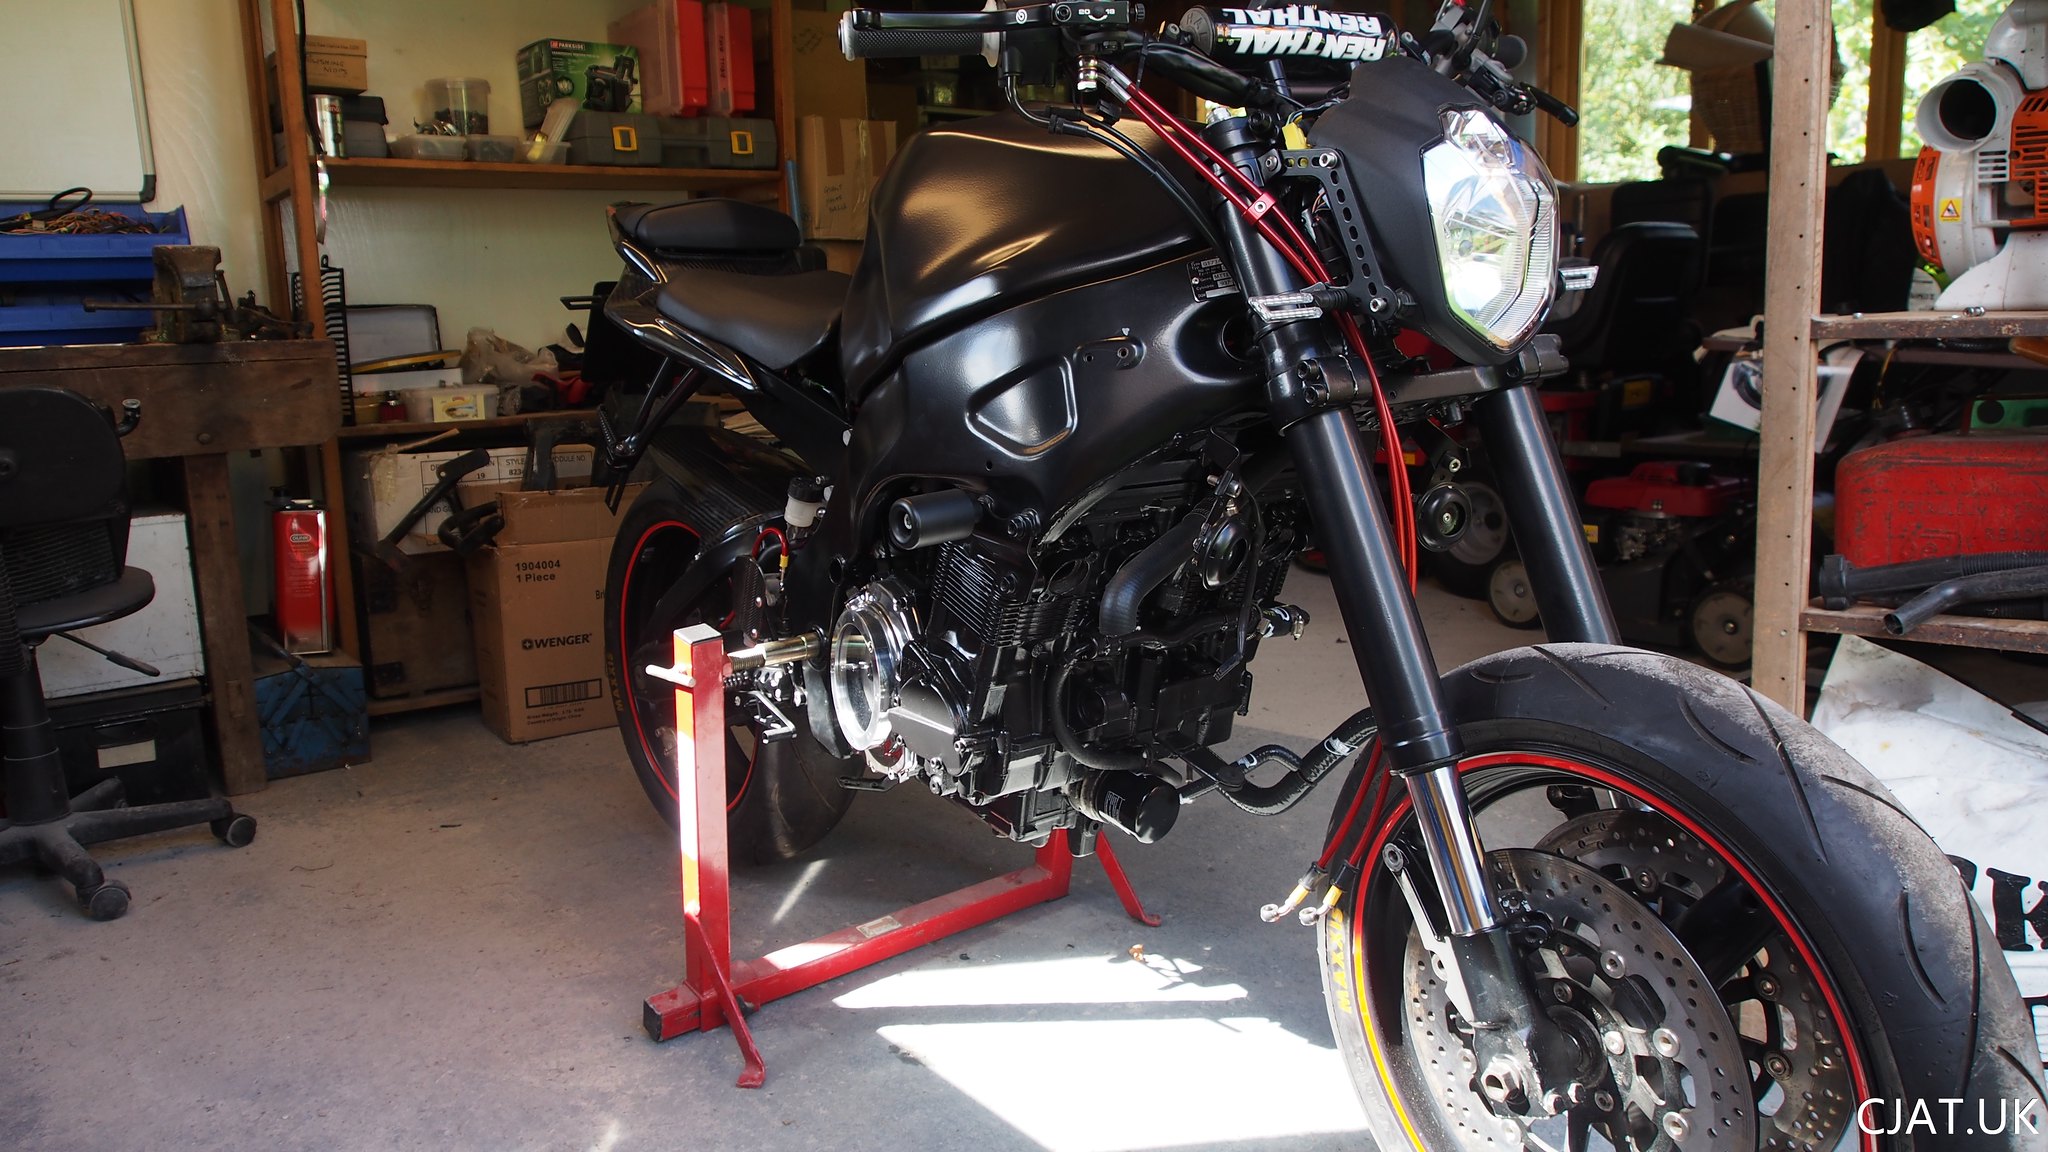 I will also be buying a LED bulb & converter as the post on the rfownersclub forum has shown how much better they are.
NO ALARM YET… will be looking to add a Thatcham alarm once I get the bike running.
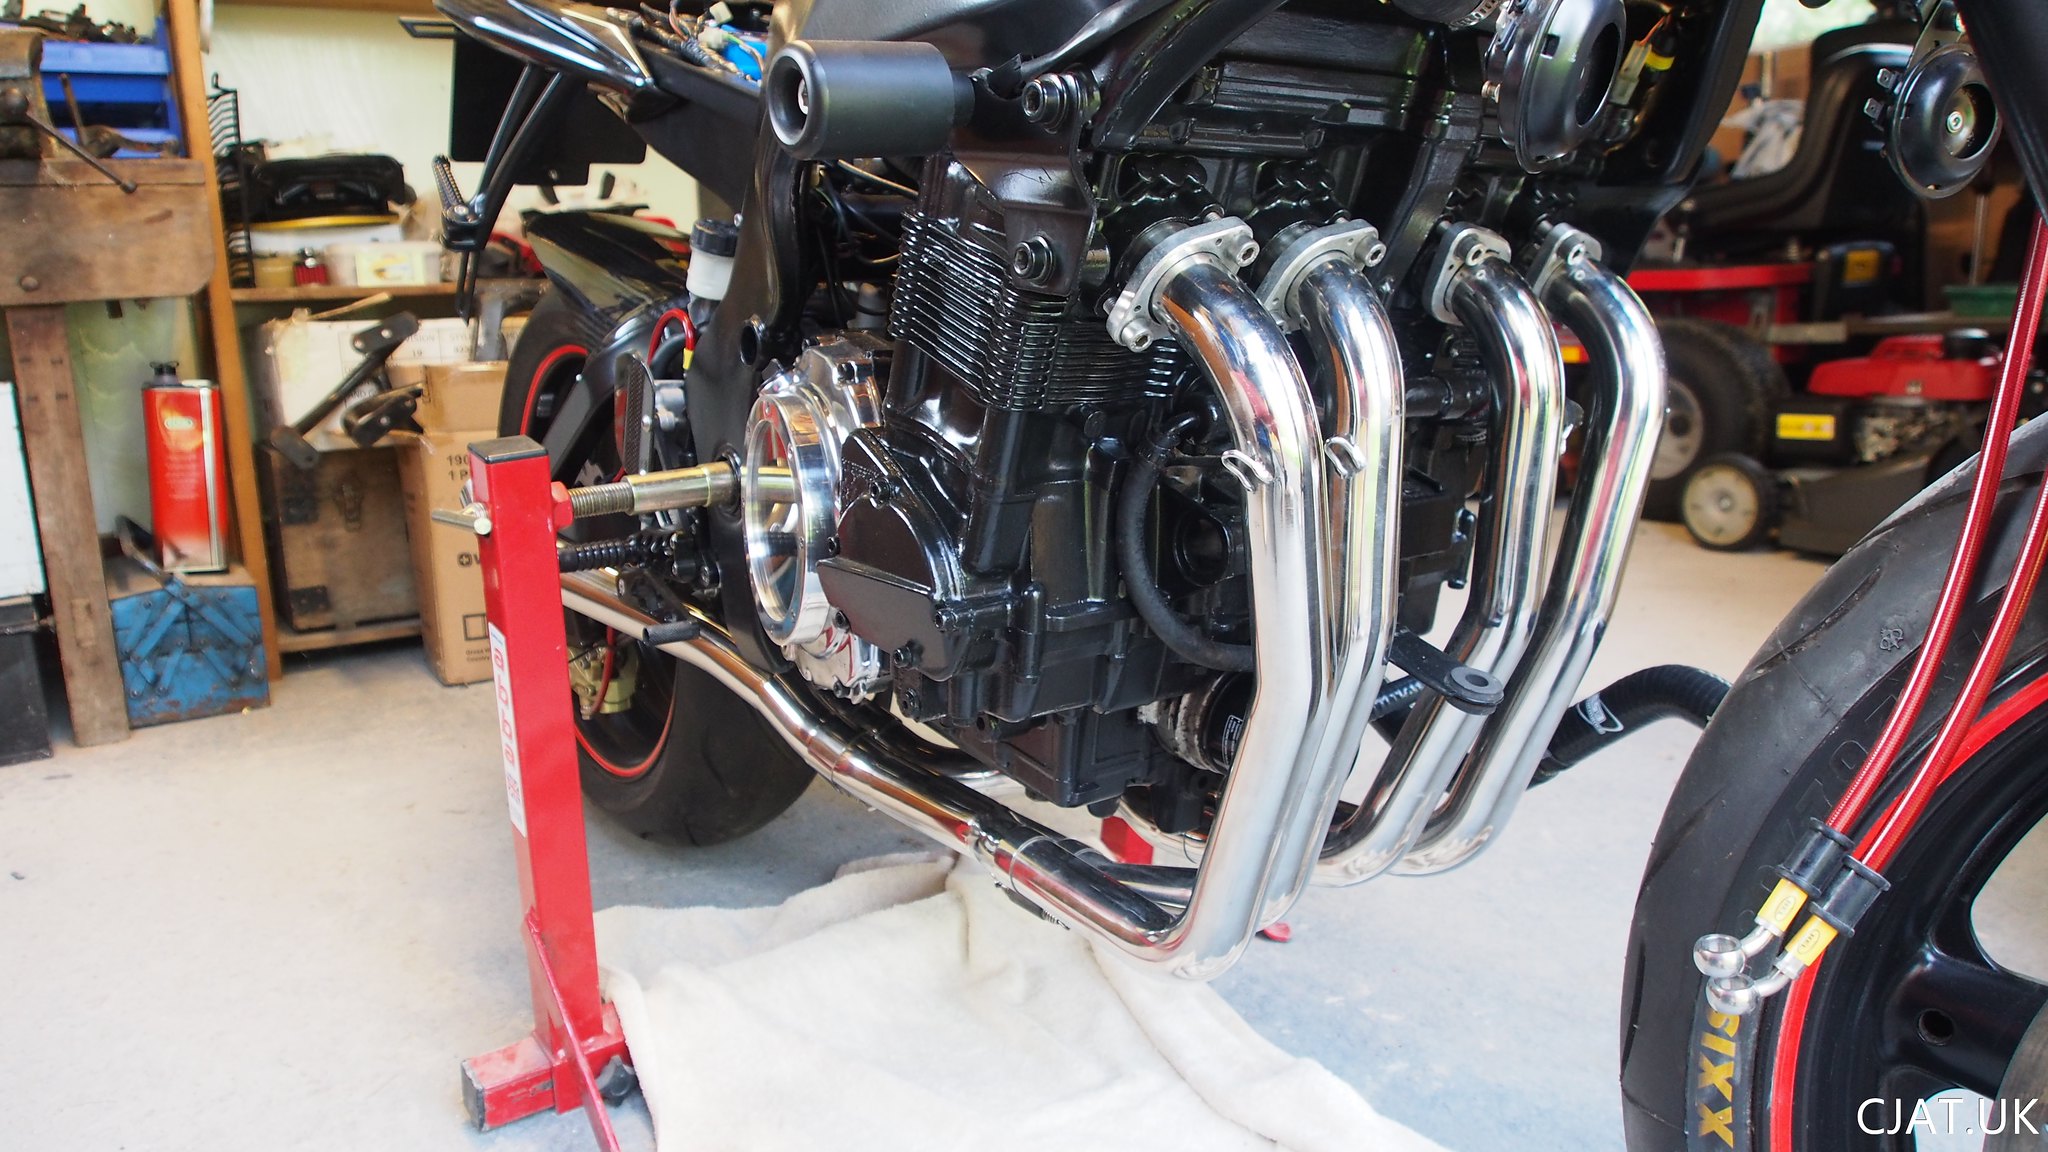
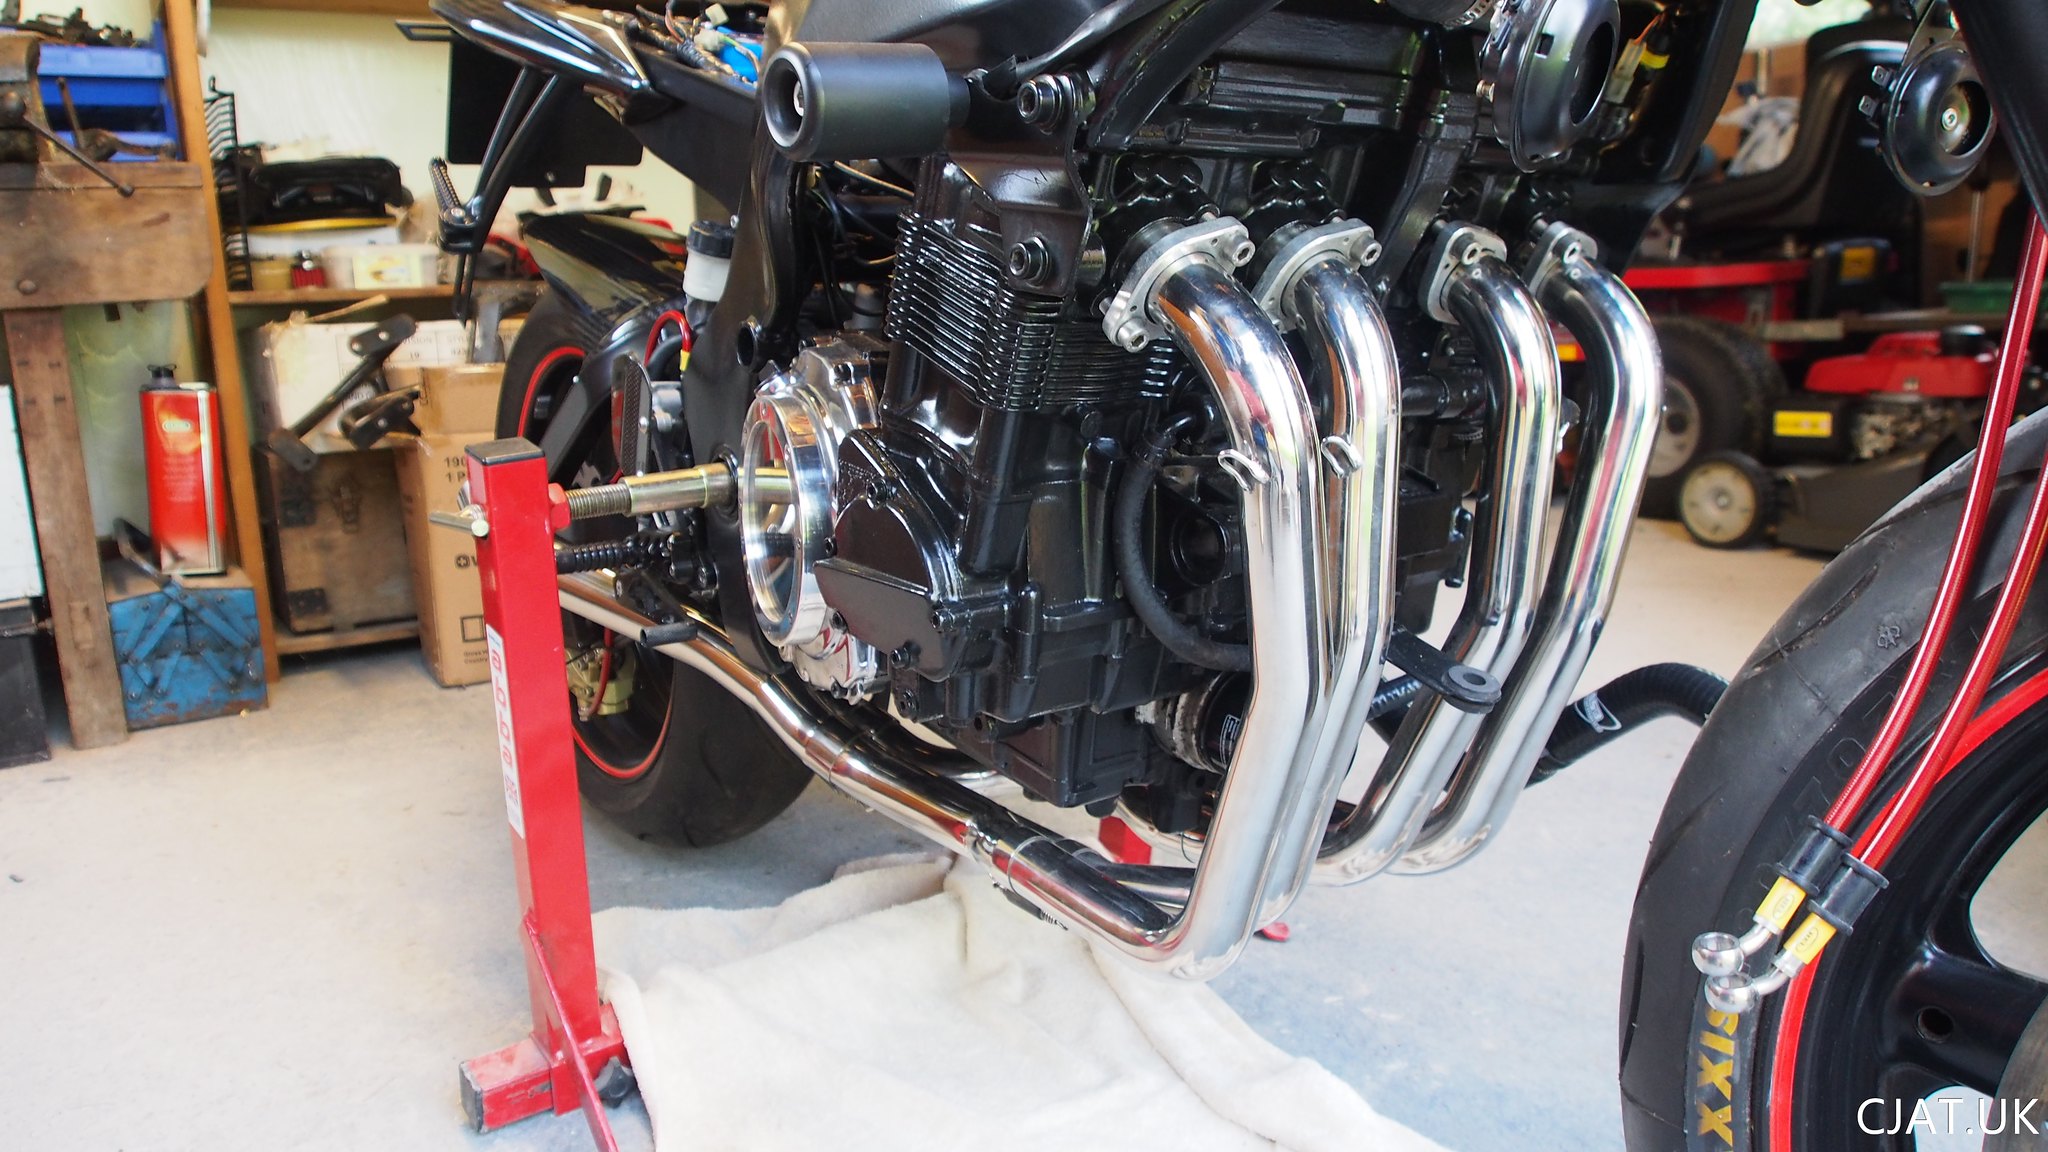
 BUT WAIT… THERE’S MORE…
I have the final pièce de résistance to complete the perfect exhaust….
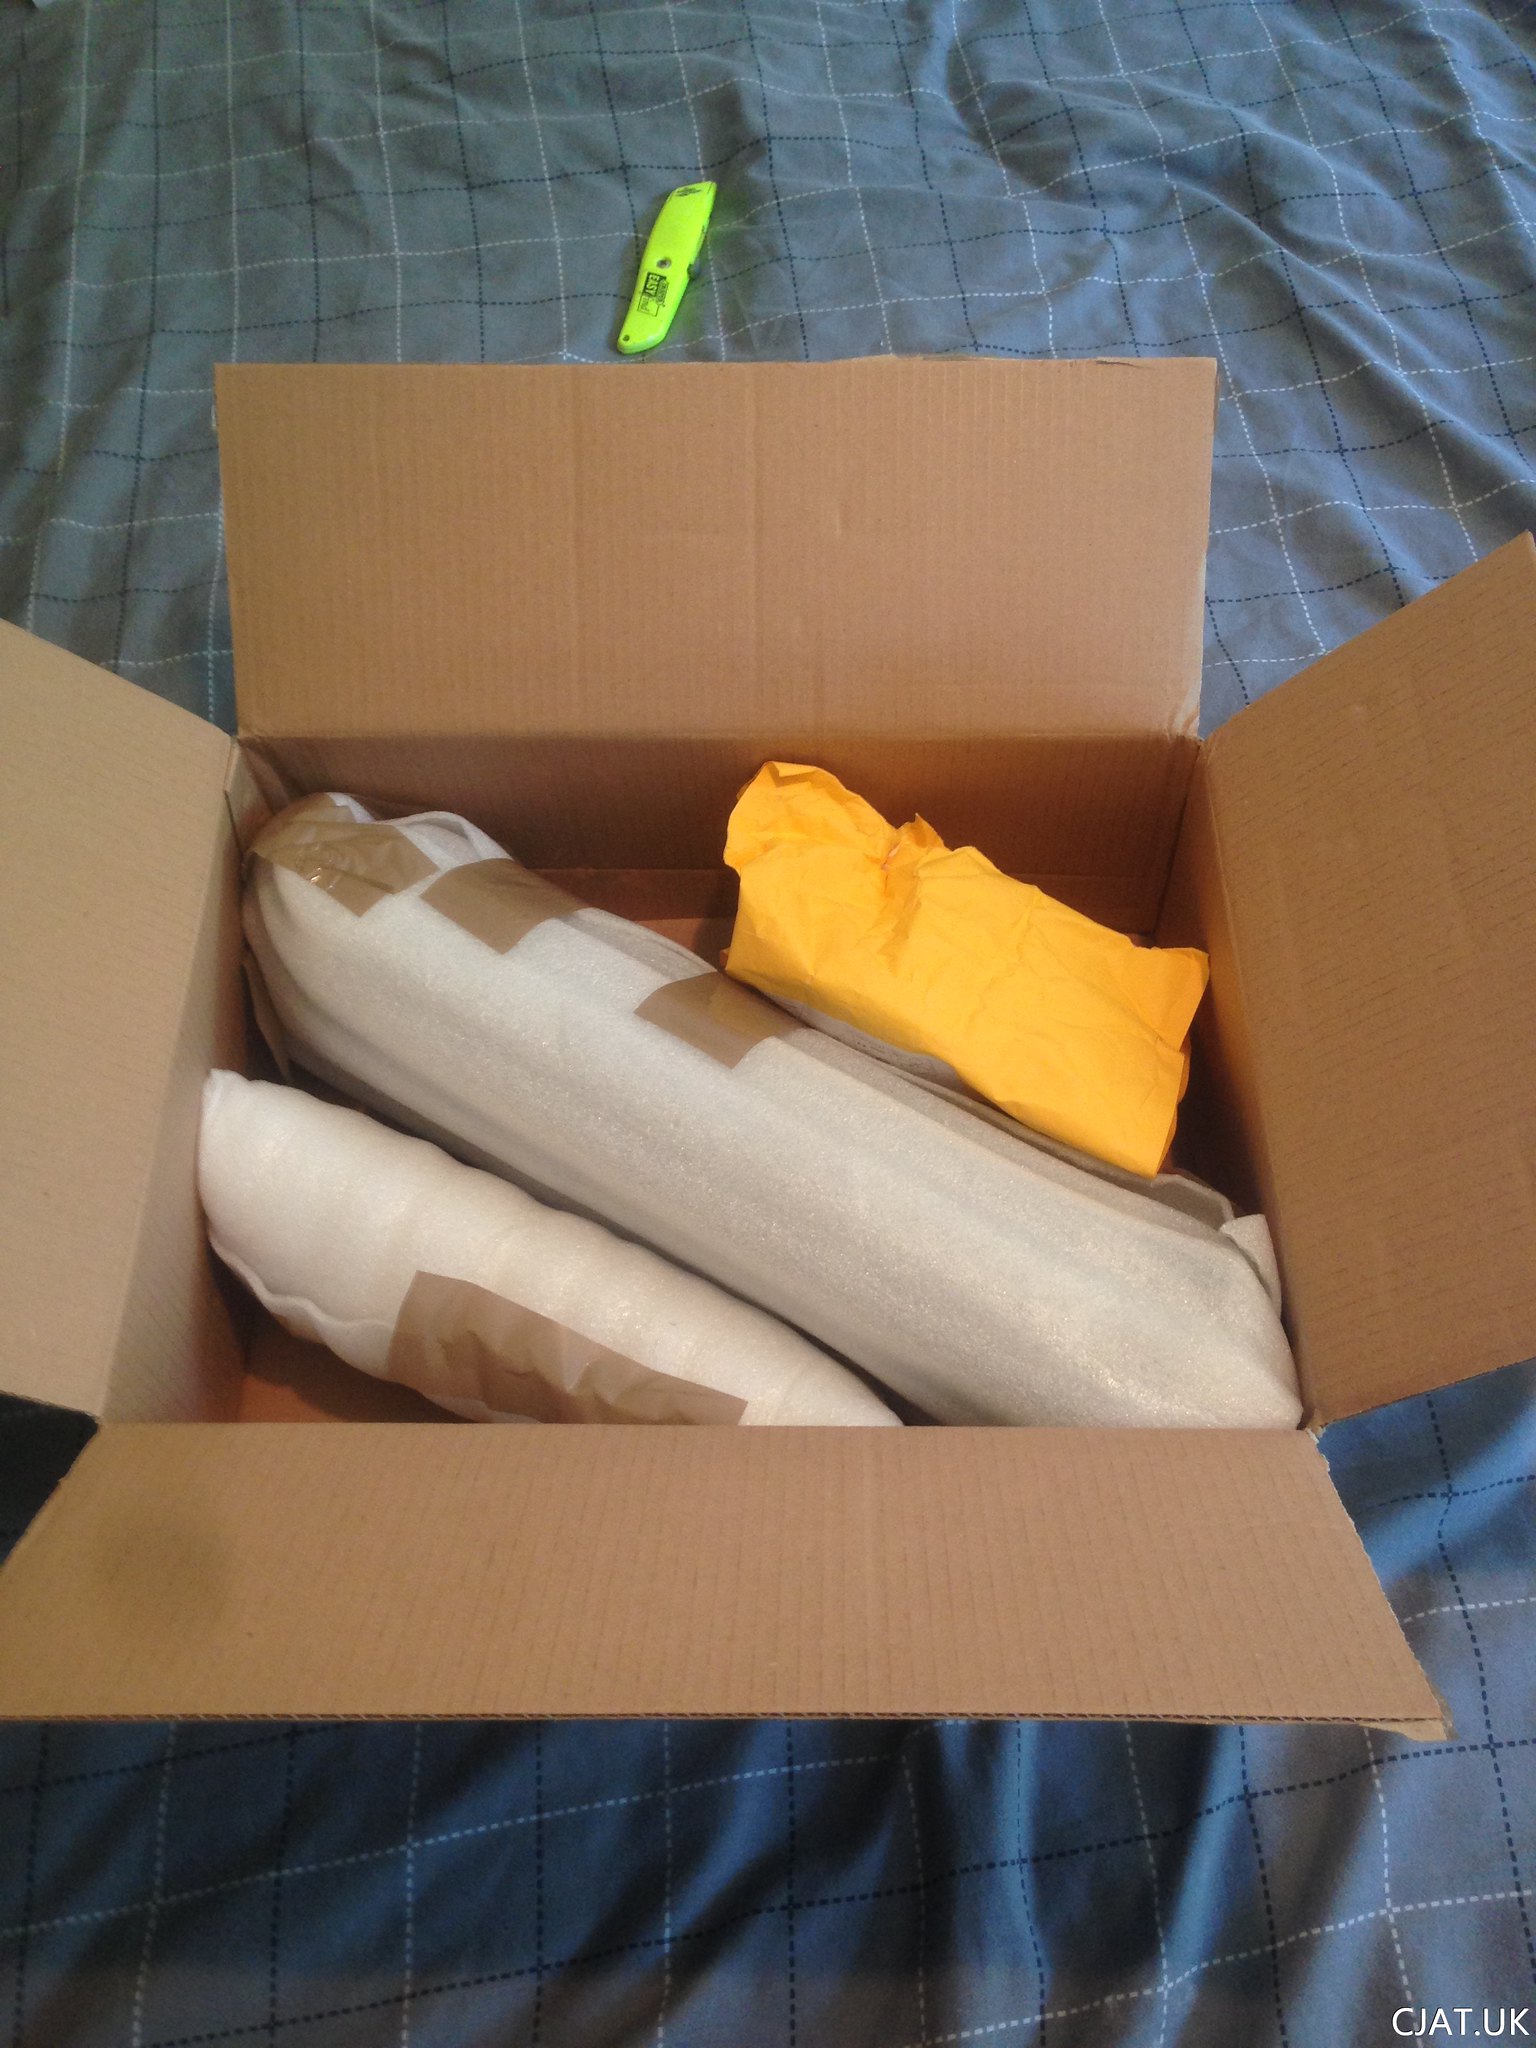
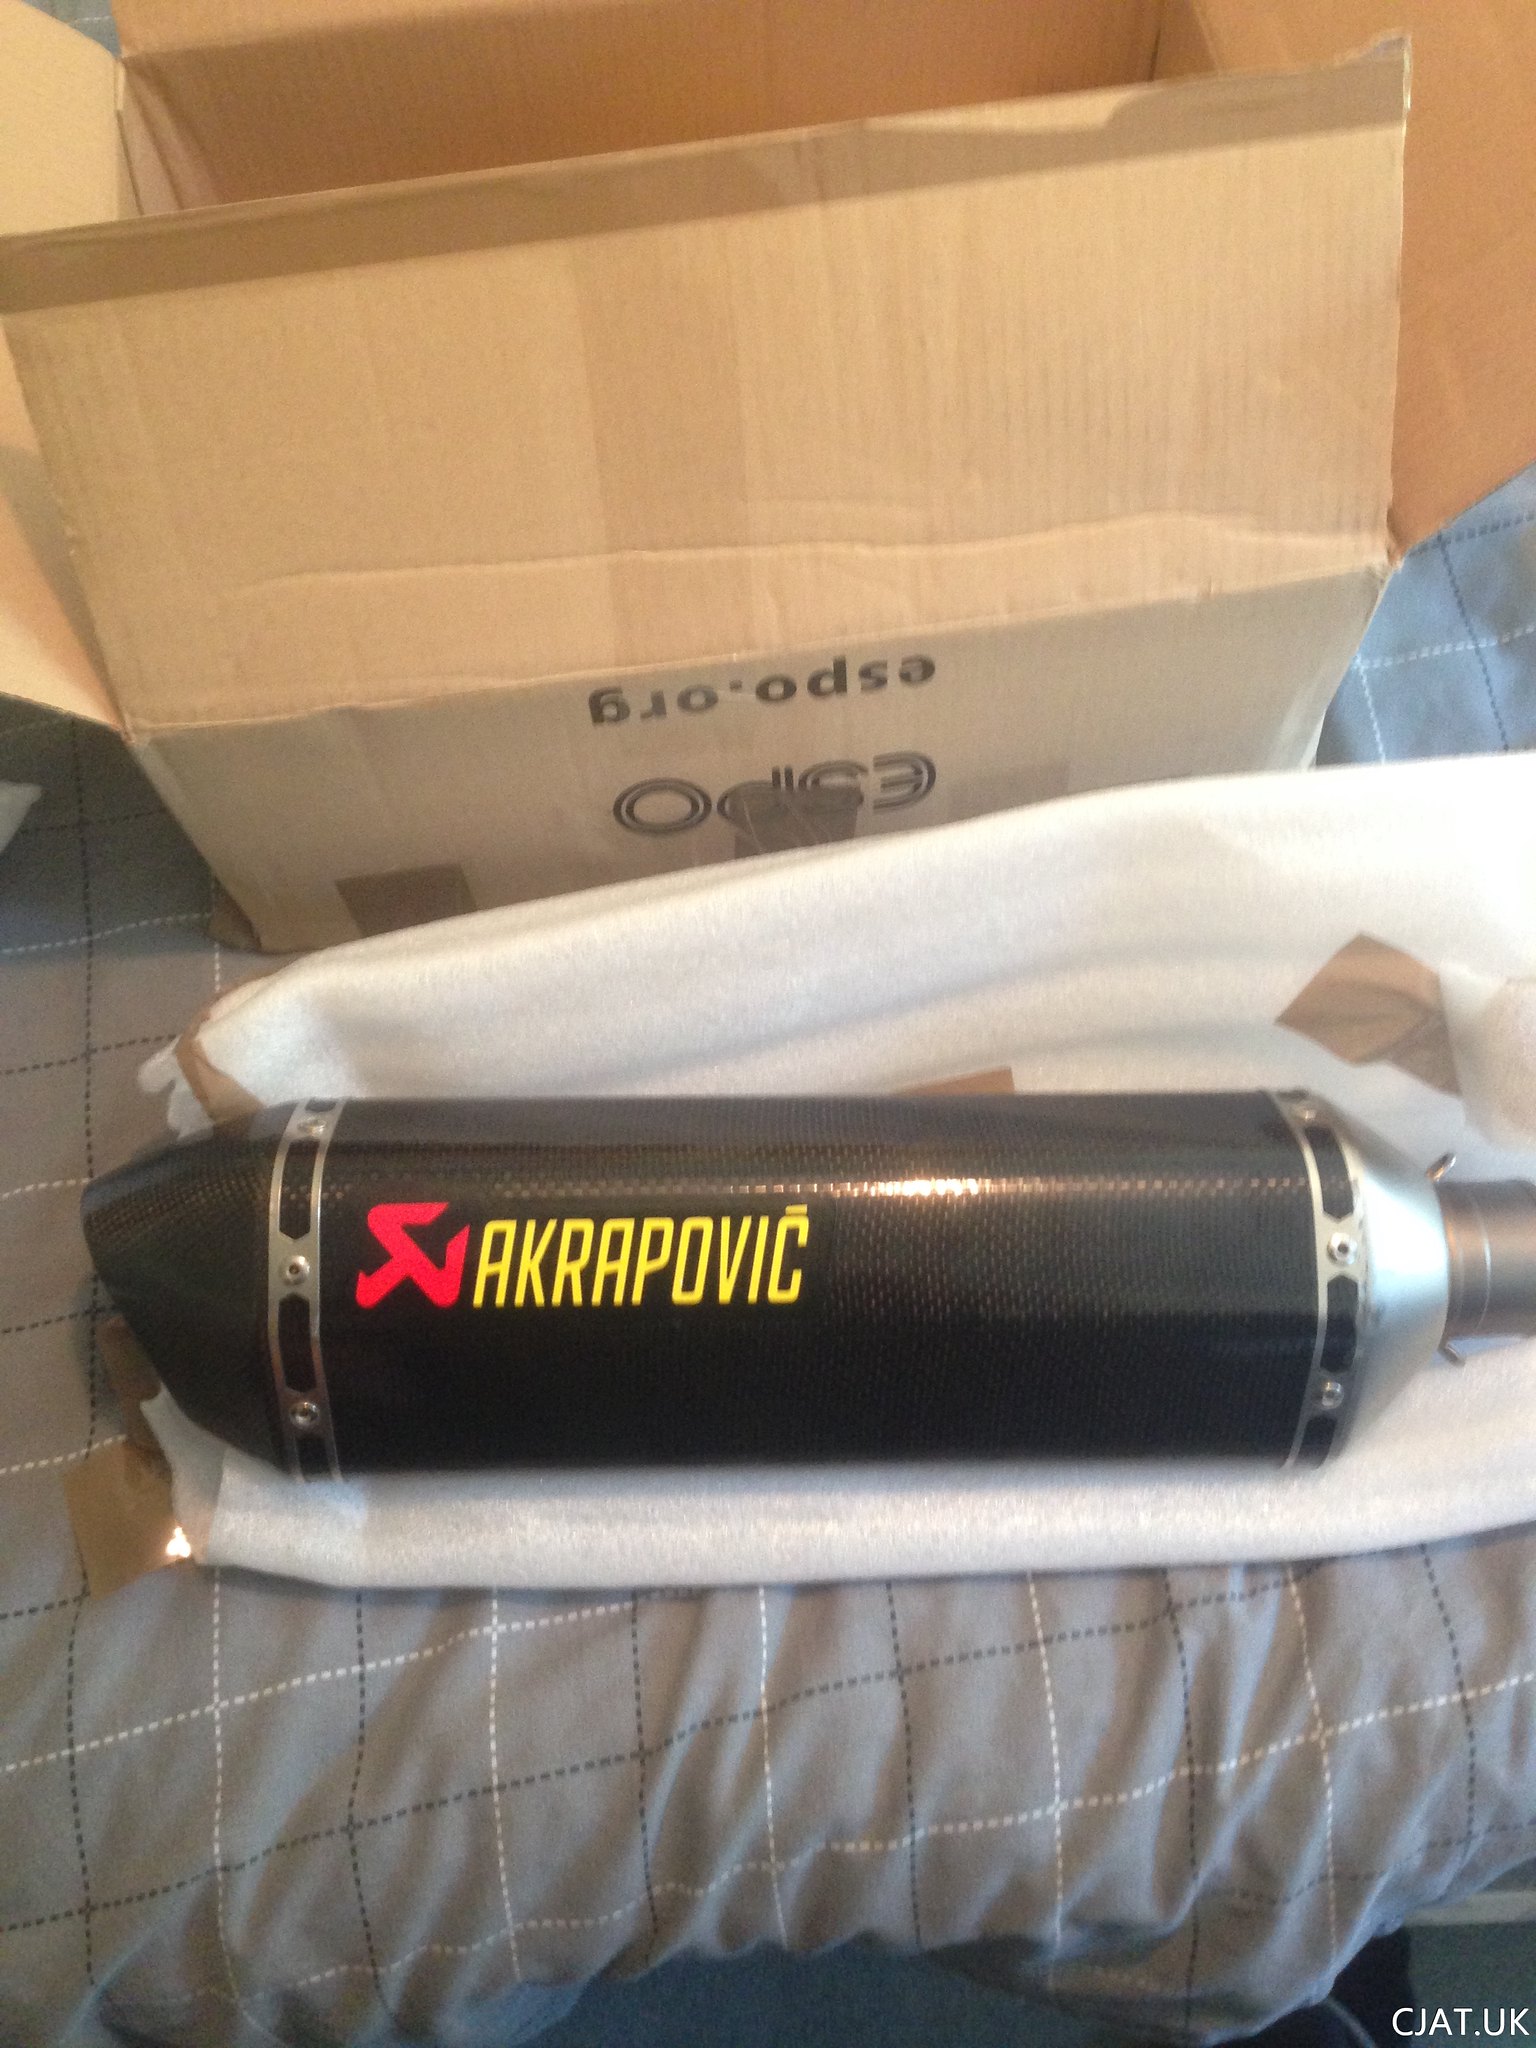
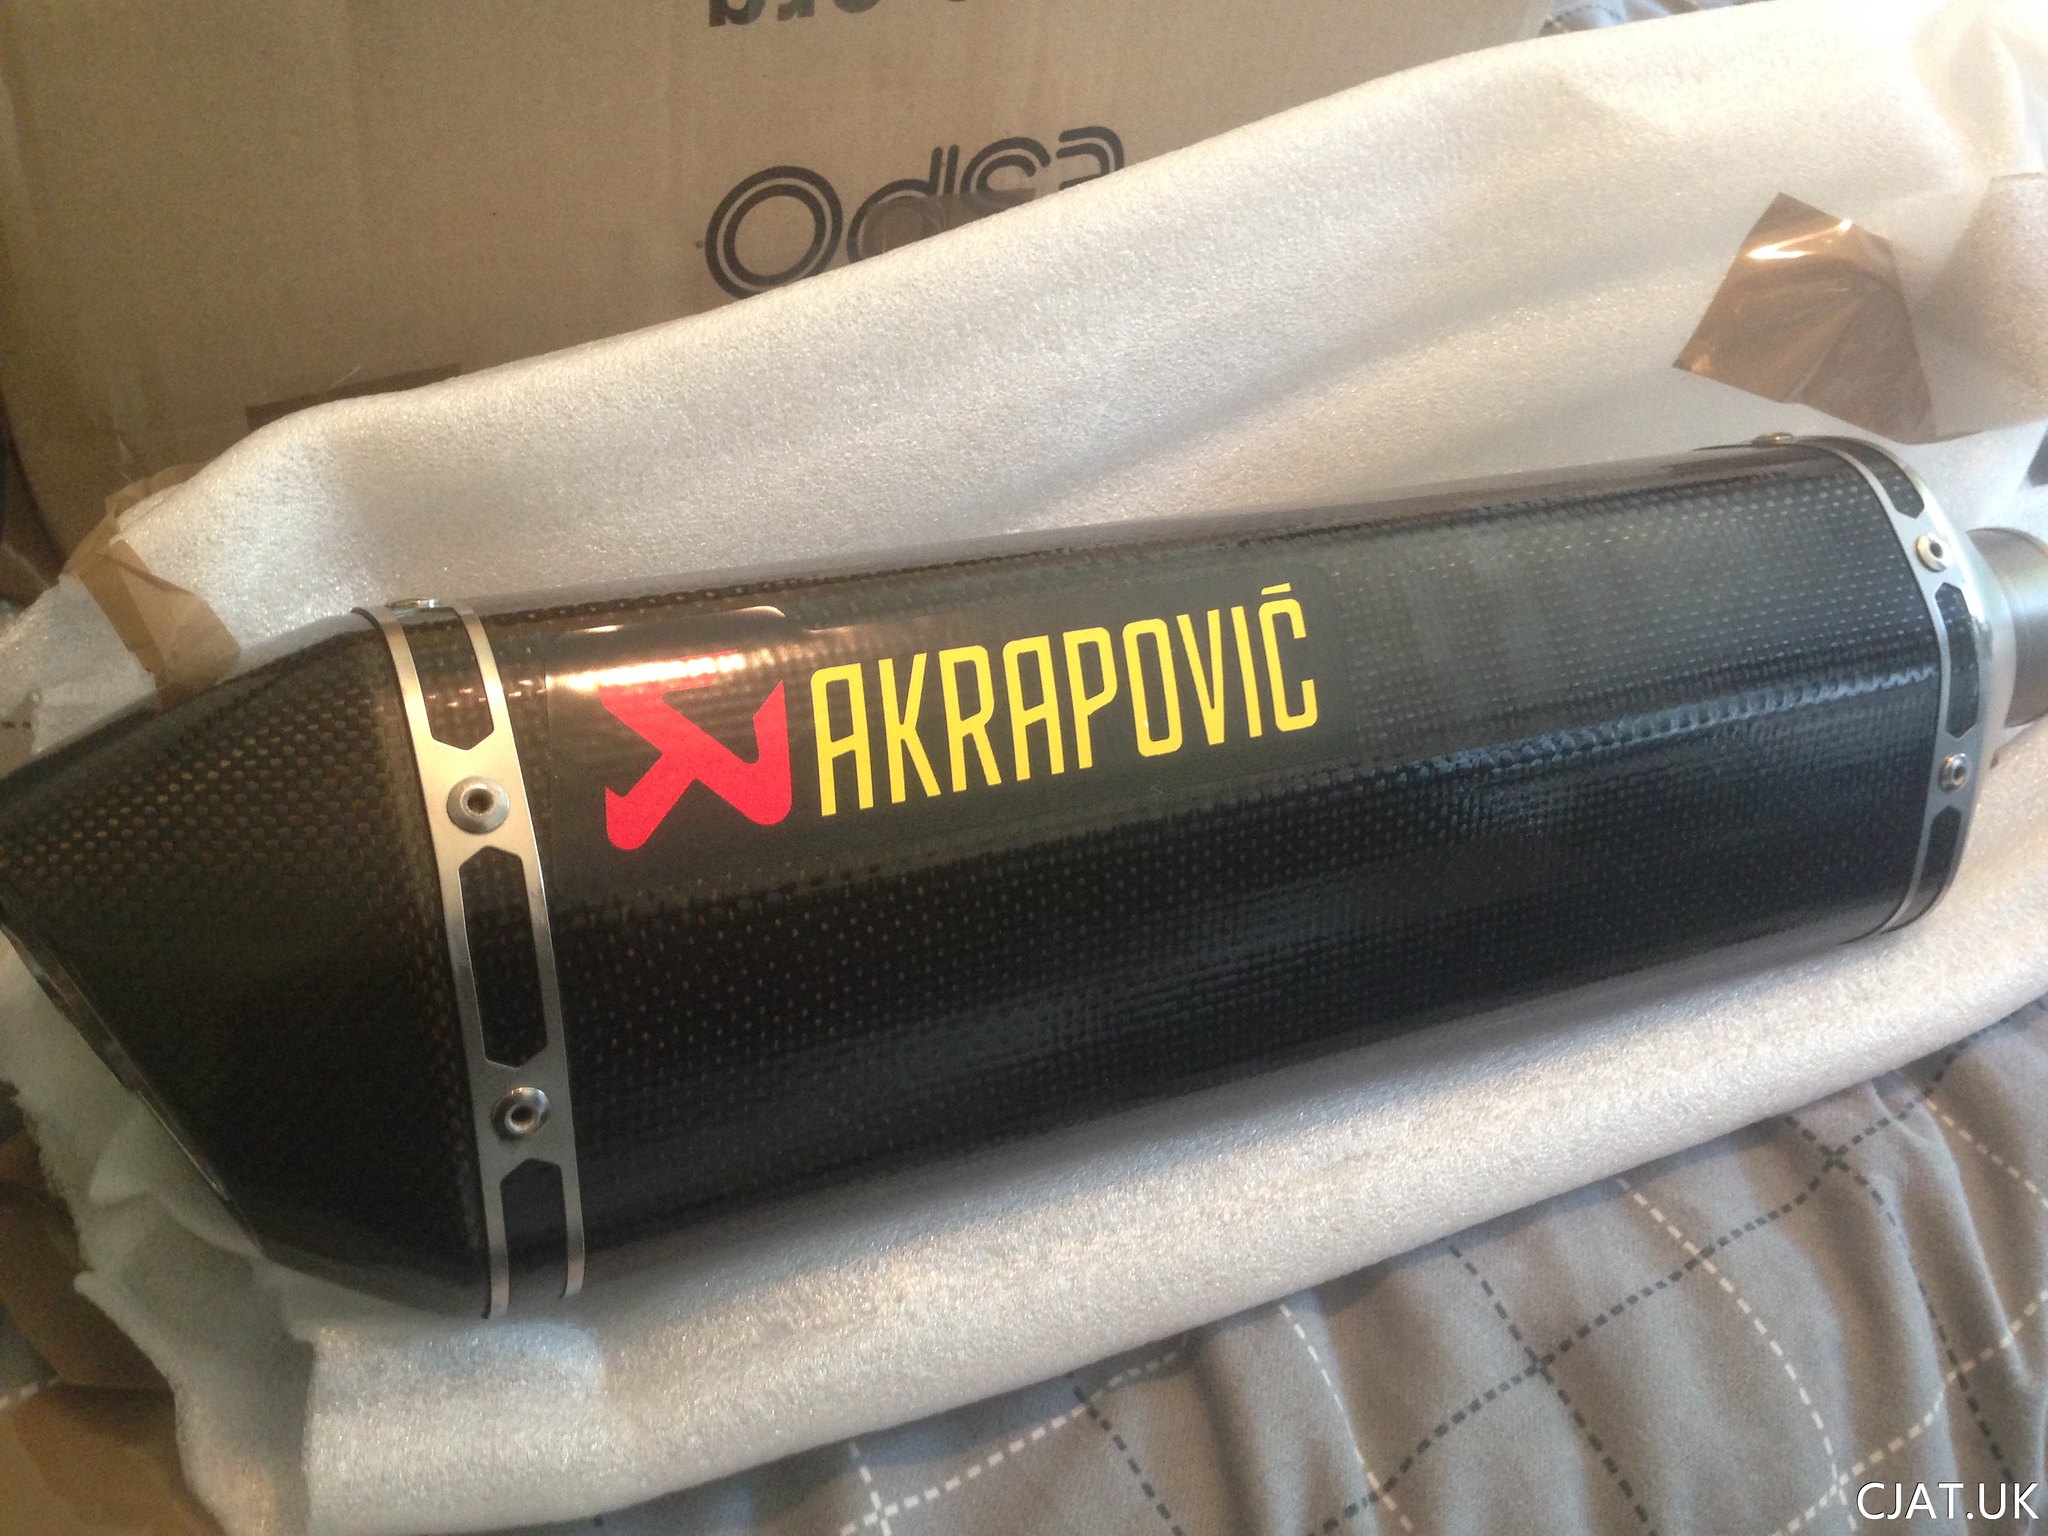
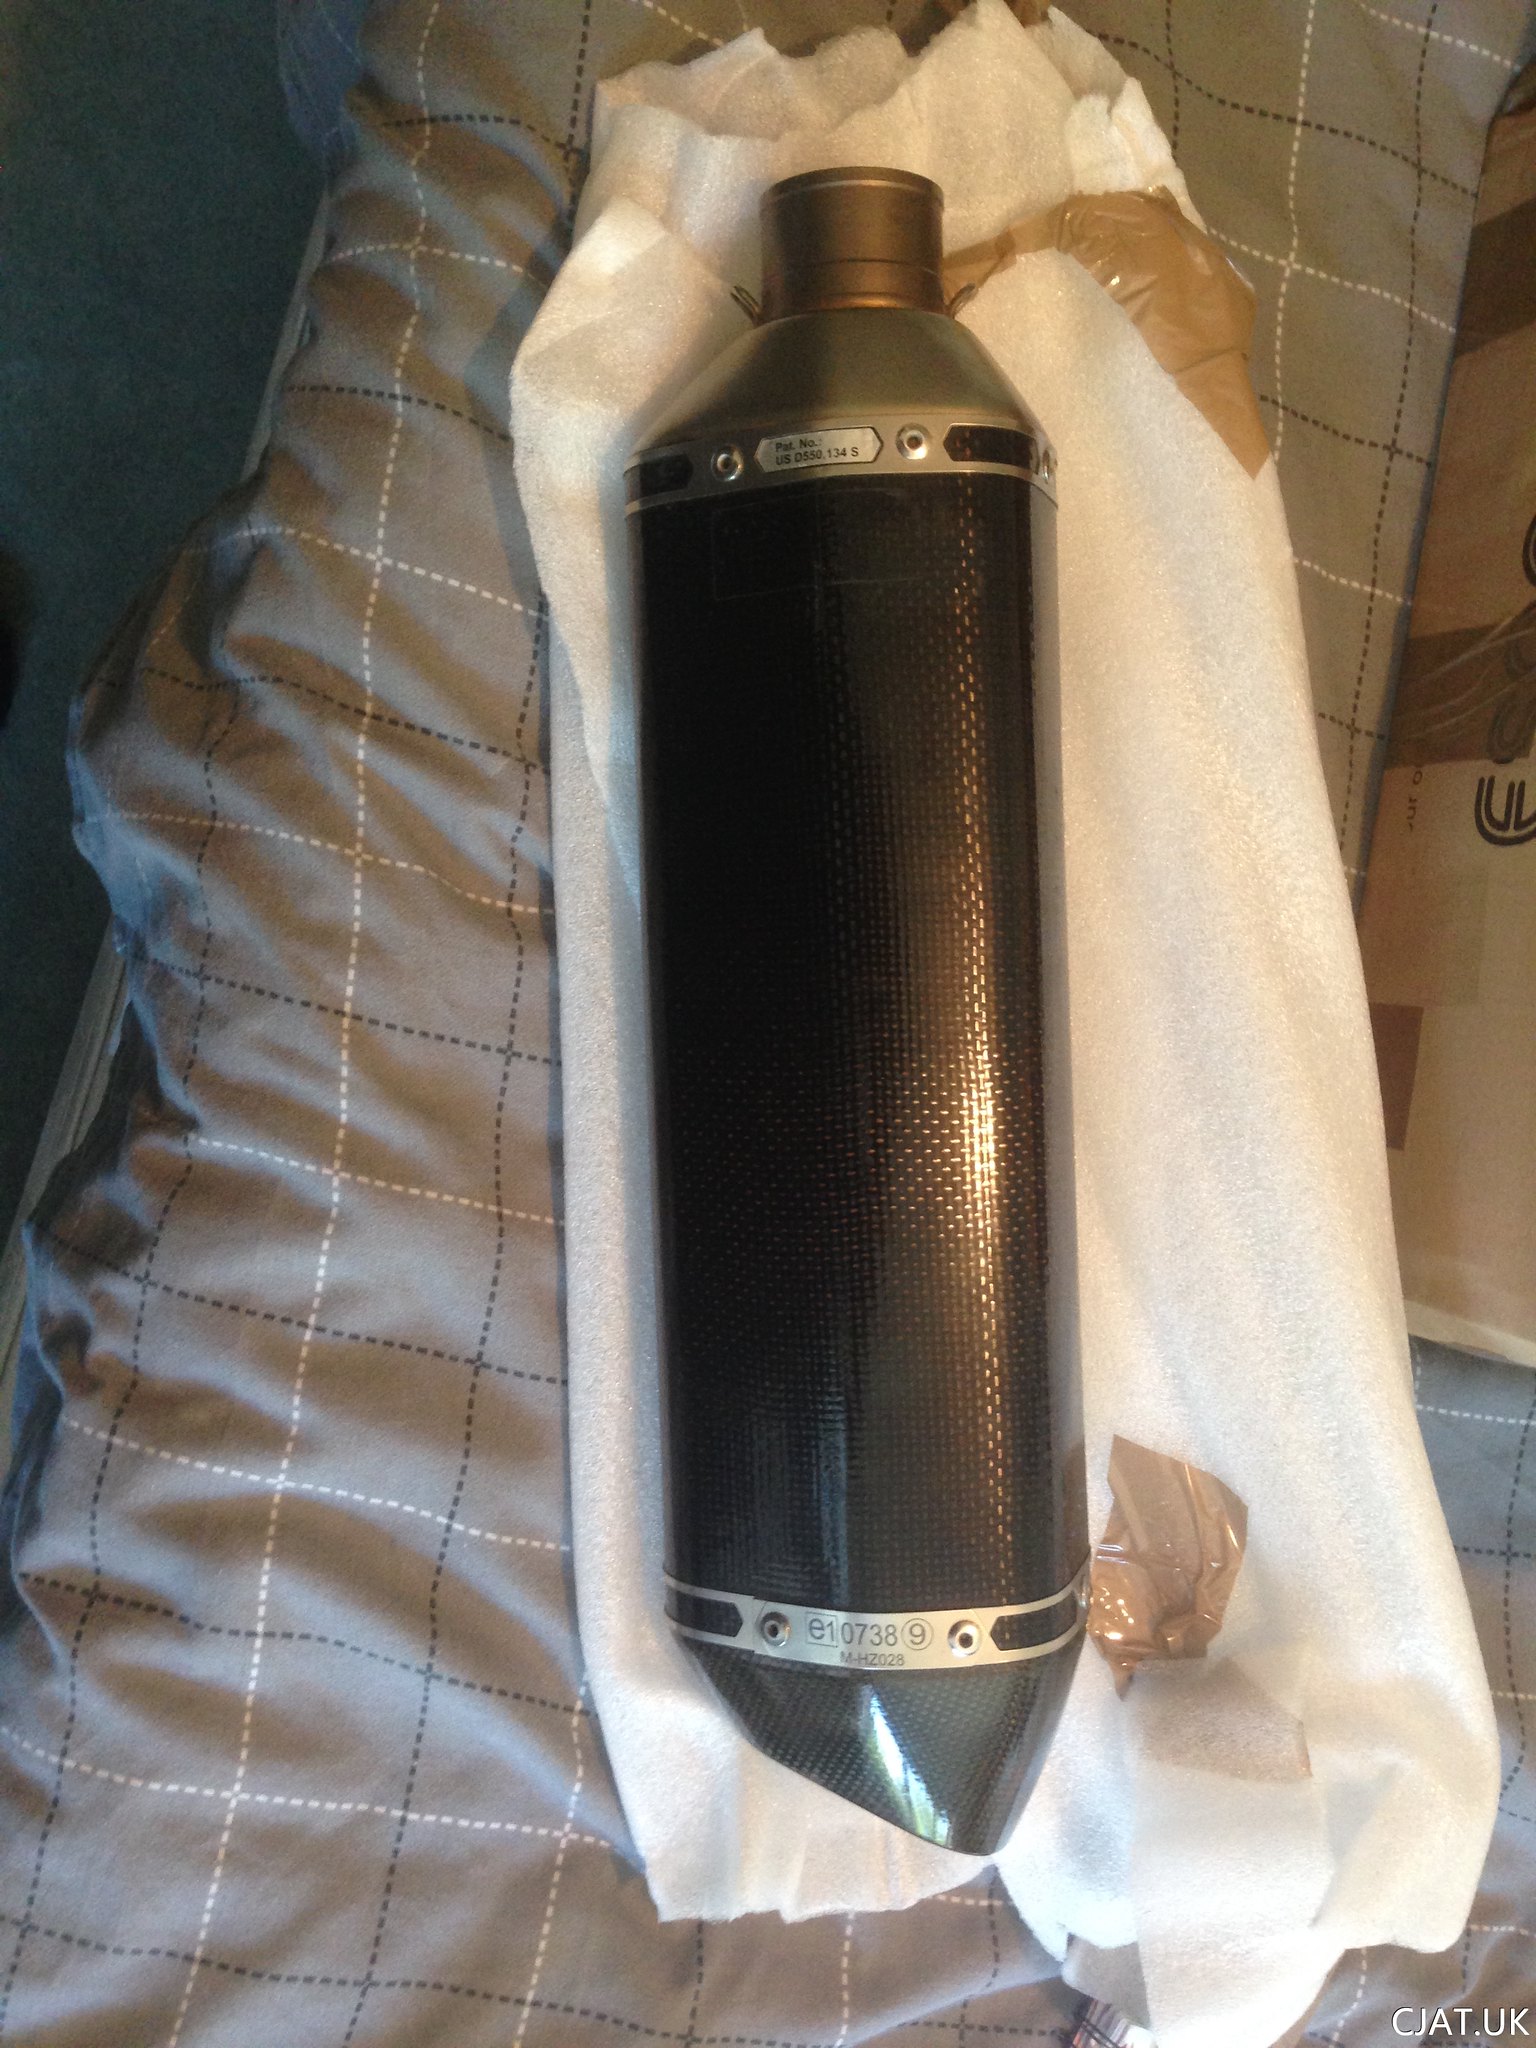 Honestly, I found this a little while ago but was saving it for when the bike had the exhaust on properly.
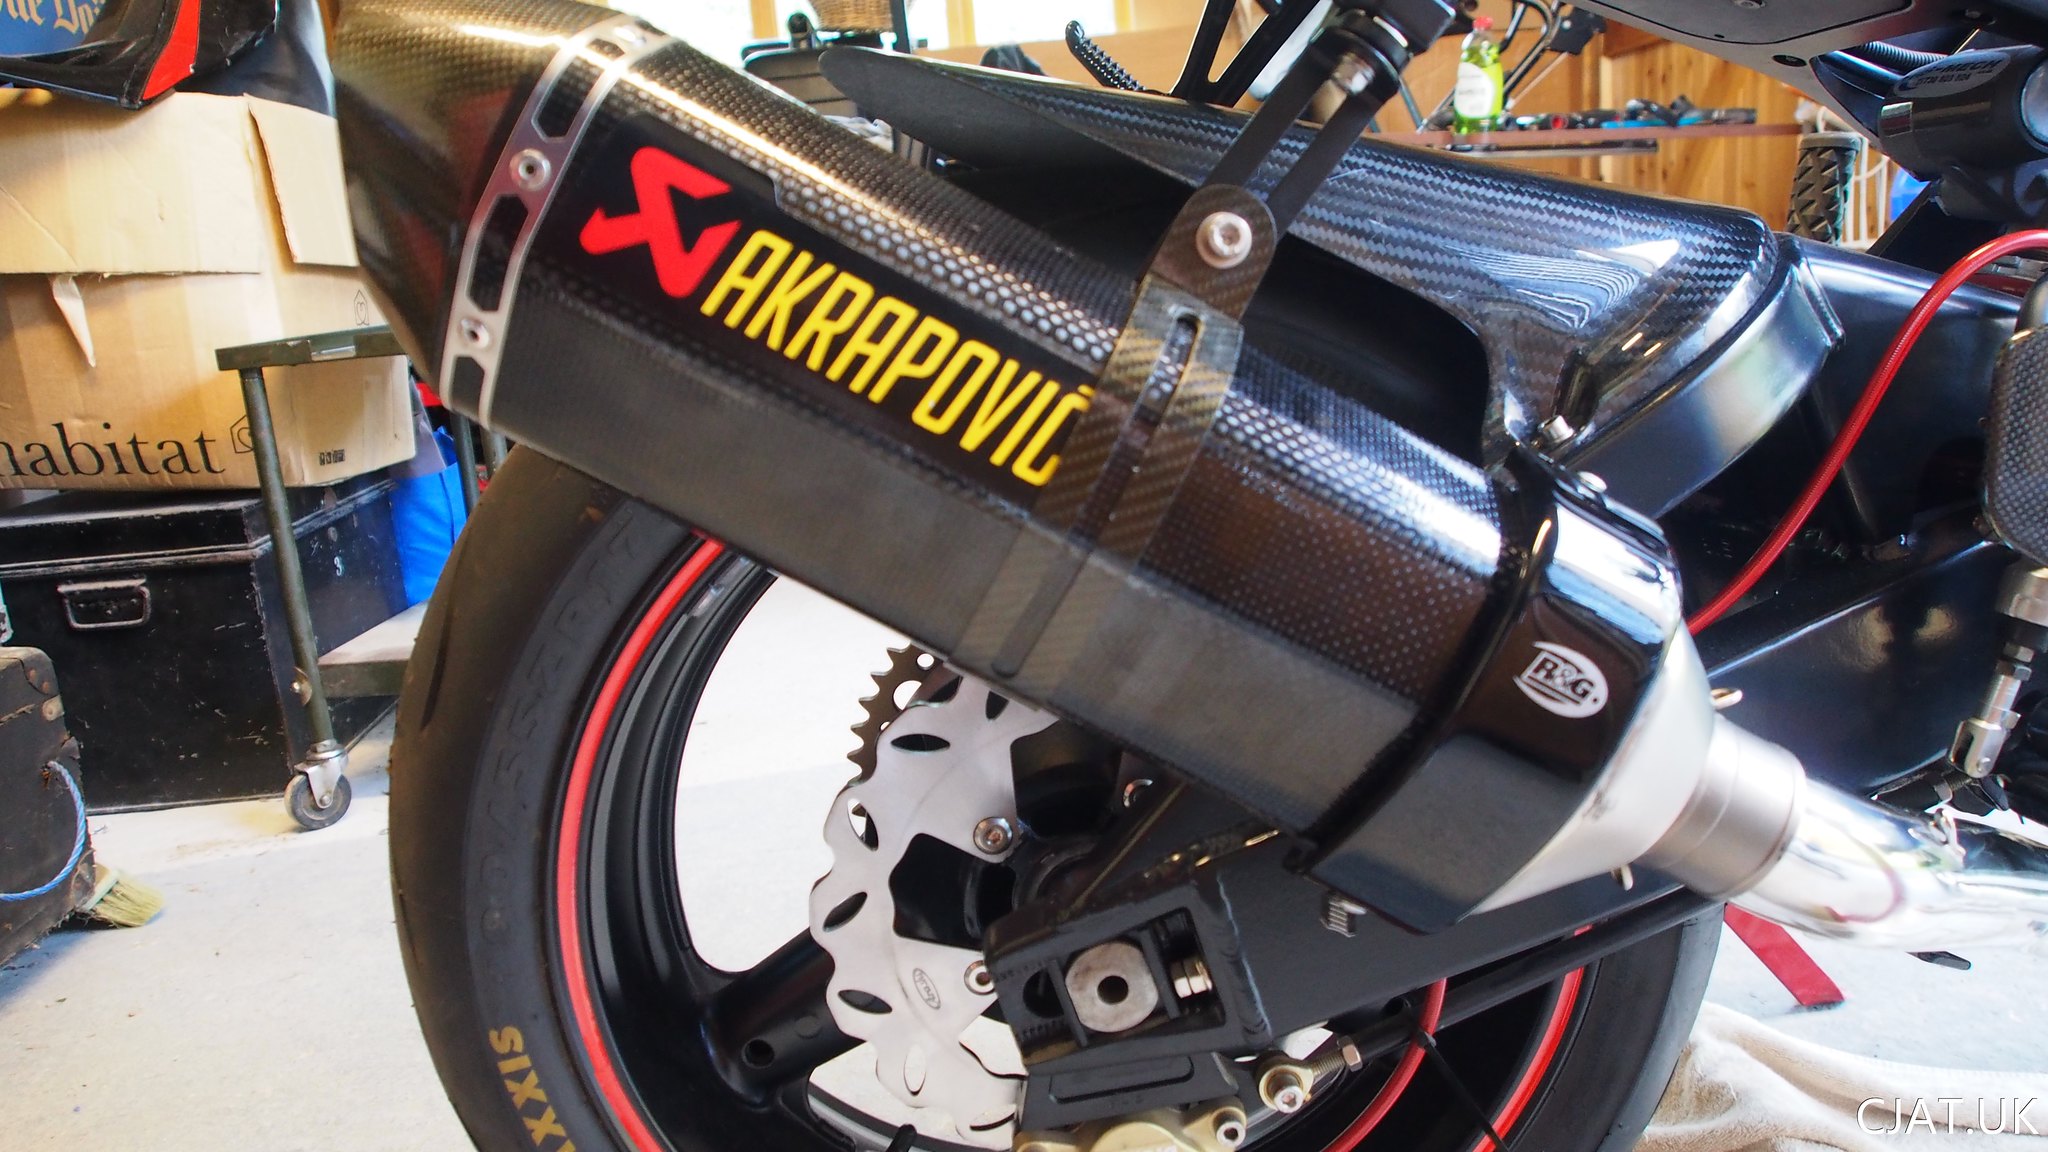
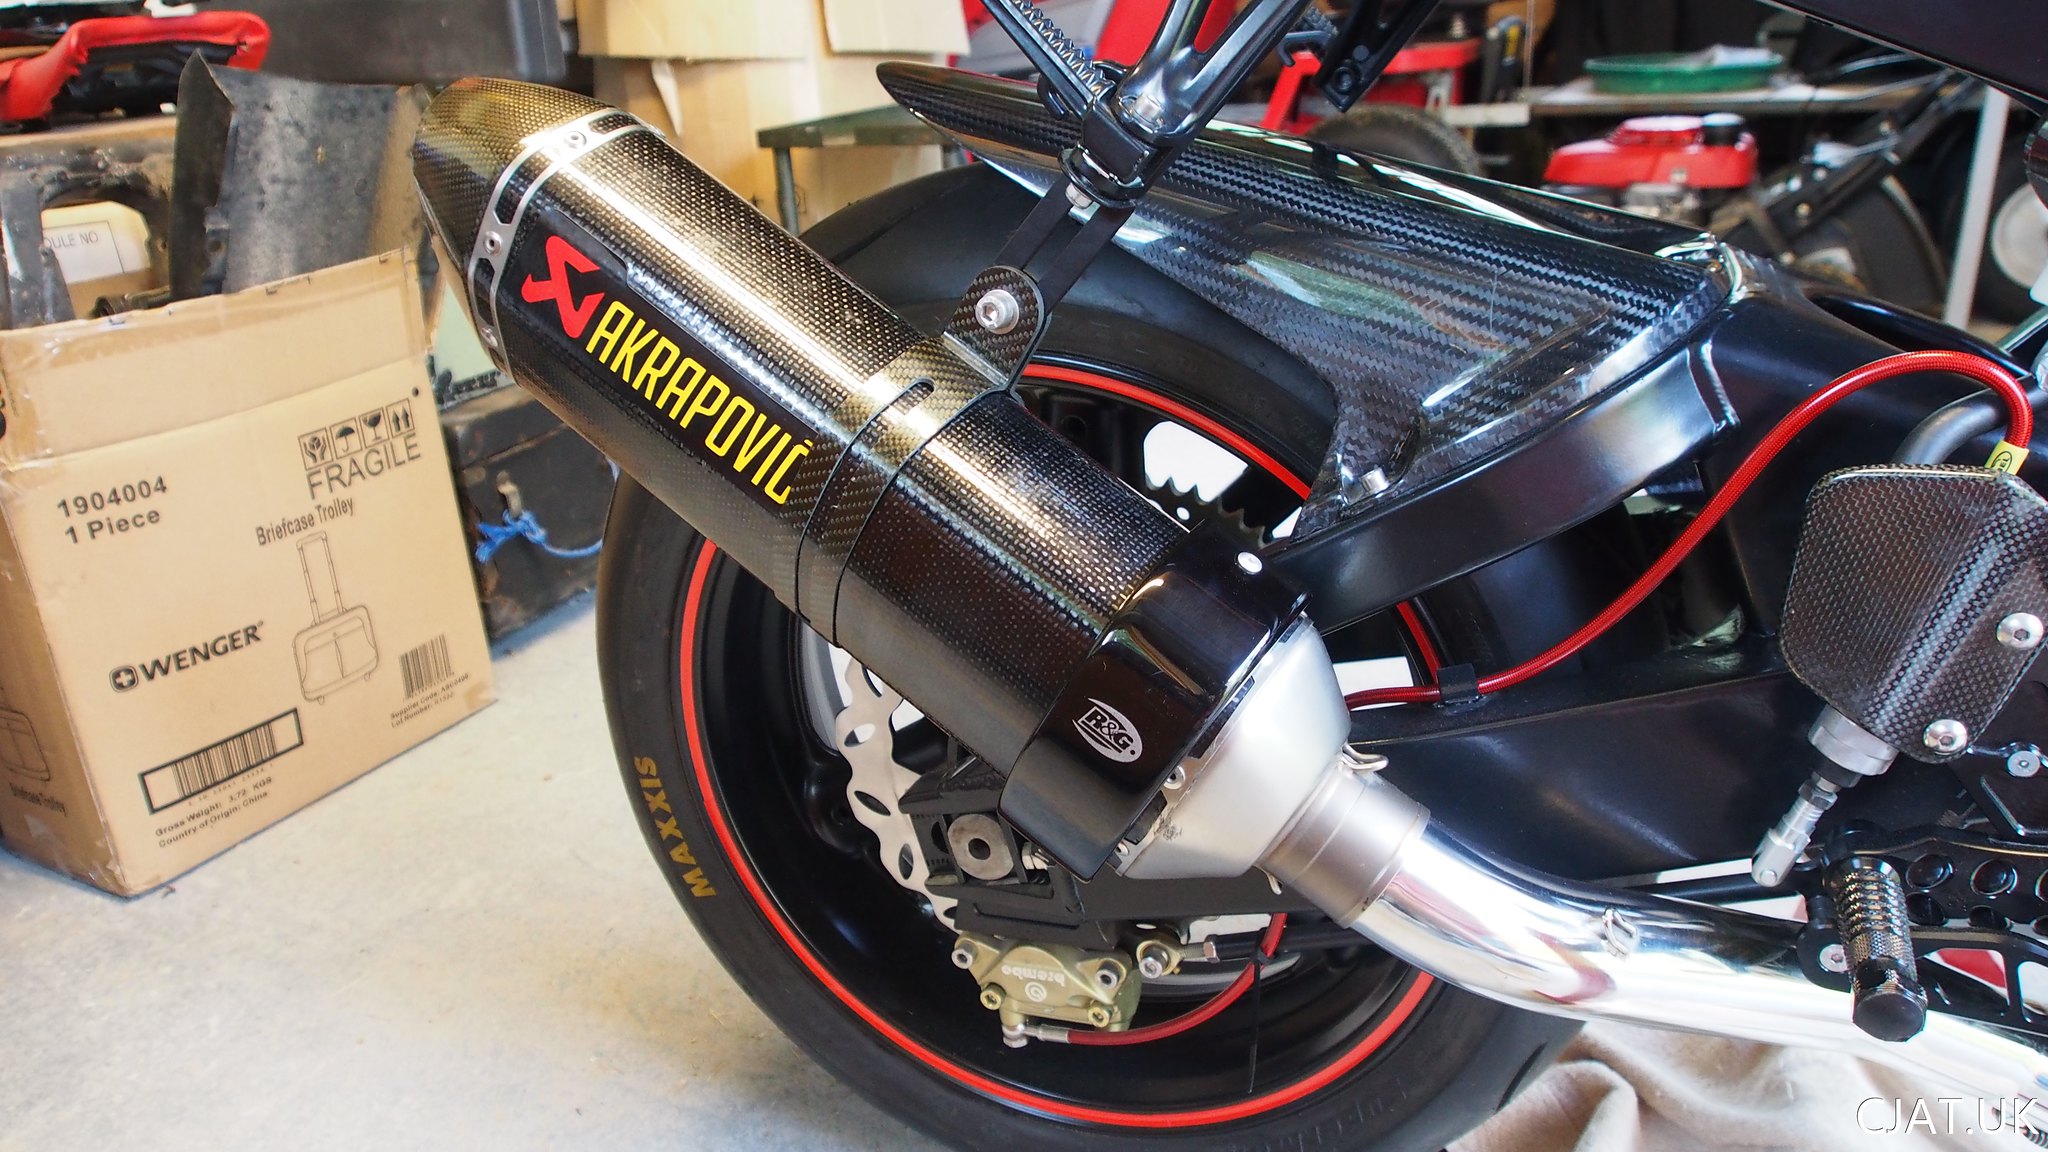
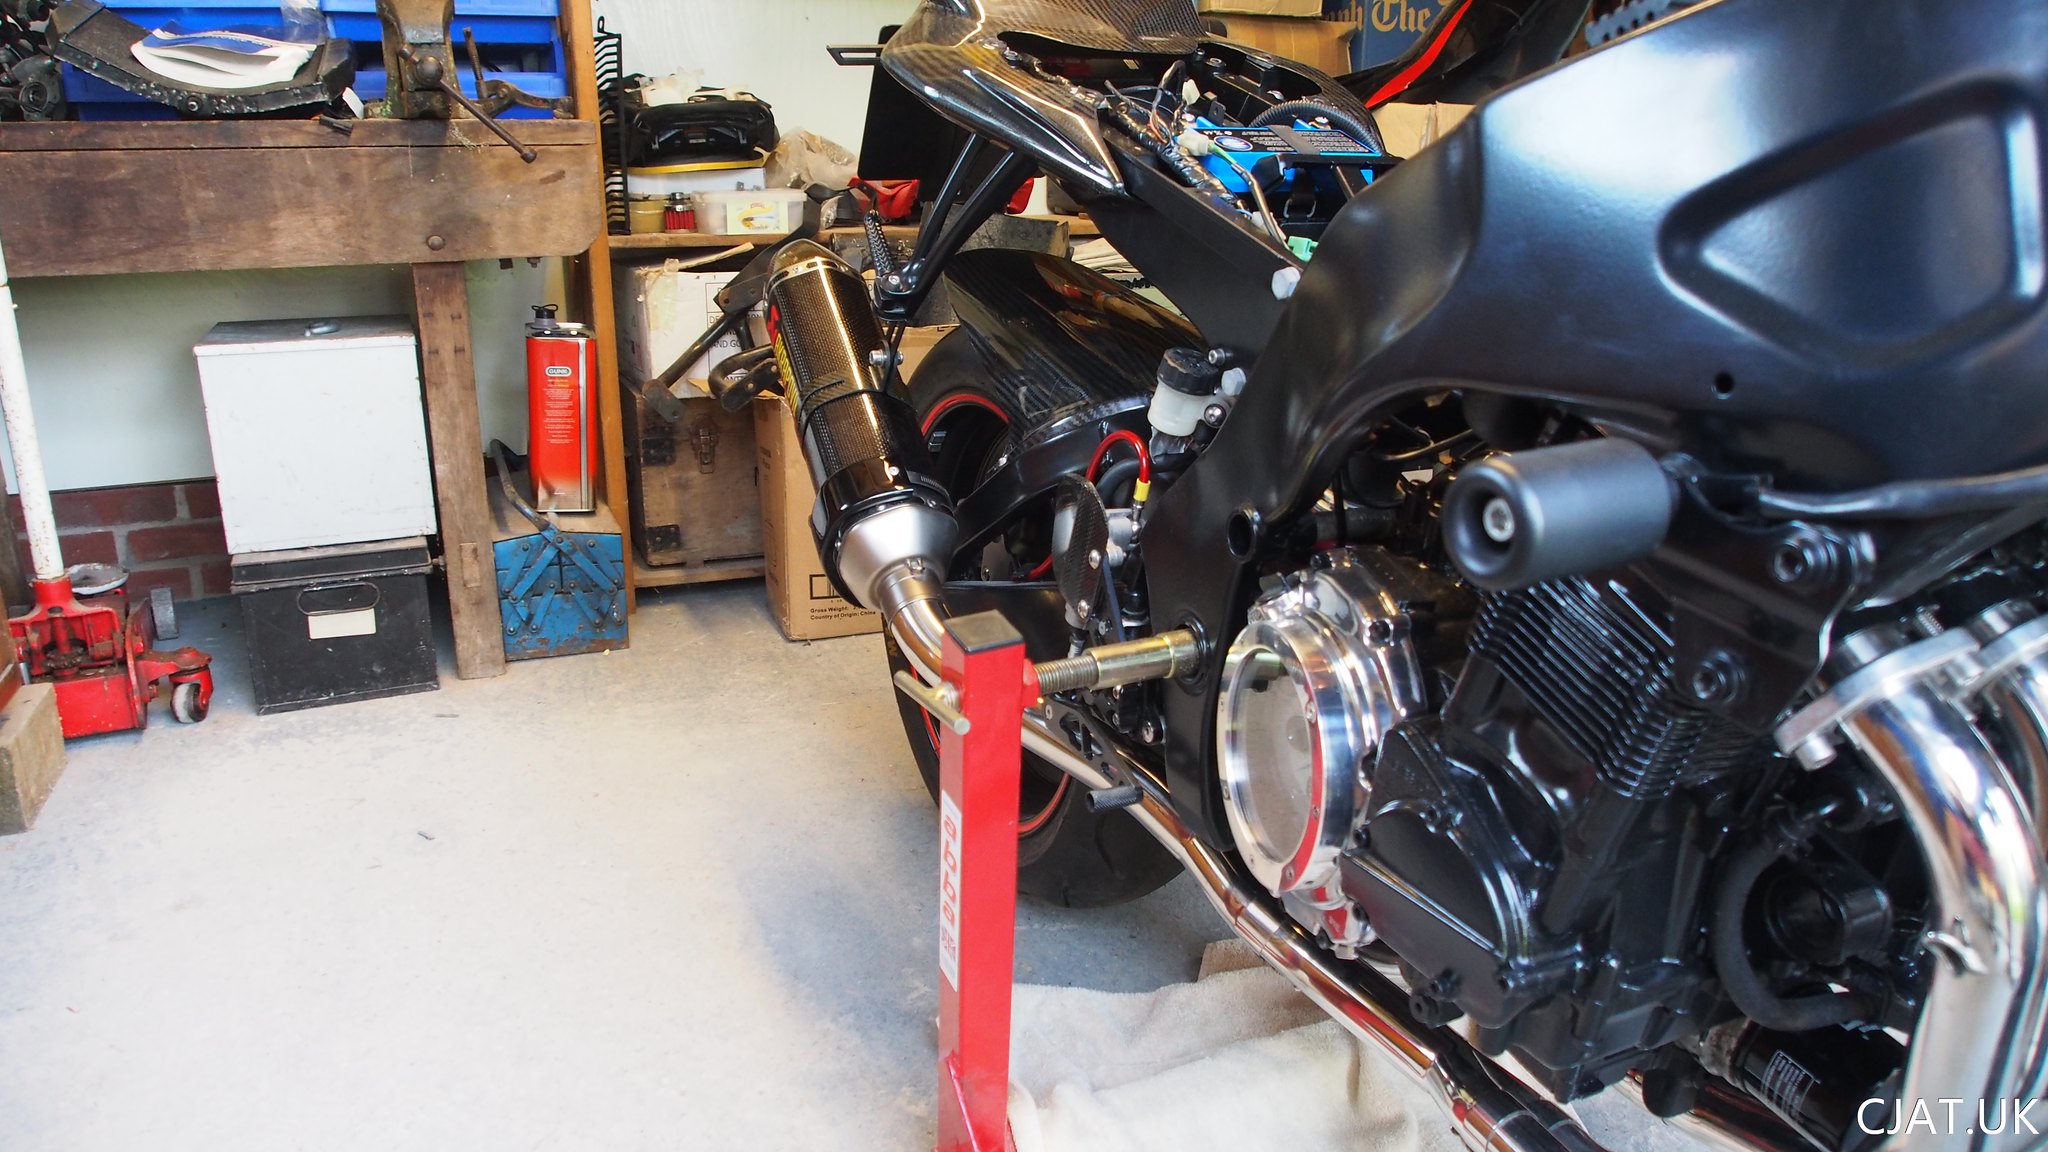
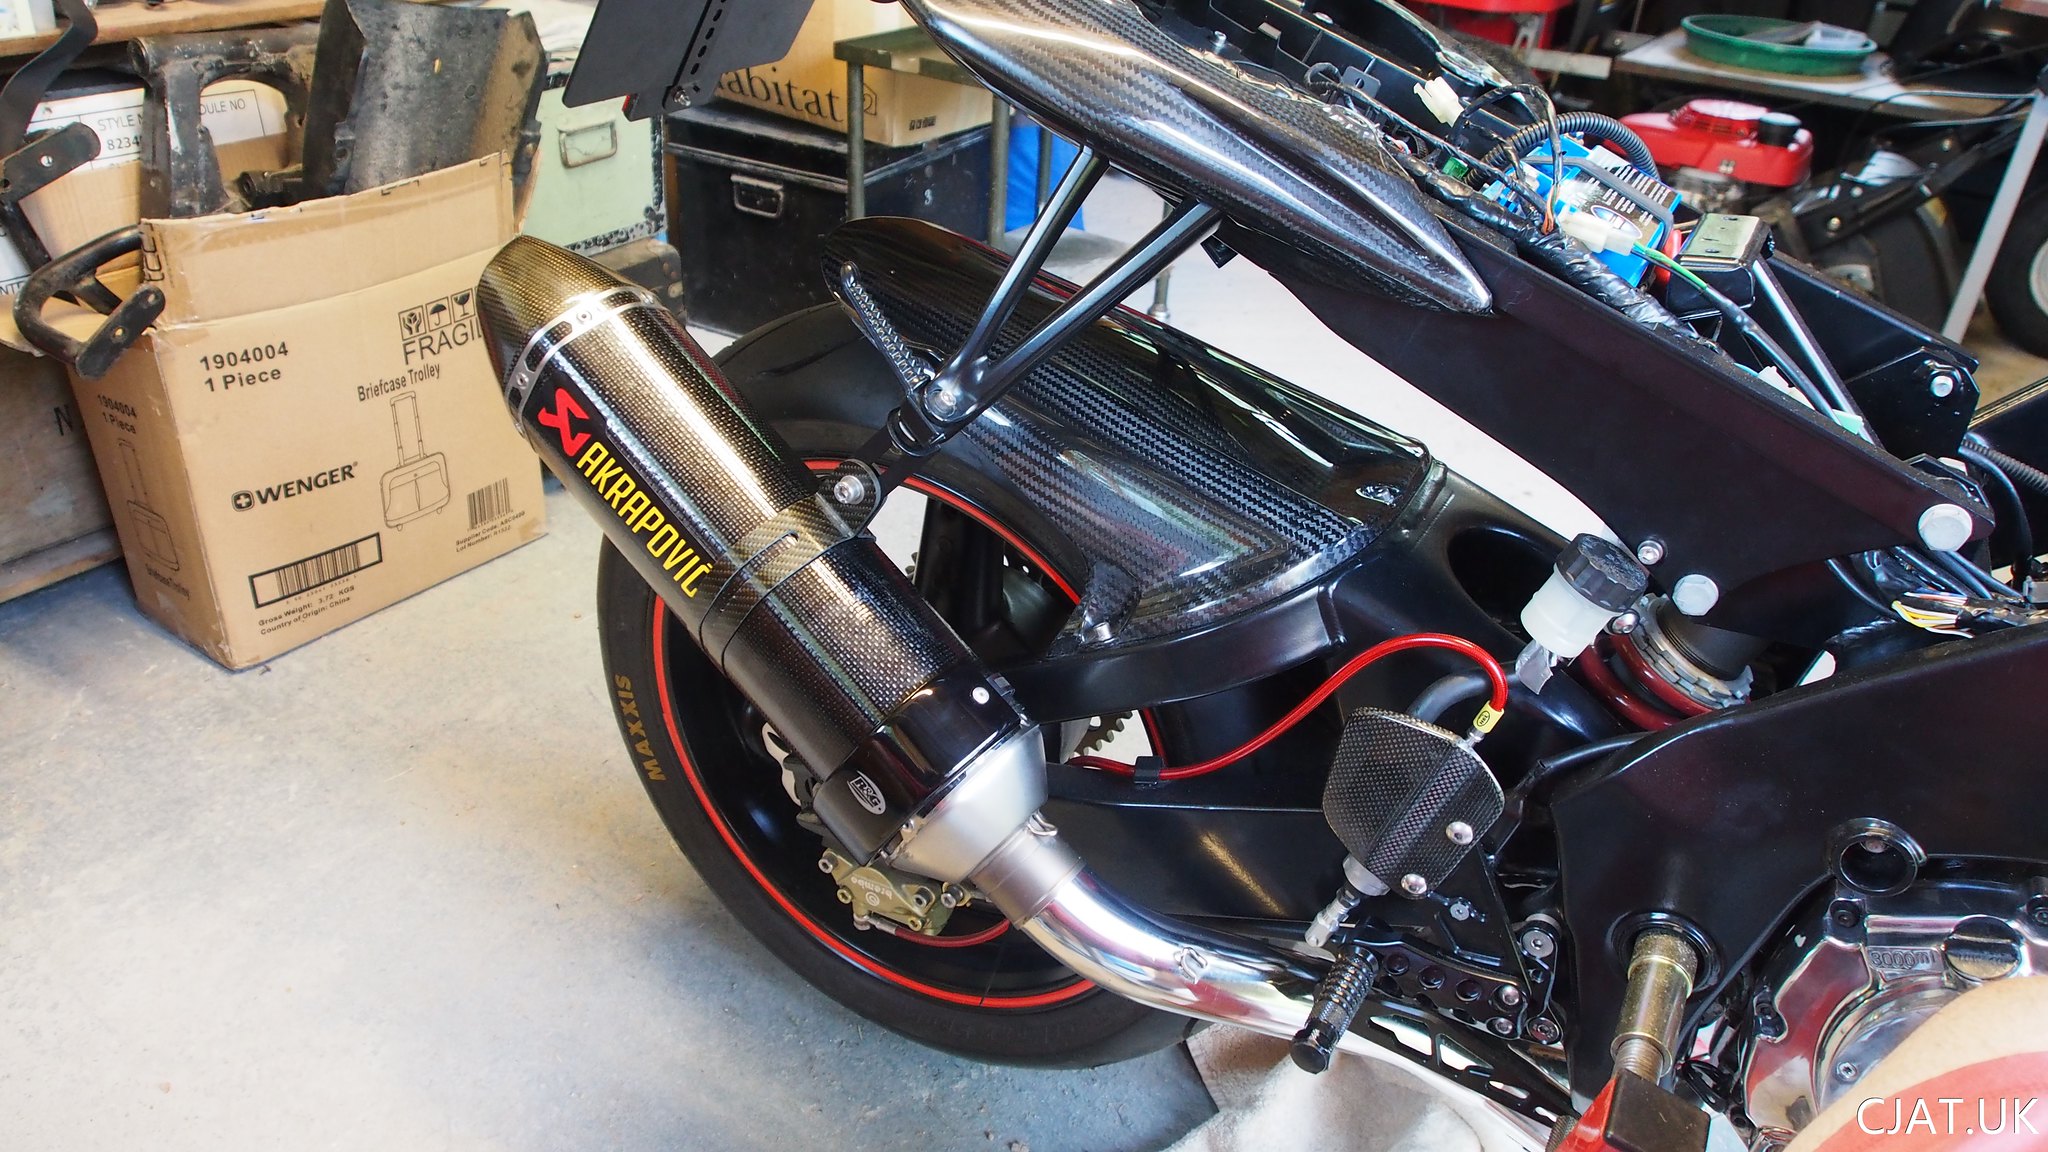
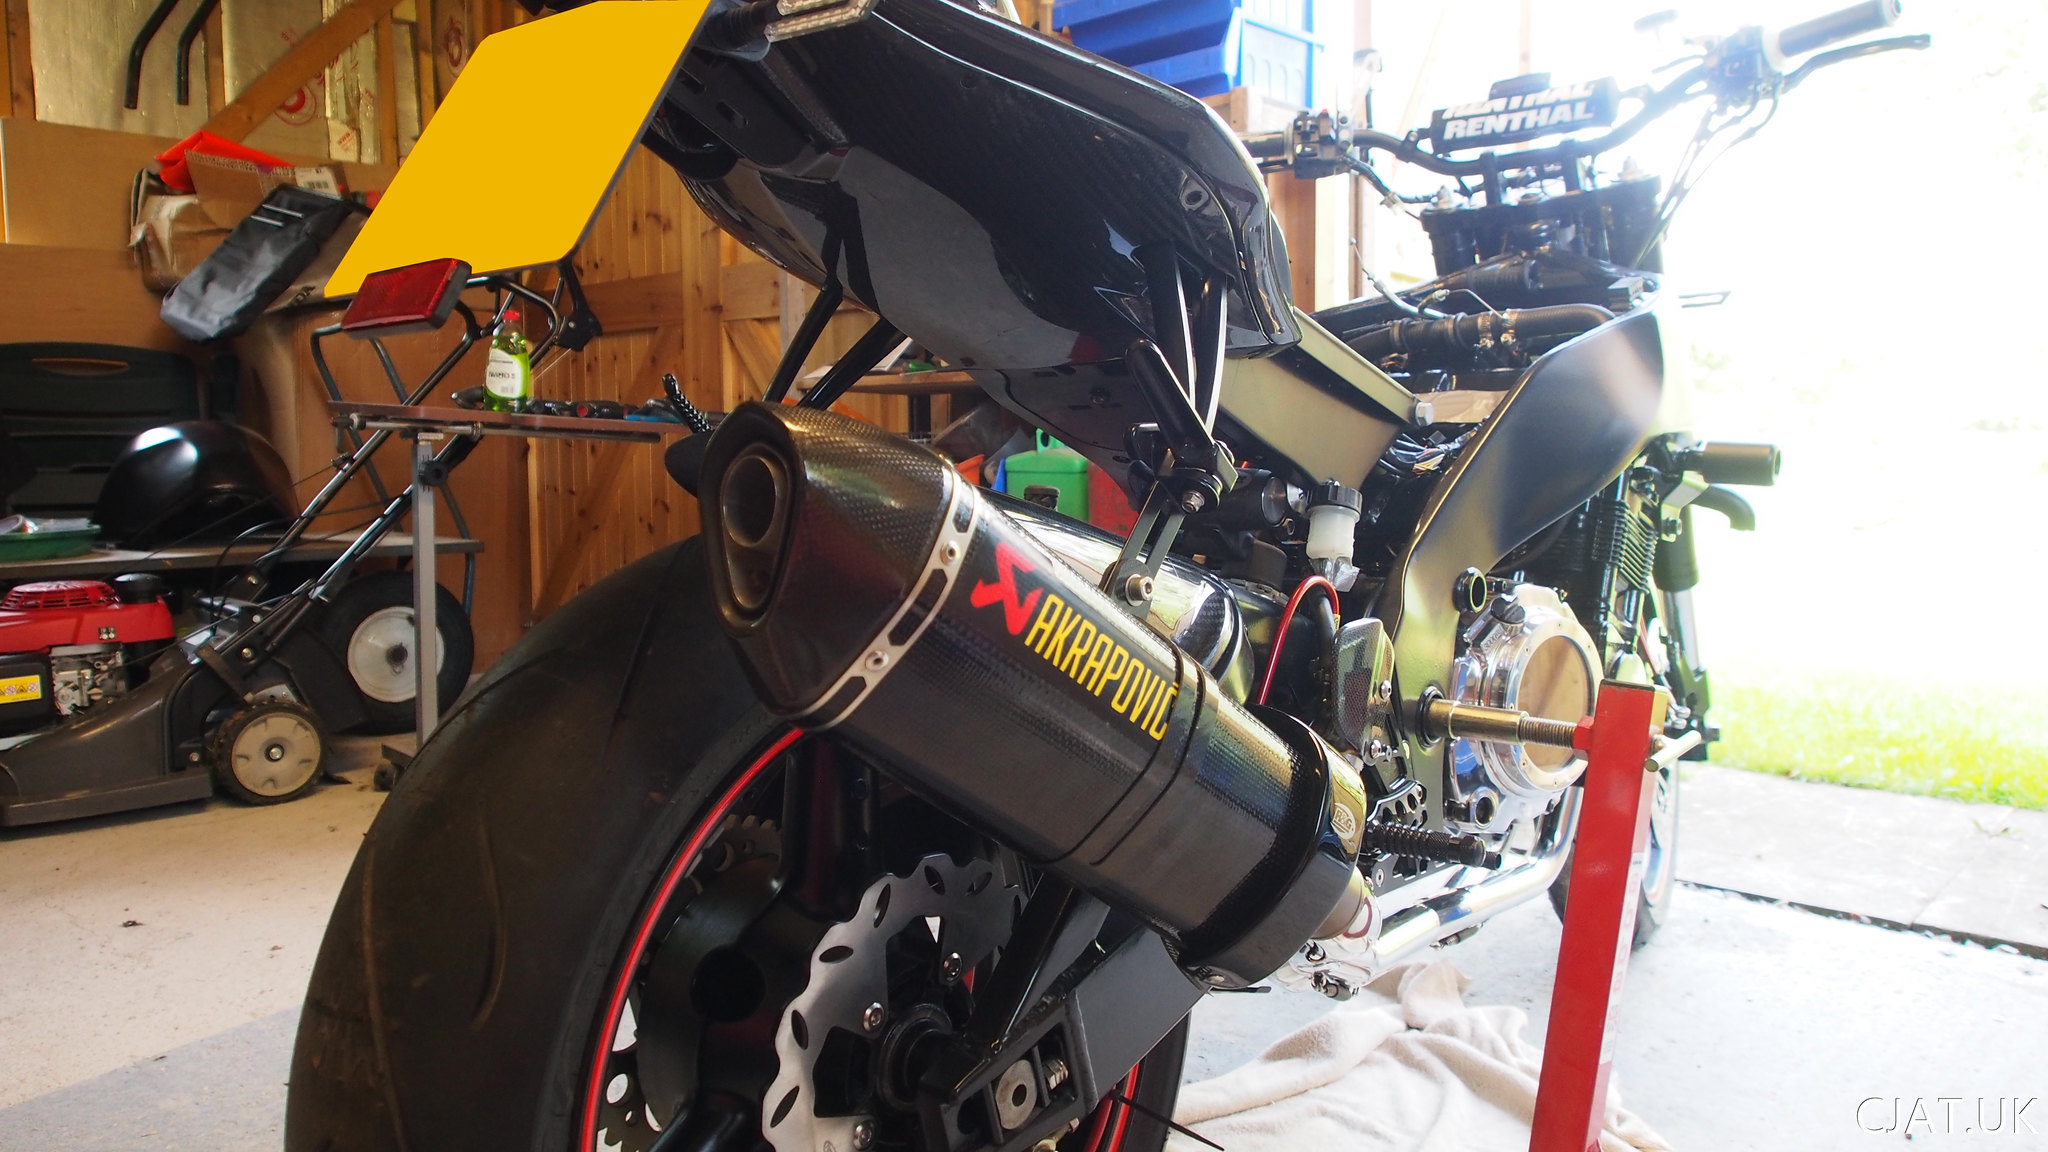
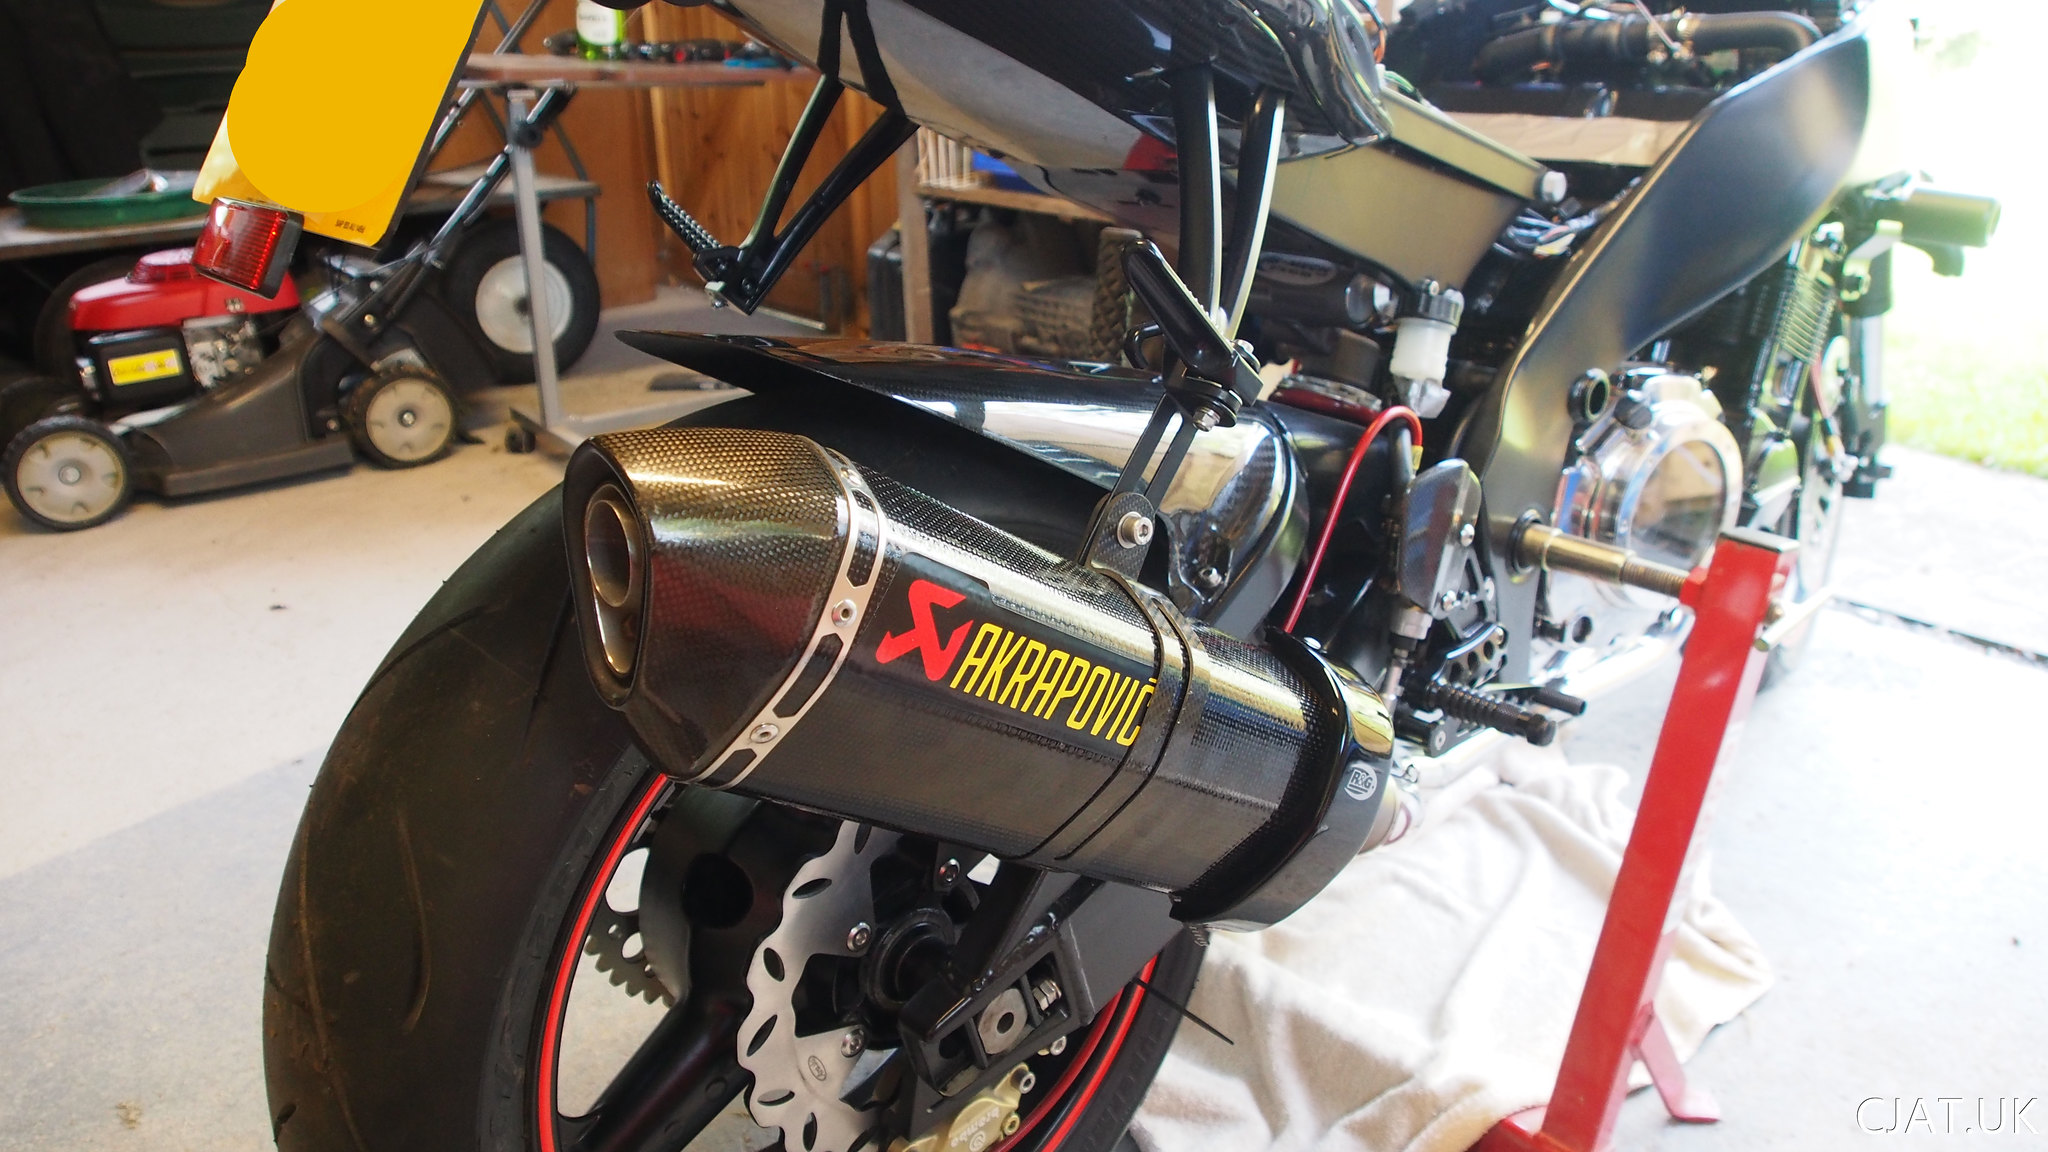
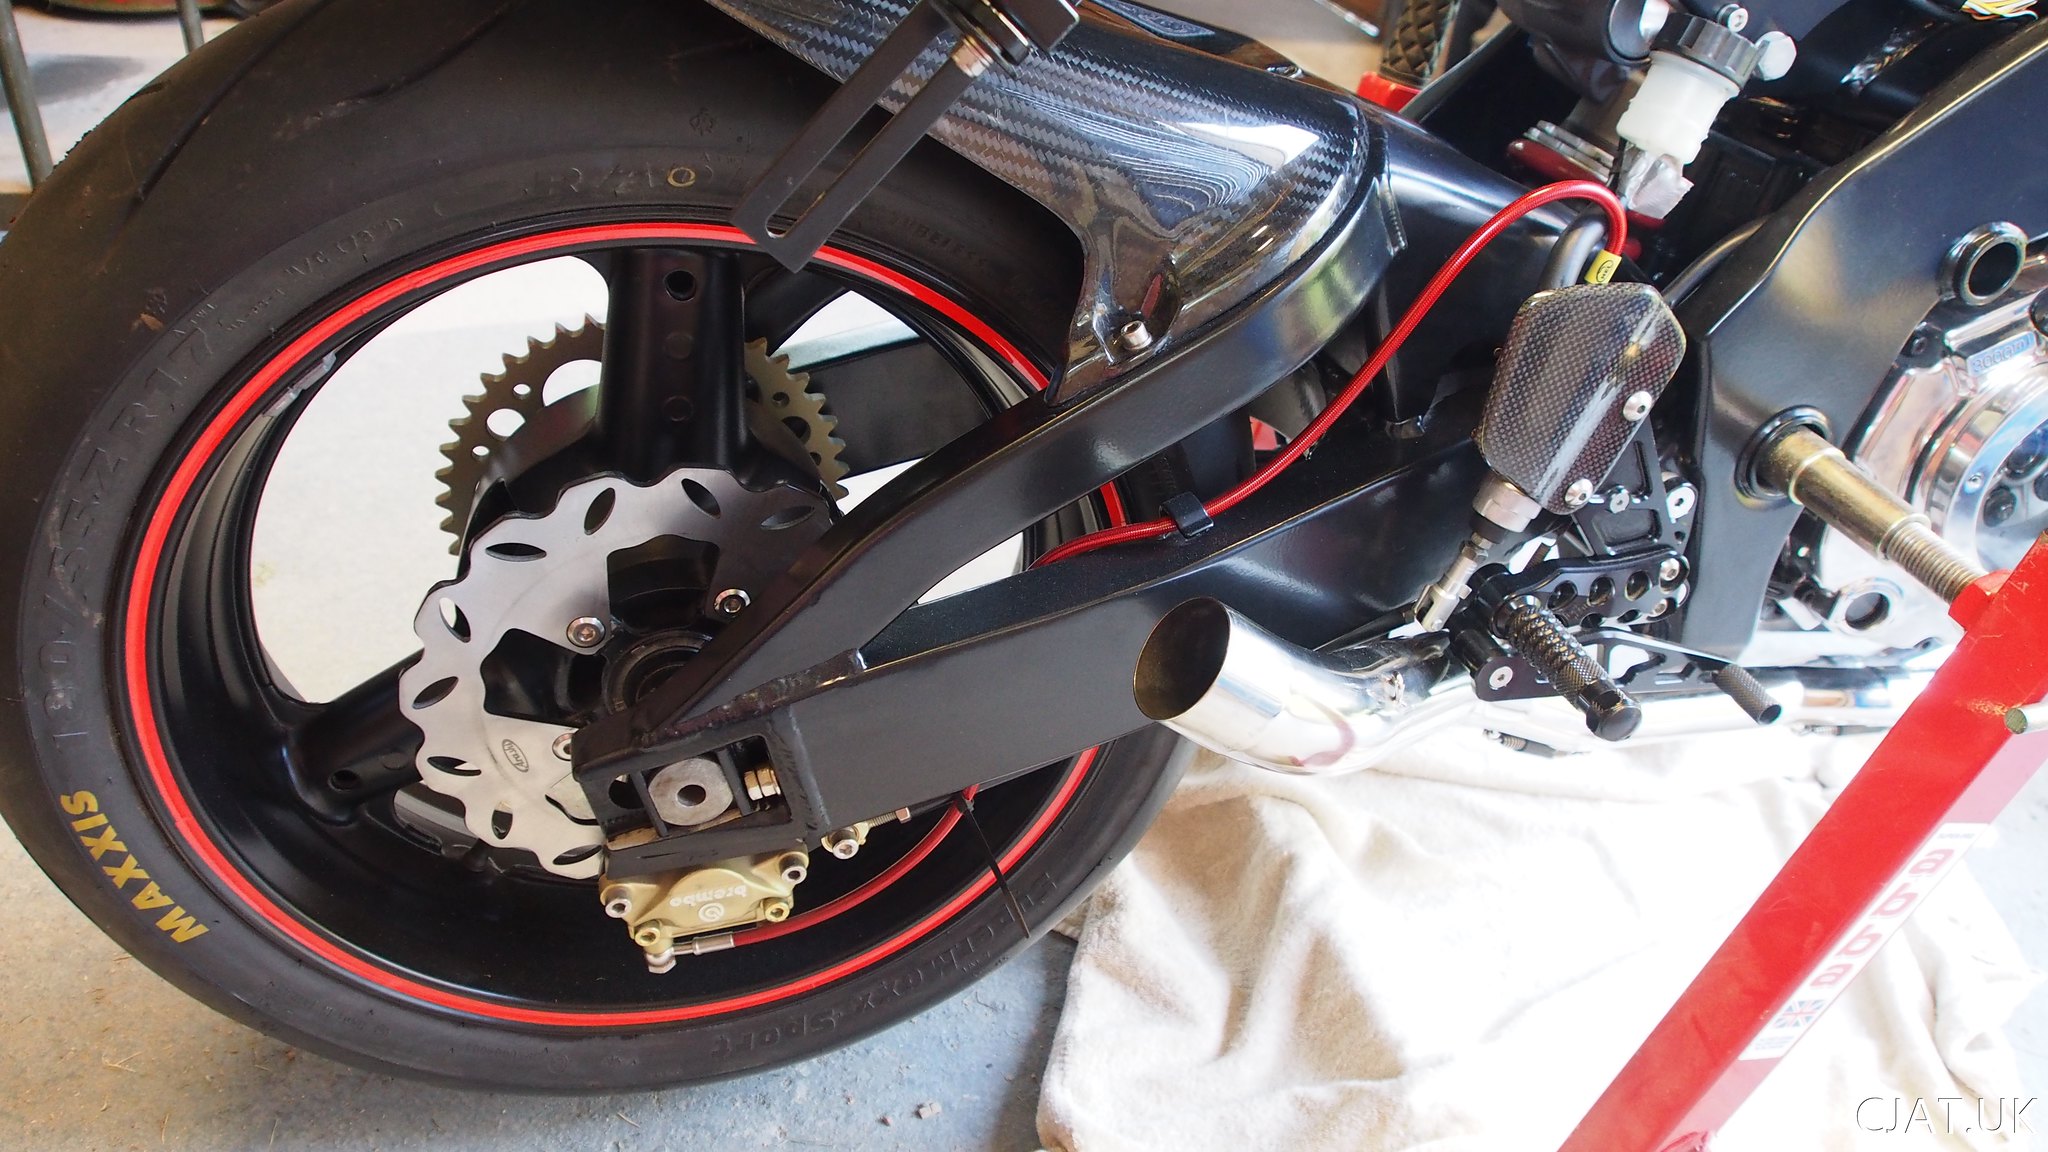 Can’t wait to hear it running but the carbs are still being rebuilt with Rob at Hampshire Motorcycles.
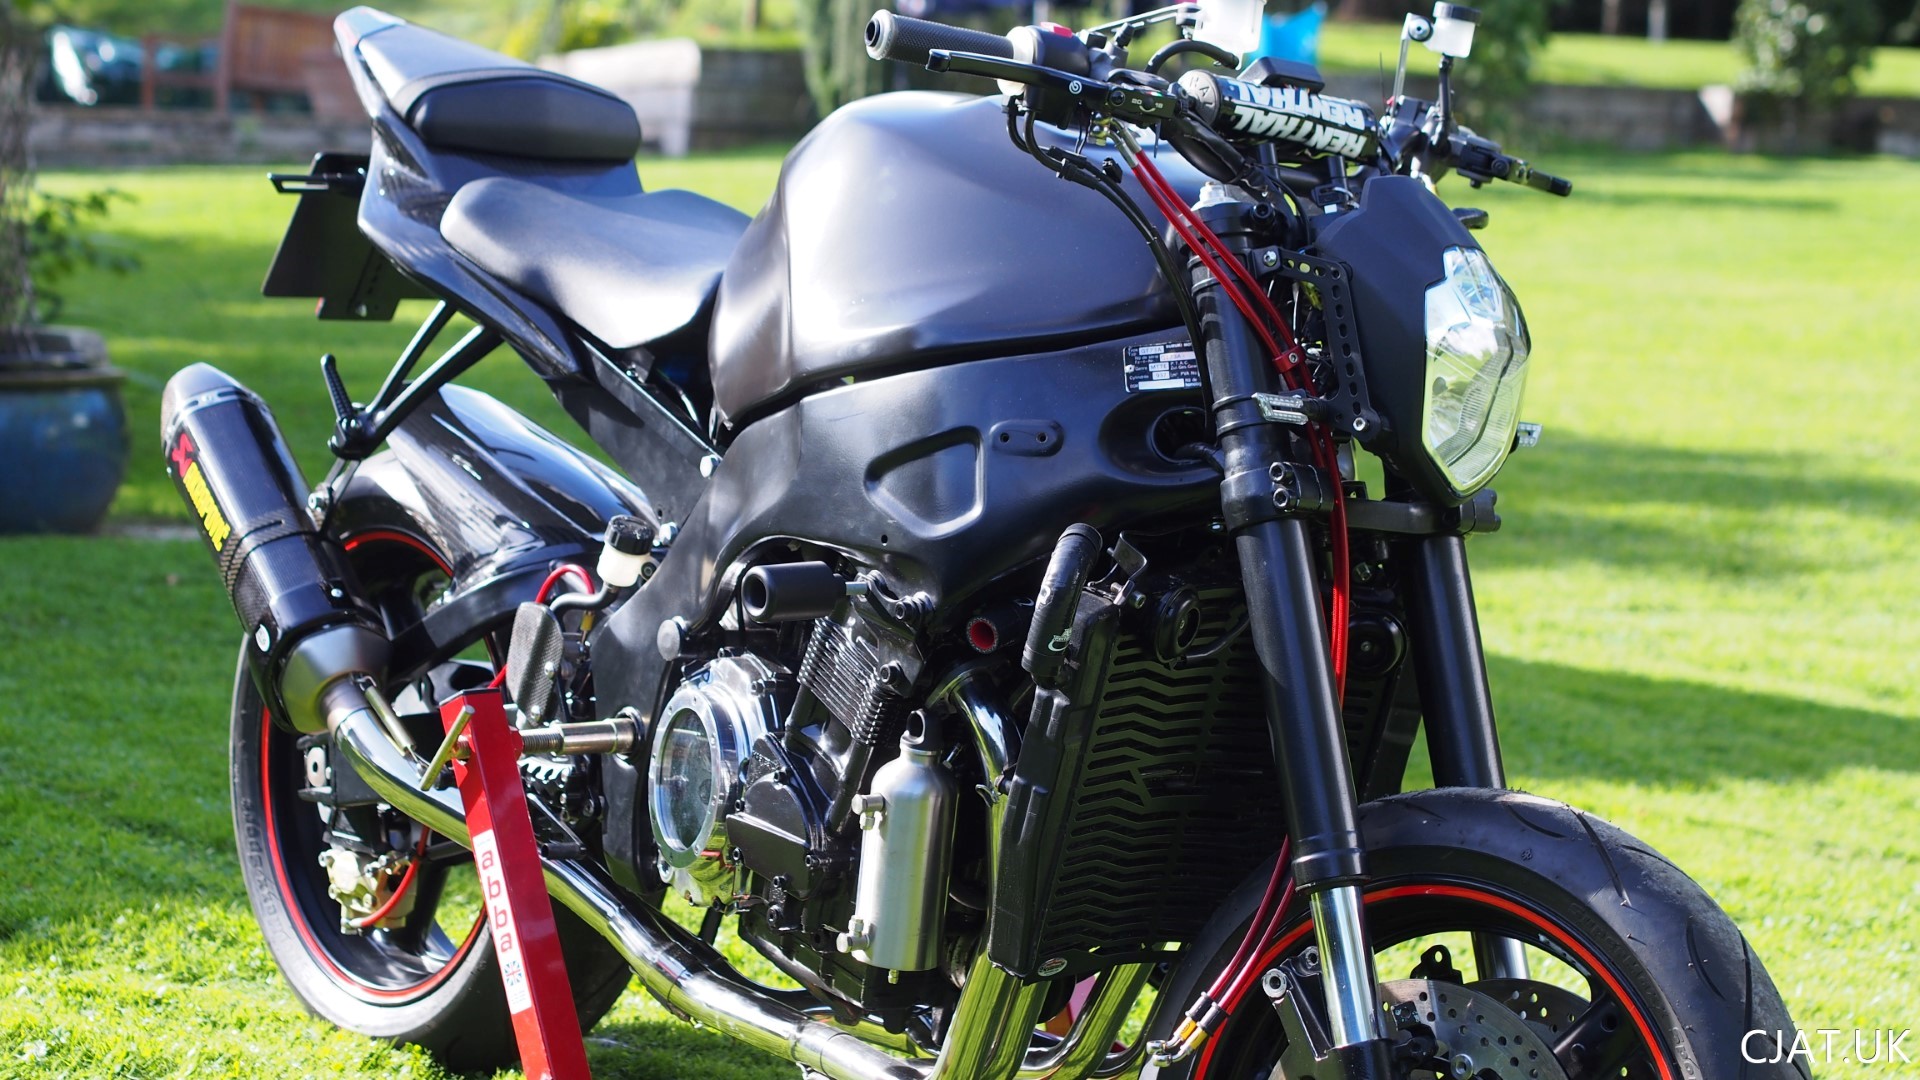
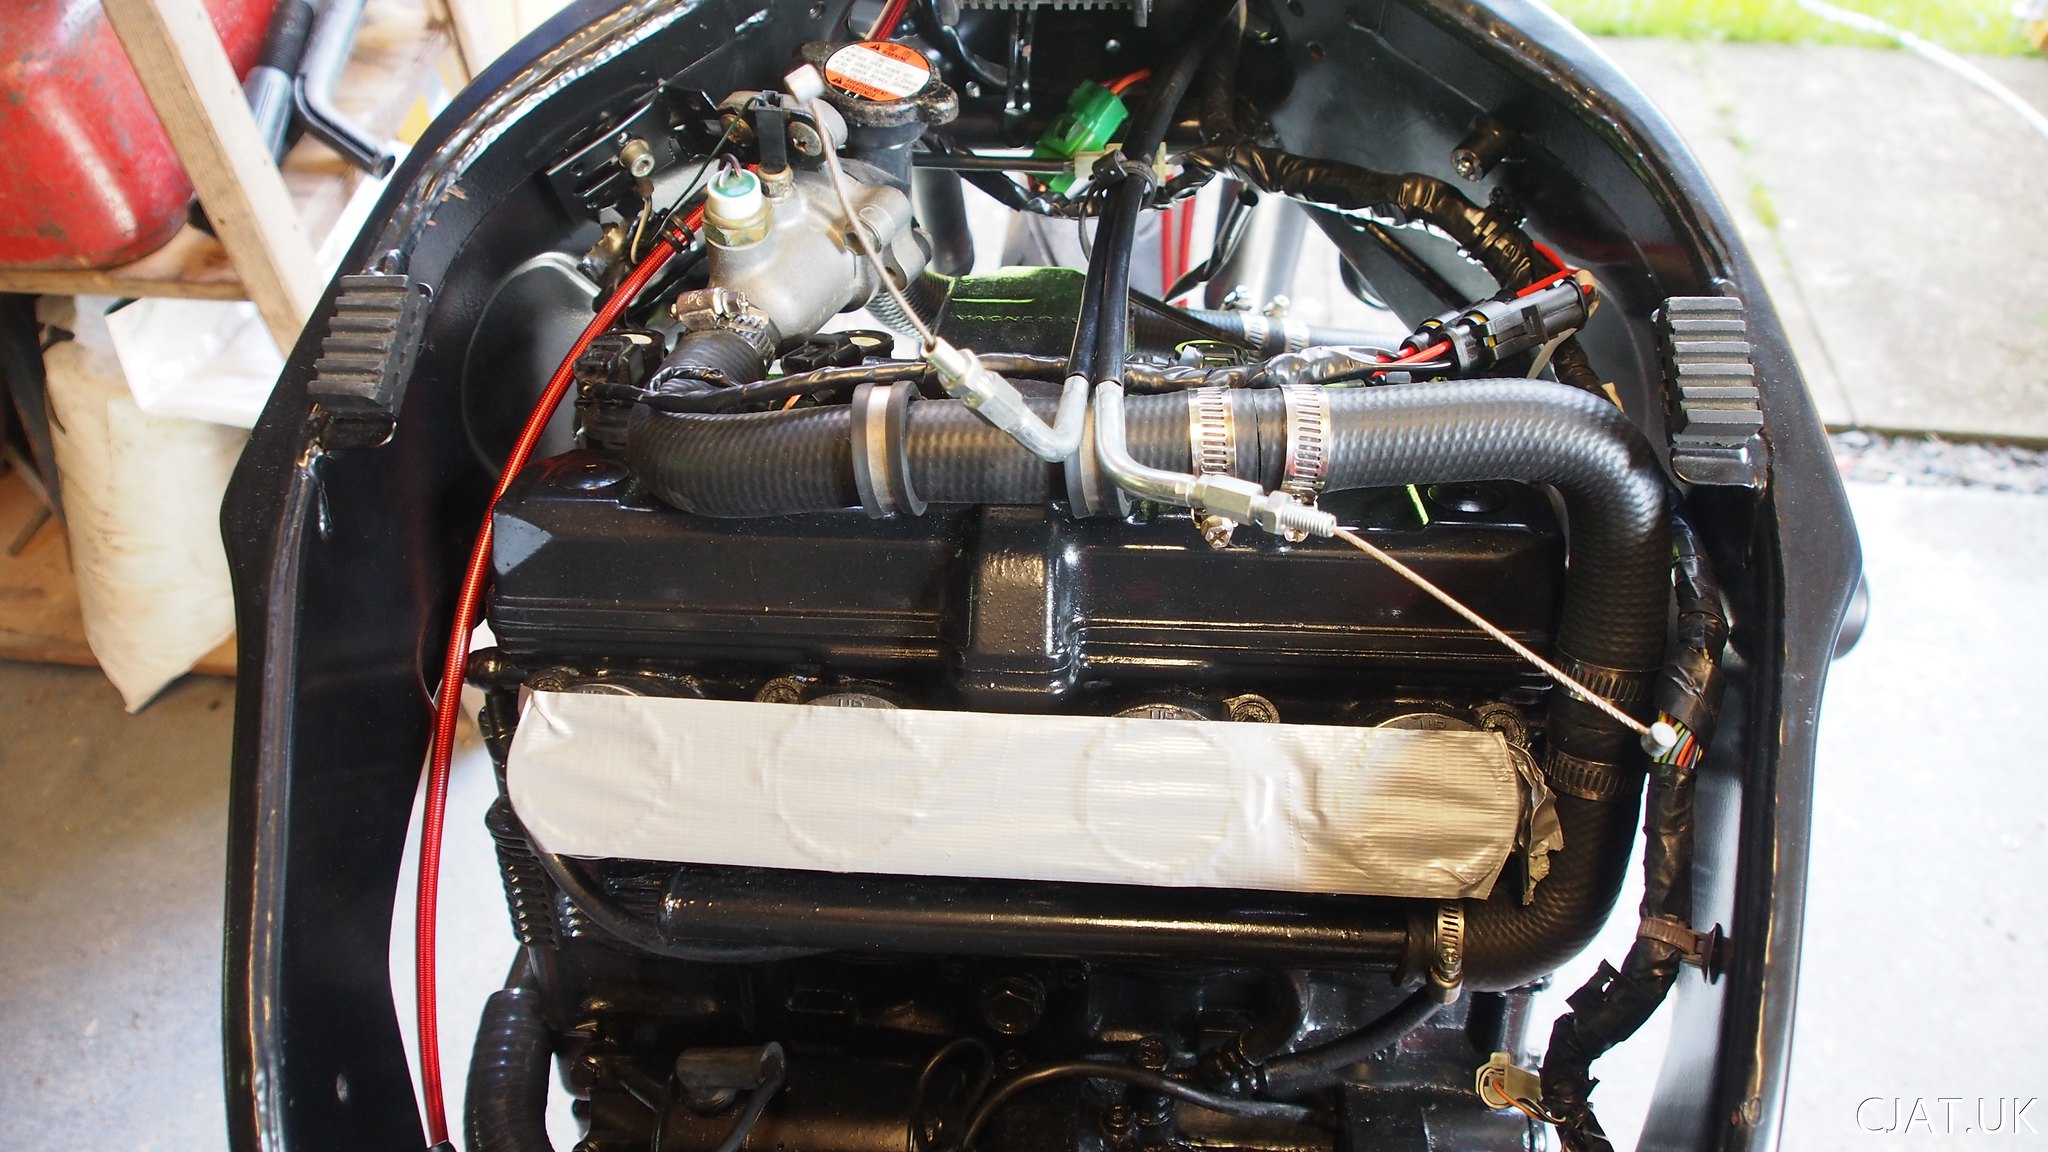 One thing you may have noticed is that I have changed the black end of the thermostat. The original RF900 thermostat has a right angled connector to connect the radiator. With the relocation and new bracket I found that this angle was too sharp to produce a nice flow to the radiator. So I used the straight connector from the GSXR1100 – which fit perfectly to the RF900 thermostat.
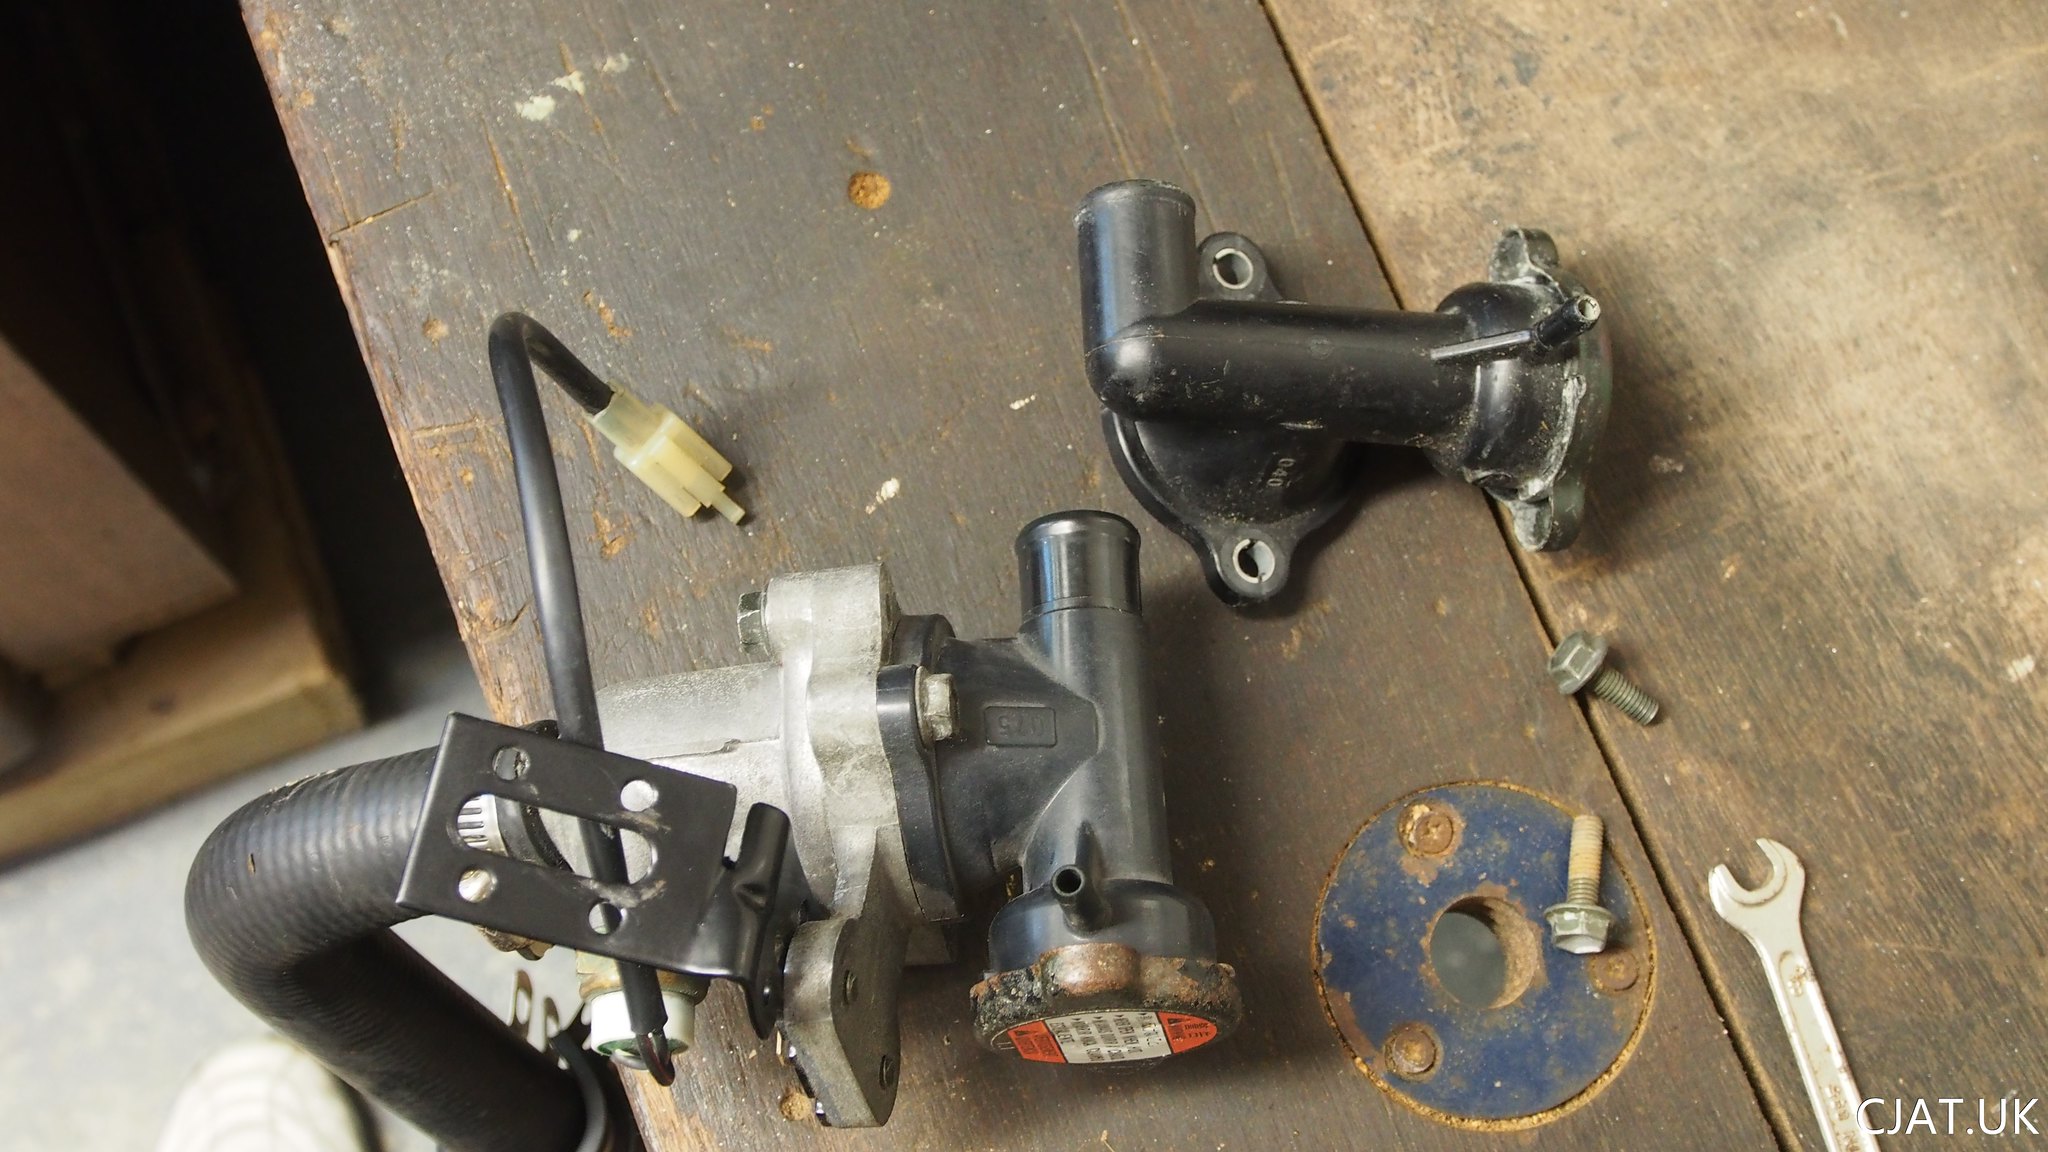 It seems that the pipe work for the new black end is a little smaller that the original part but I don’t think it will affect the cooling performance especial as in the UK the weather rarely gets very hot.
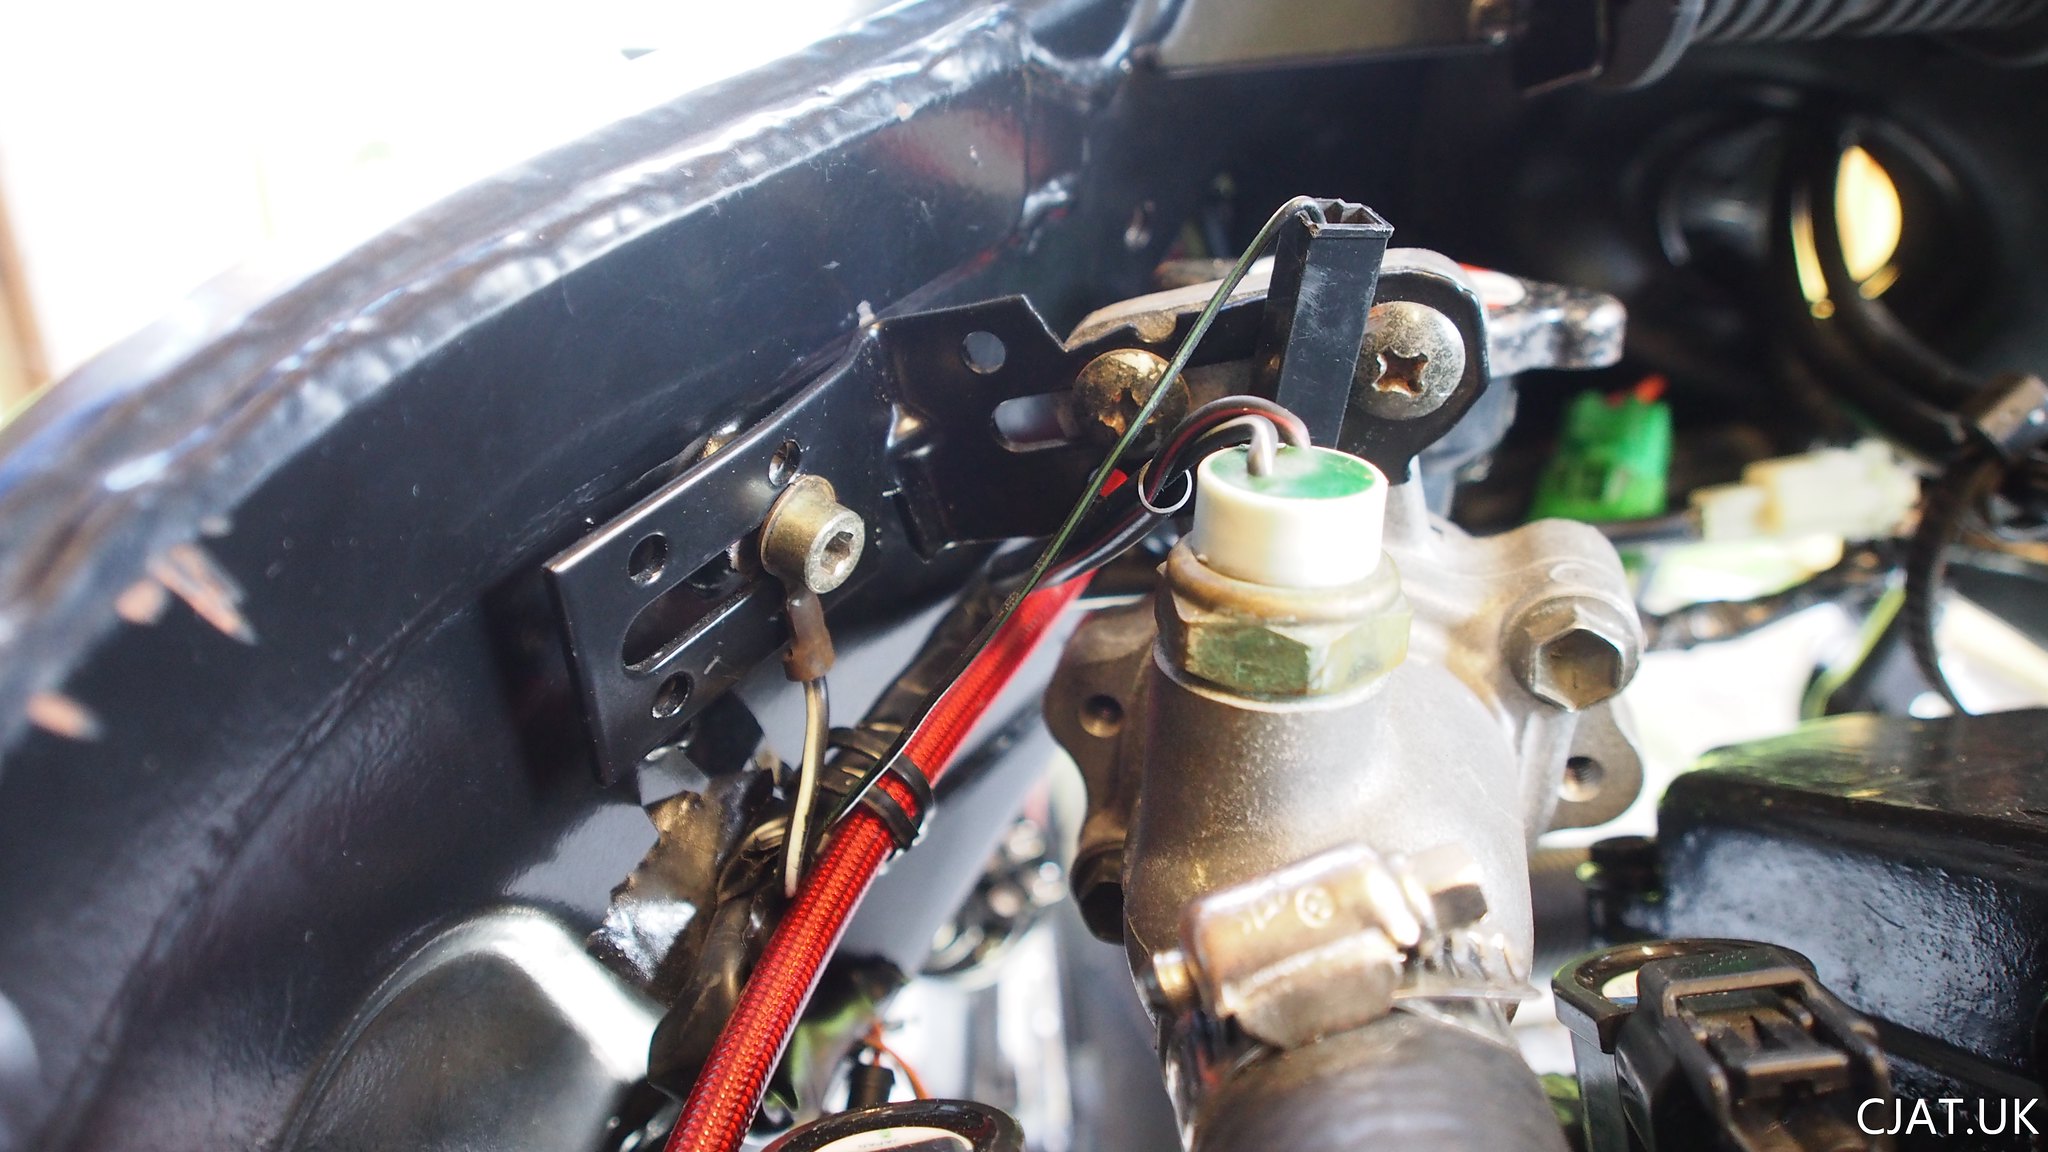
 Cap needs painting
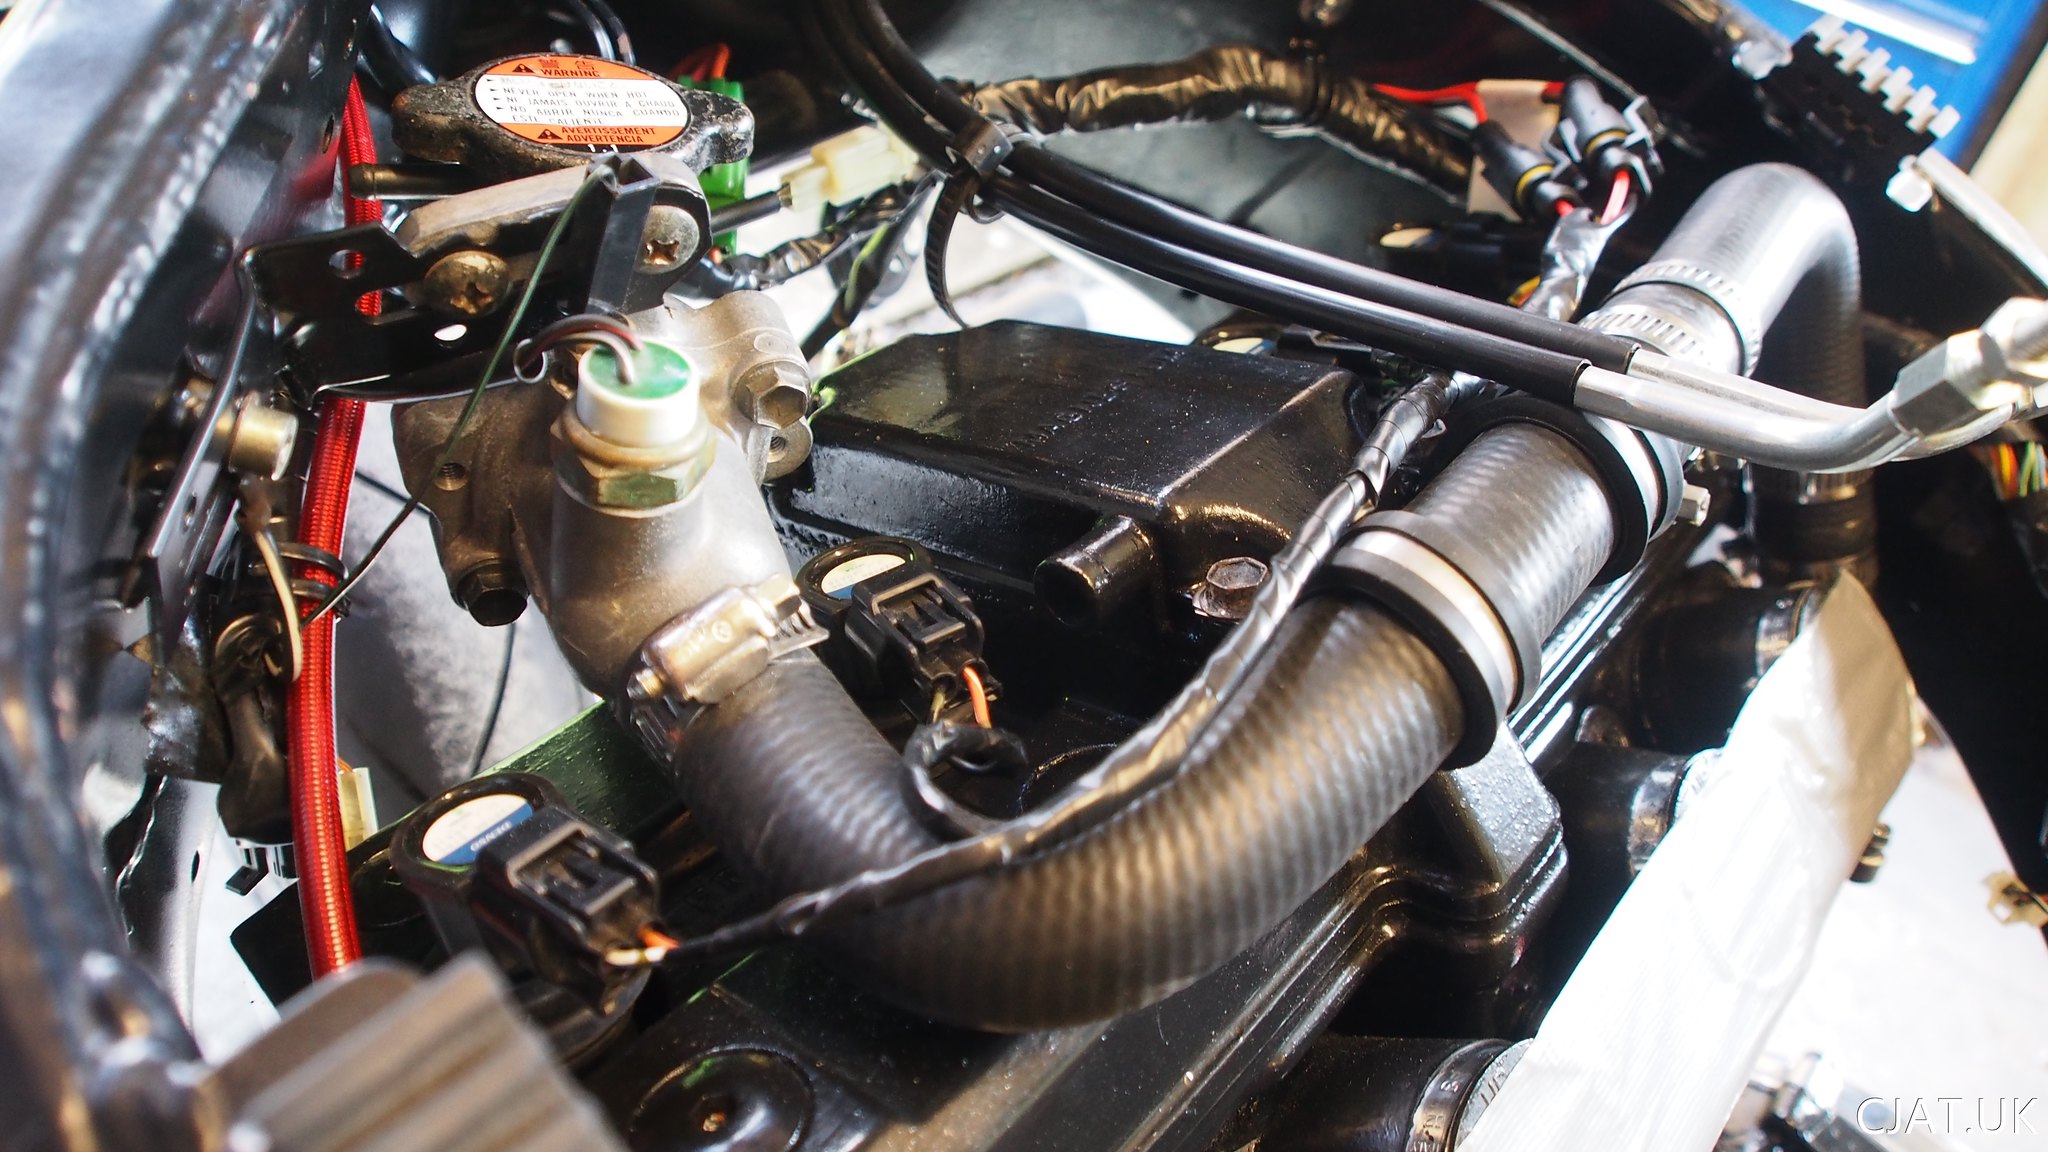
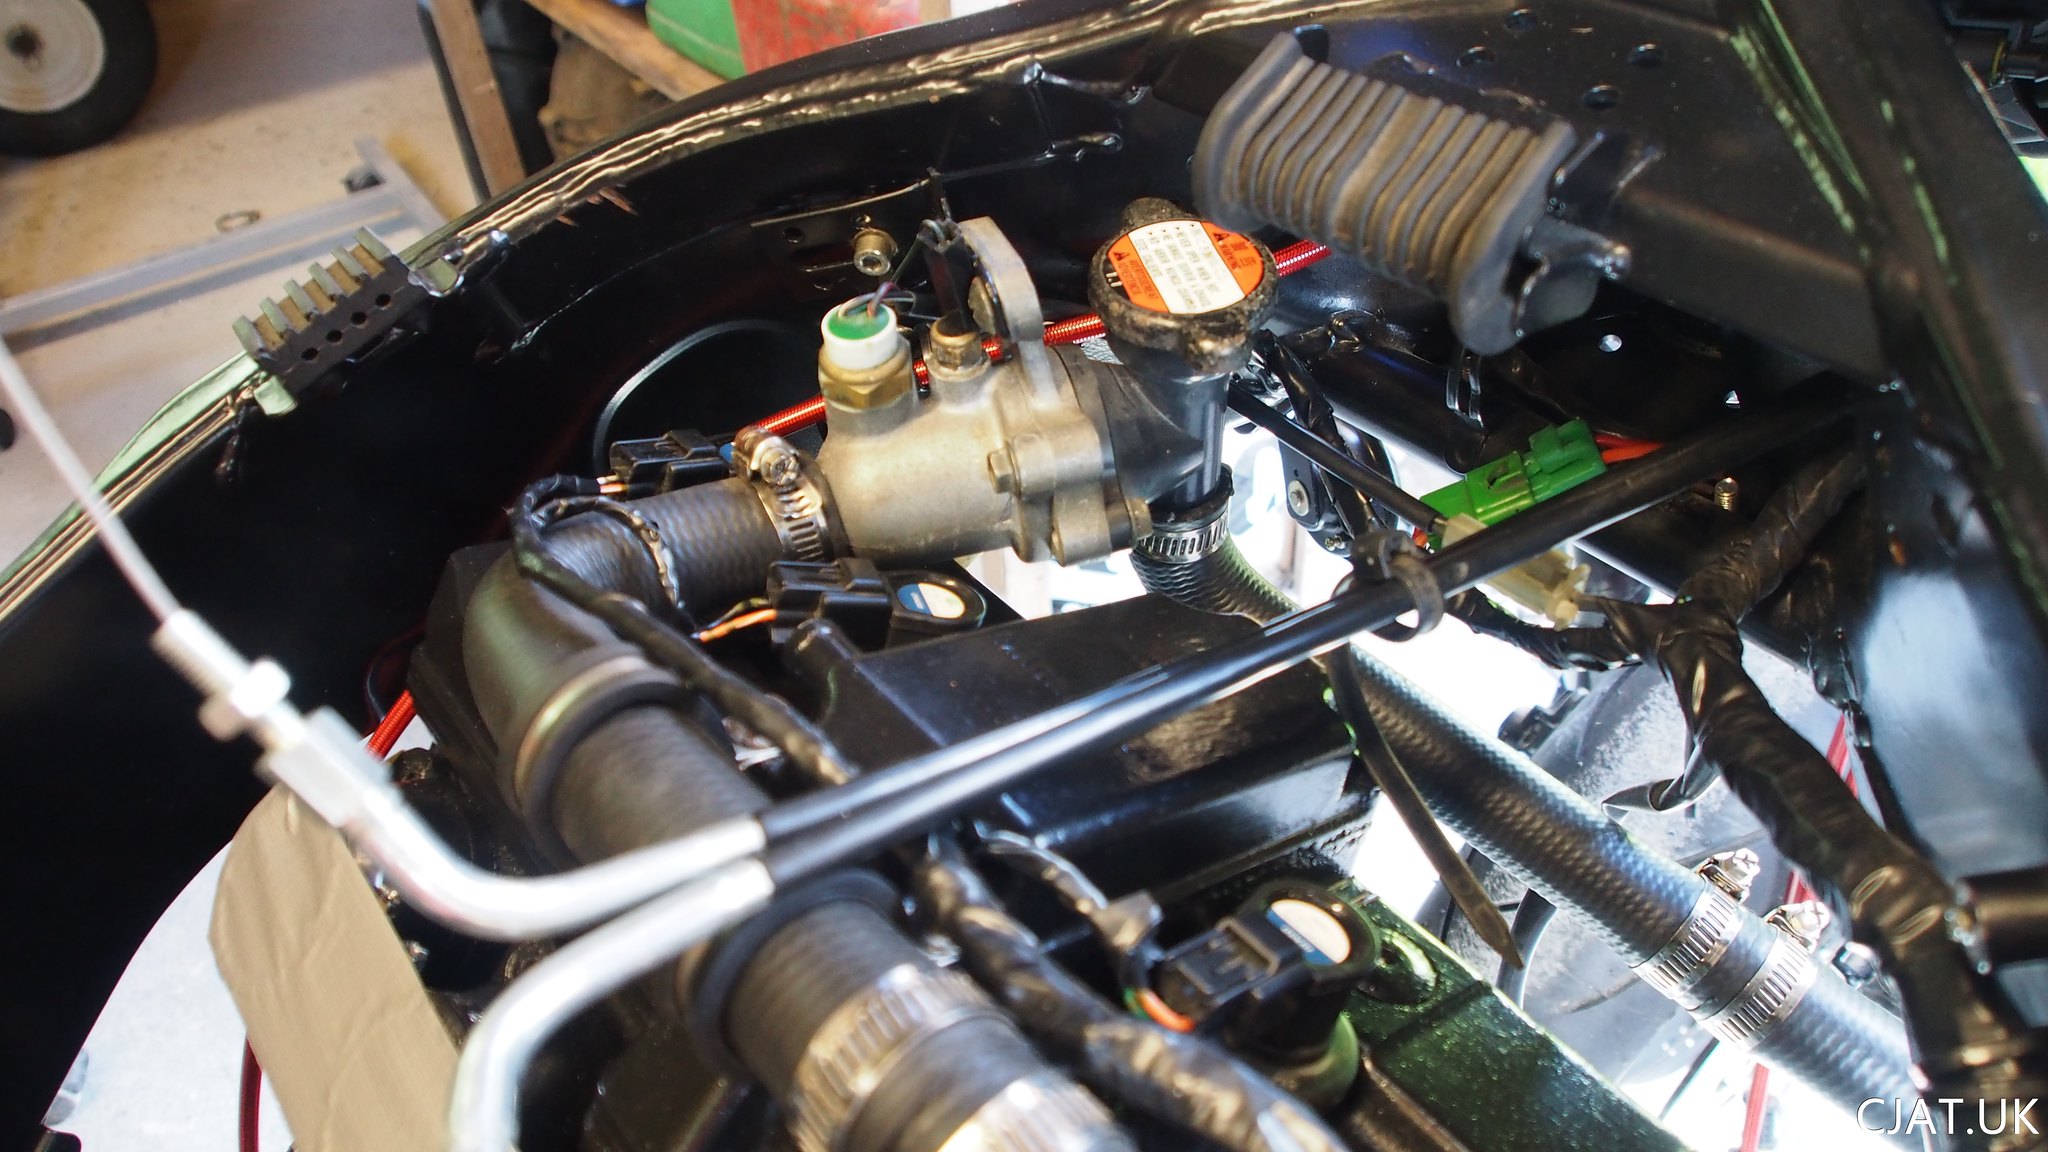 Overflow bottle. Always a good question - what to do with the overflow bottle on a street fighter? The RF900 overflow bottle was originally attached to the subframe under the big arse fairings. It is not the best looking part to come from a Suzuki.
Therefore, a new water bottle was needed. Found this one on eBay. Not sure it is perfect but will do for now.
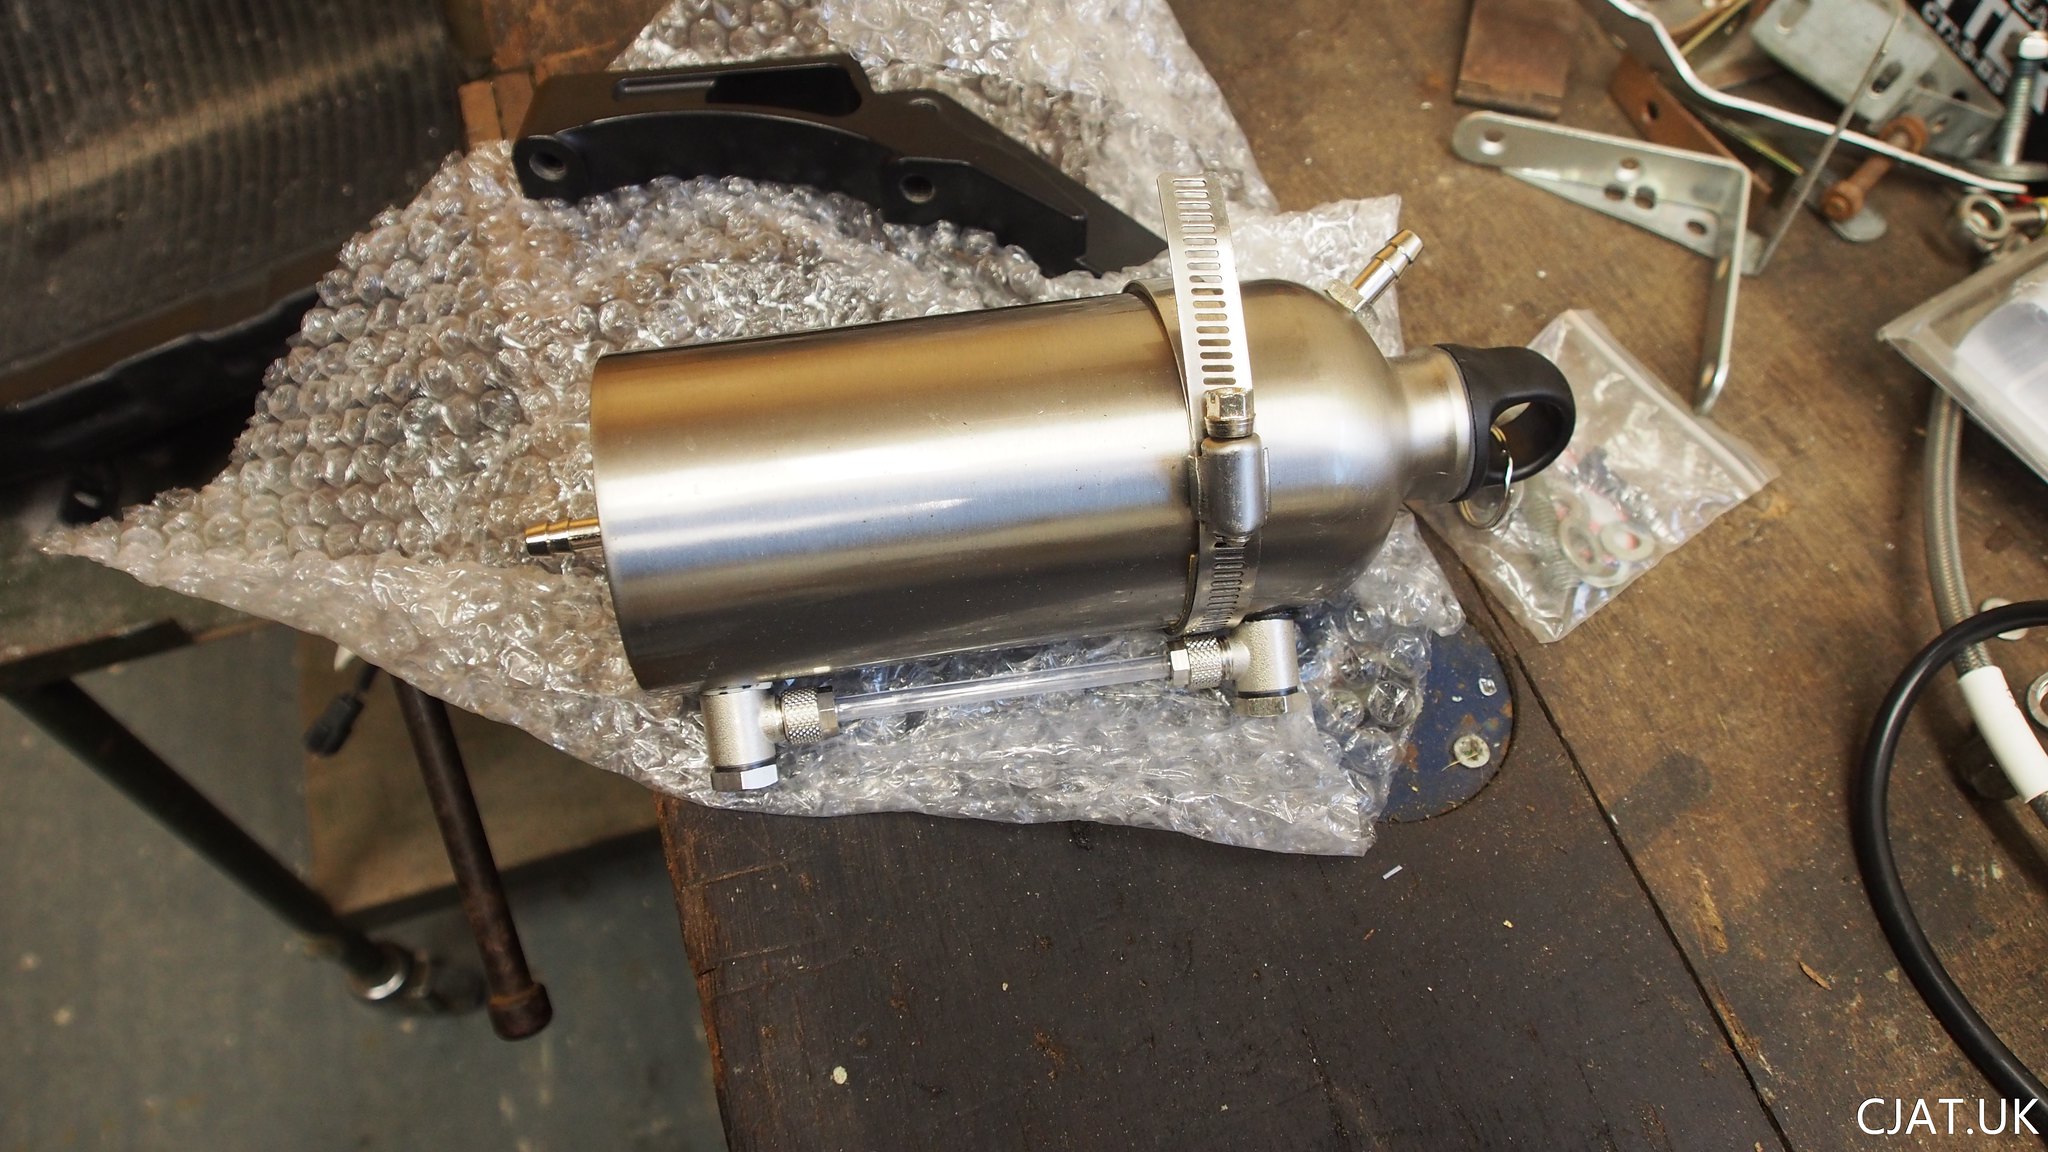 Mounting point will most likely be near the radiator but will have to decide exactly where nearer the first run.
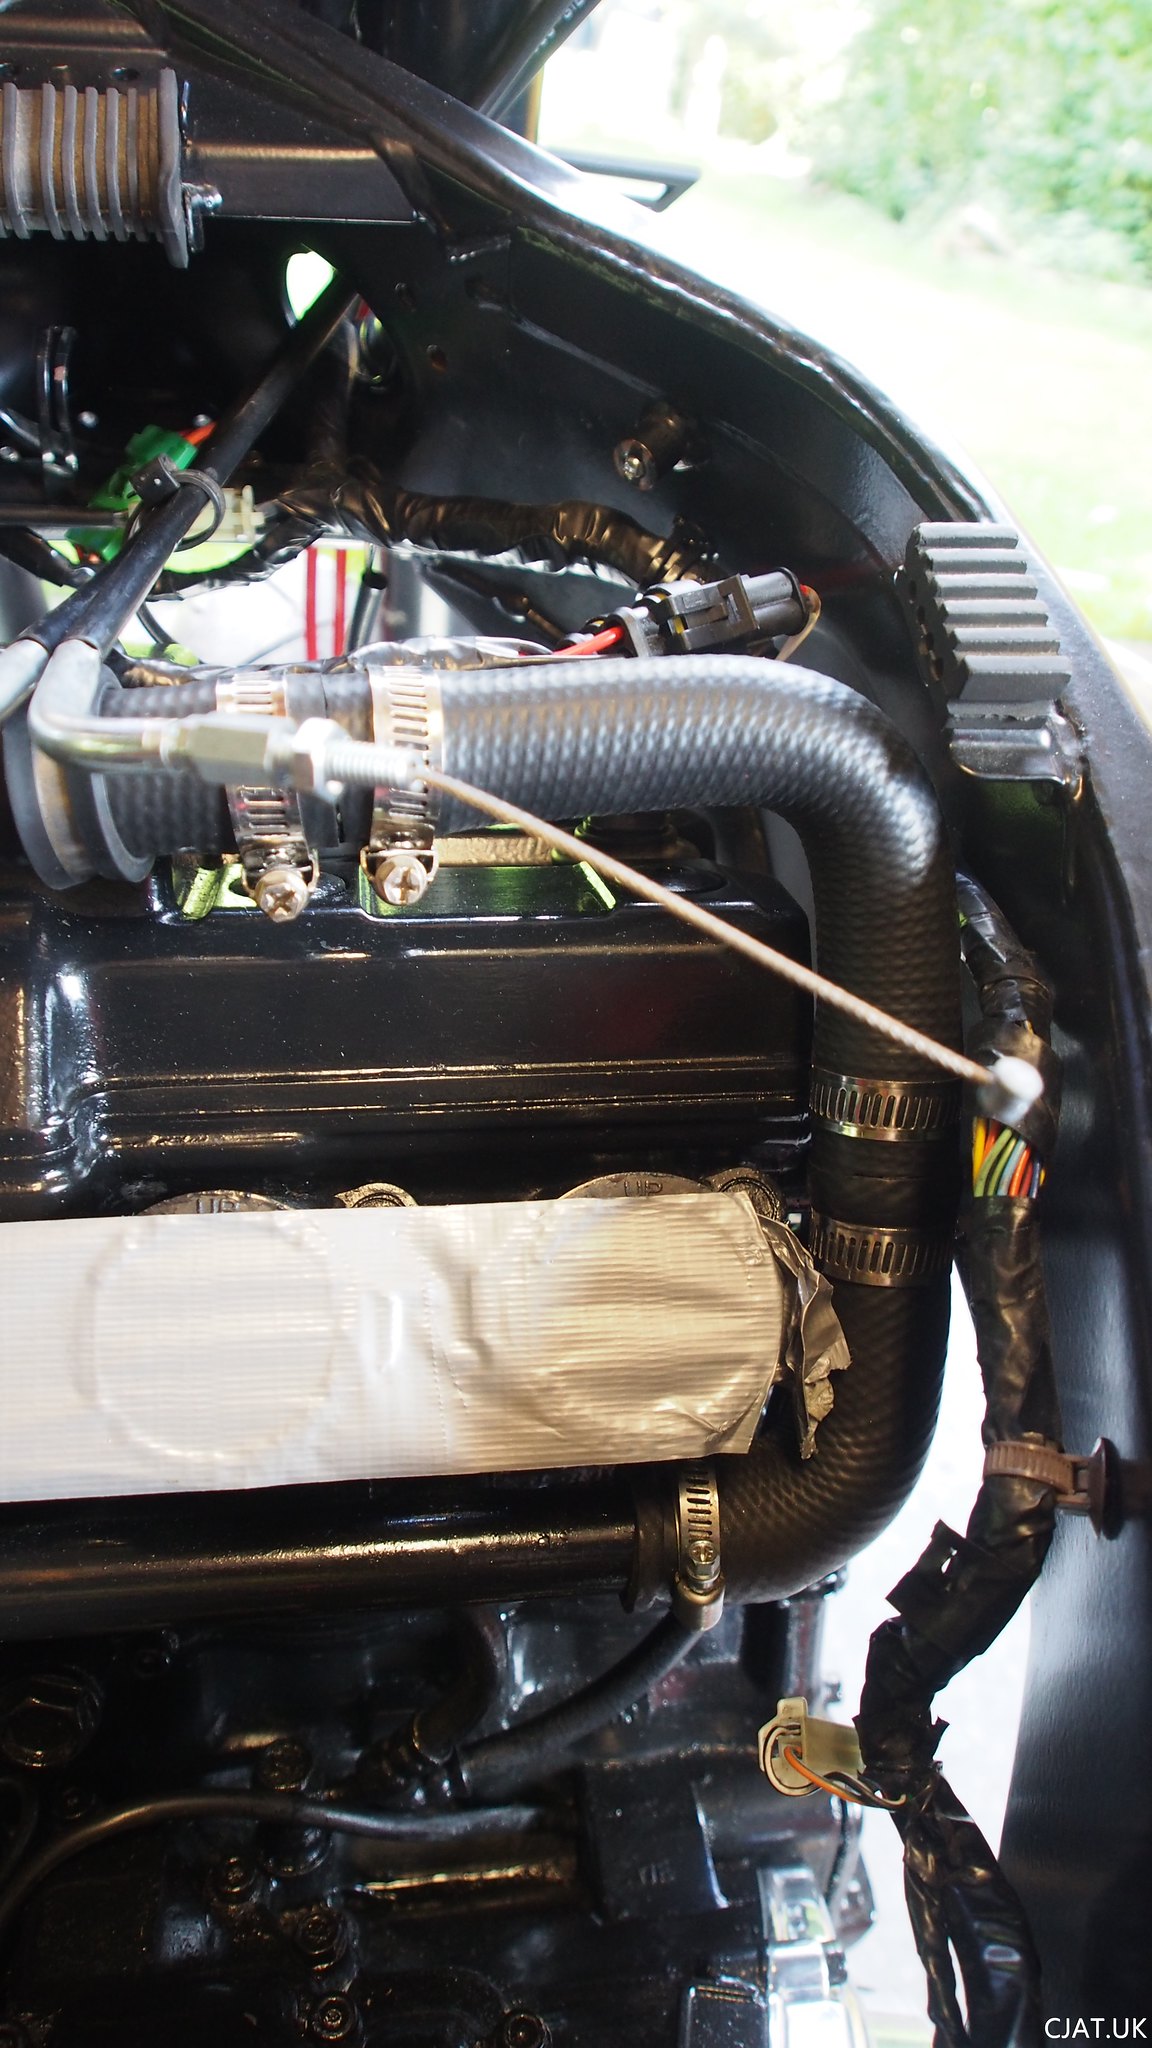
The newly painted engine will also need some pretty new water hoses, mostly for aesthetic reasons but the old hoses had a lot of crud in them and were pretty tired after being on the bike for 17 years.
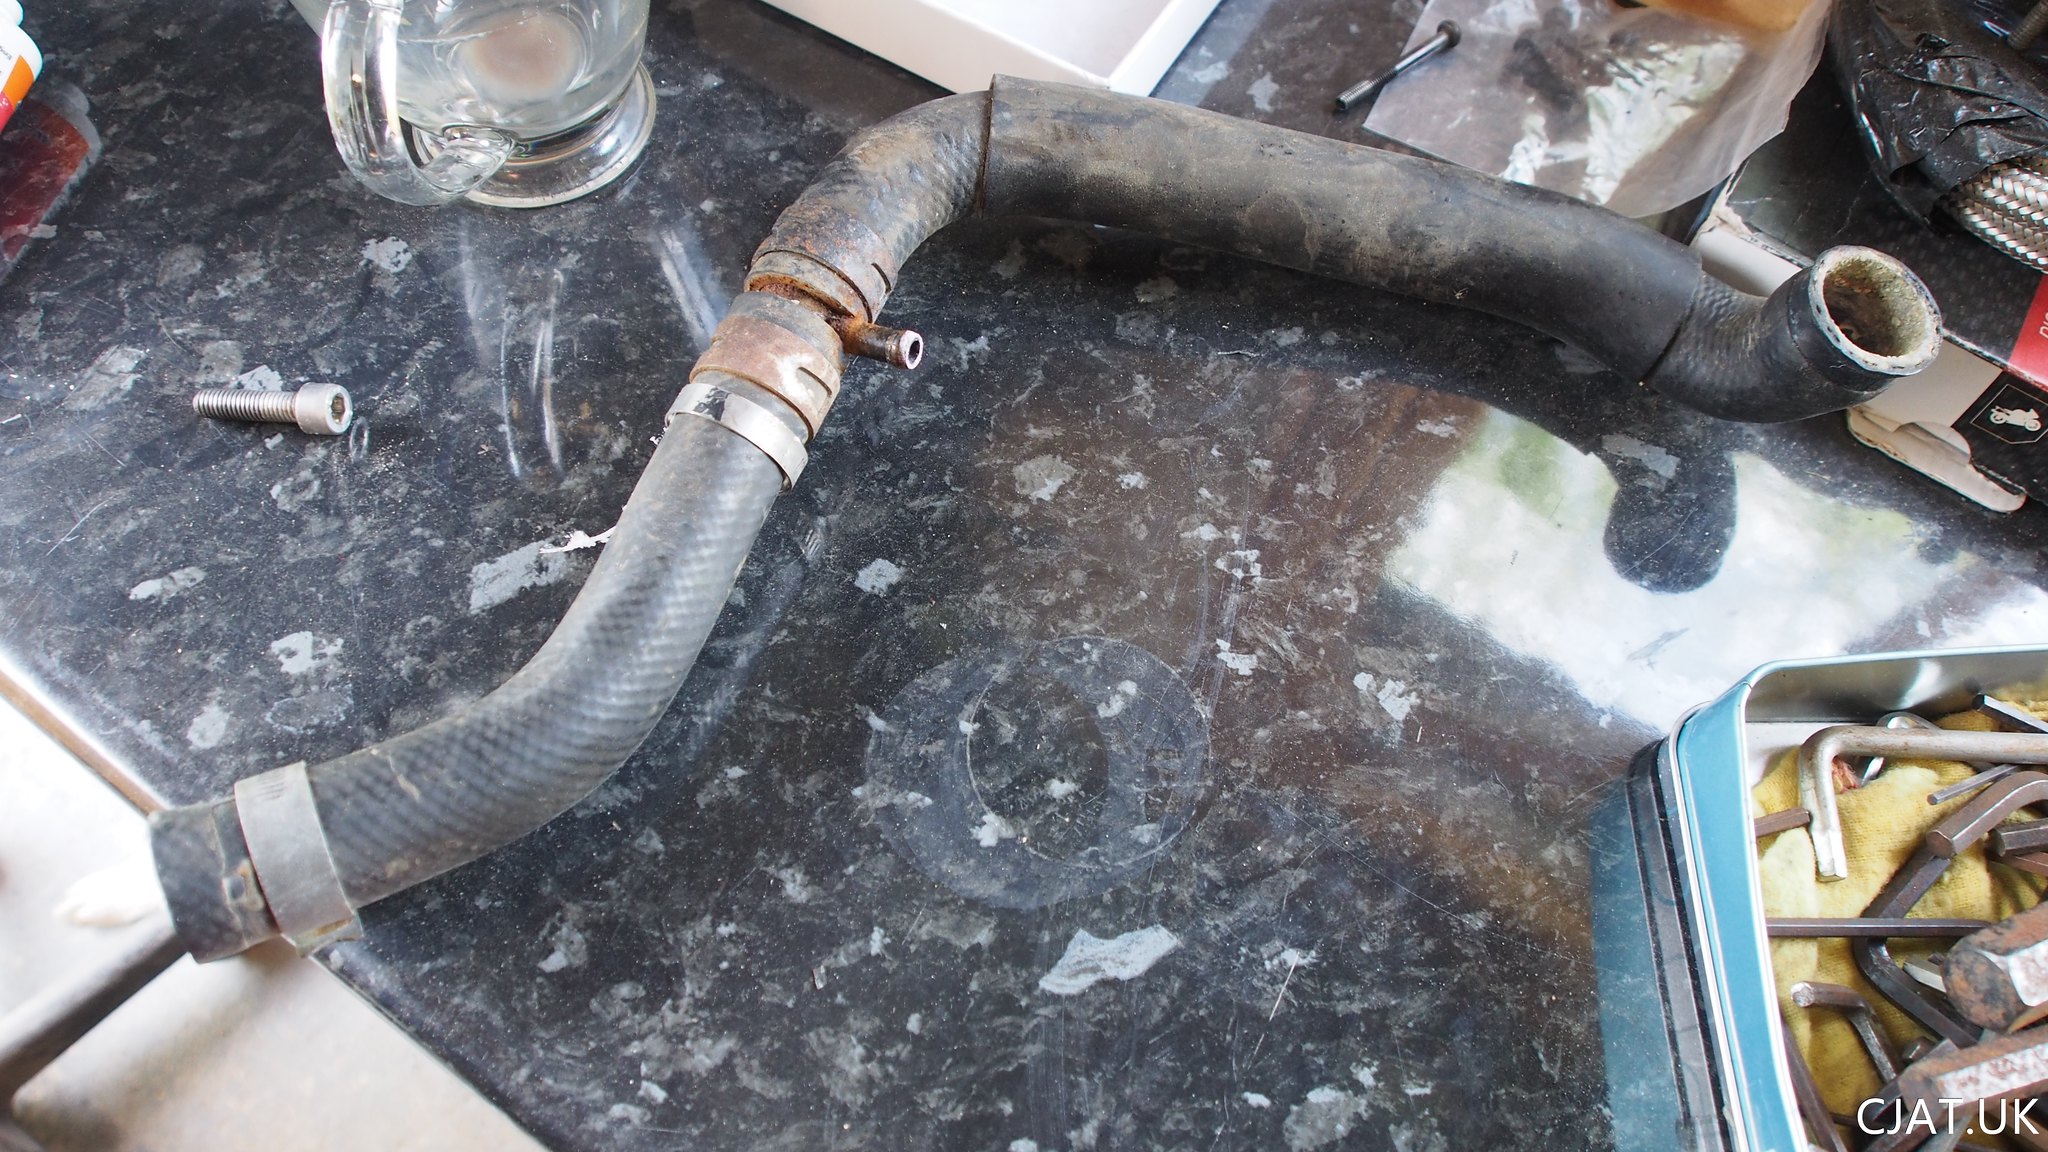
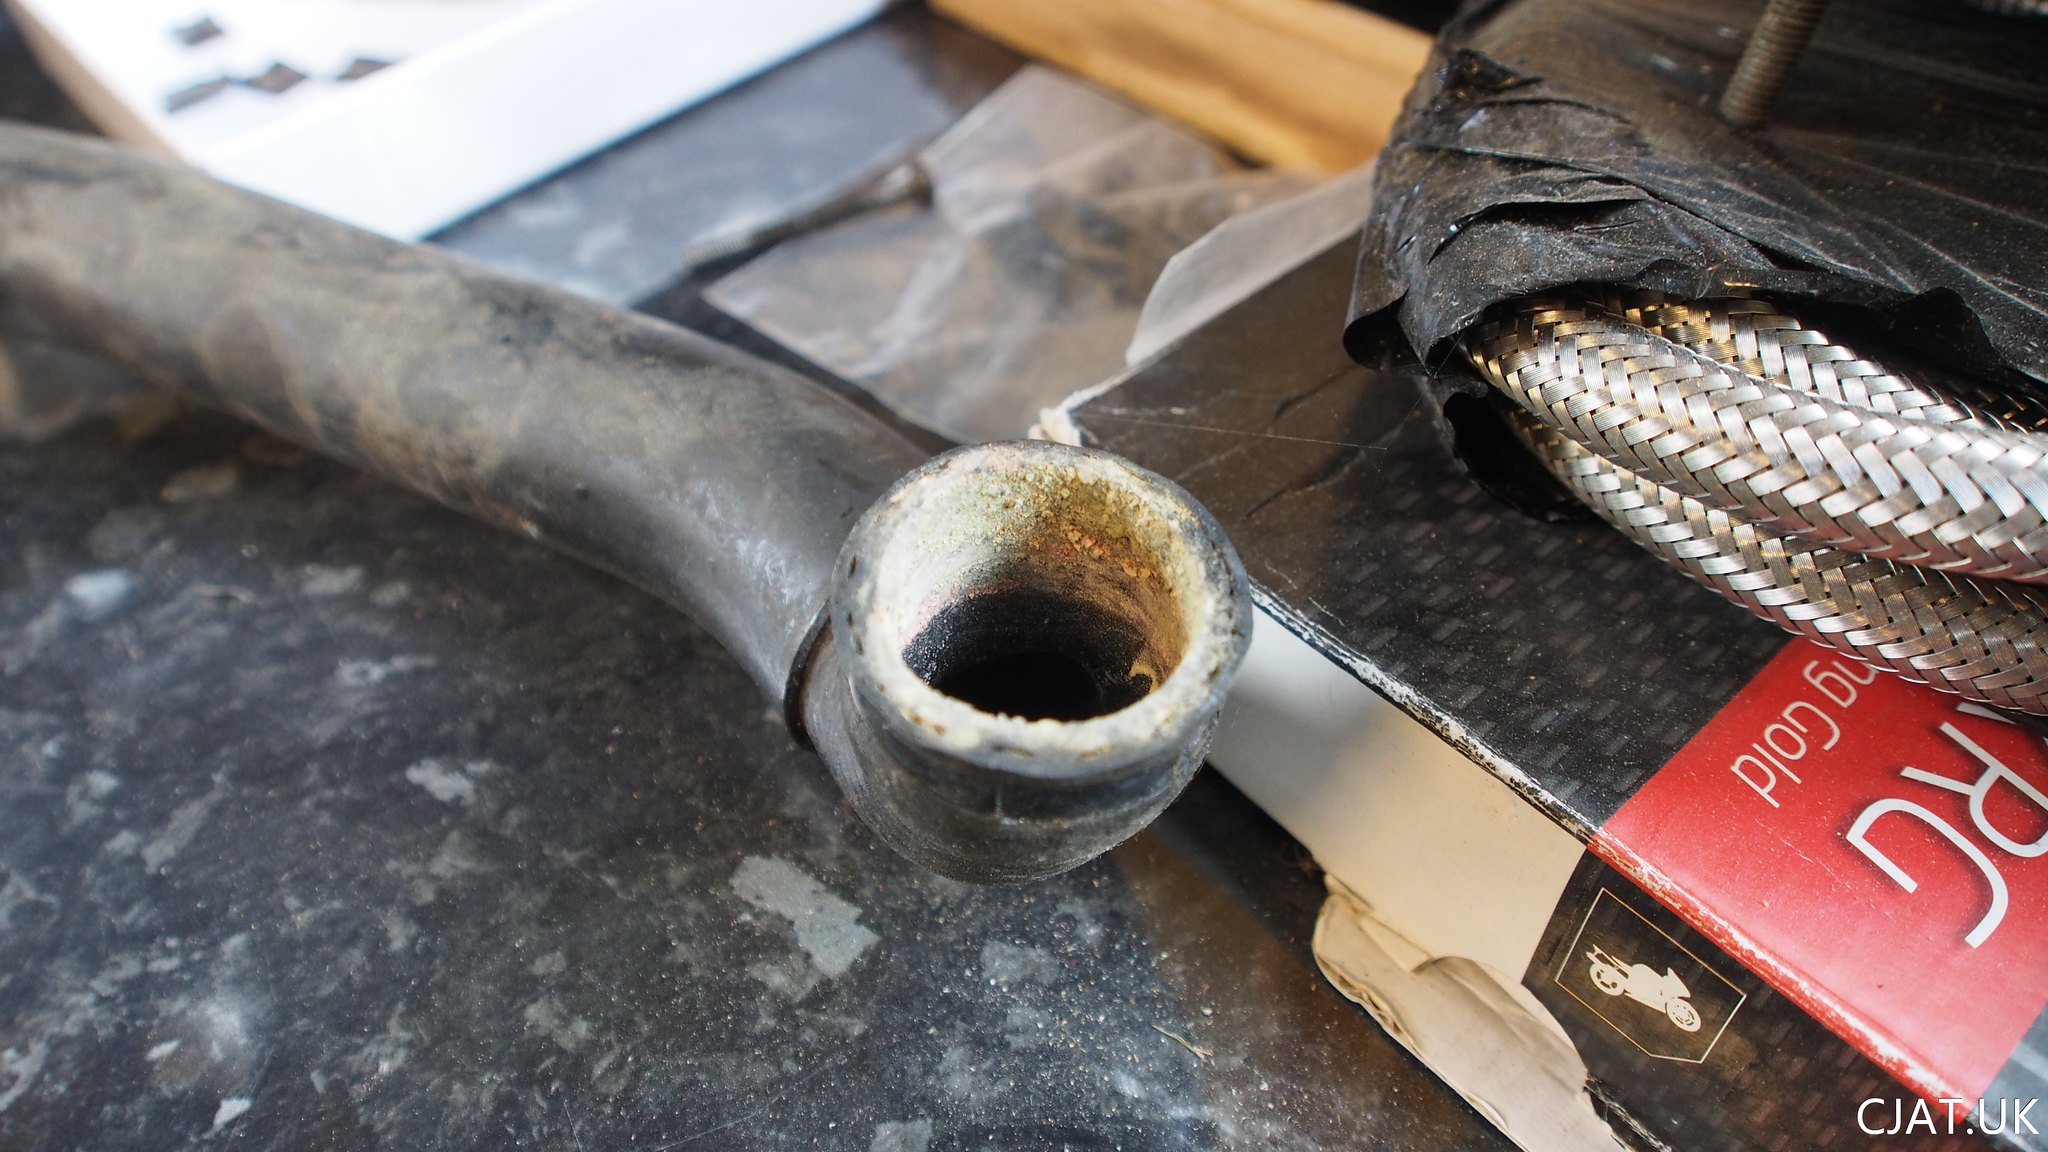
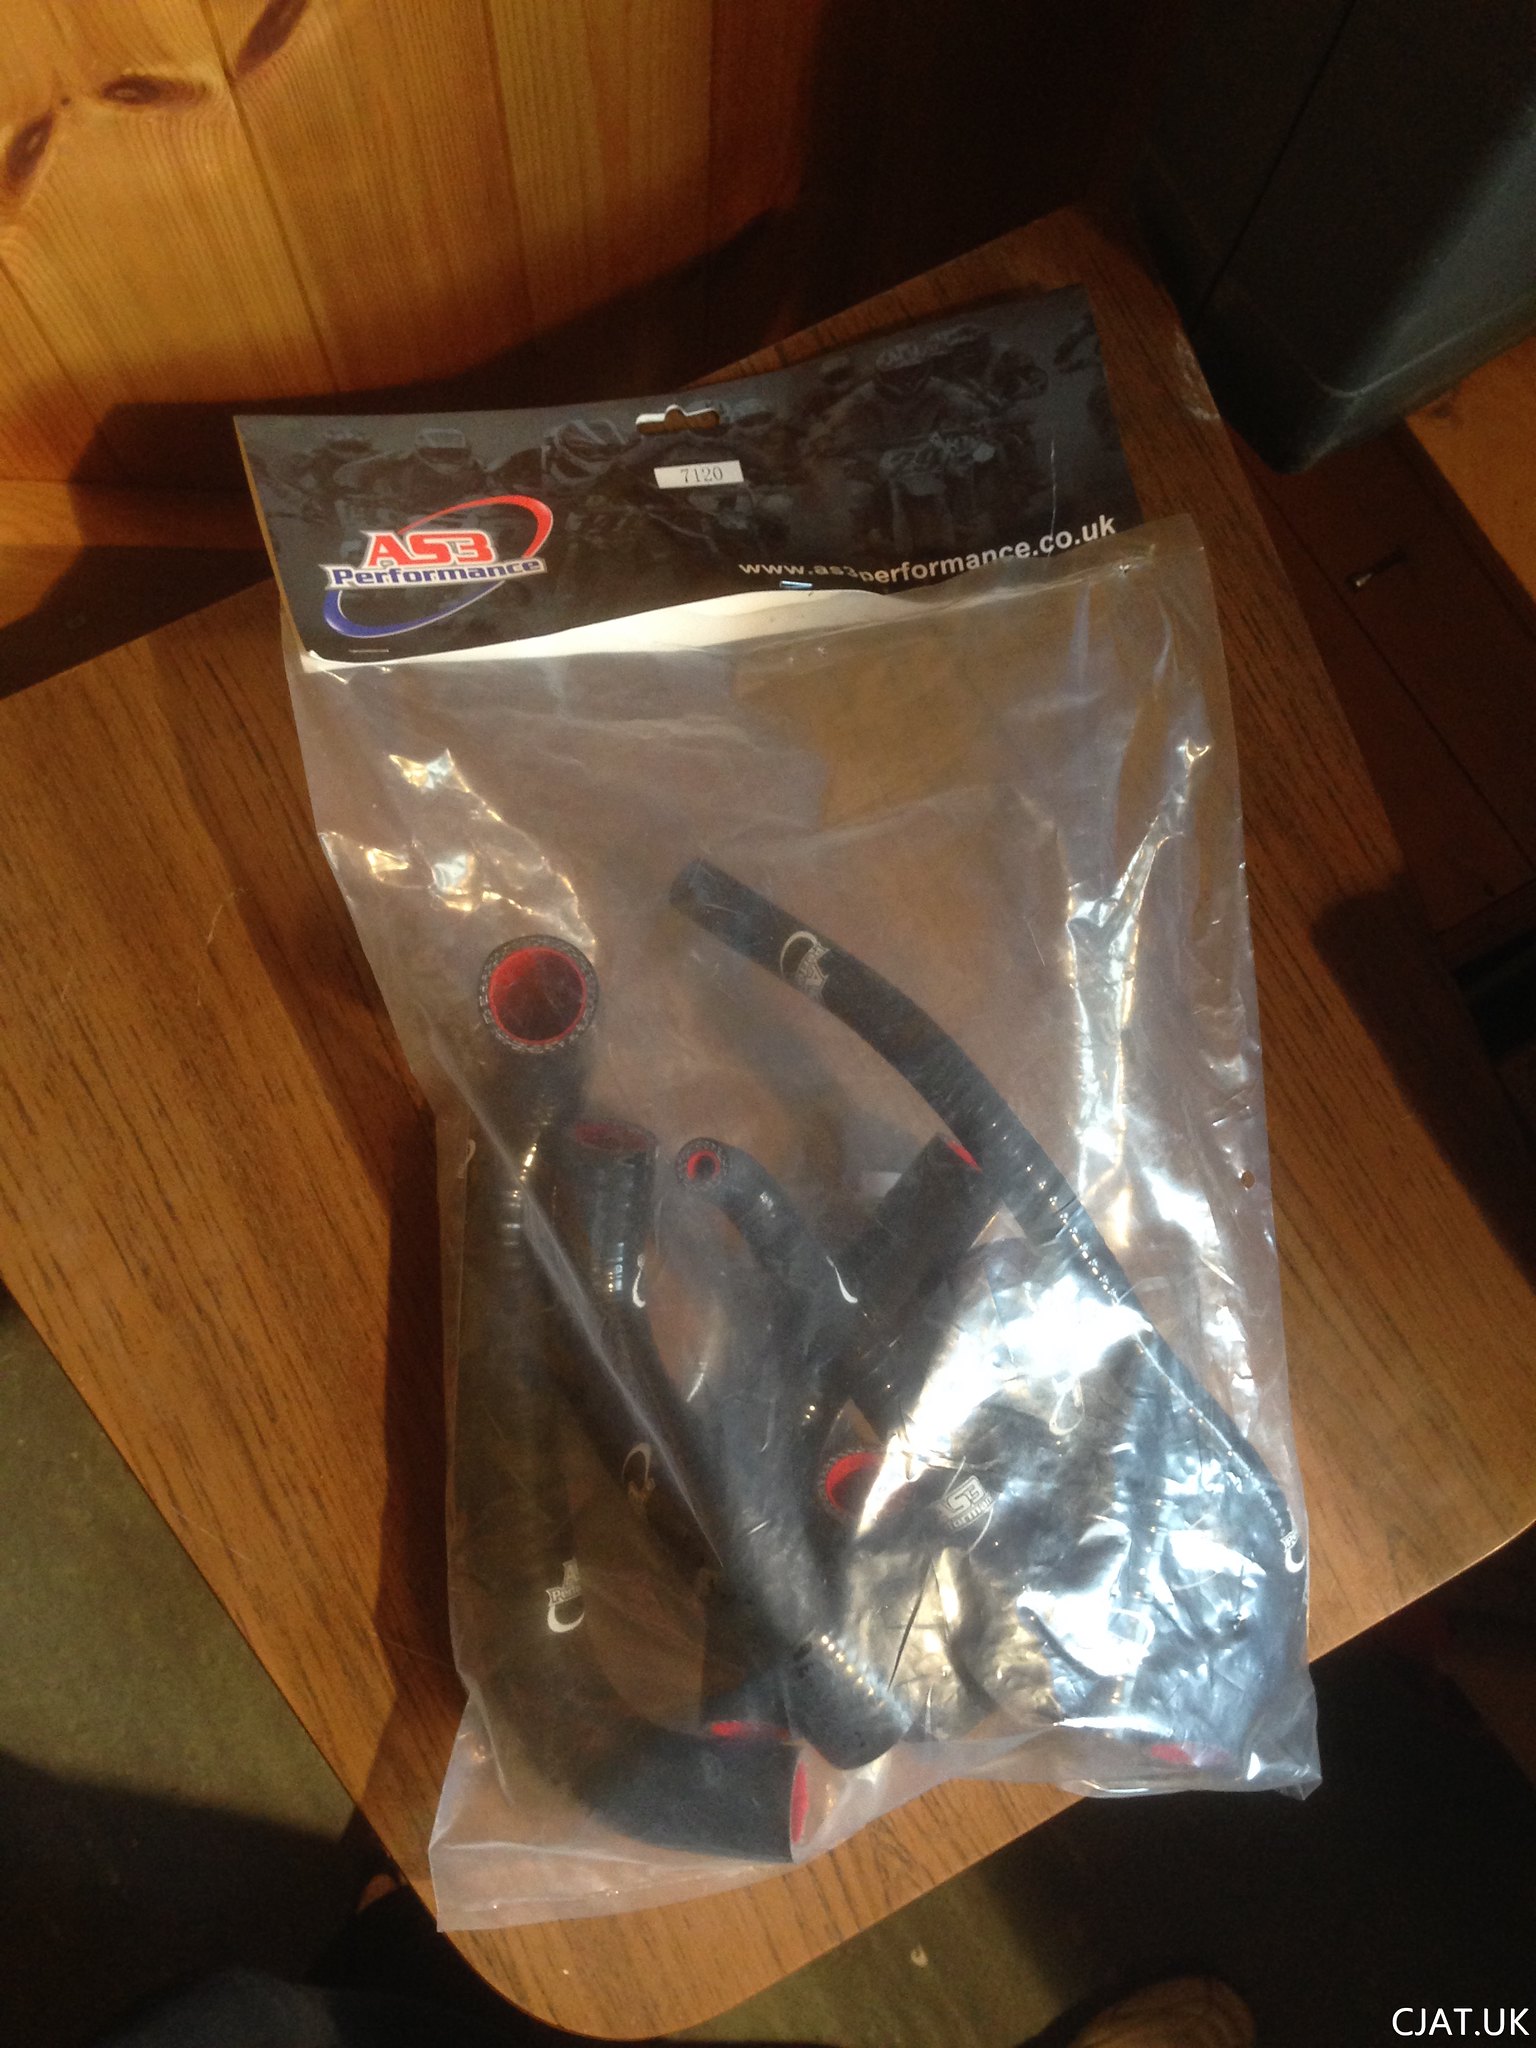
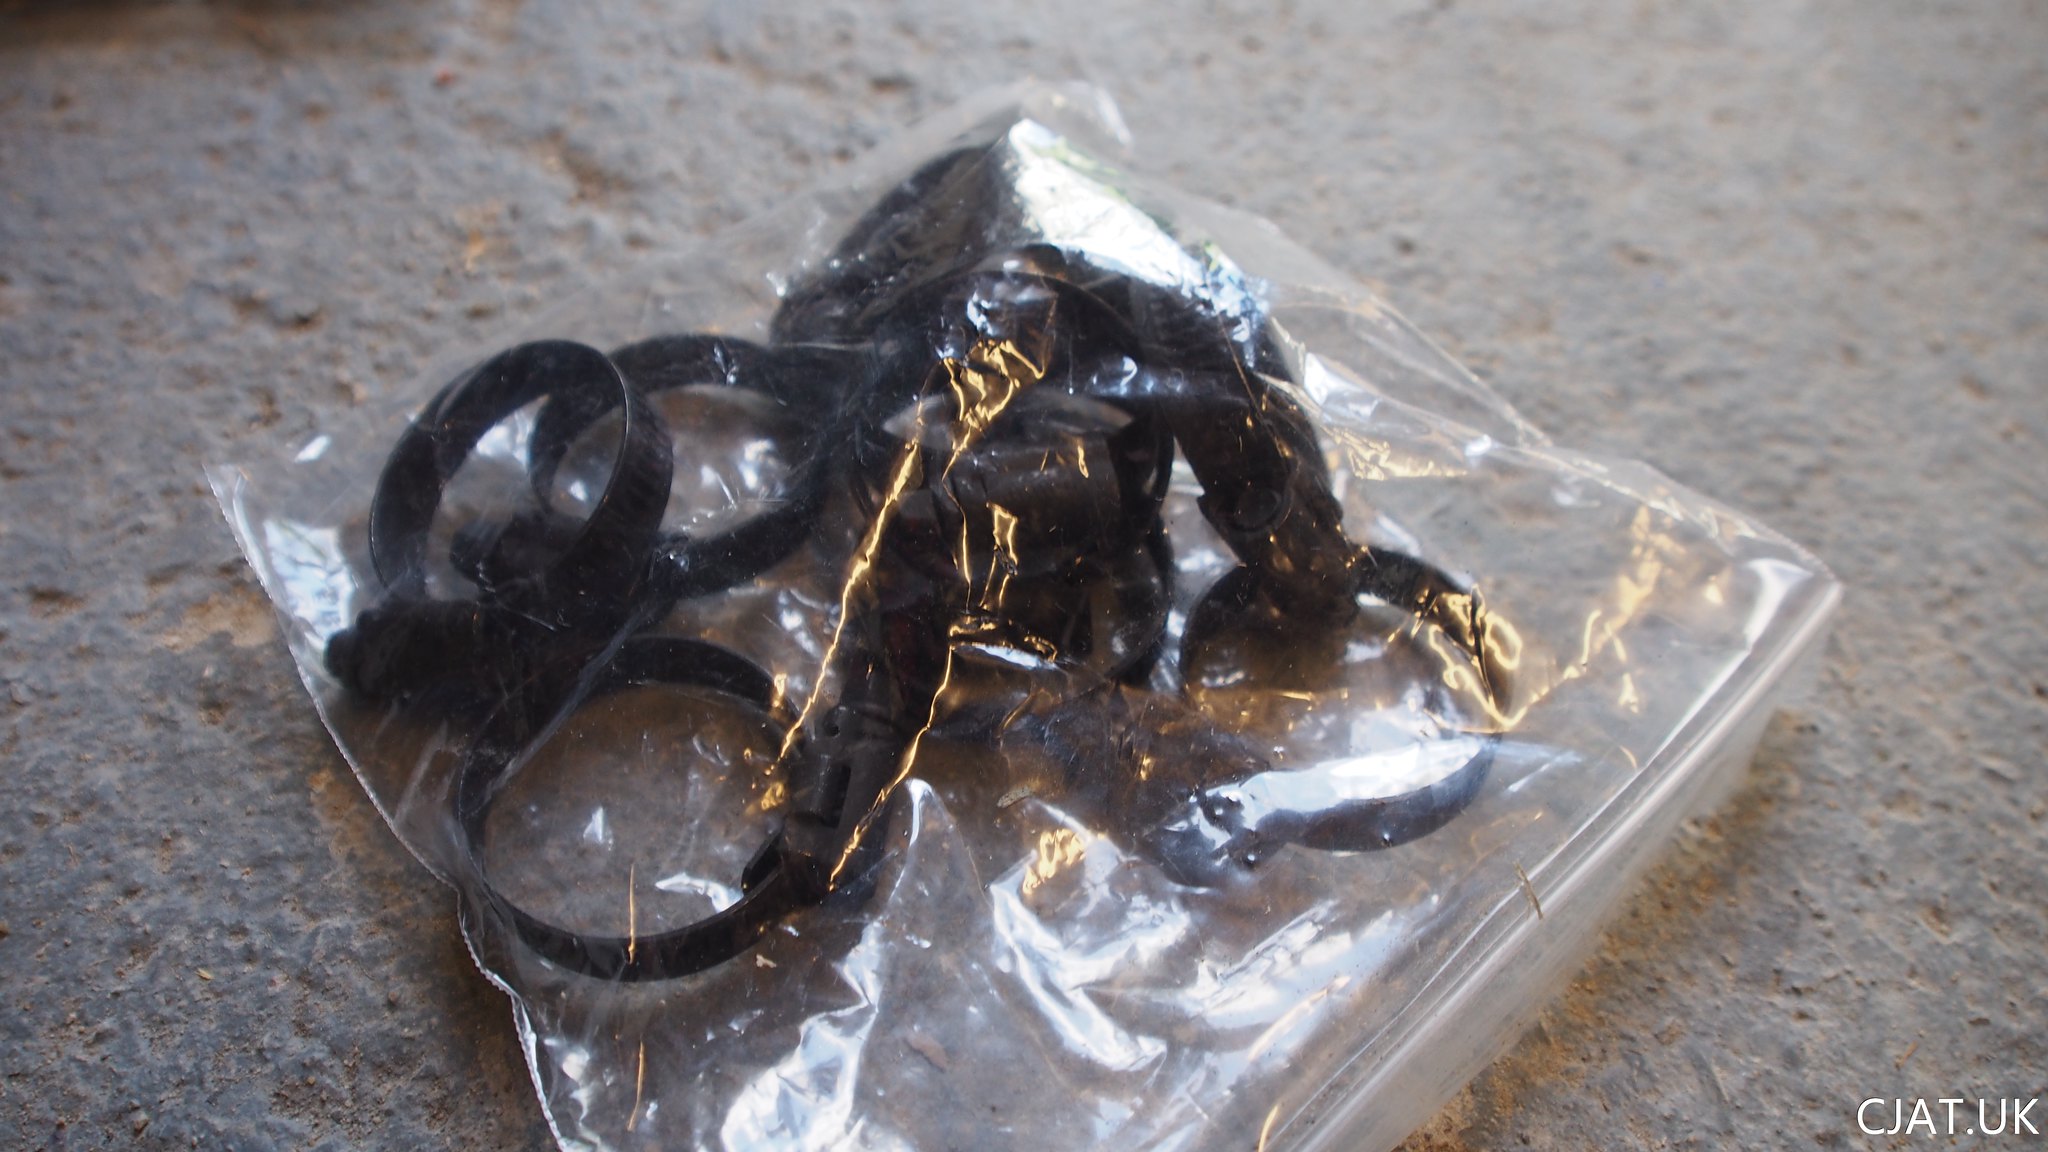
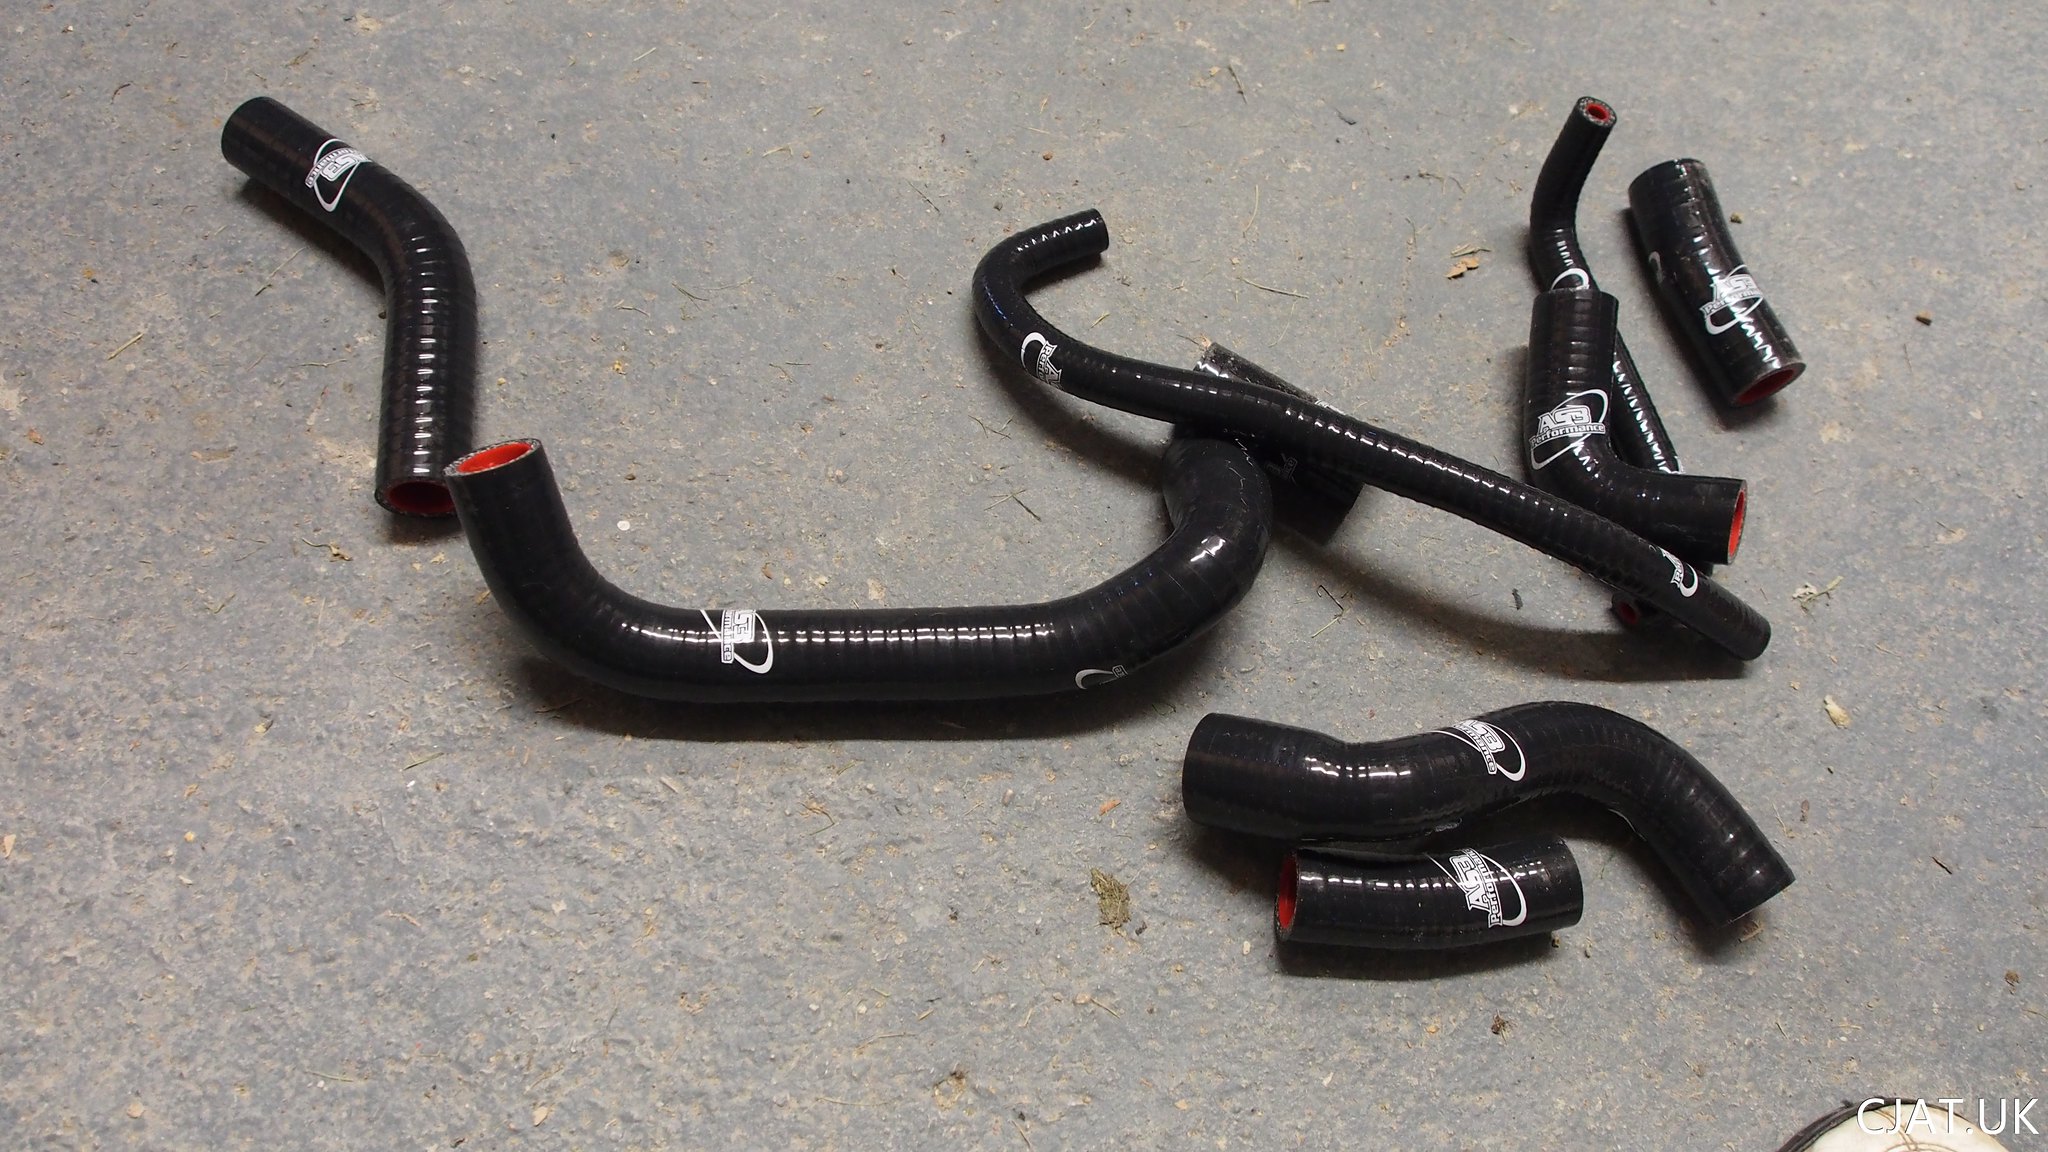 New Clamps
 Radiator needs some work… not sure what to do.
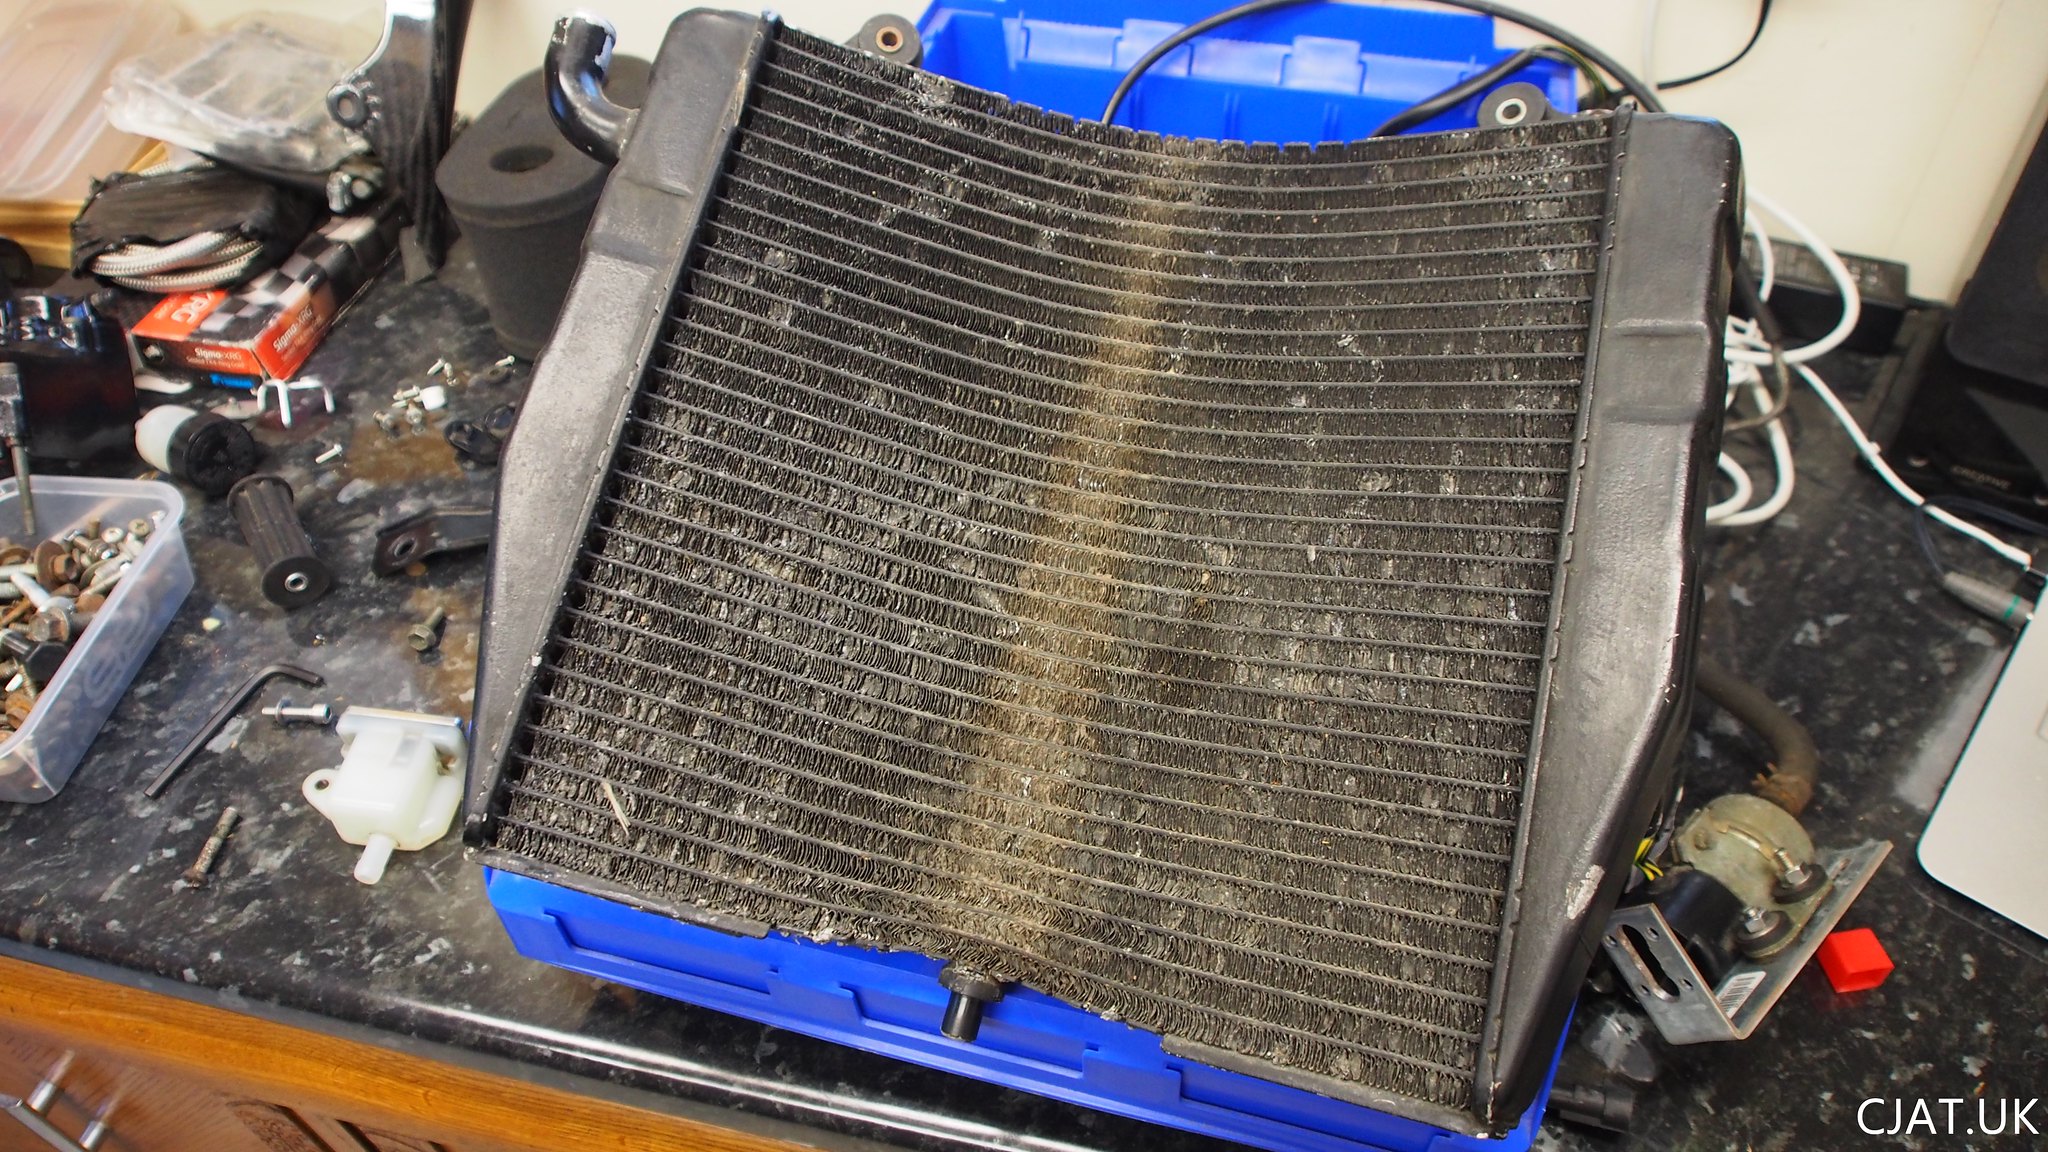
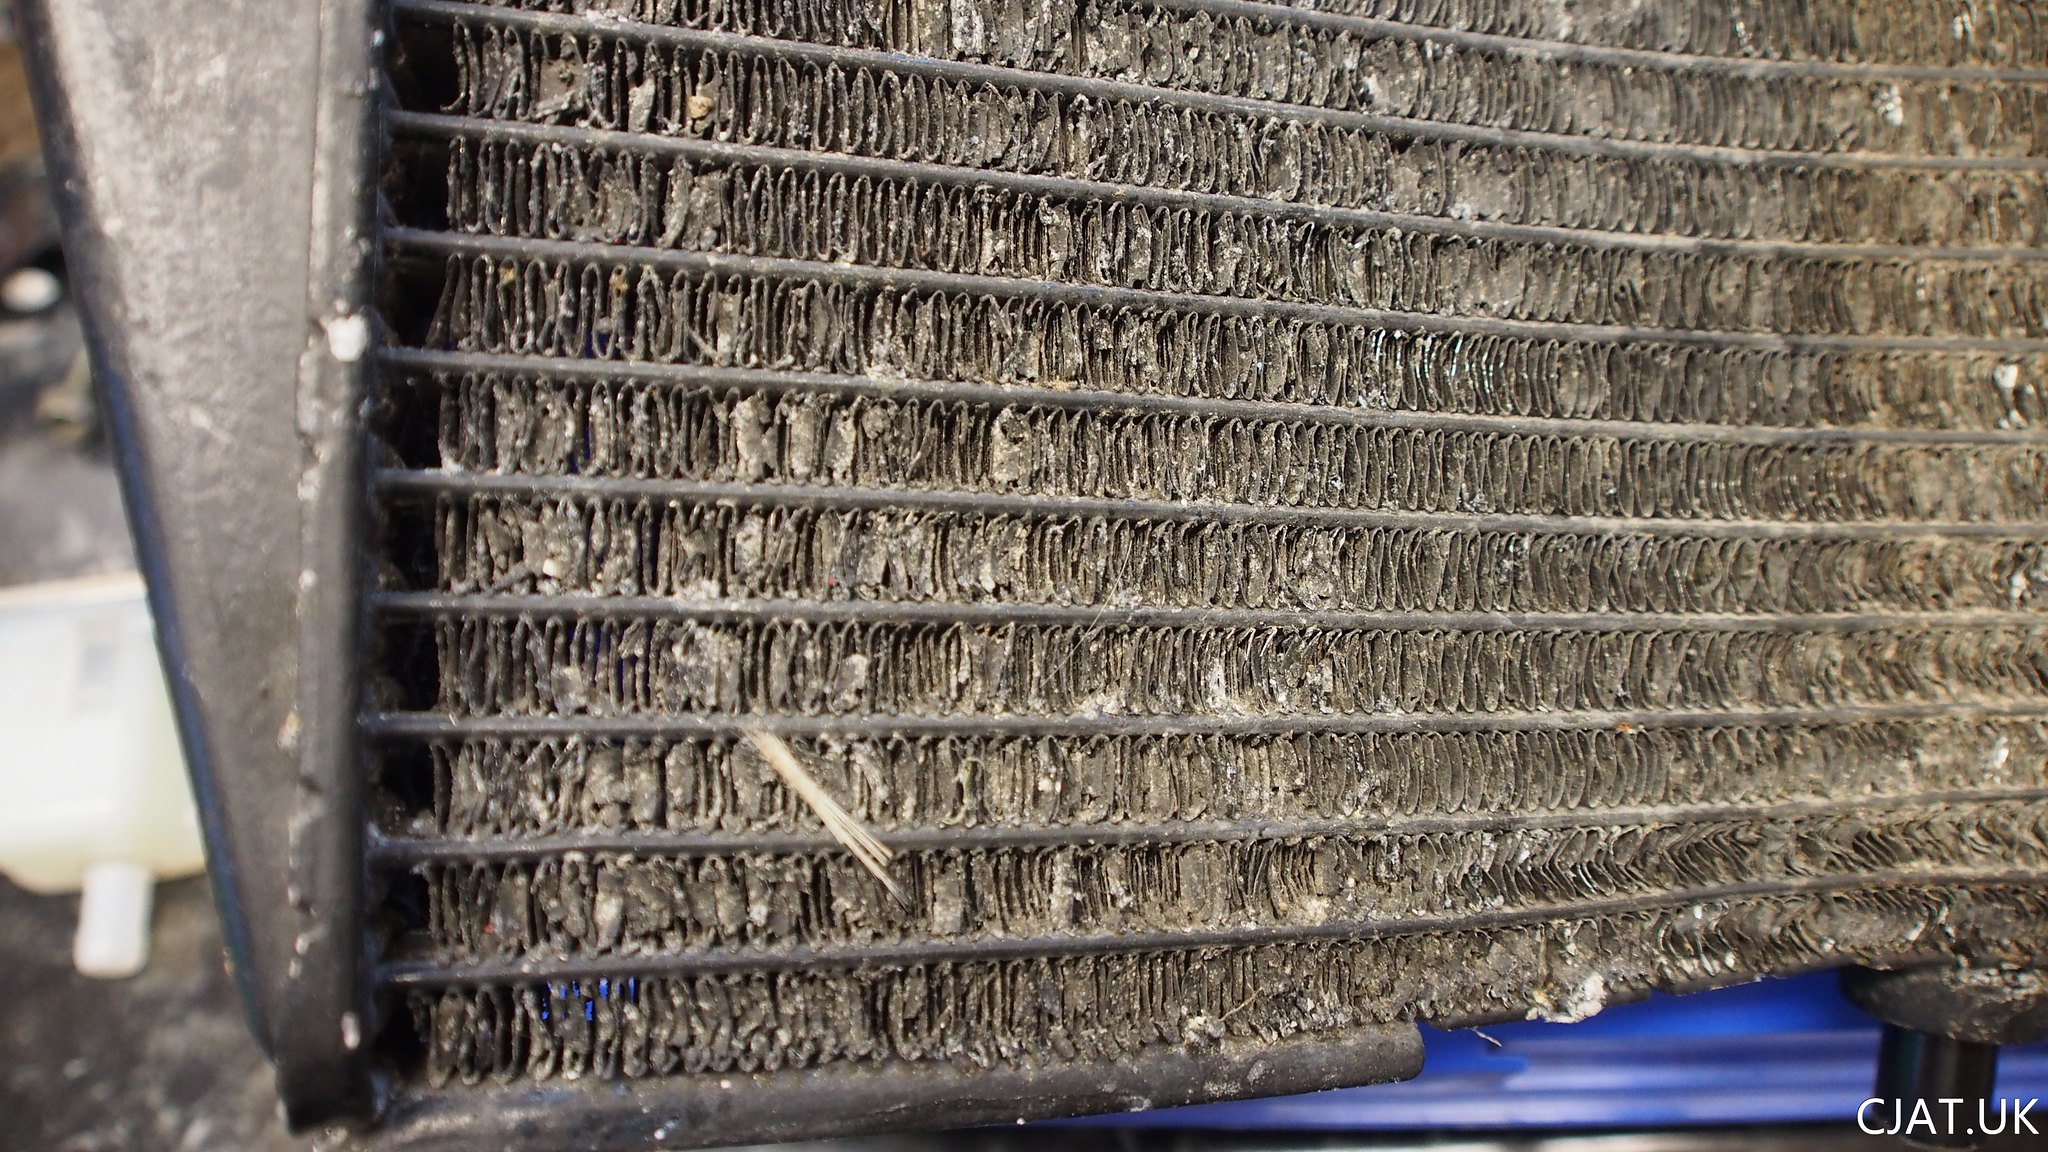
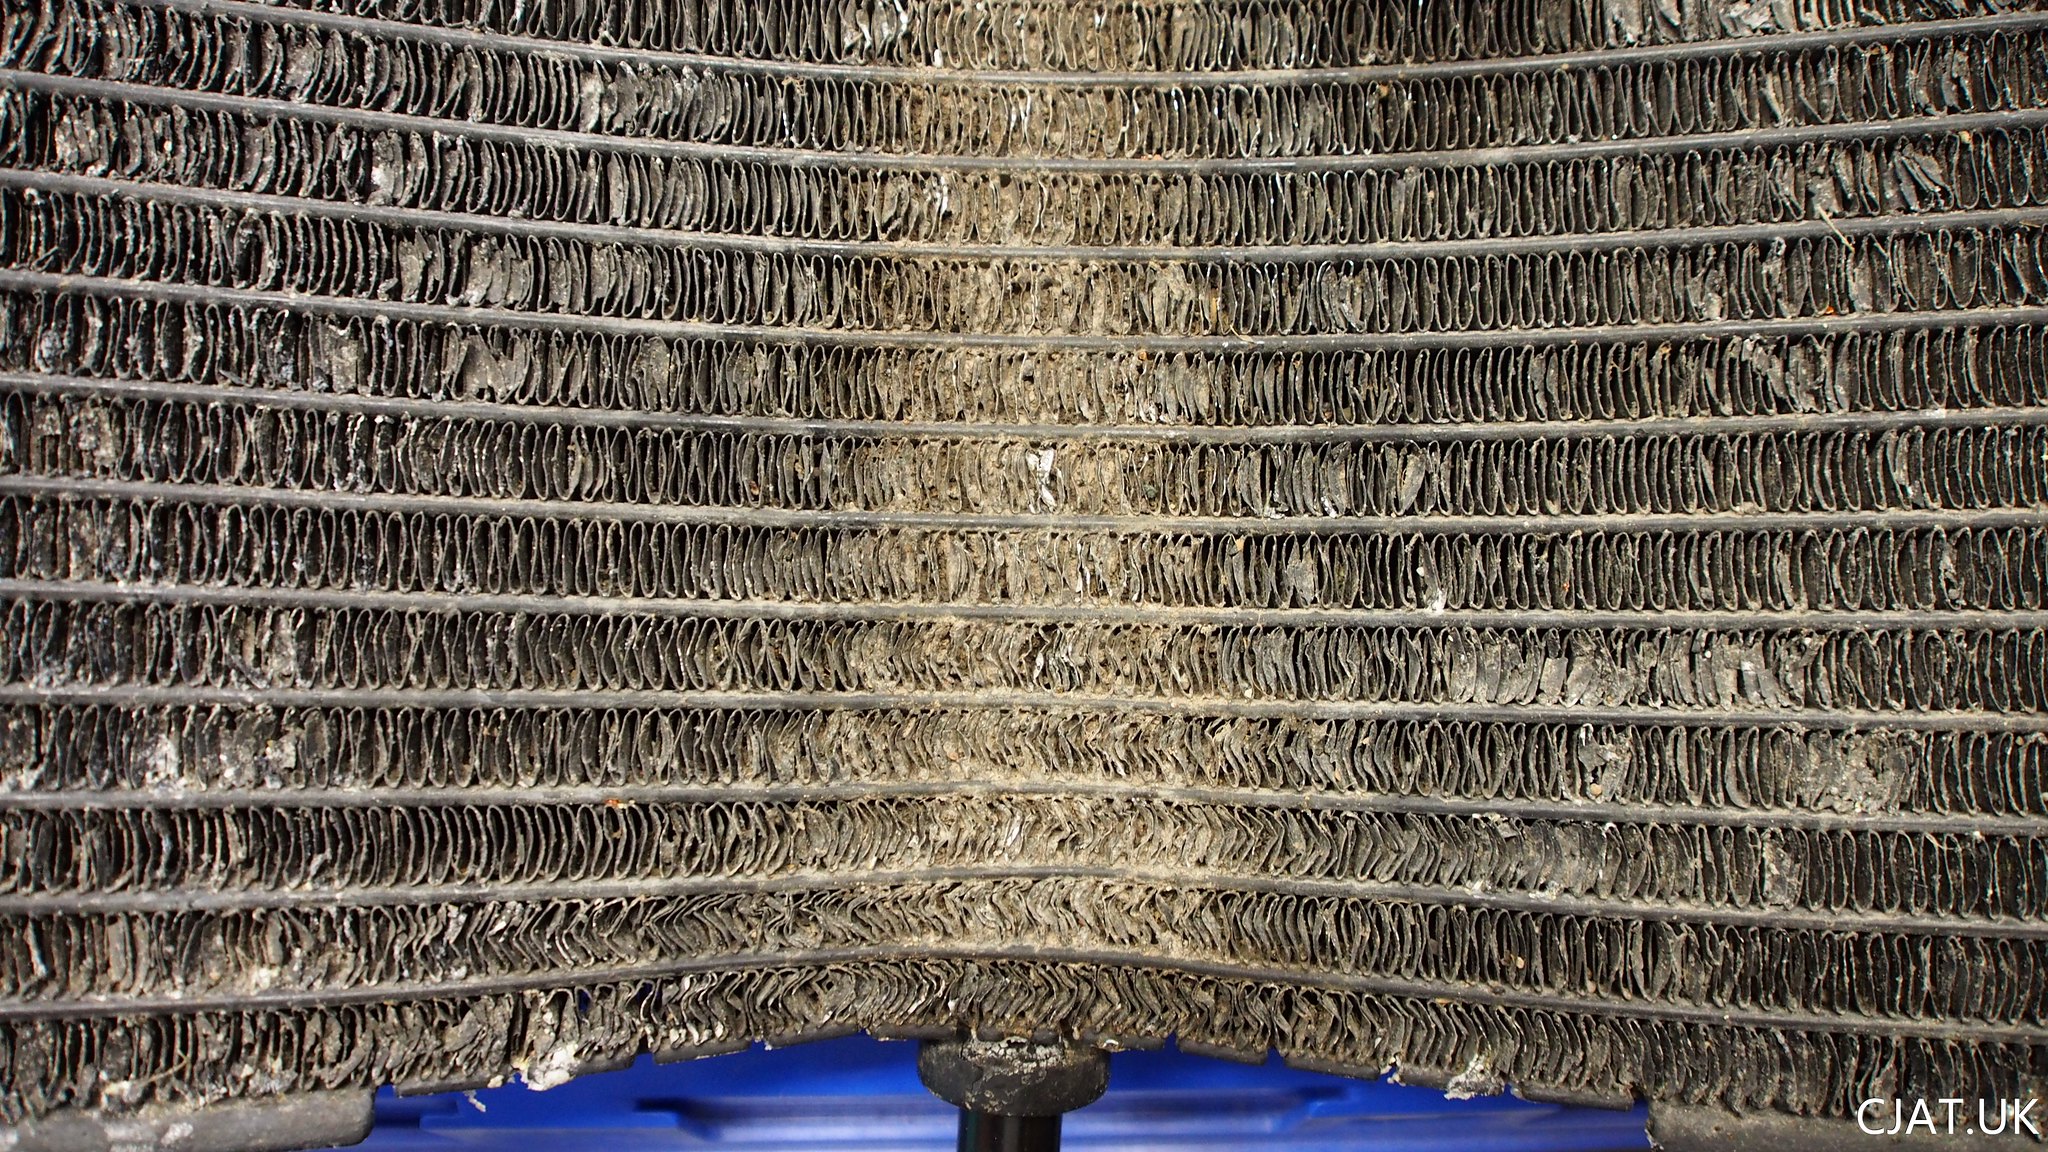
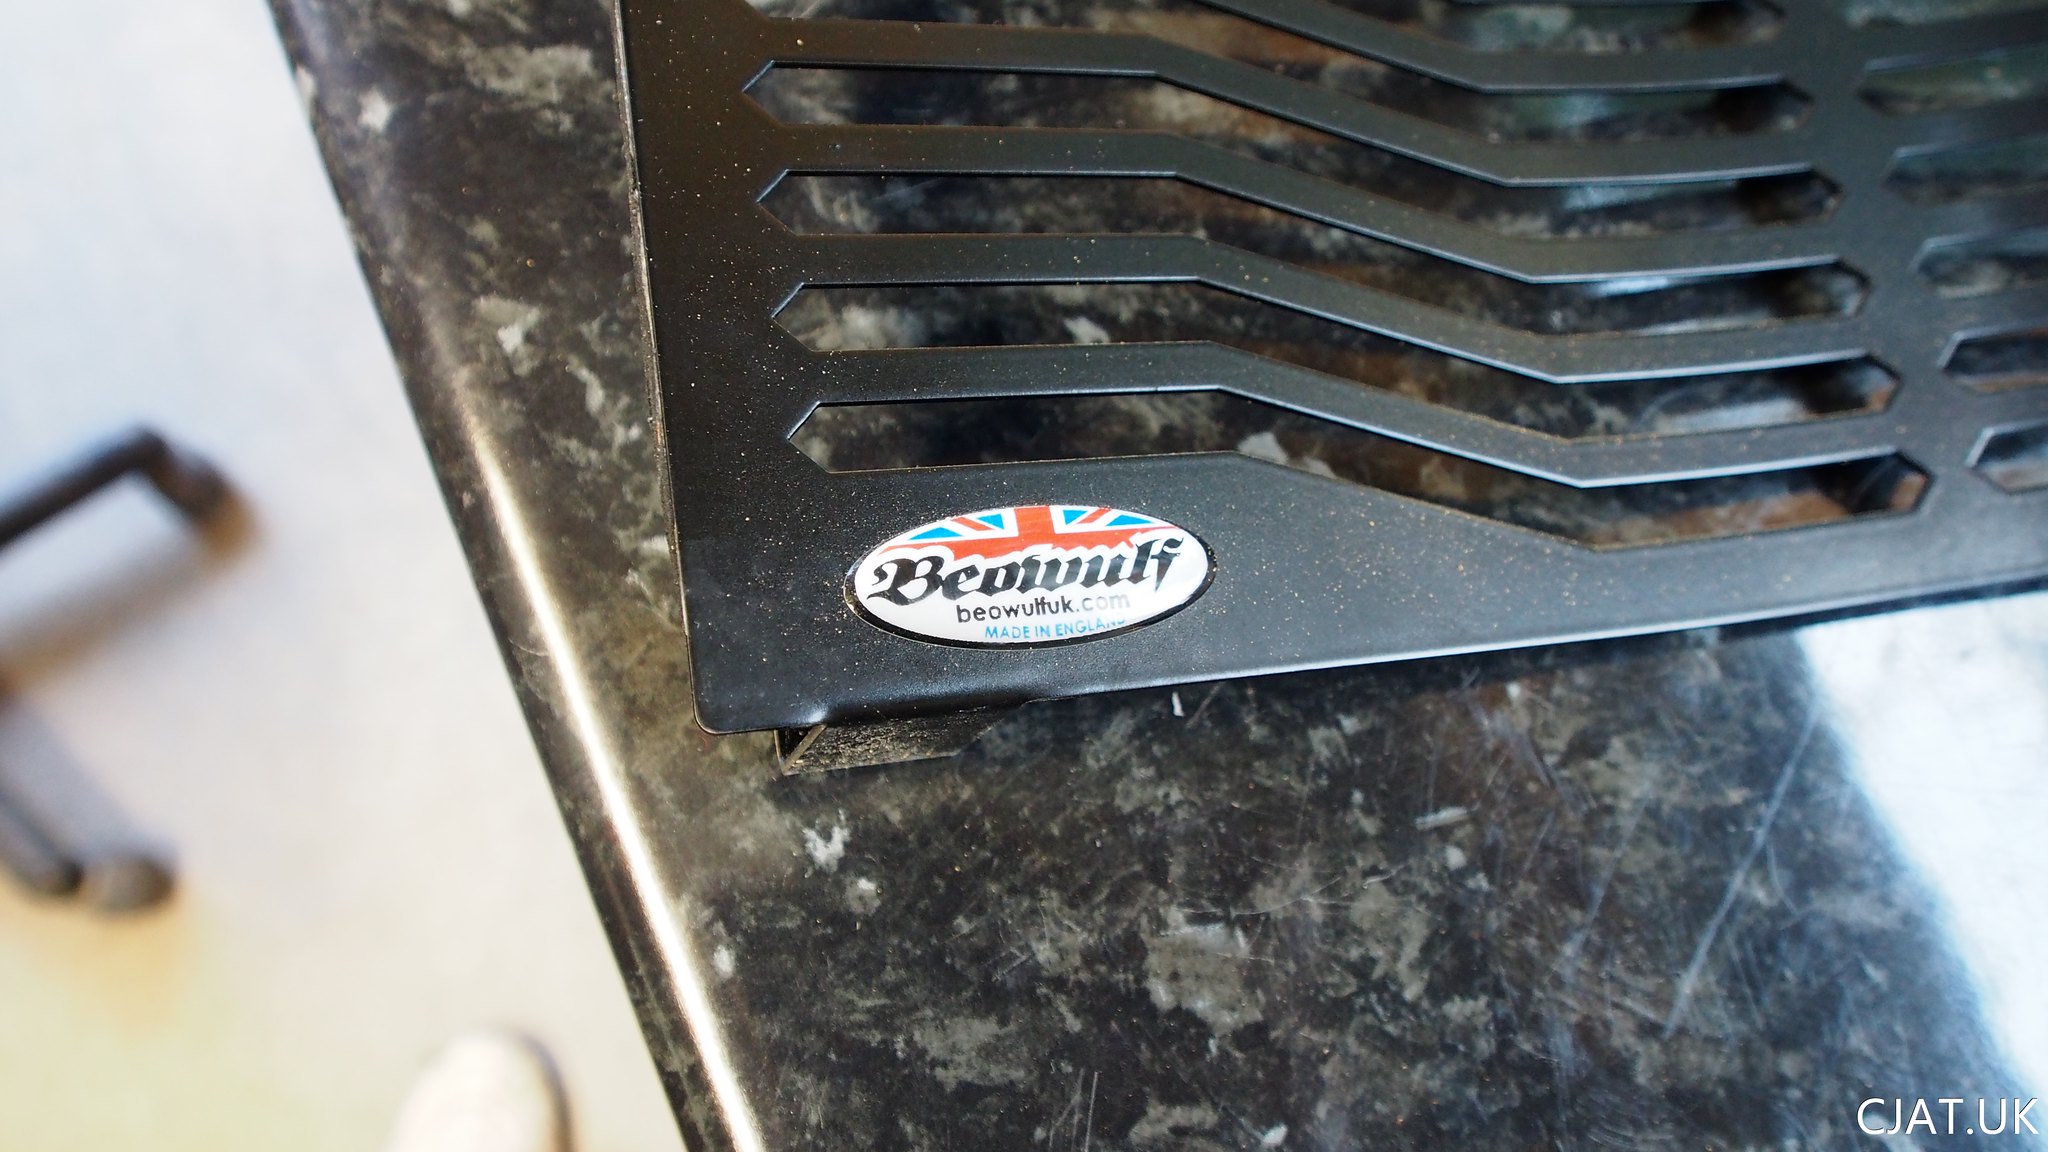
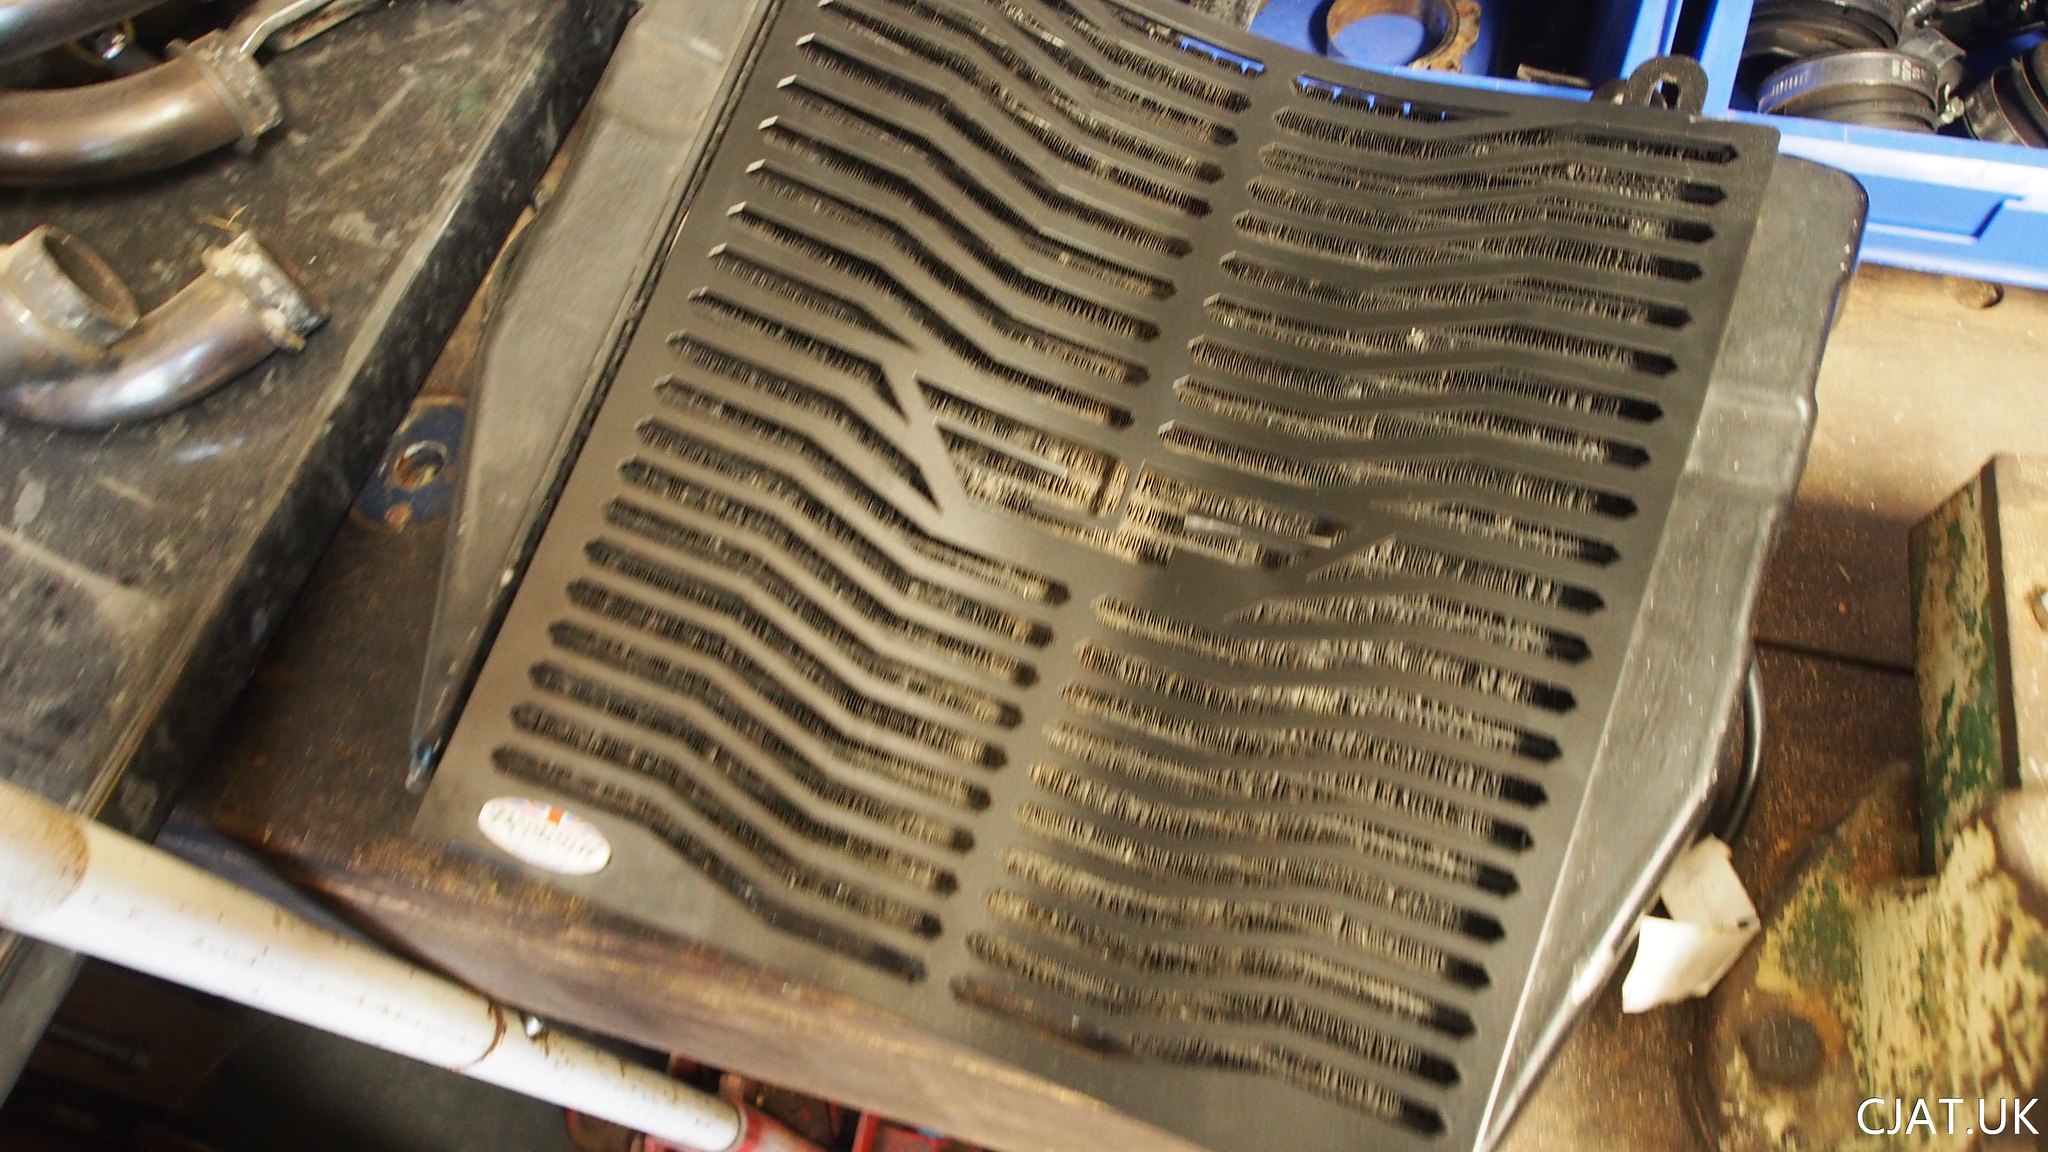
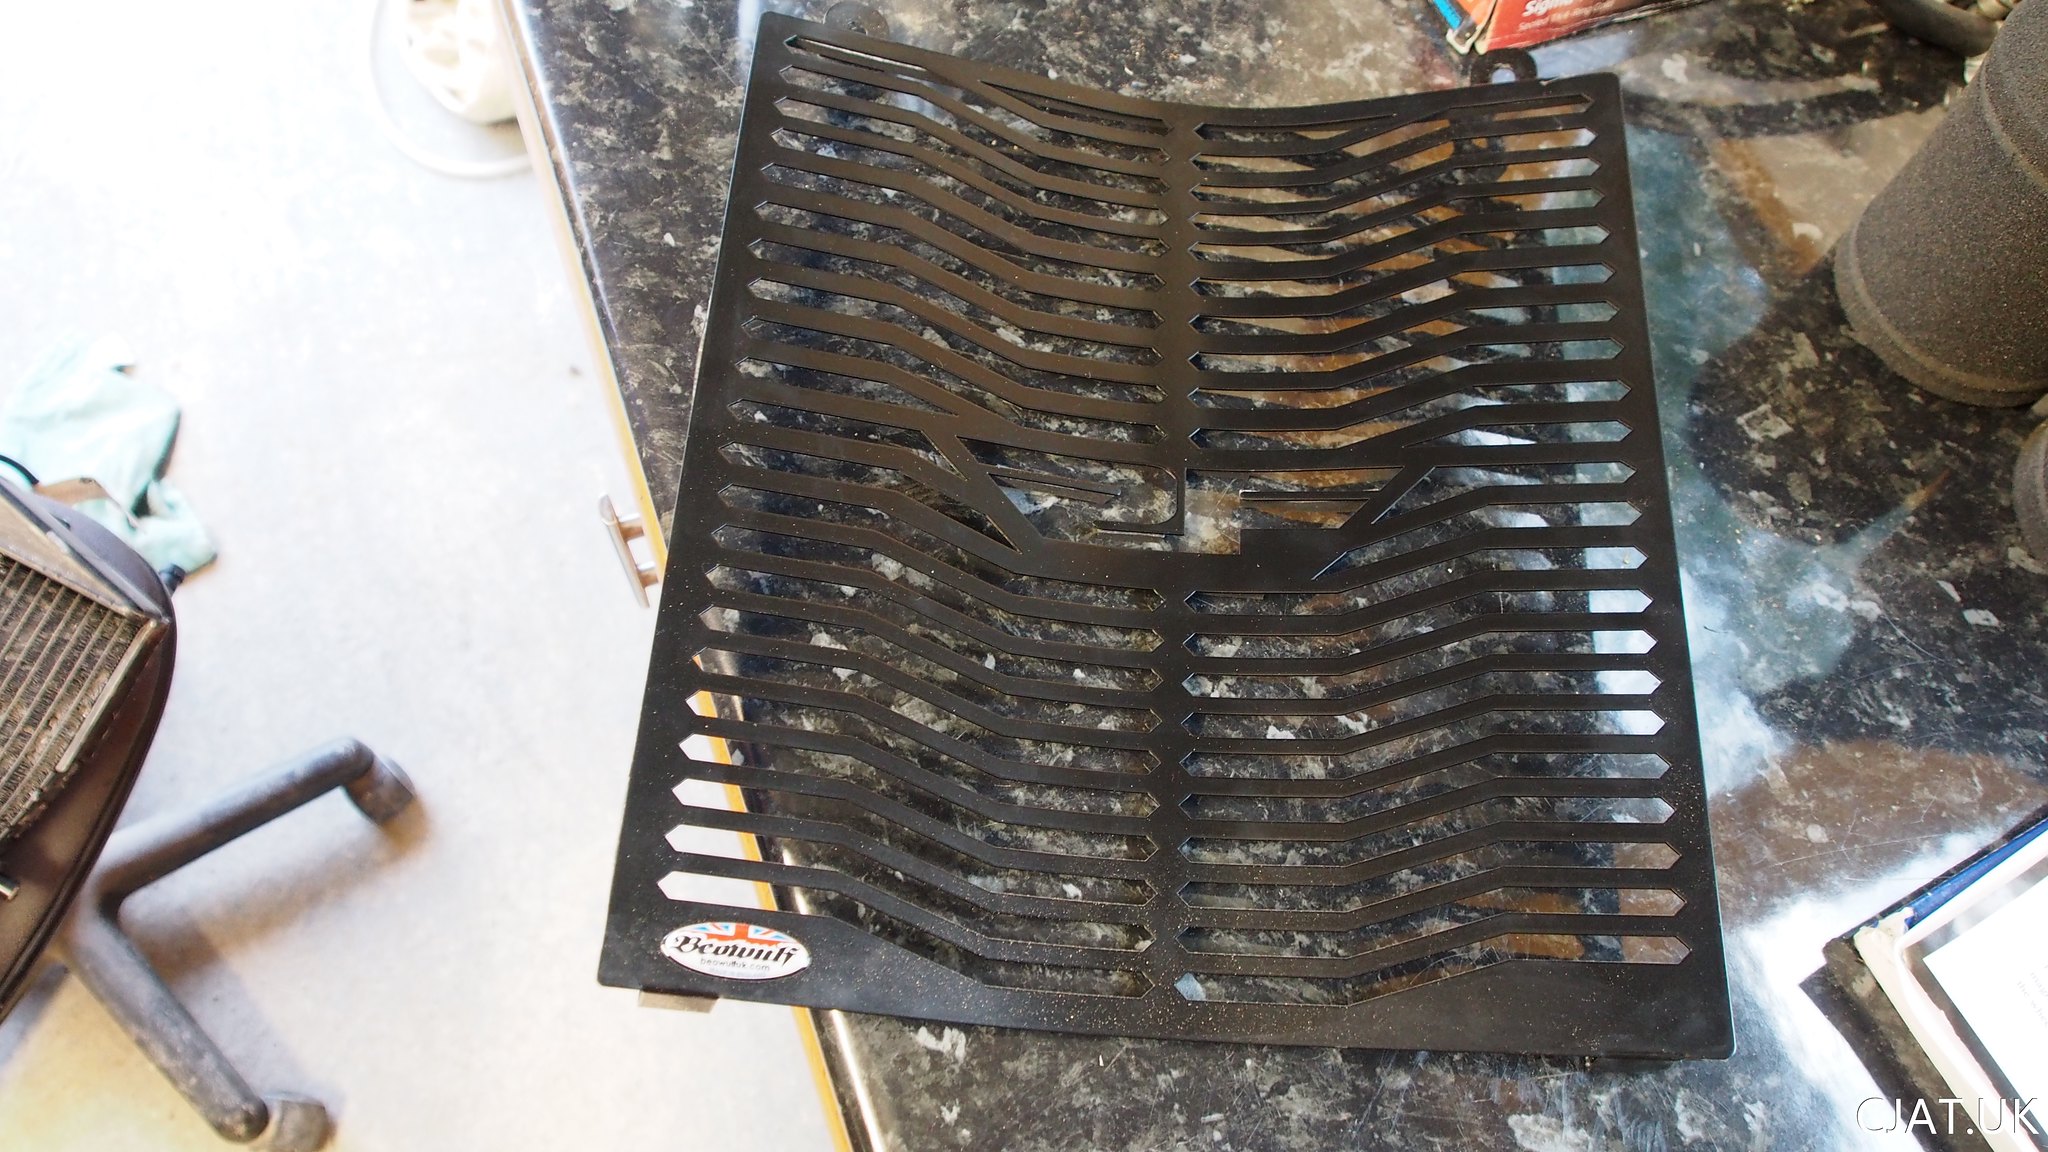 May look for a new one (saw one on eBay for an RF900 - £450!!!) or get it reconditioned as others have done on the rfownersclub. If it cleans up nicely I may be able to hide most of the broken fins with the new RF900 Radiator grill.
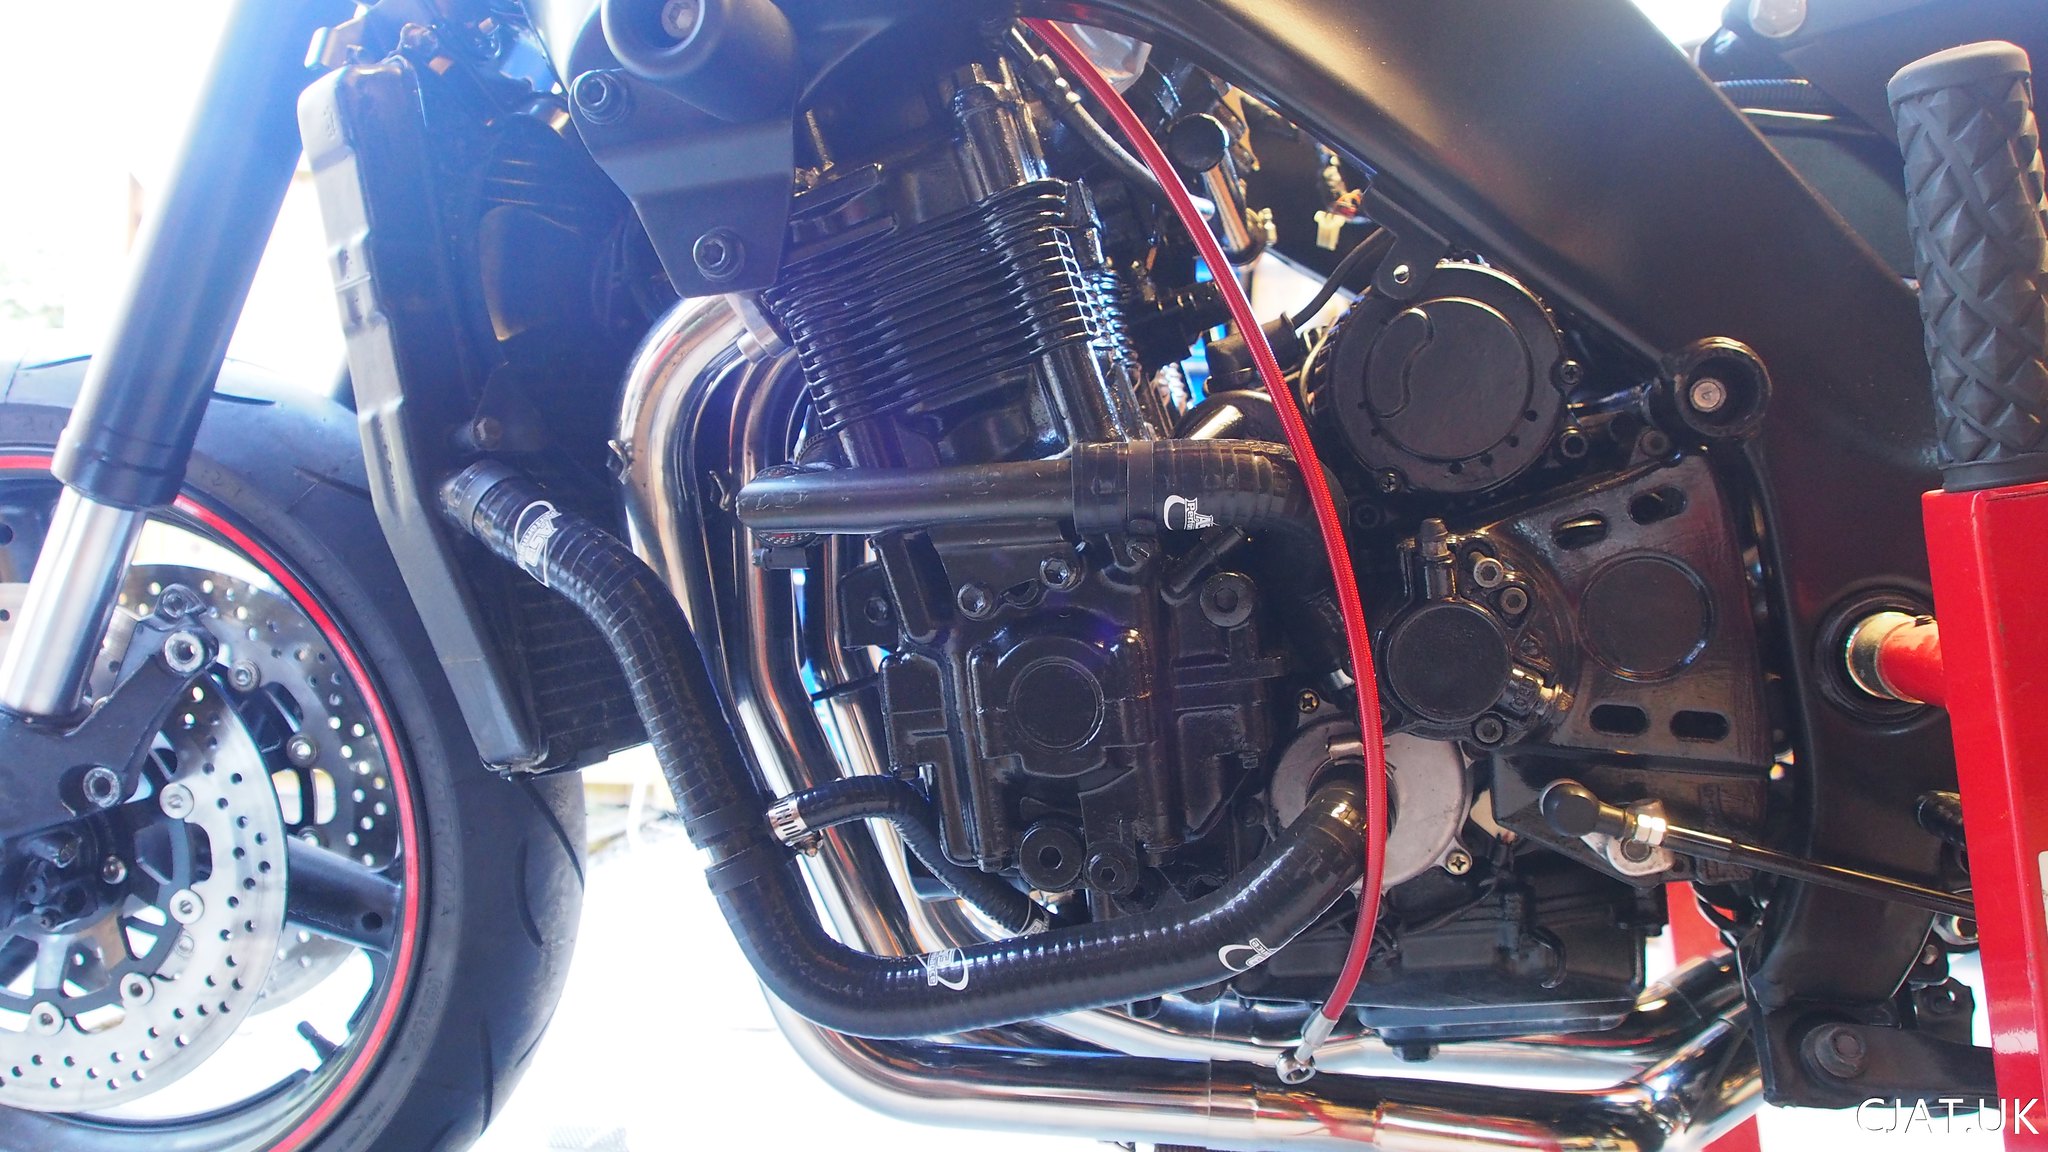
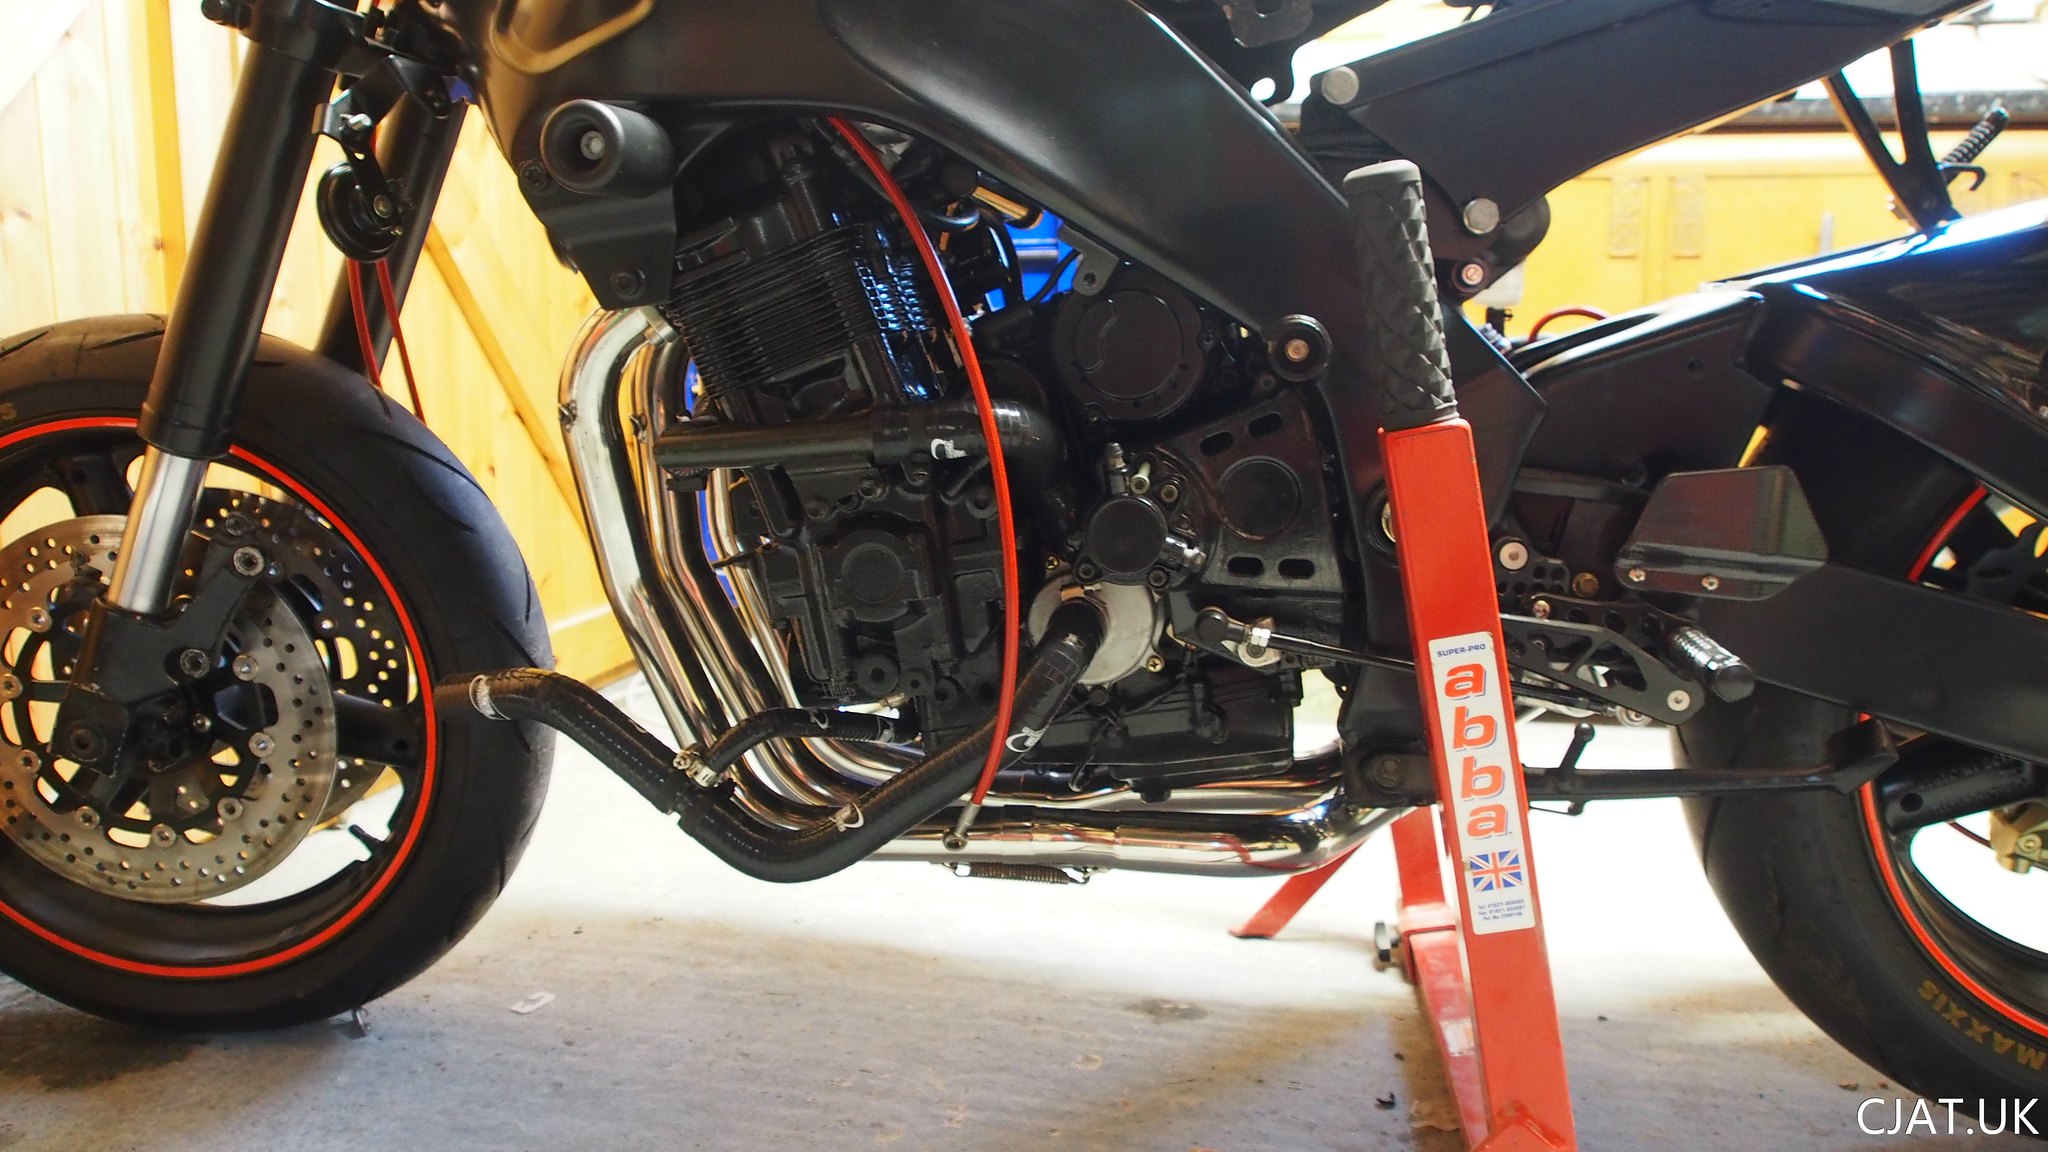
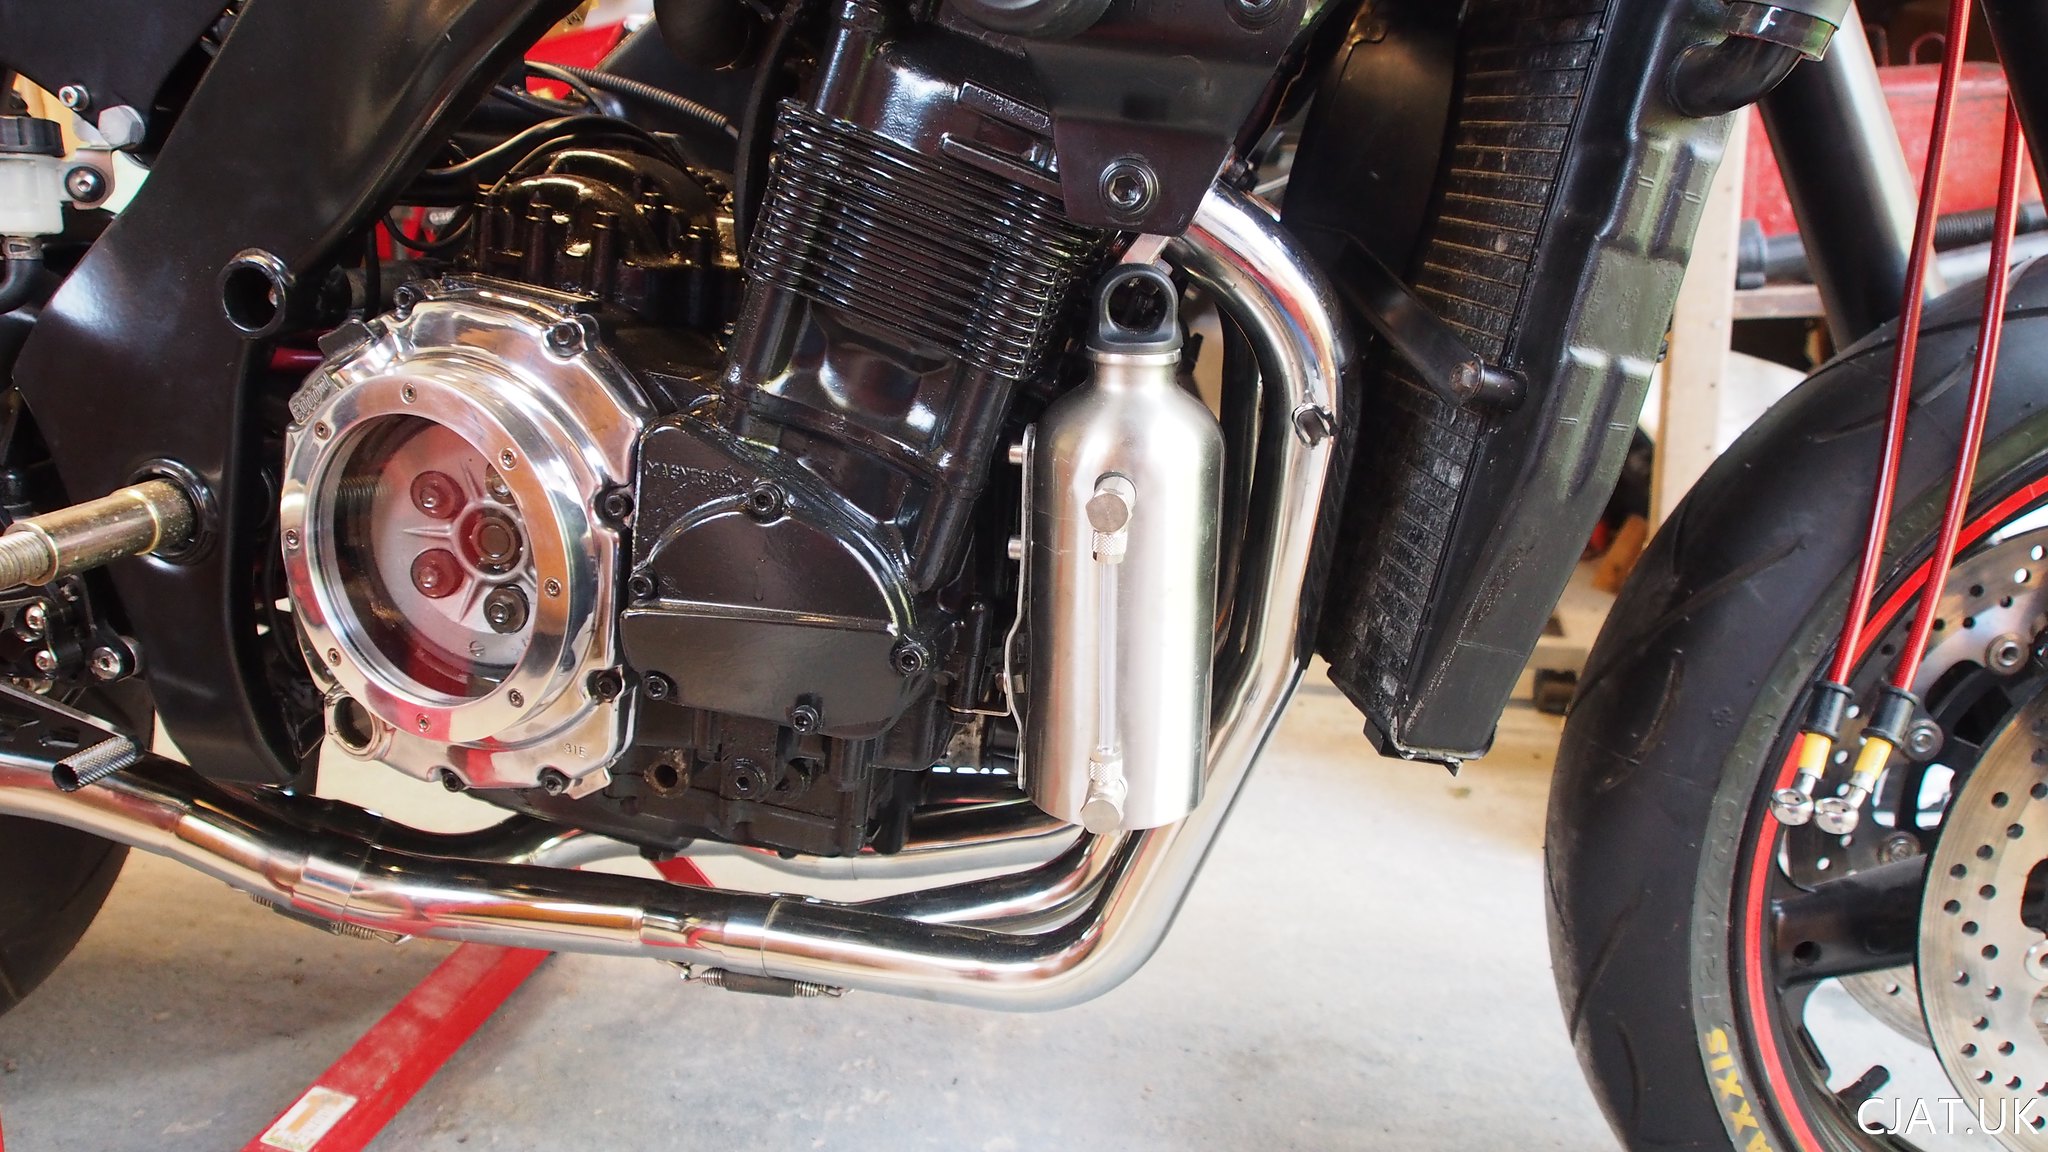
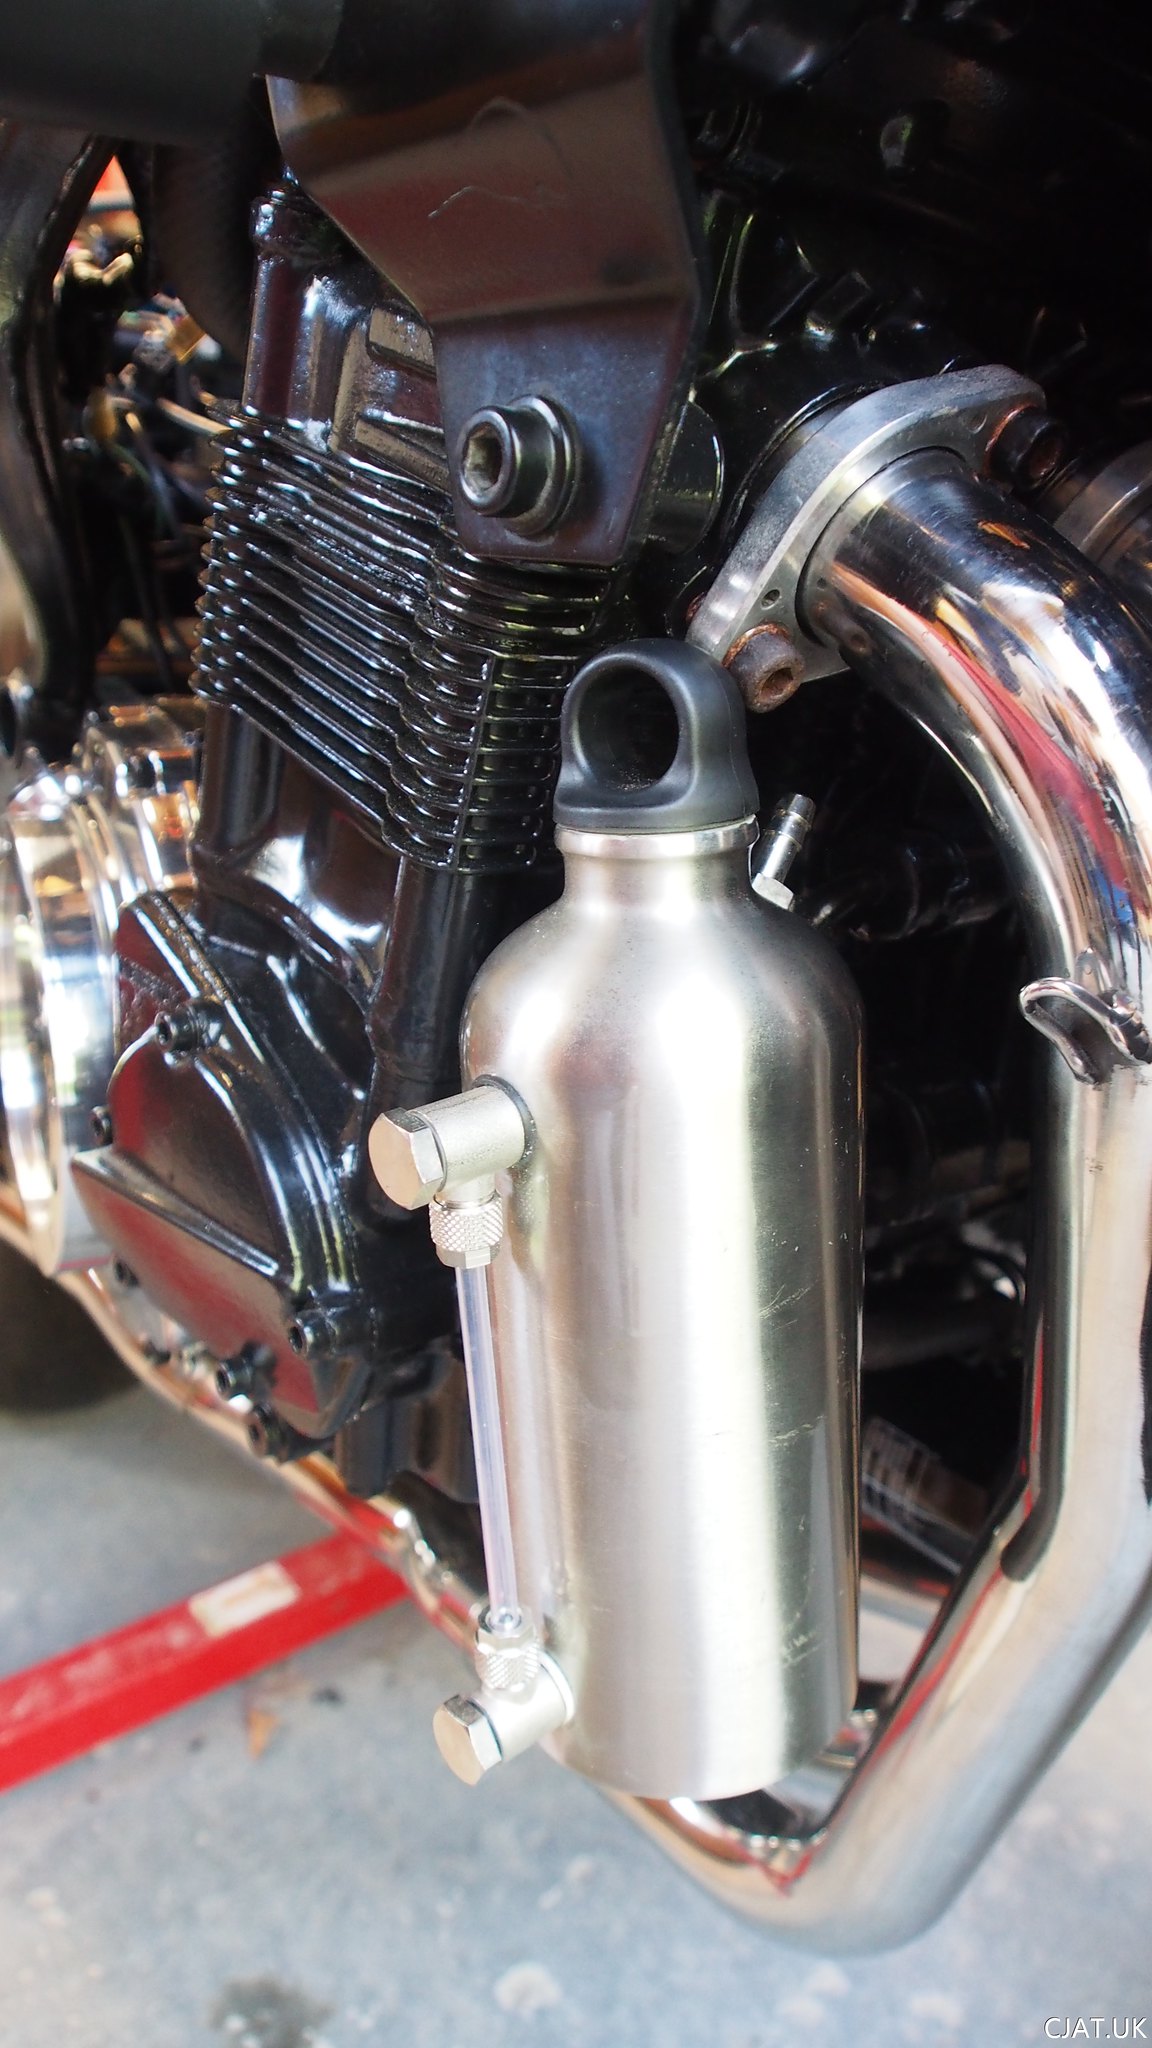
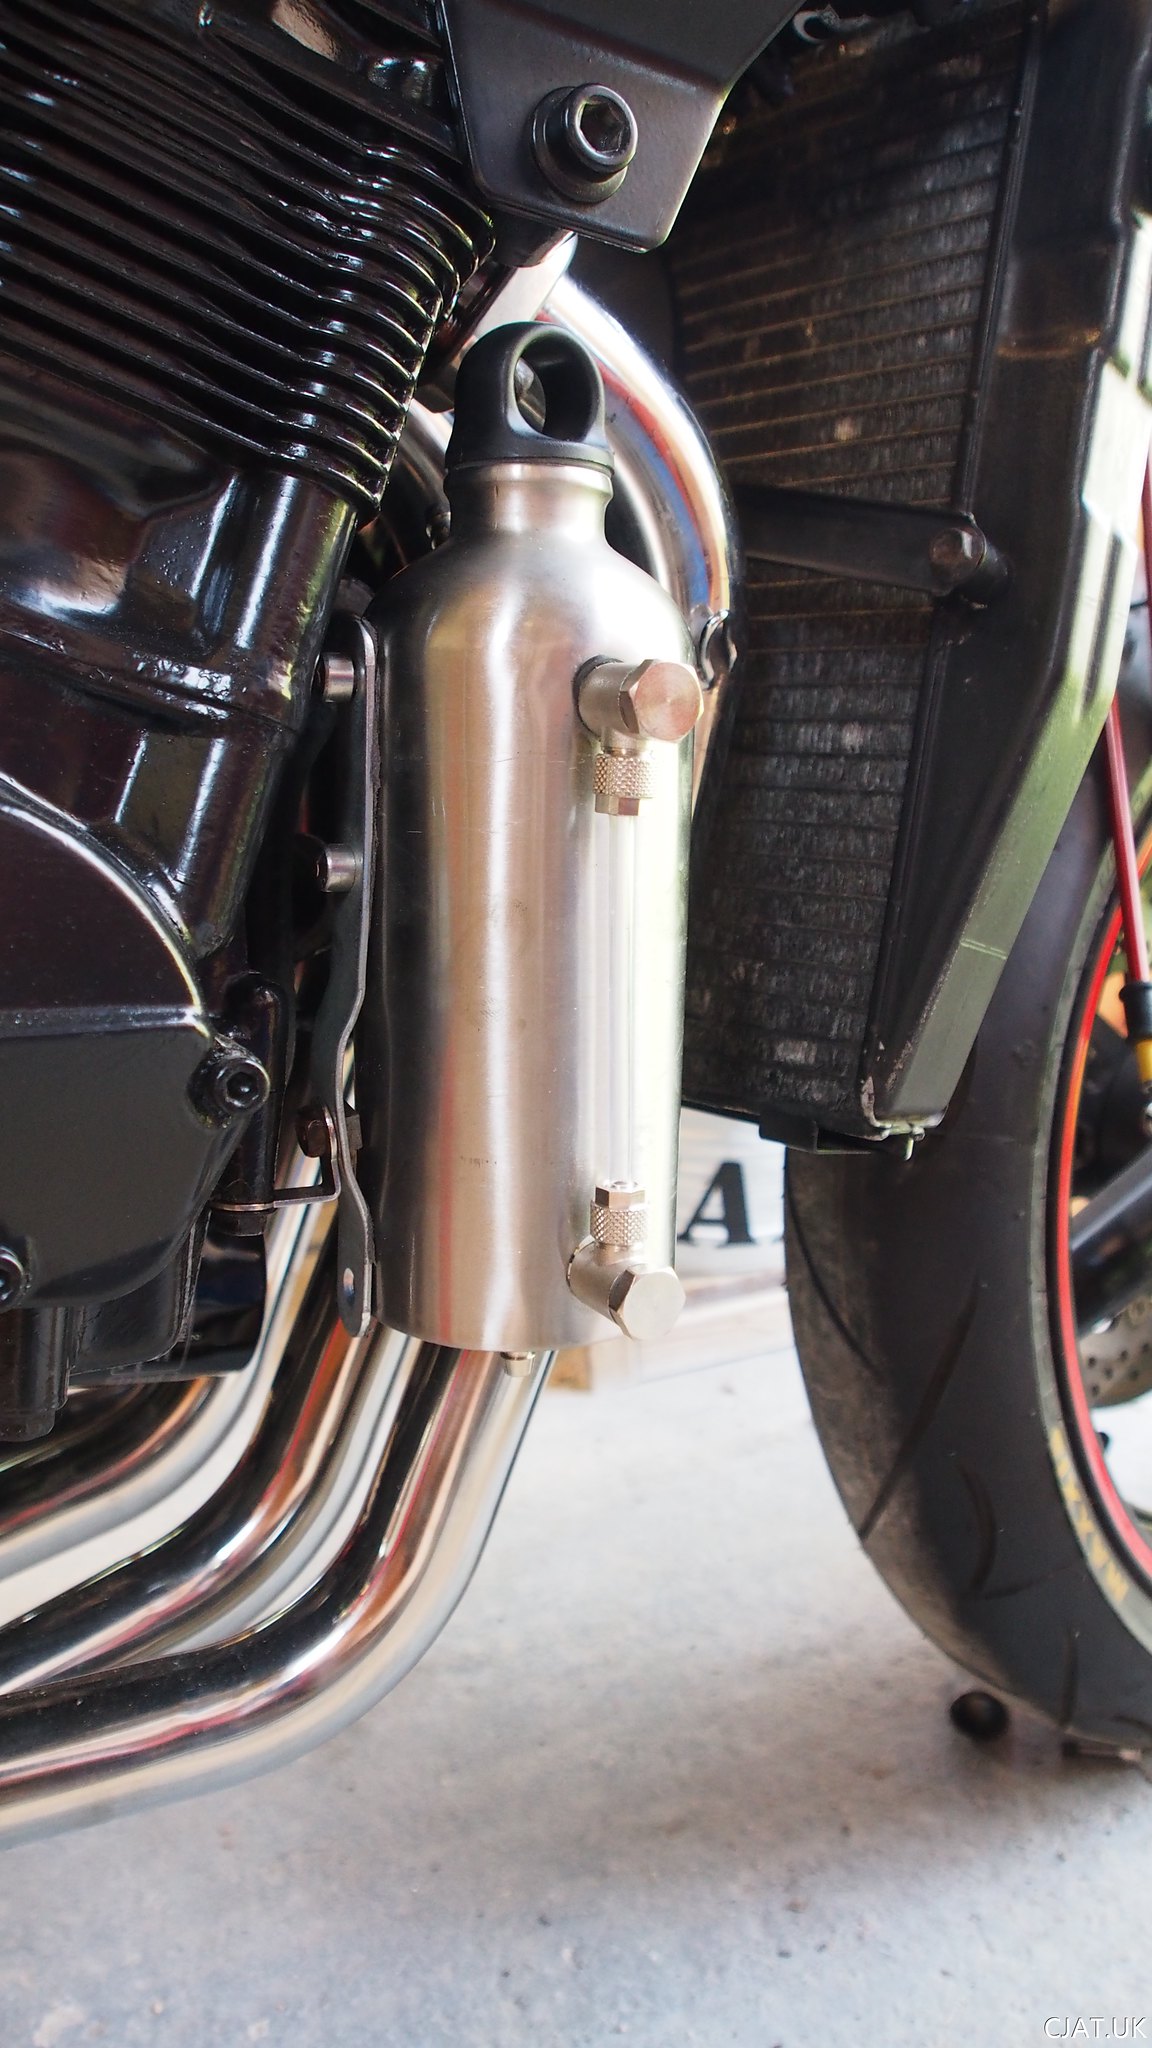

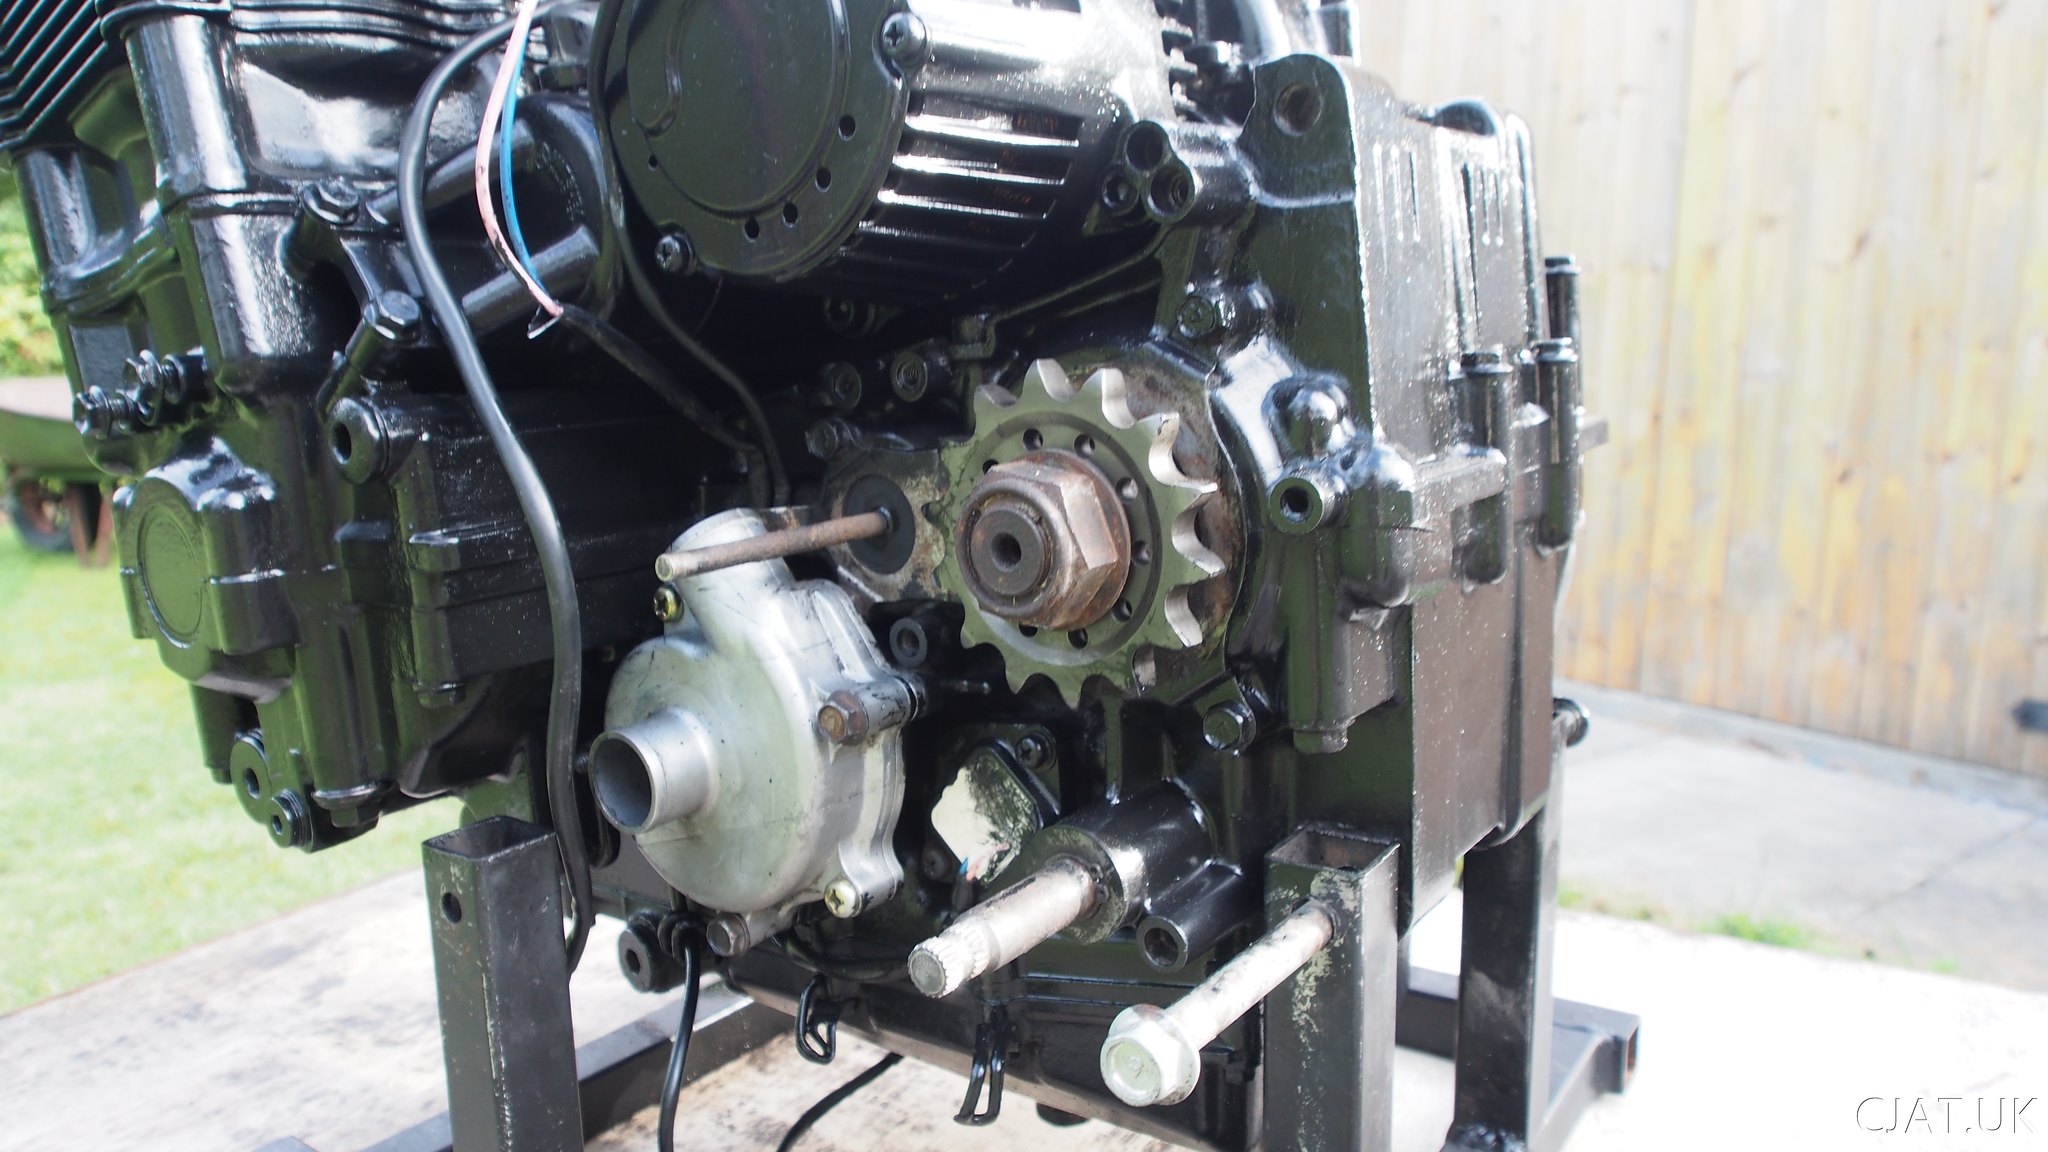
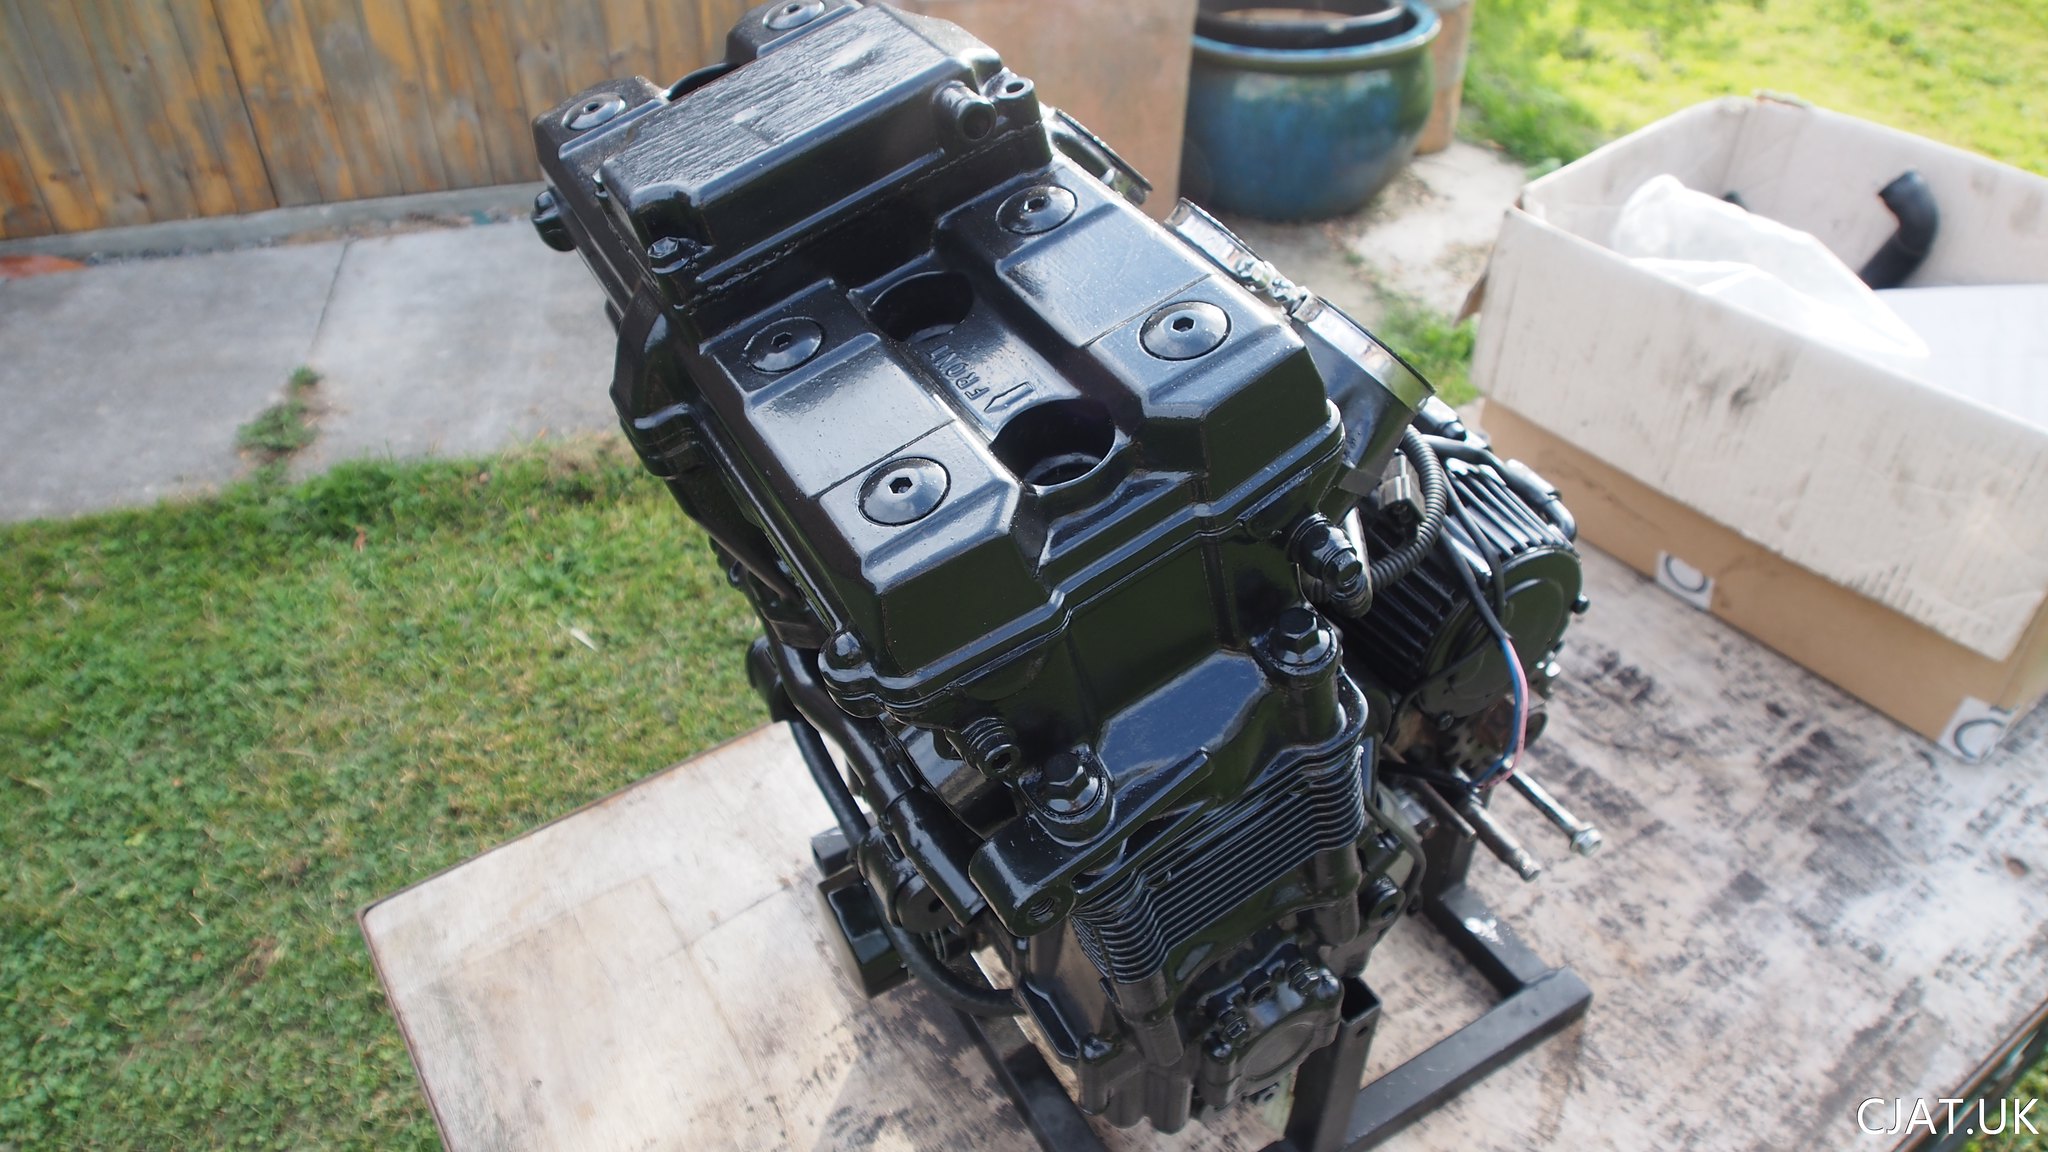
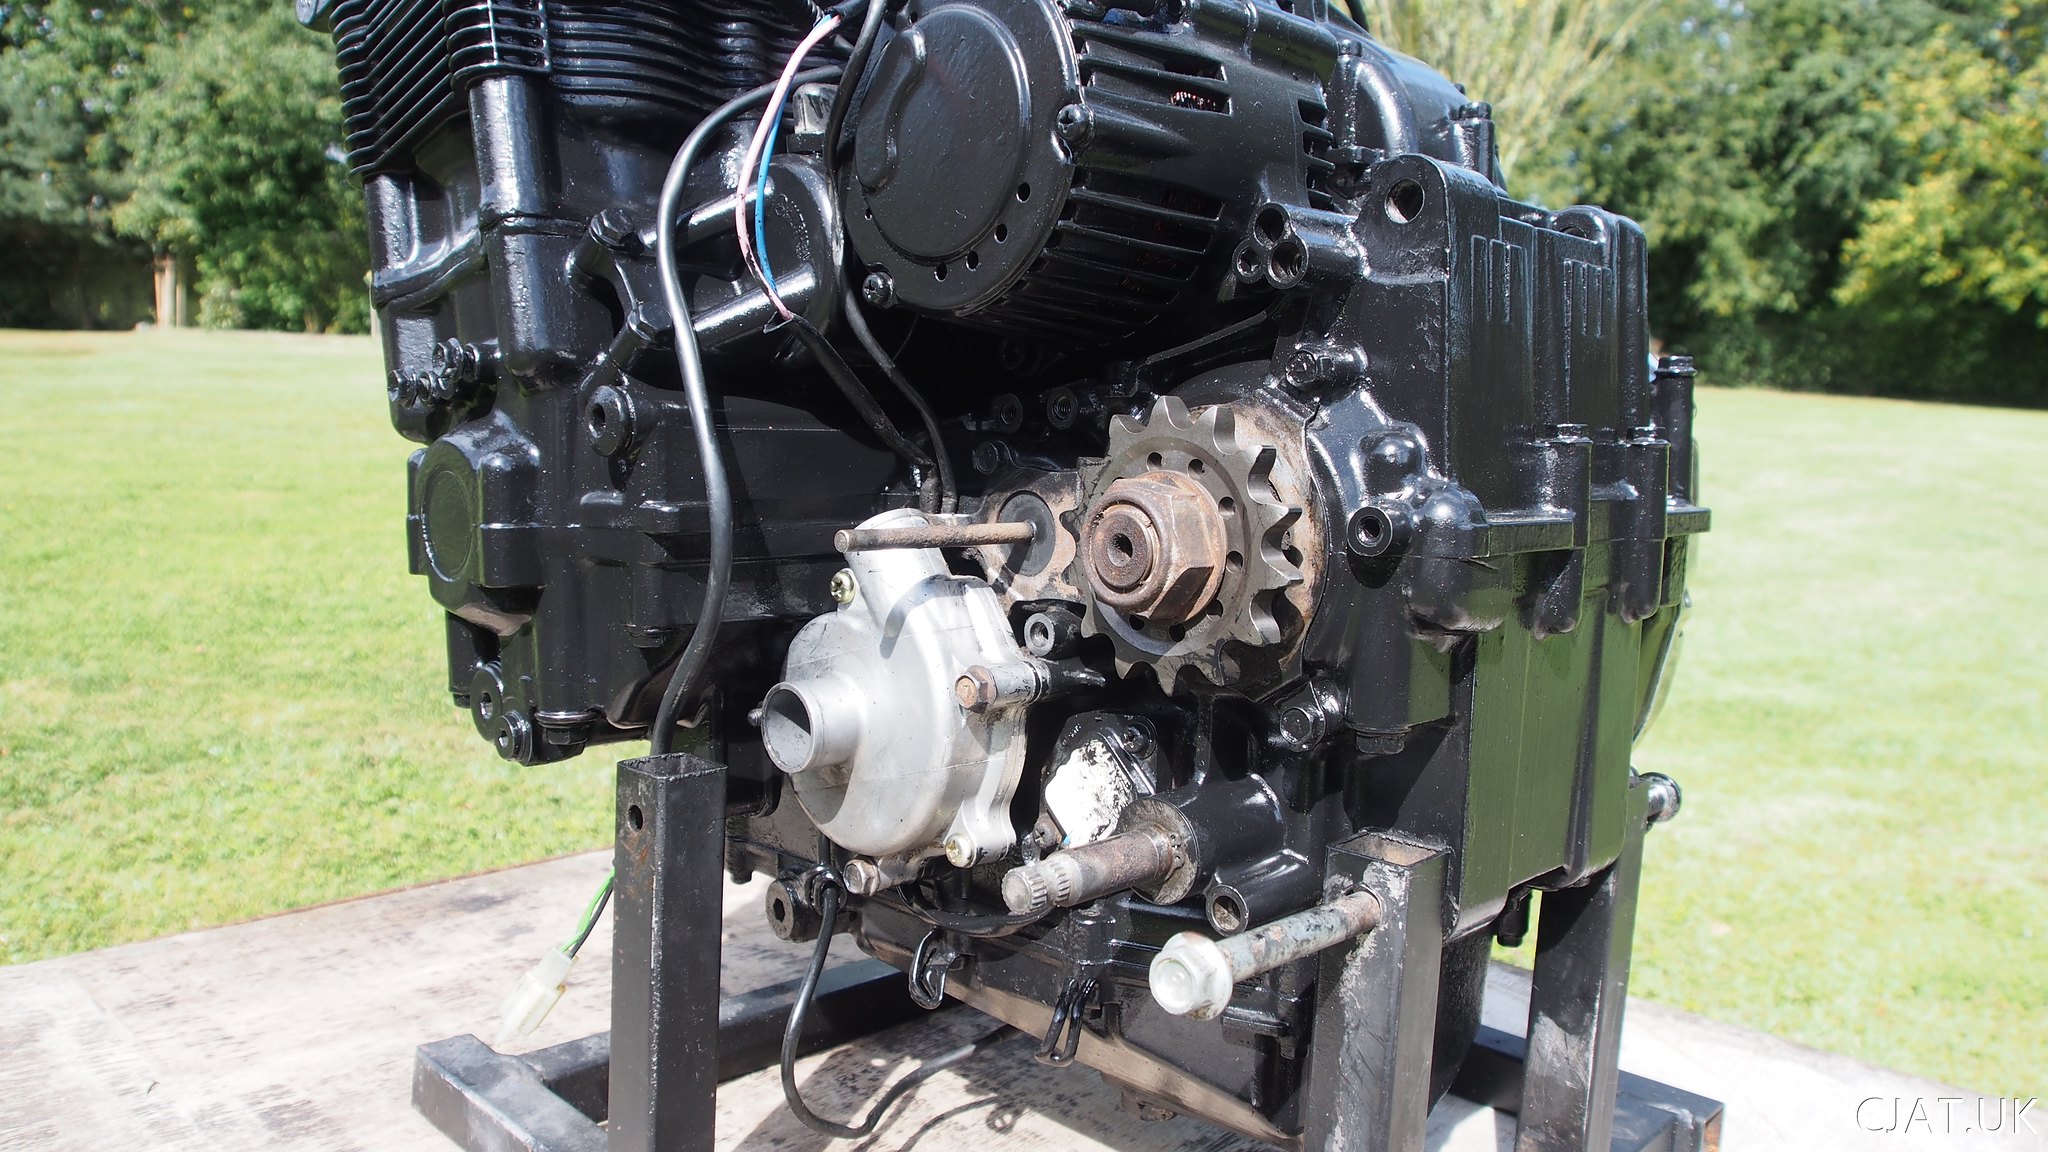
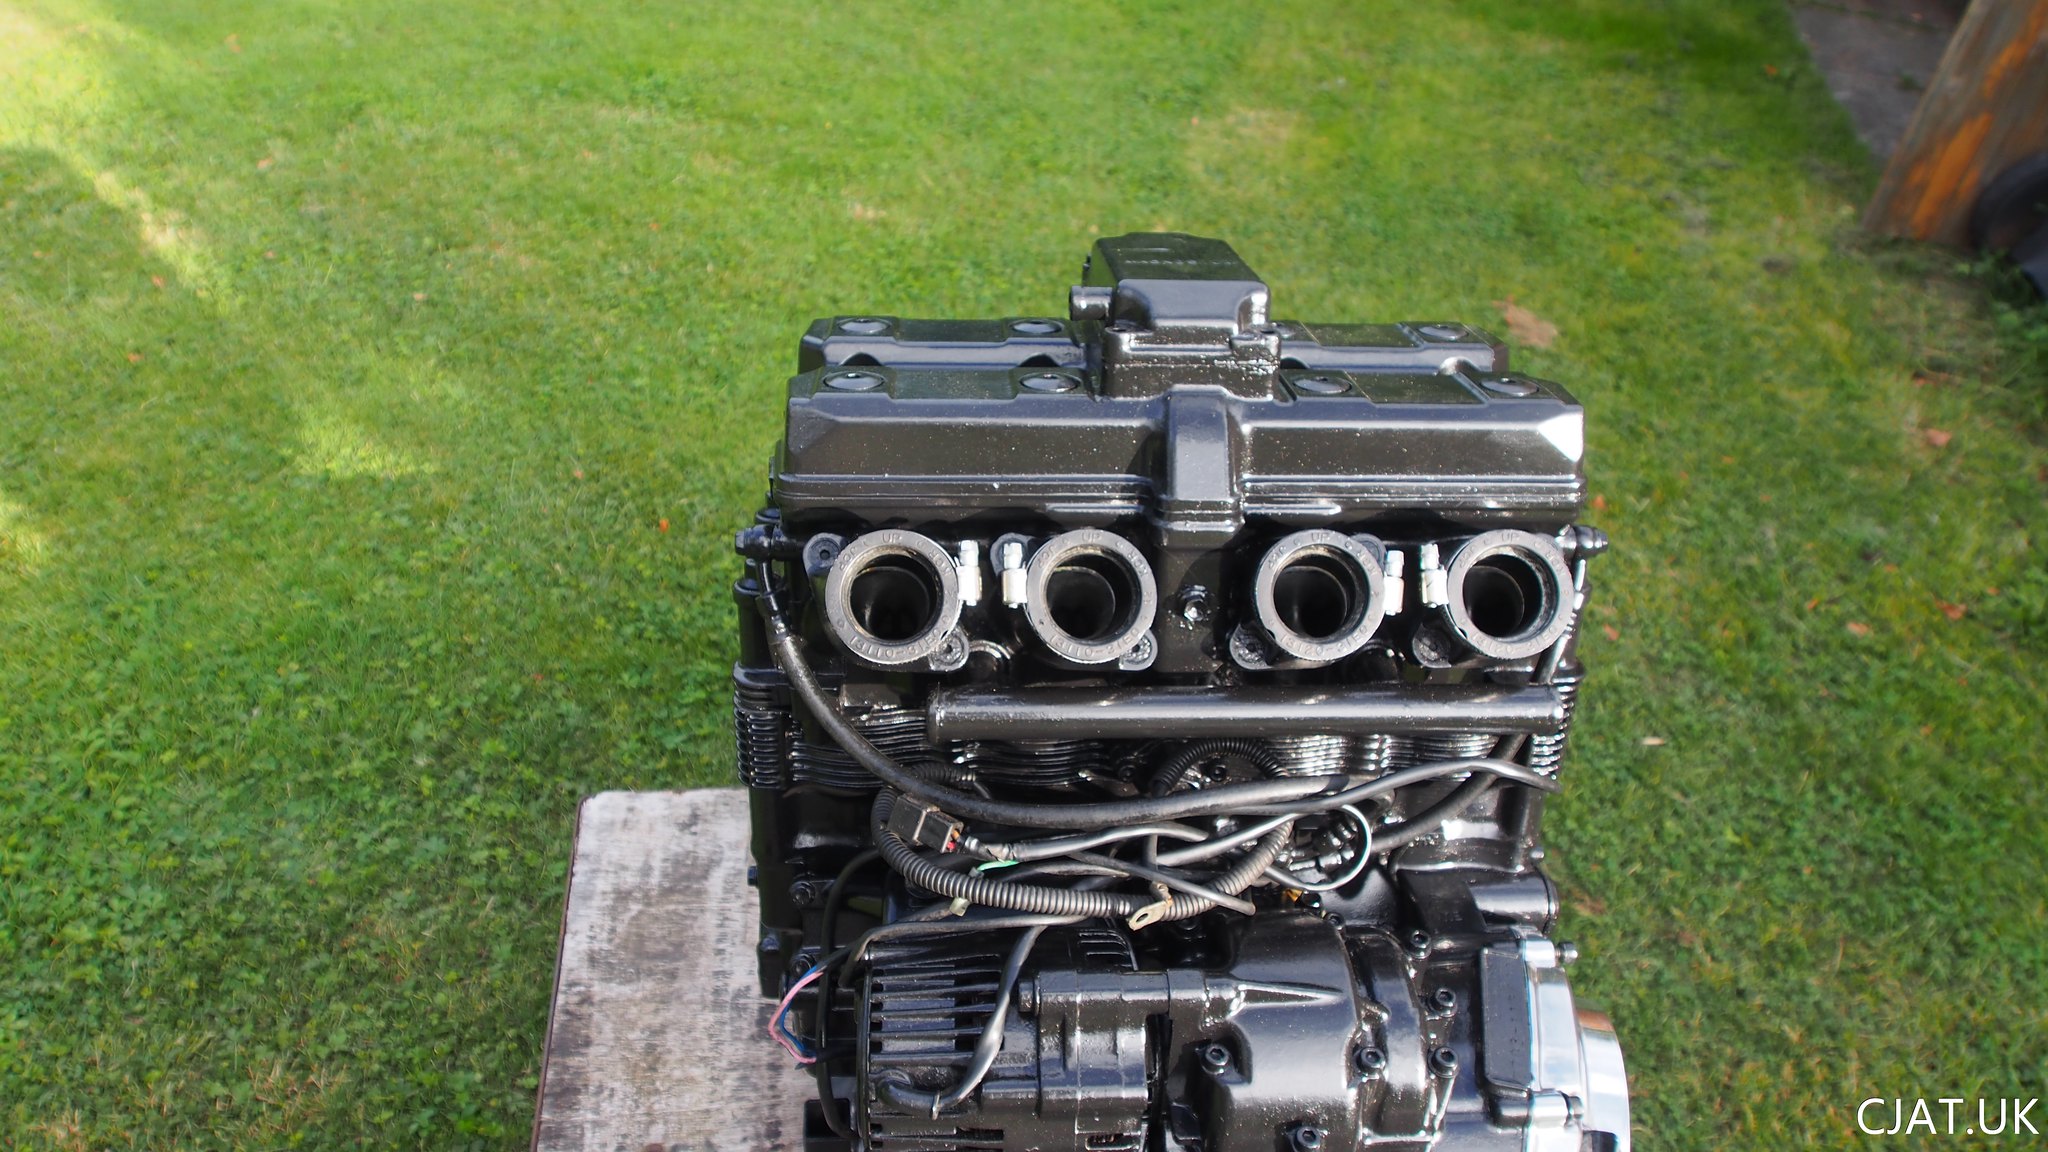
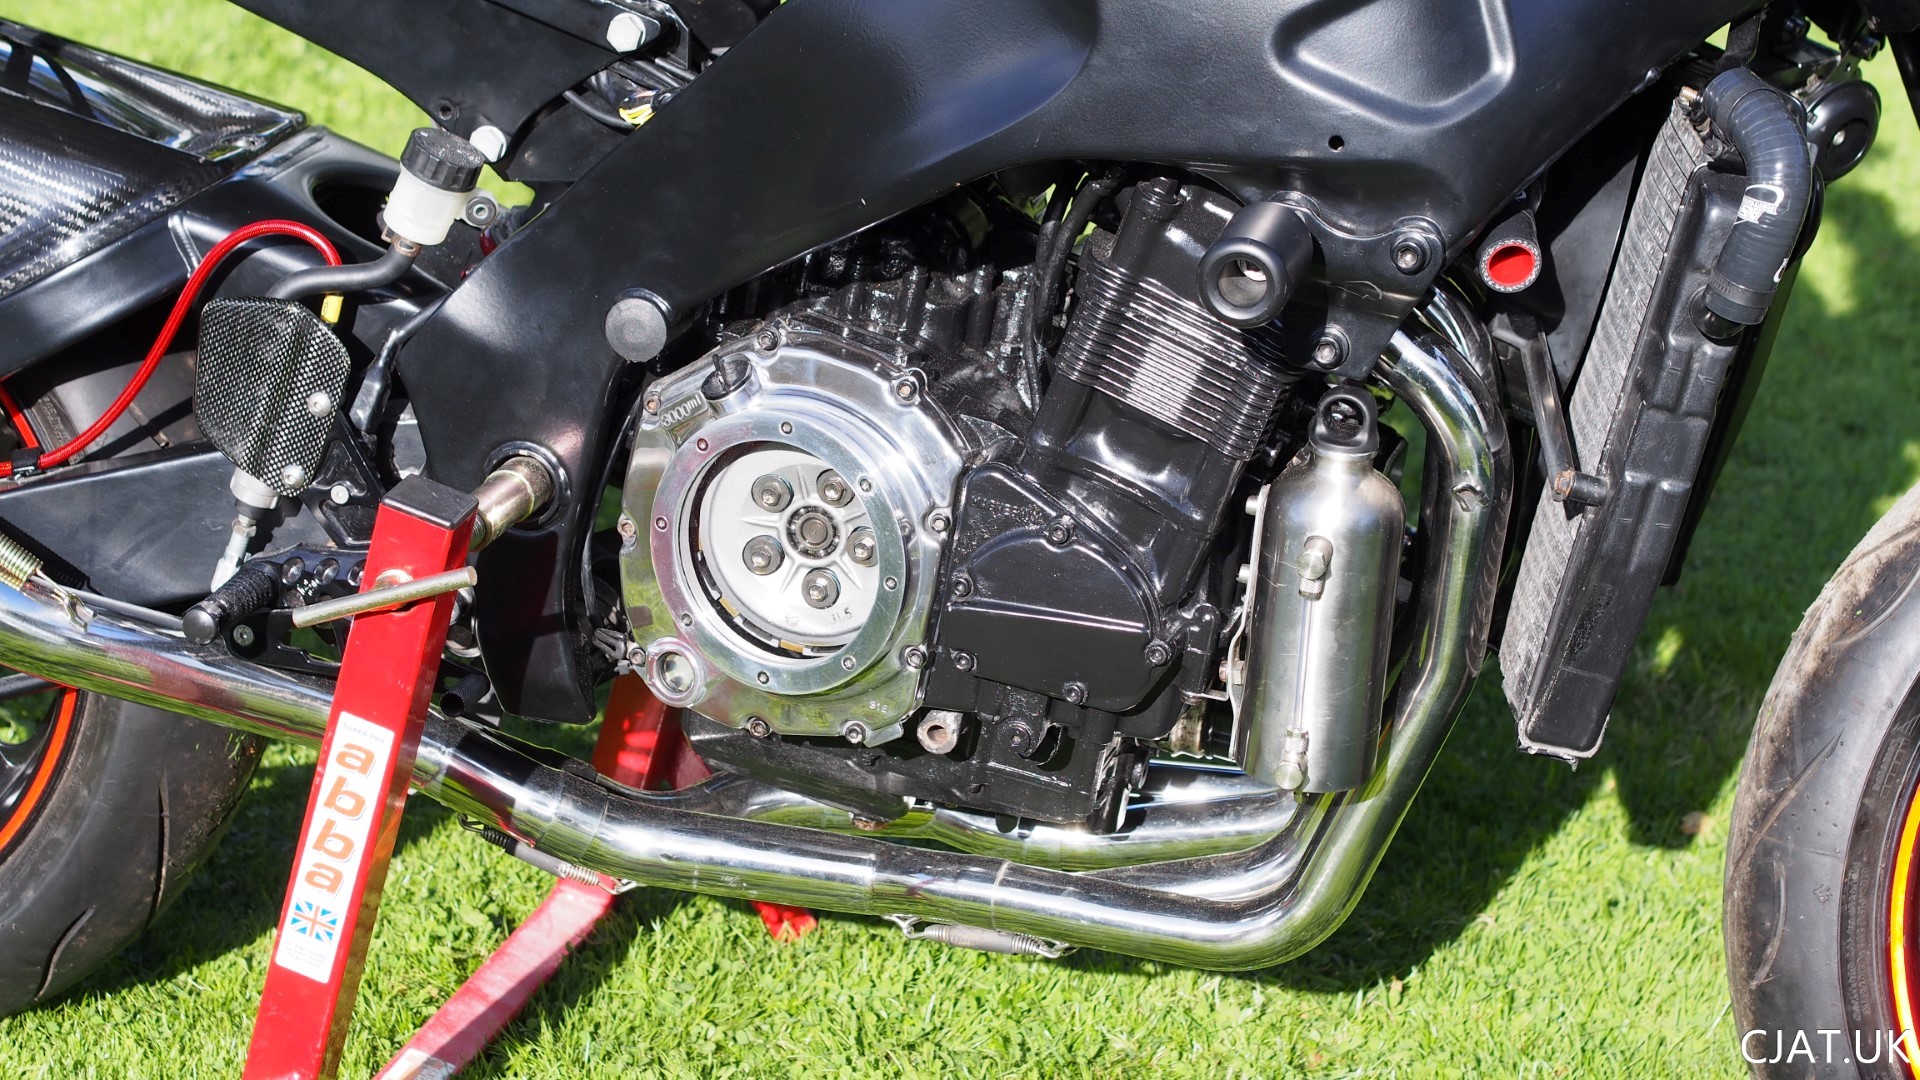
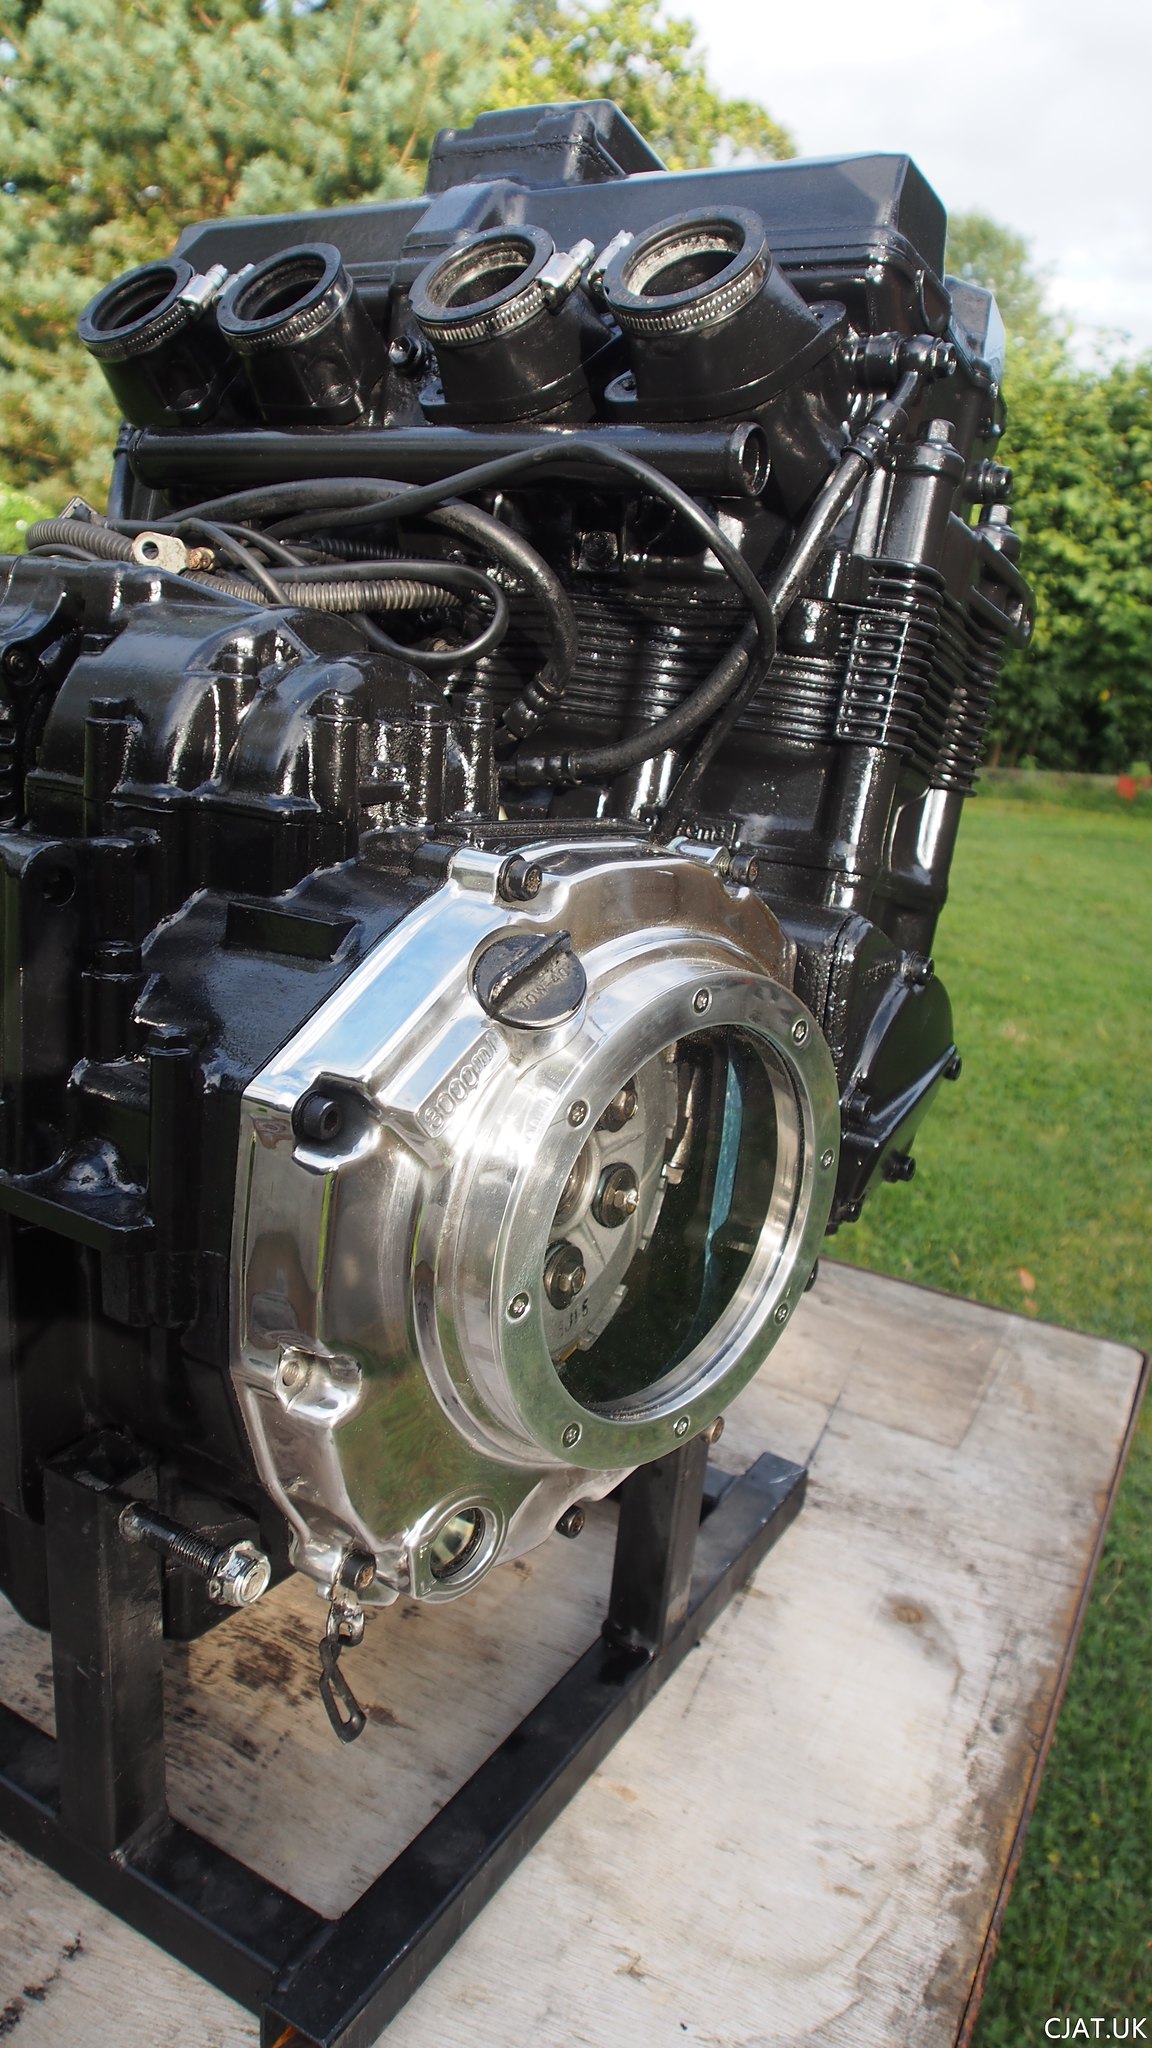
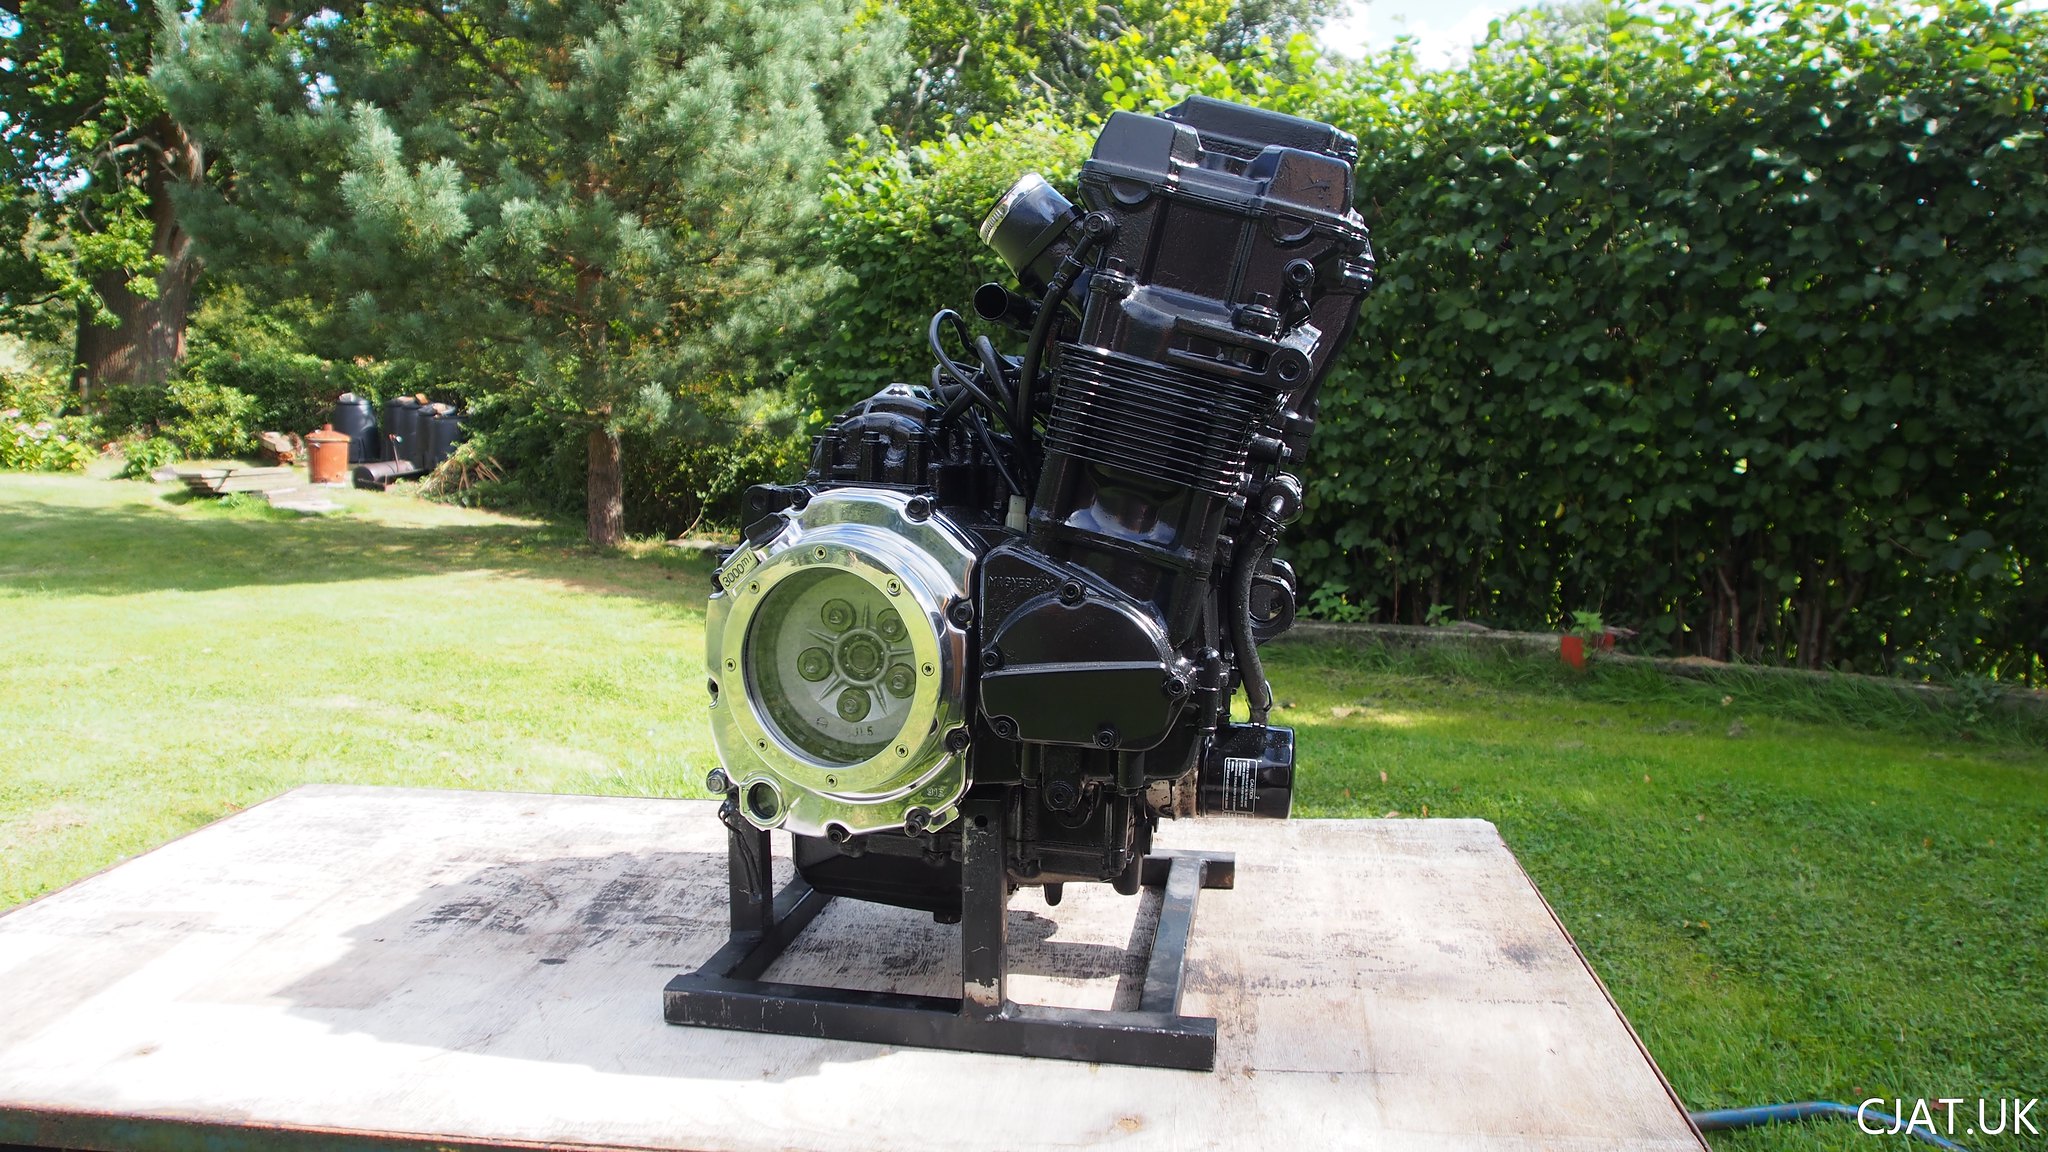
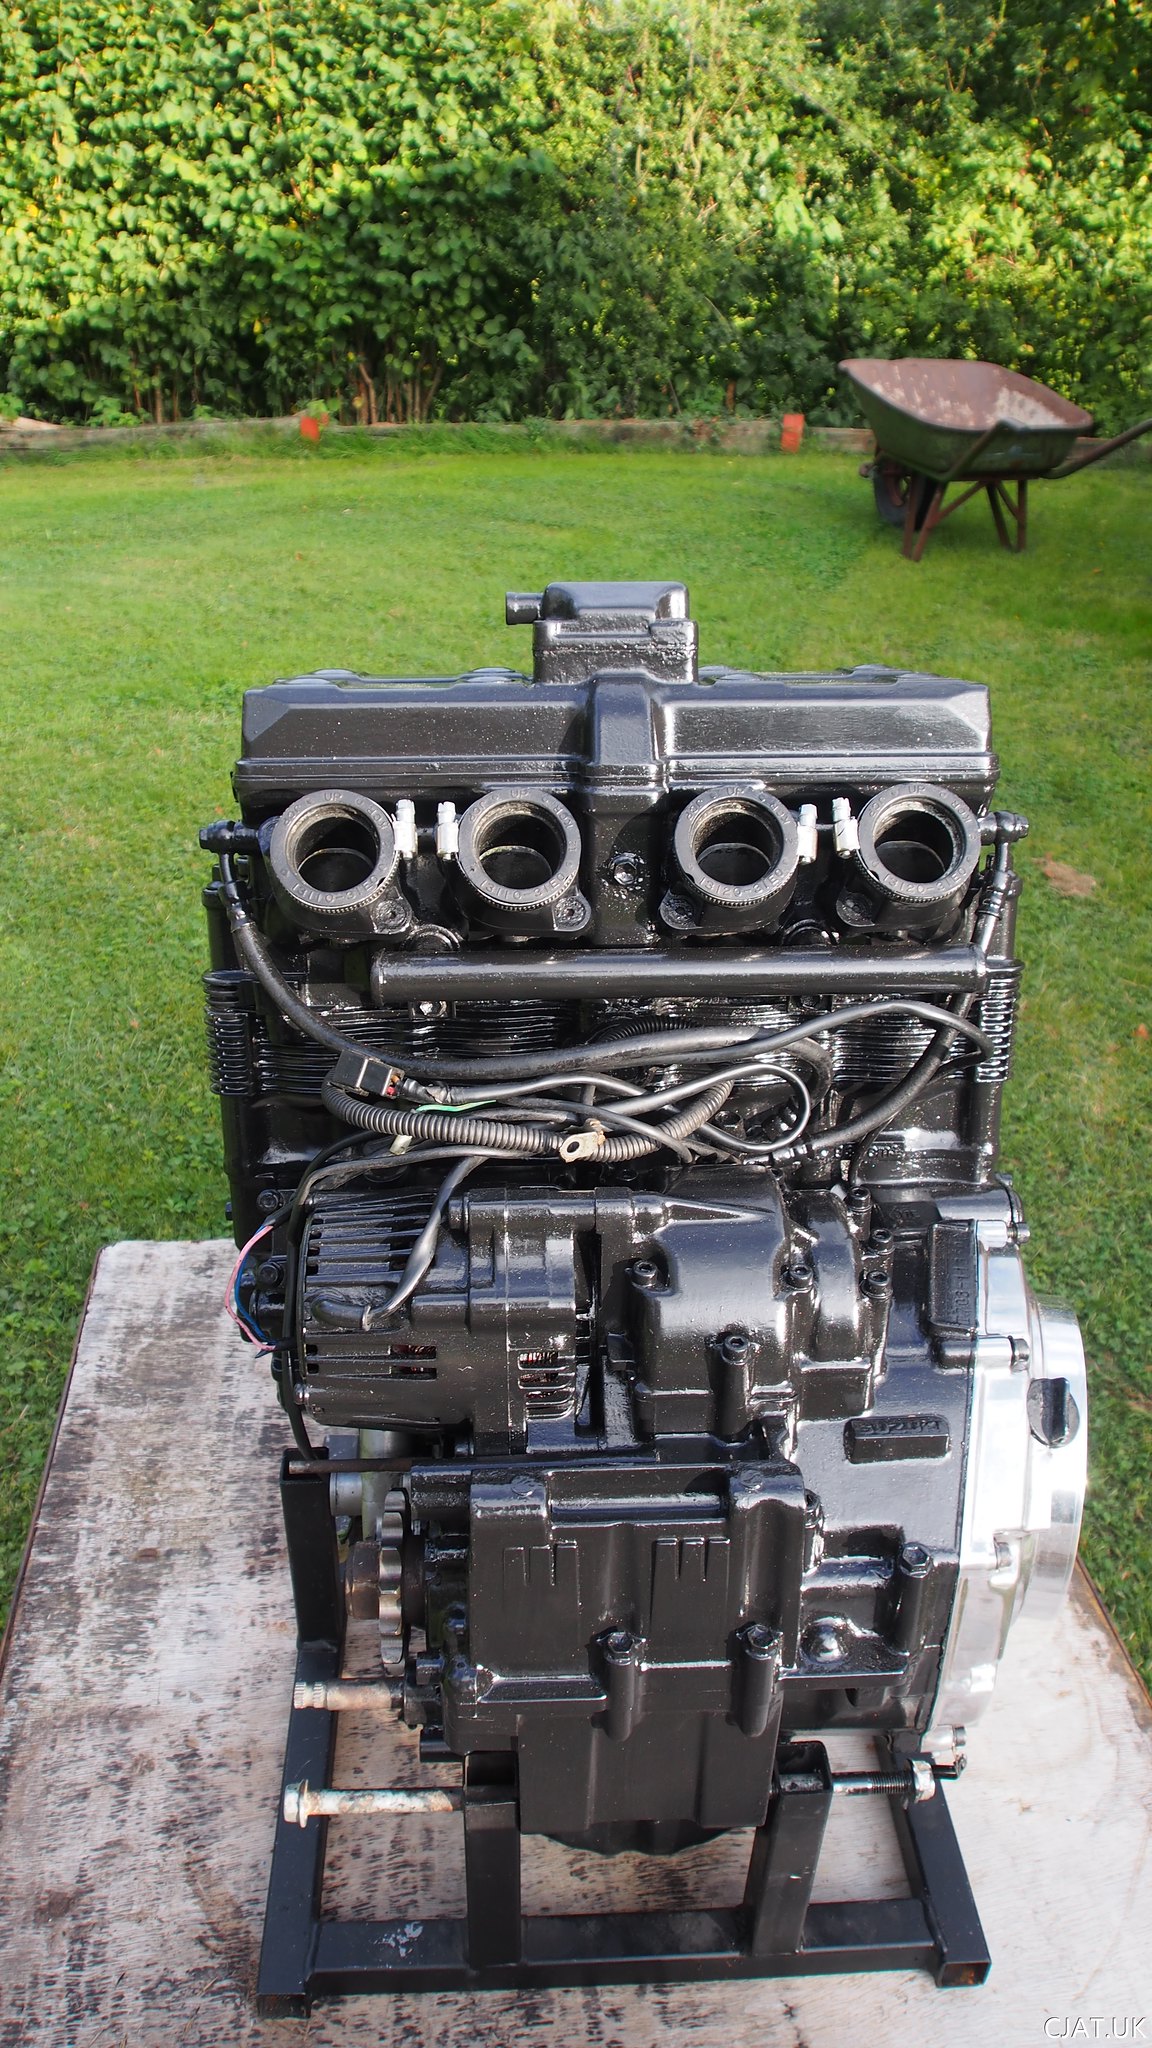 and last (but not least) a new windowed clutch cover for the RF900. Looks amazing but I feel like the hub cover needs some colour… just not sure how to accomplish that.
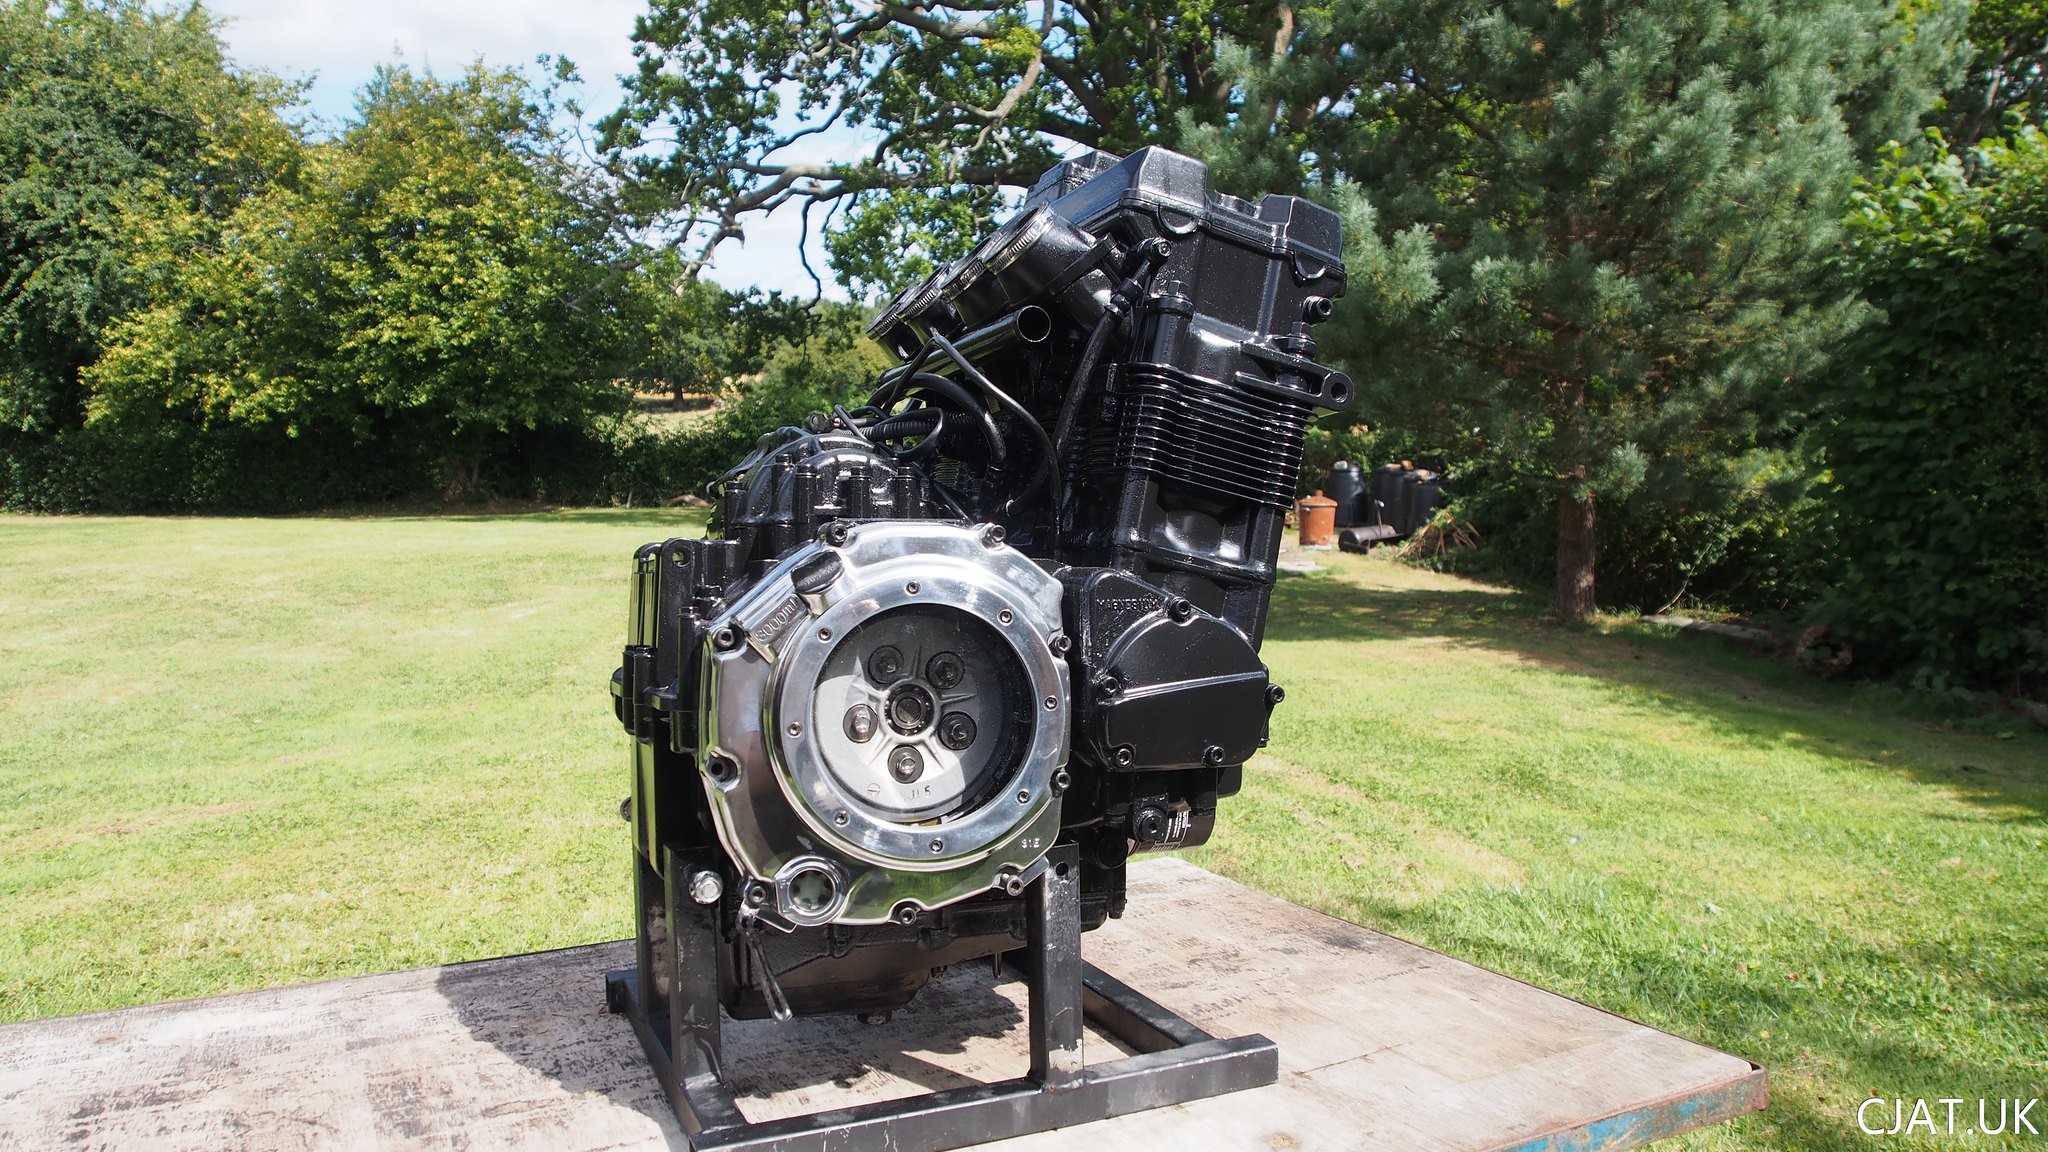
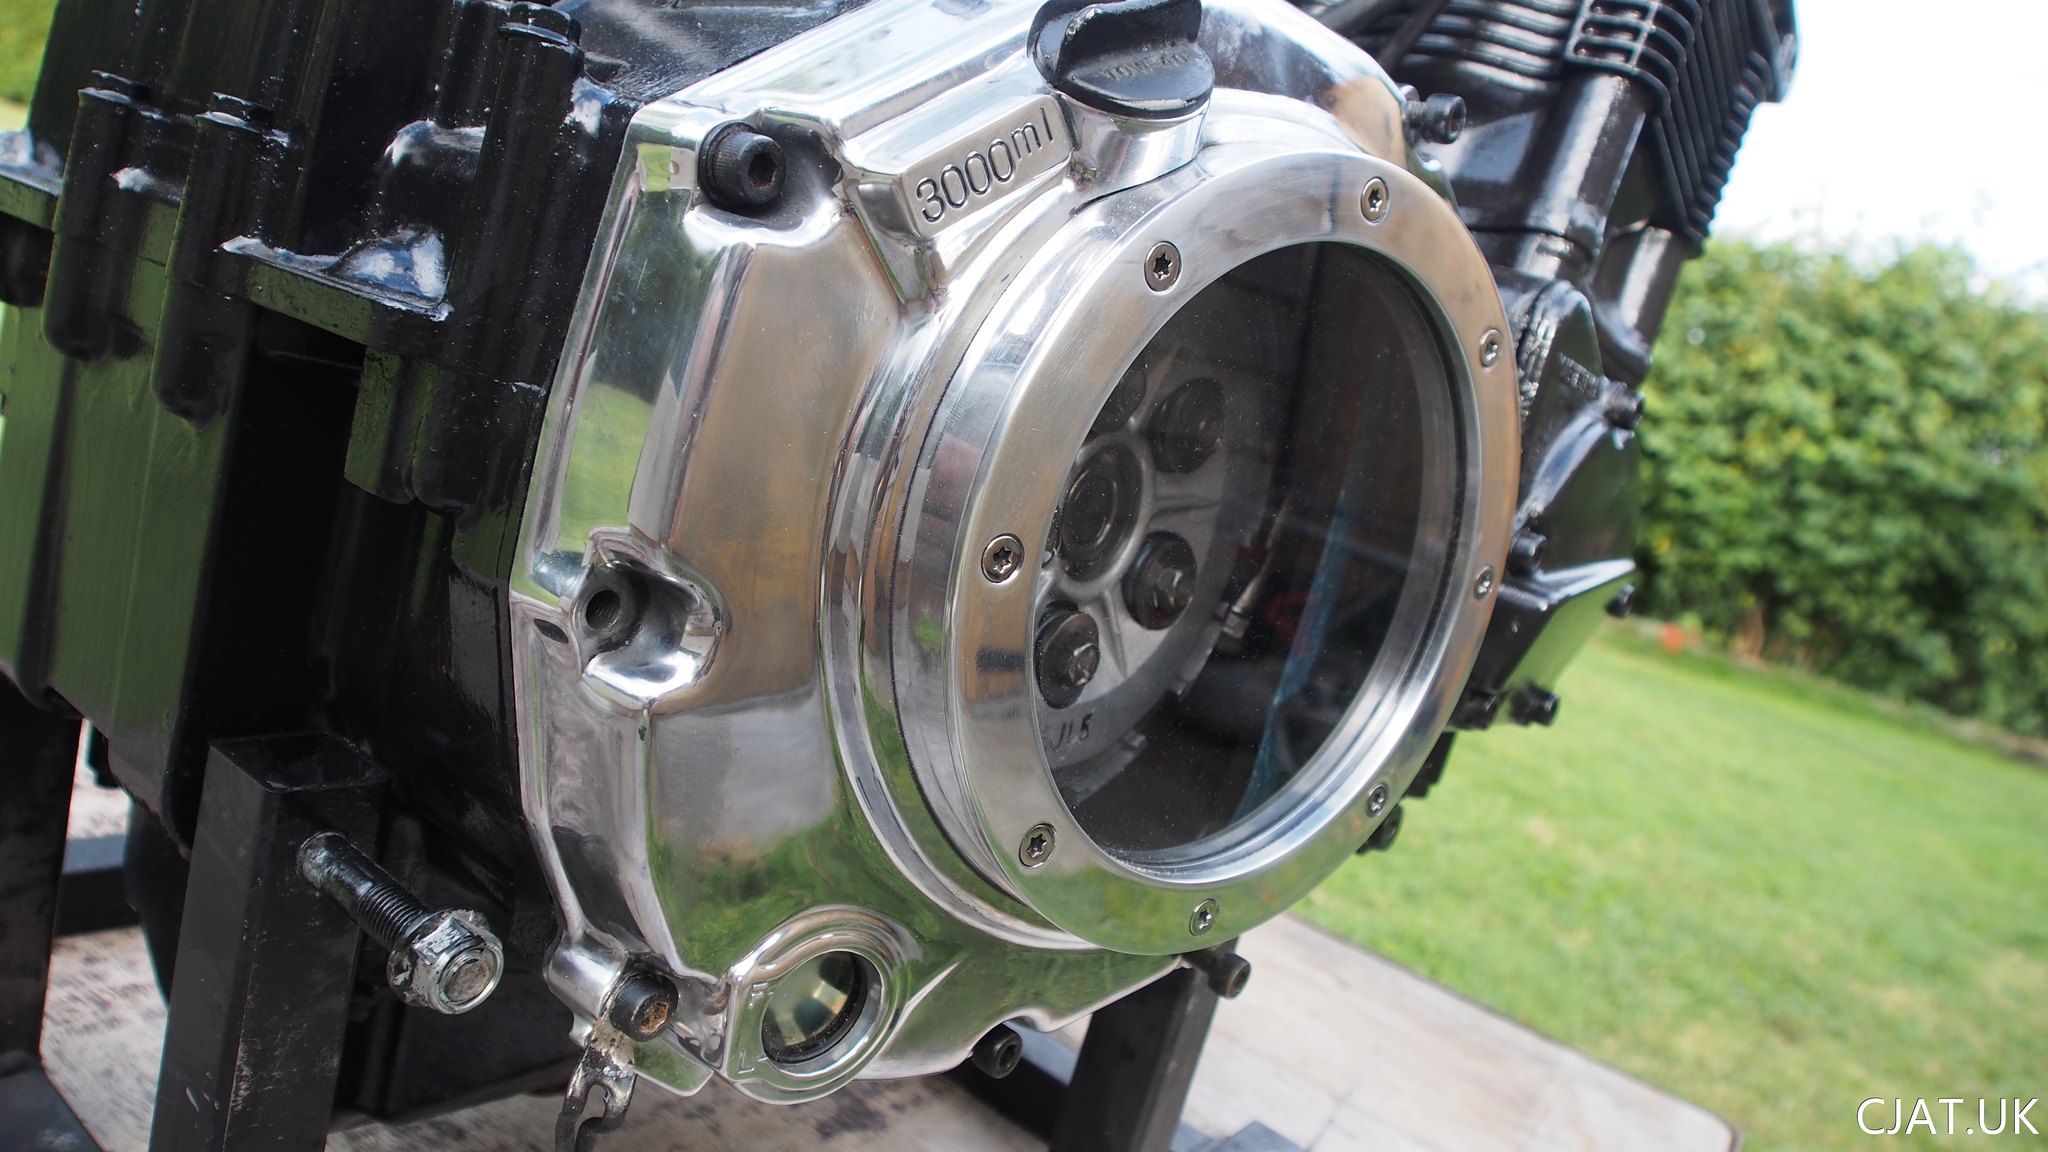 Putting a newly painted engine in a powder coated frame single handedly was not an easy task.
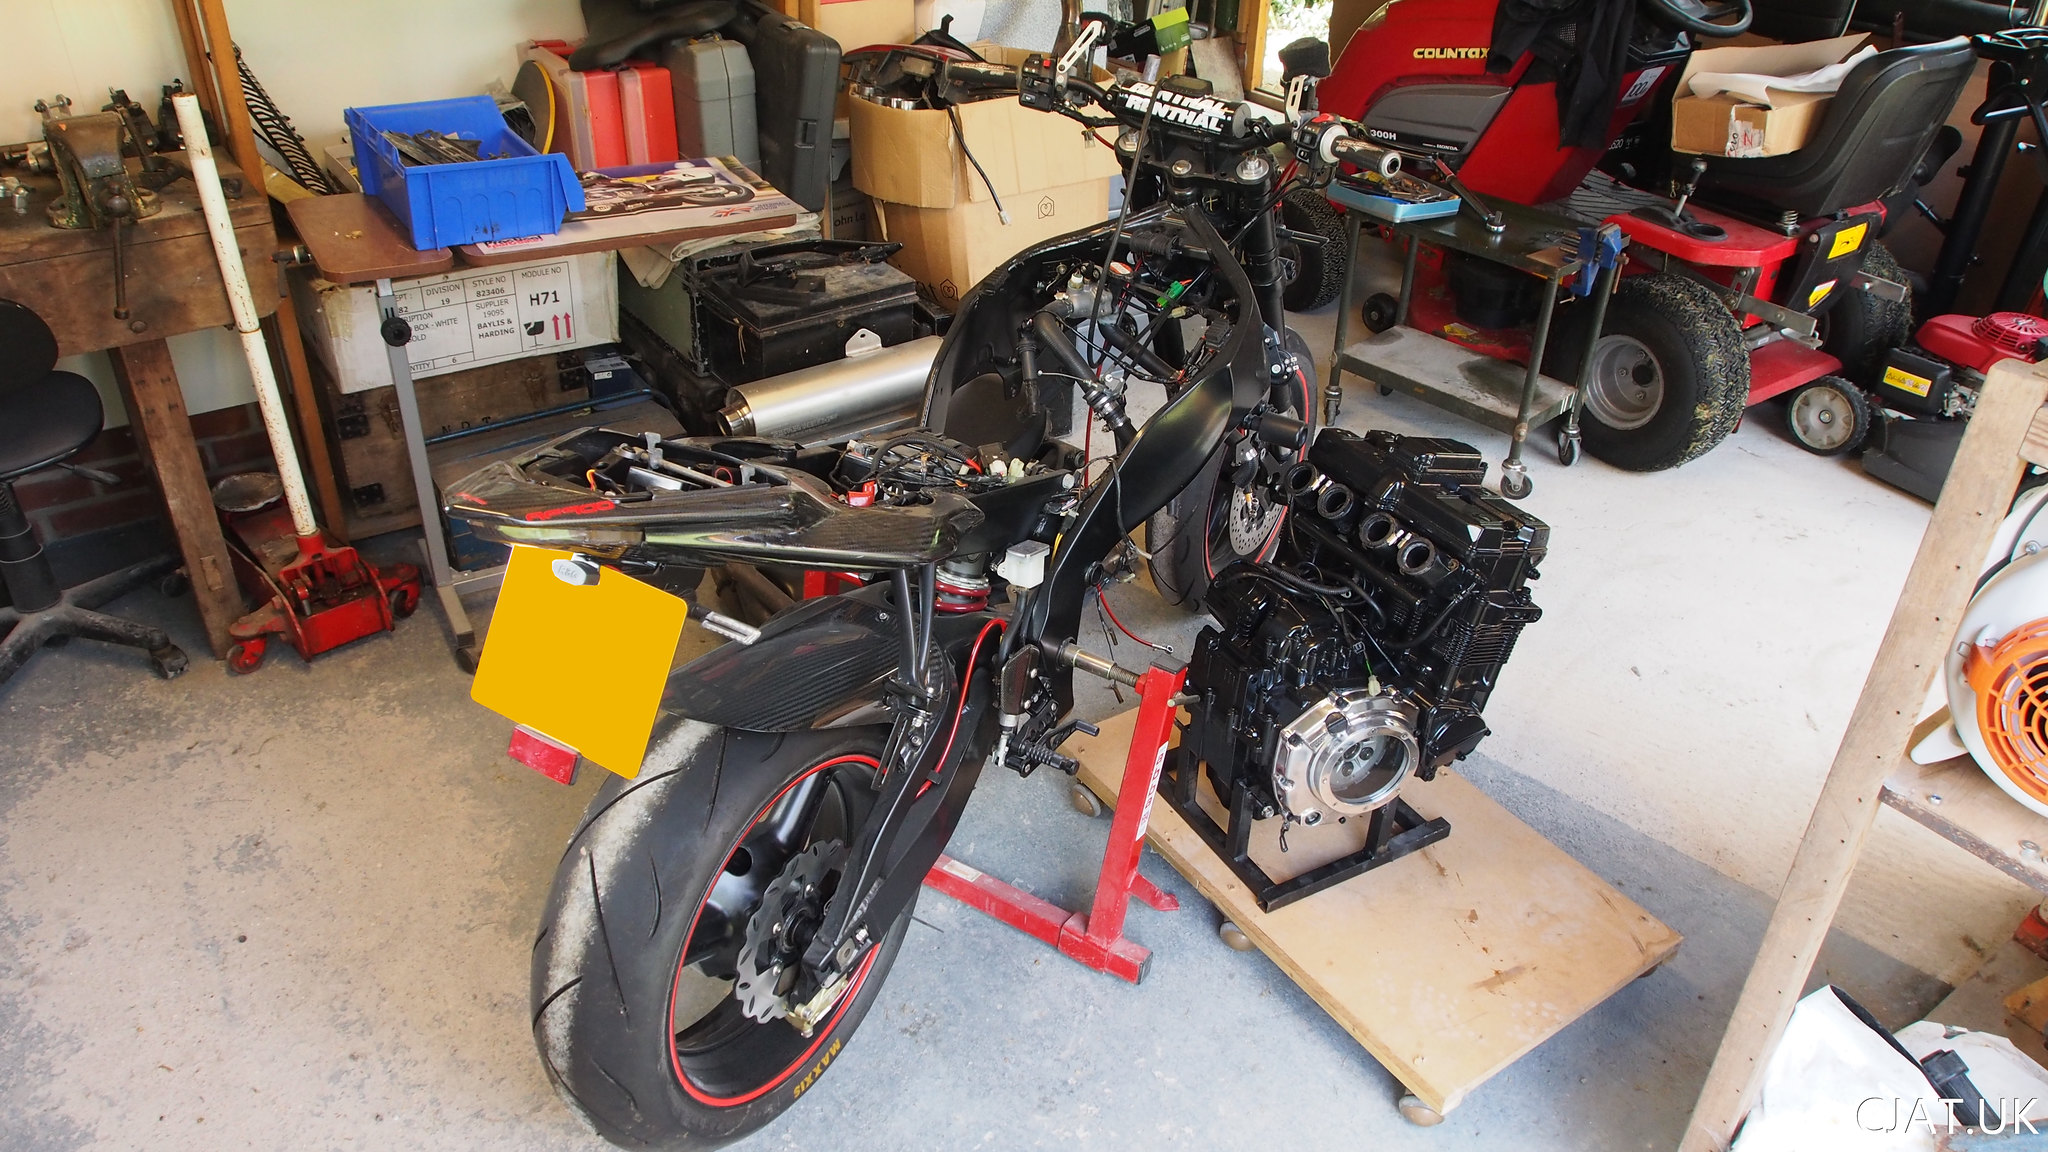
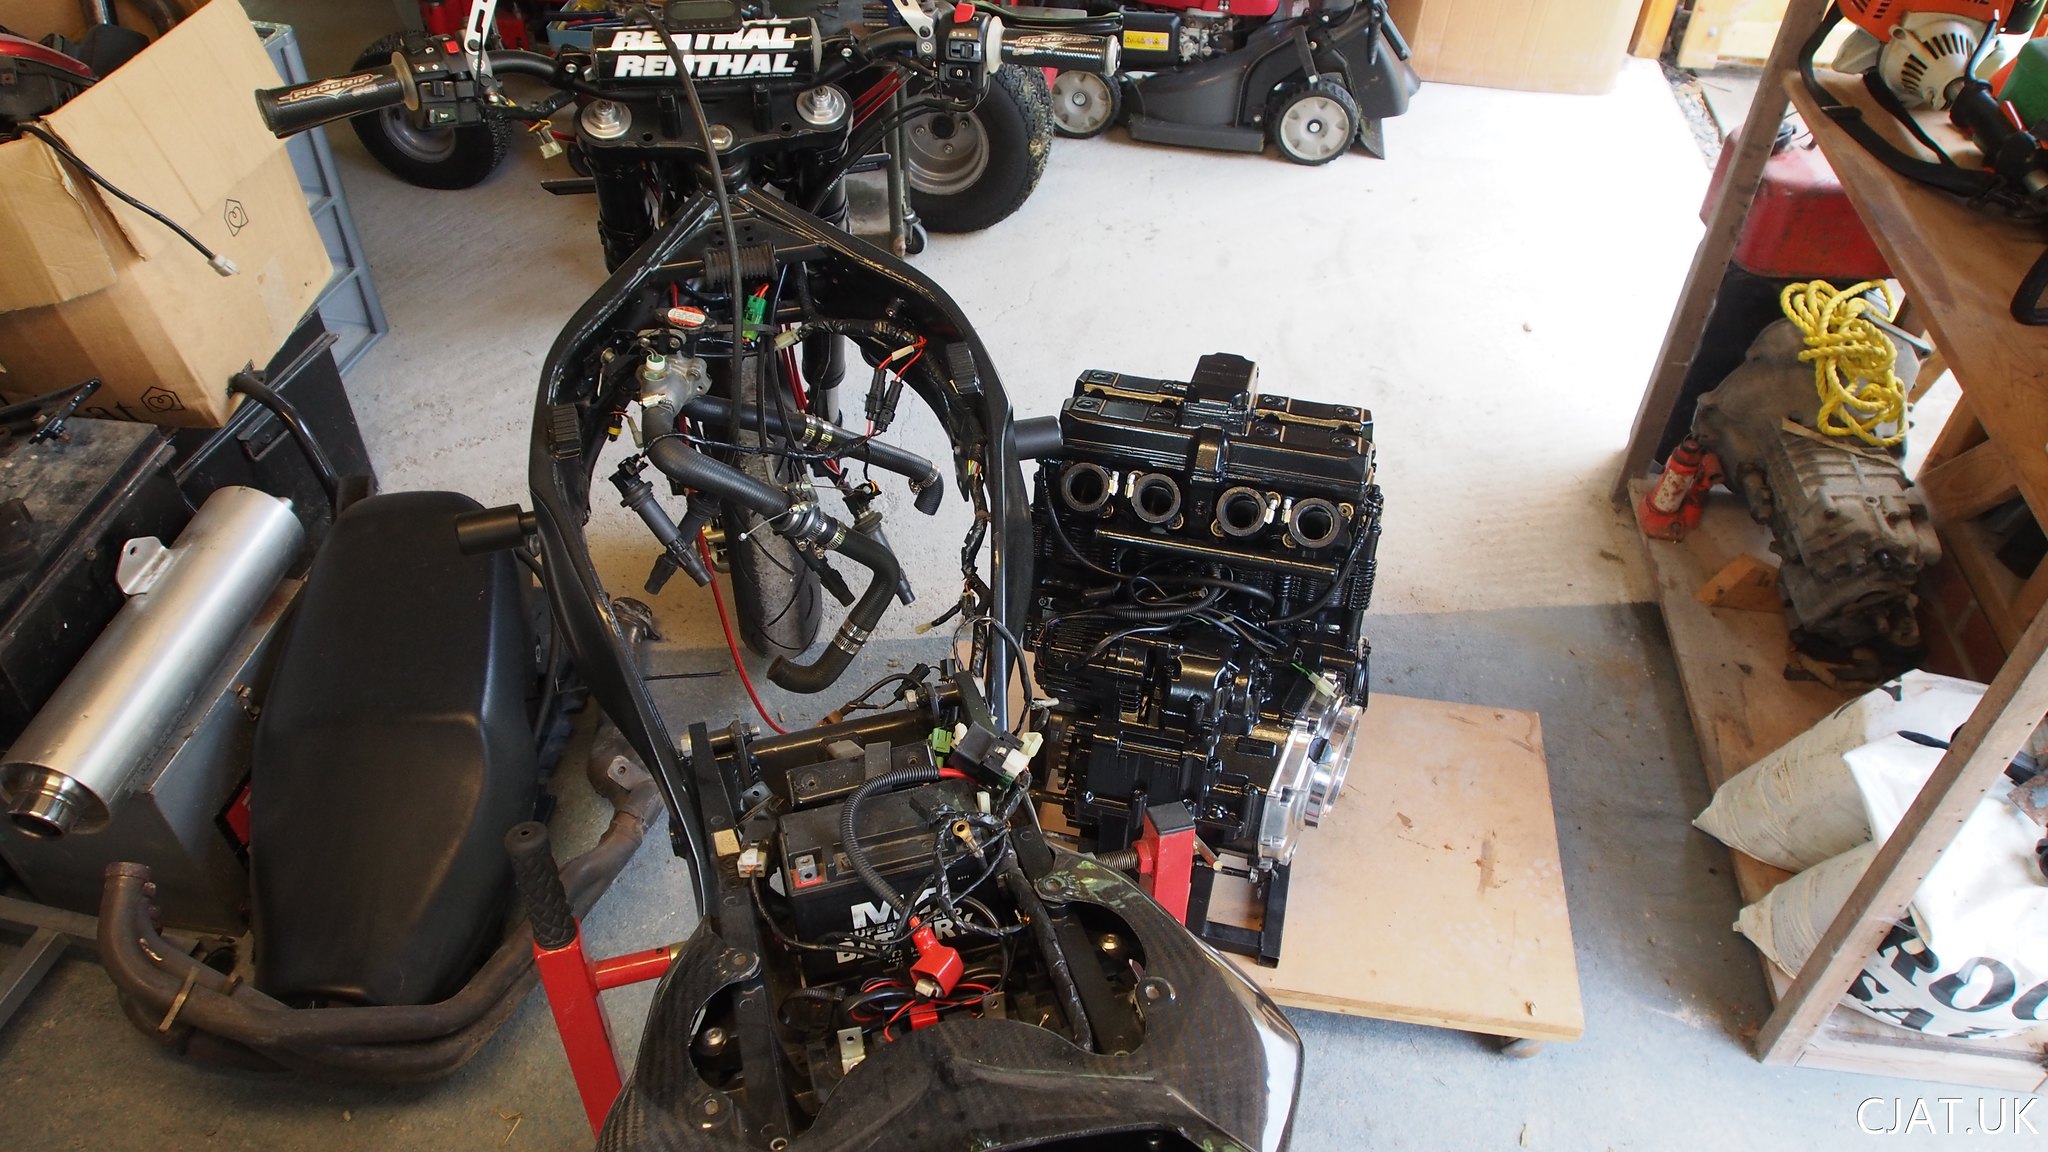 Halfway in...
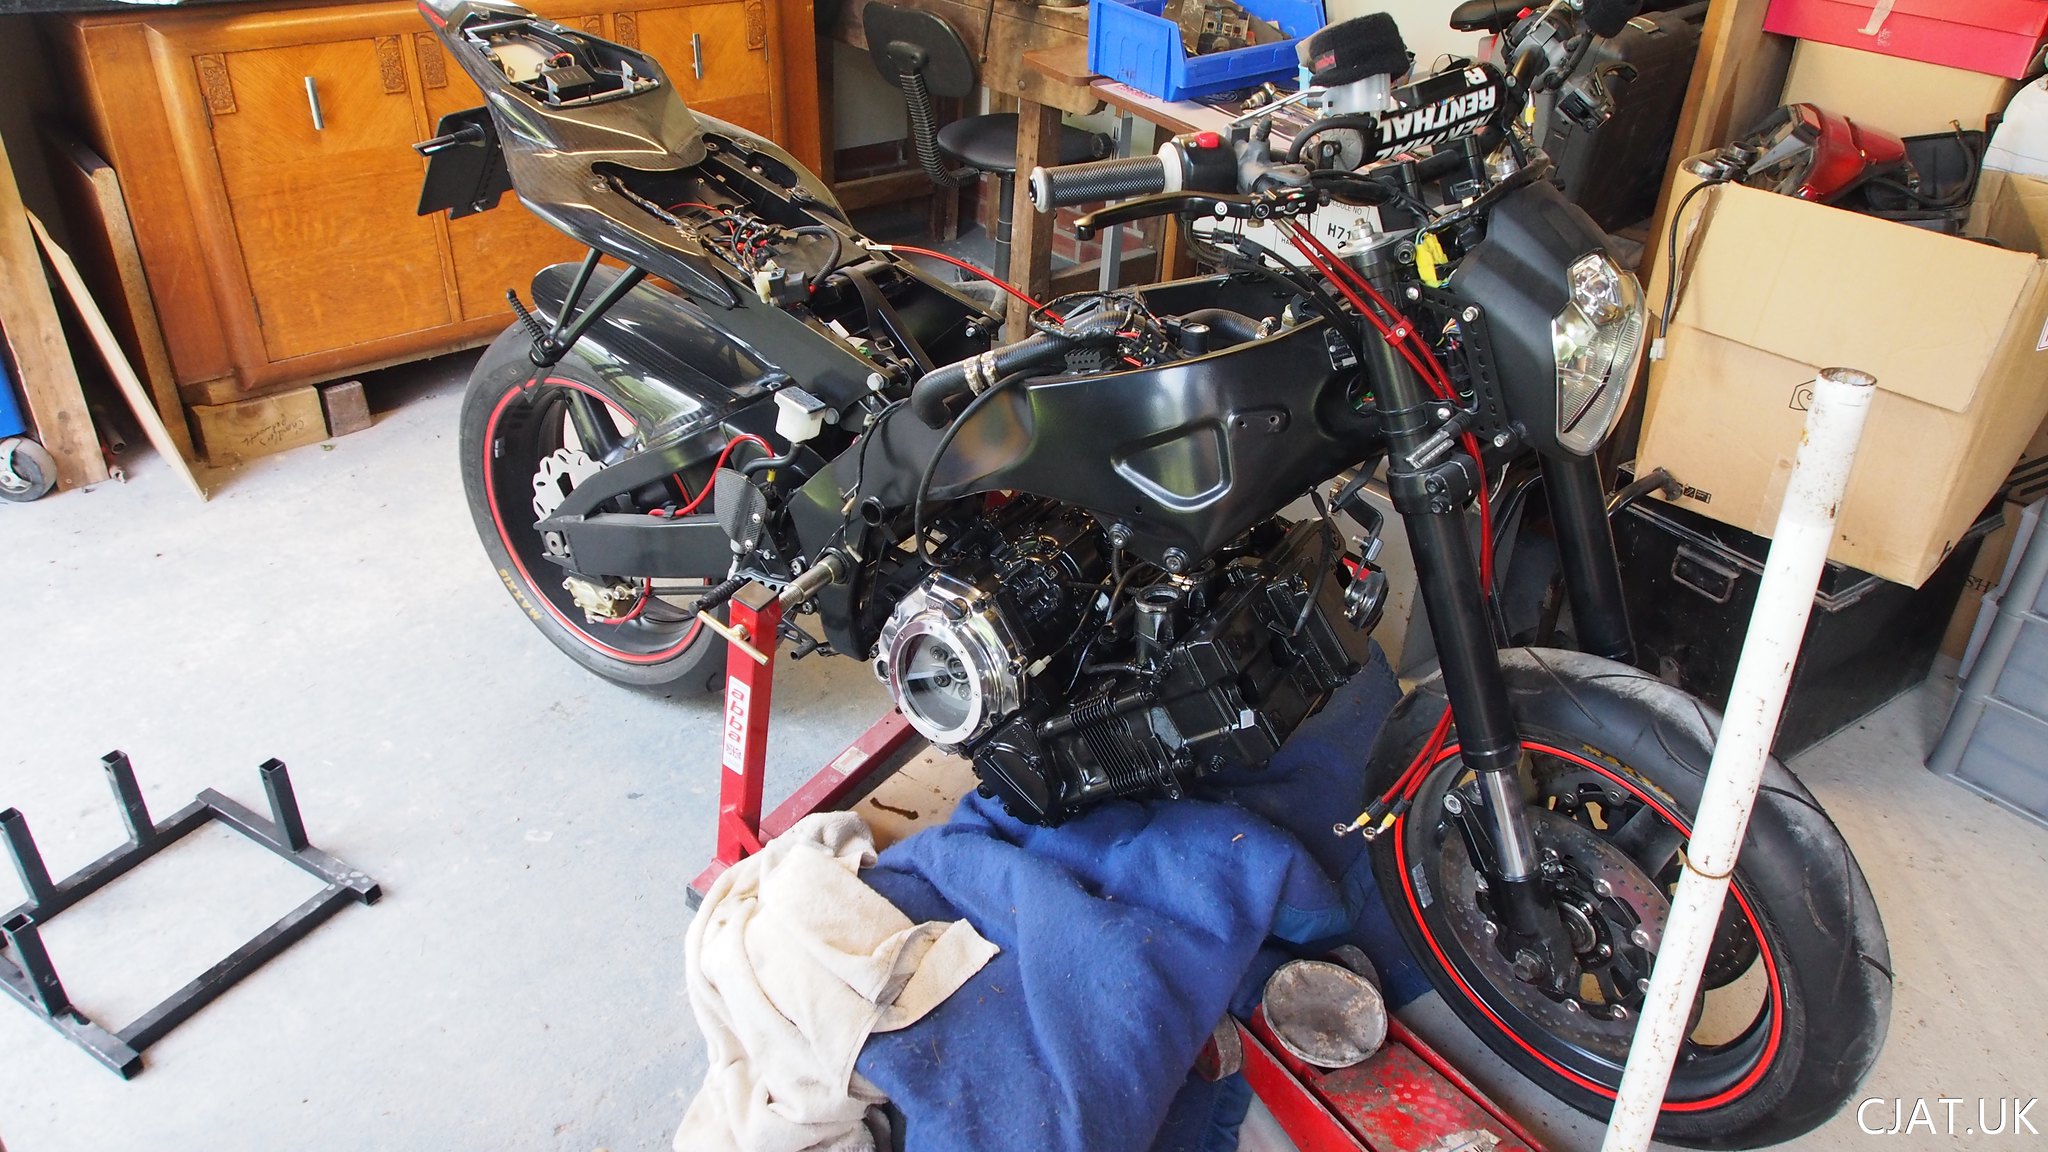 Done and looking rather nice.
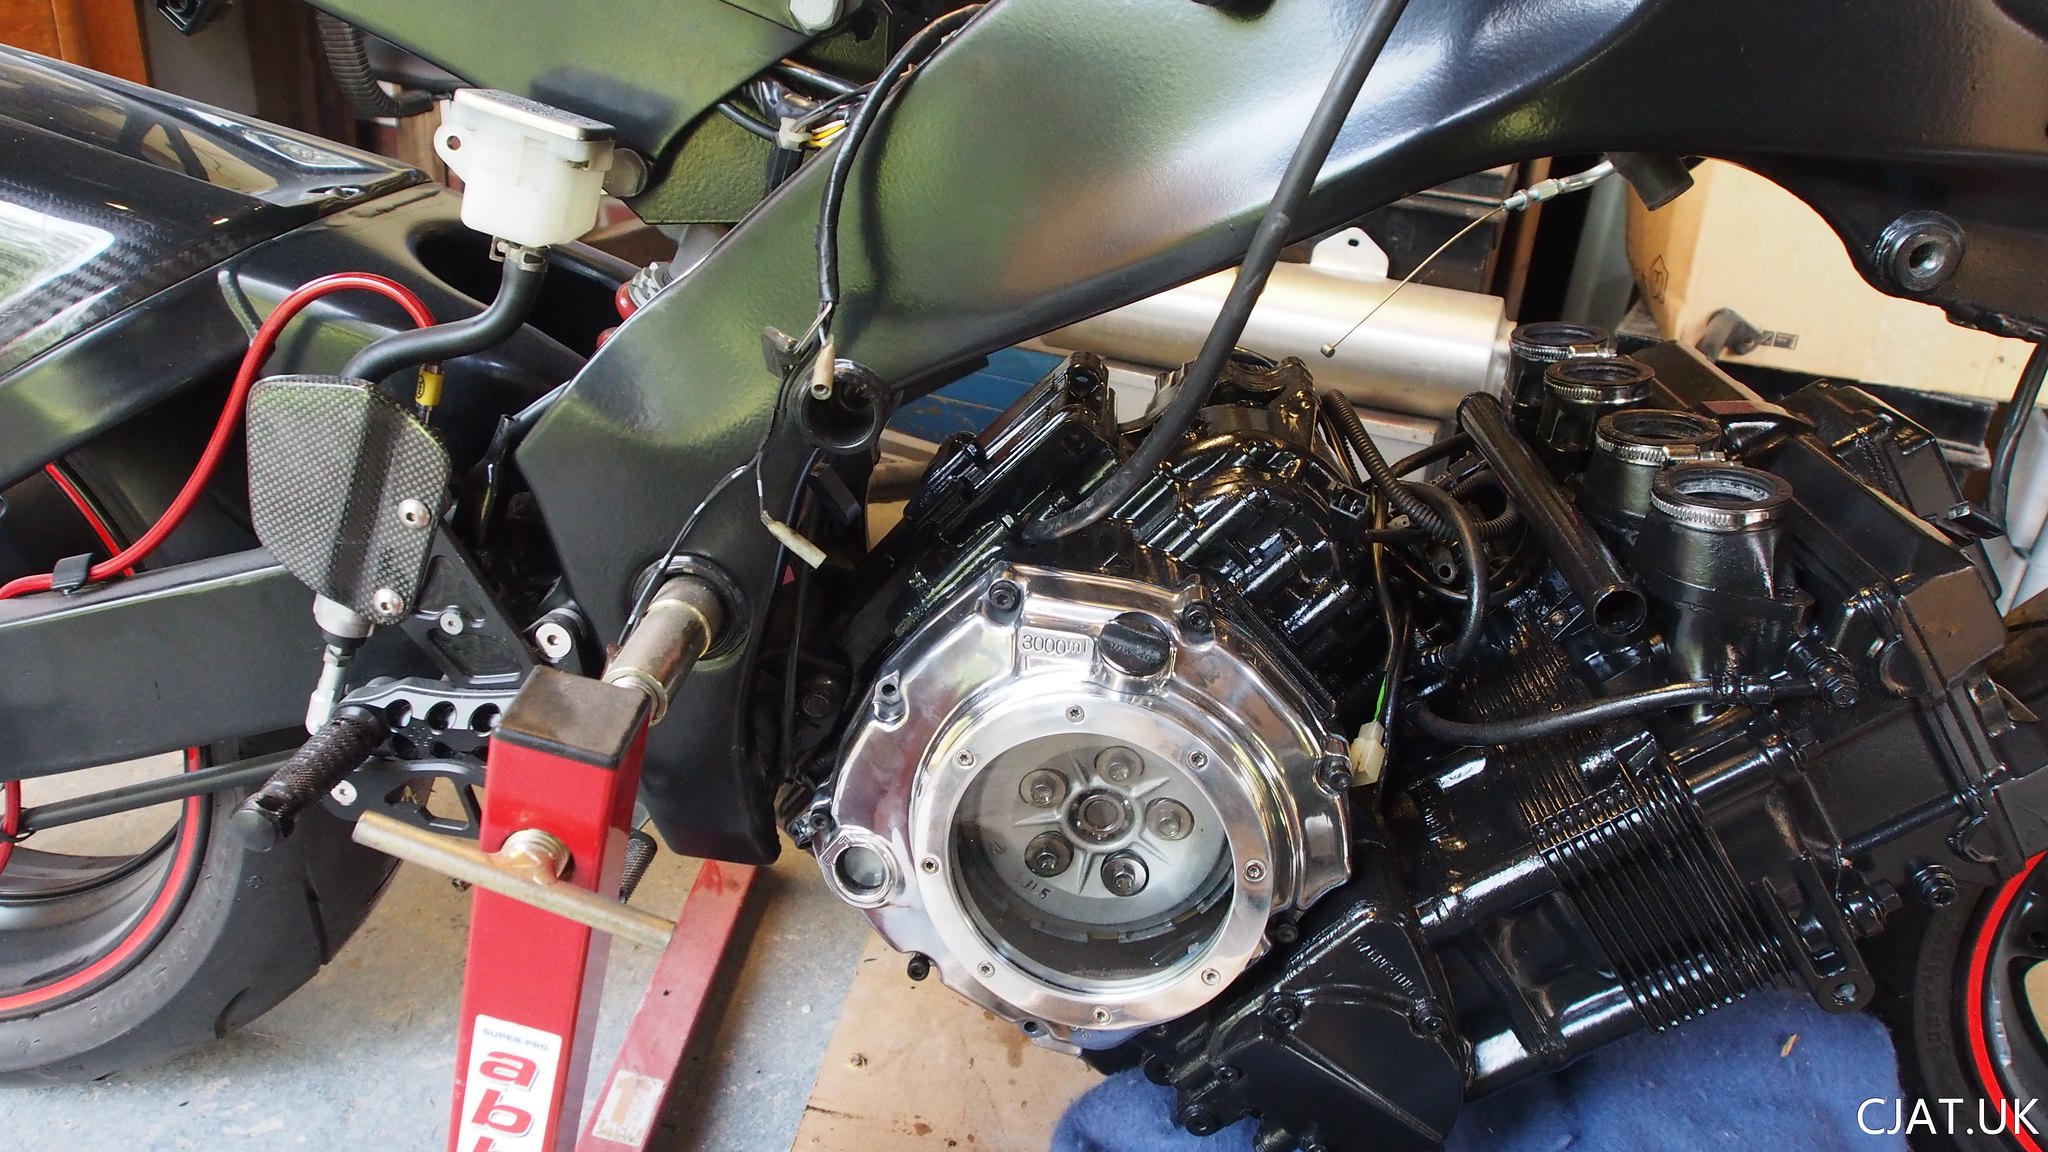
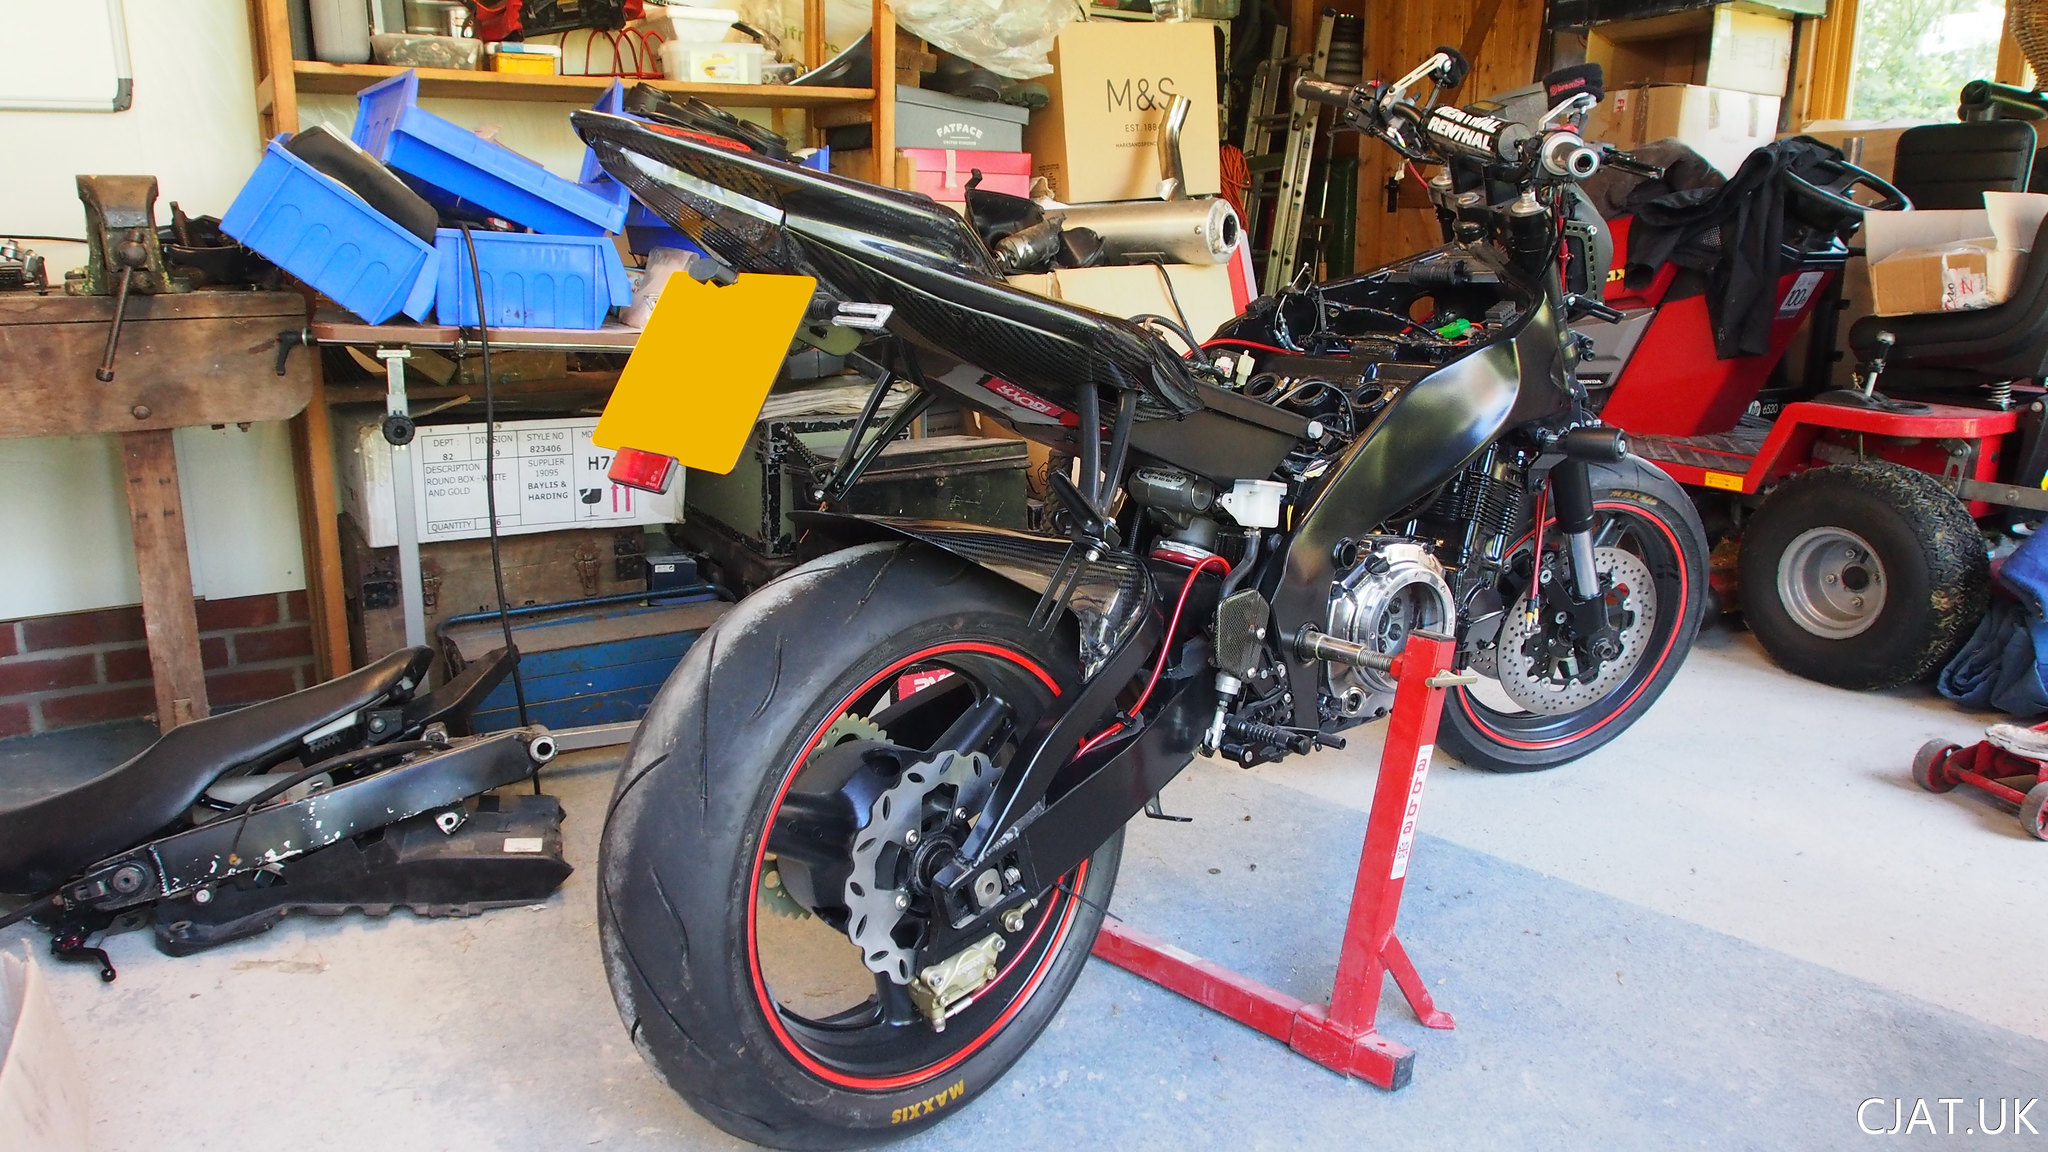
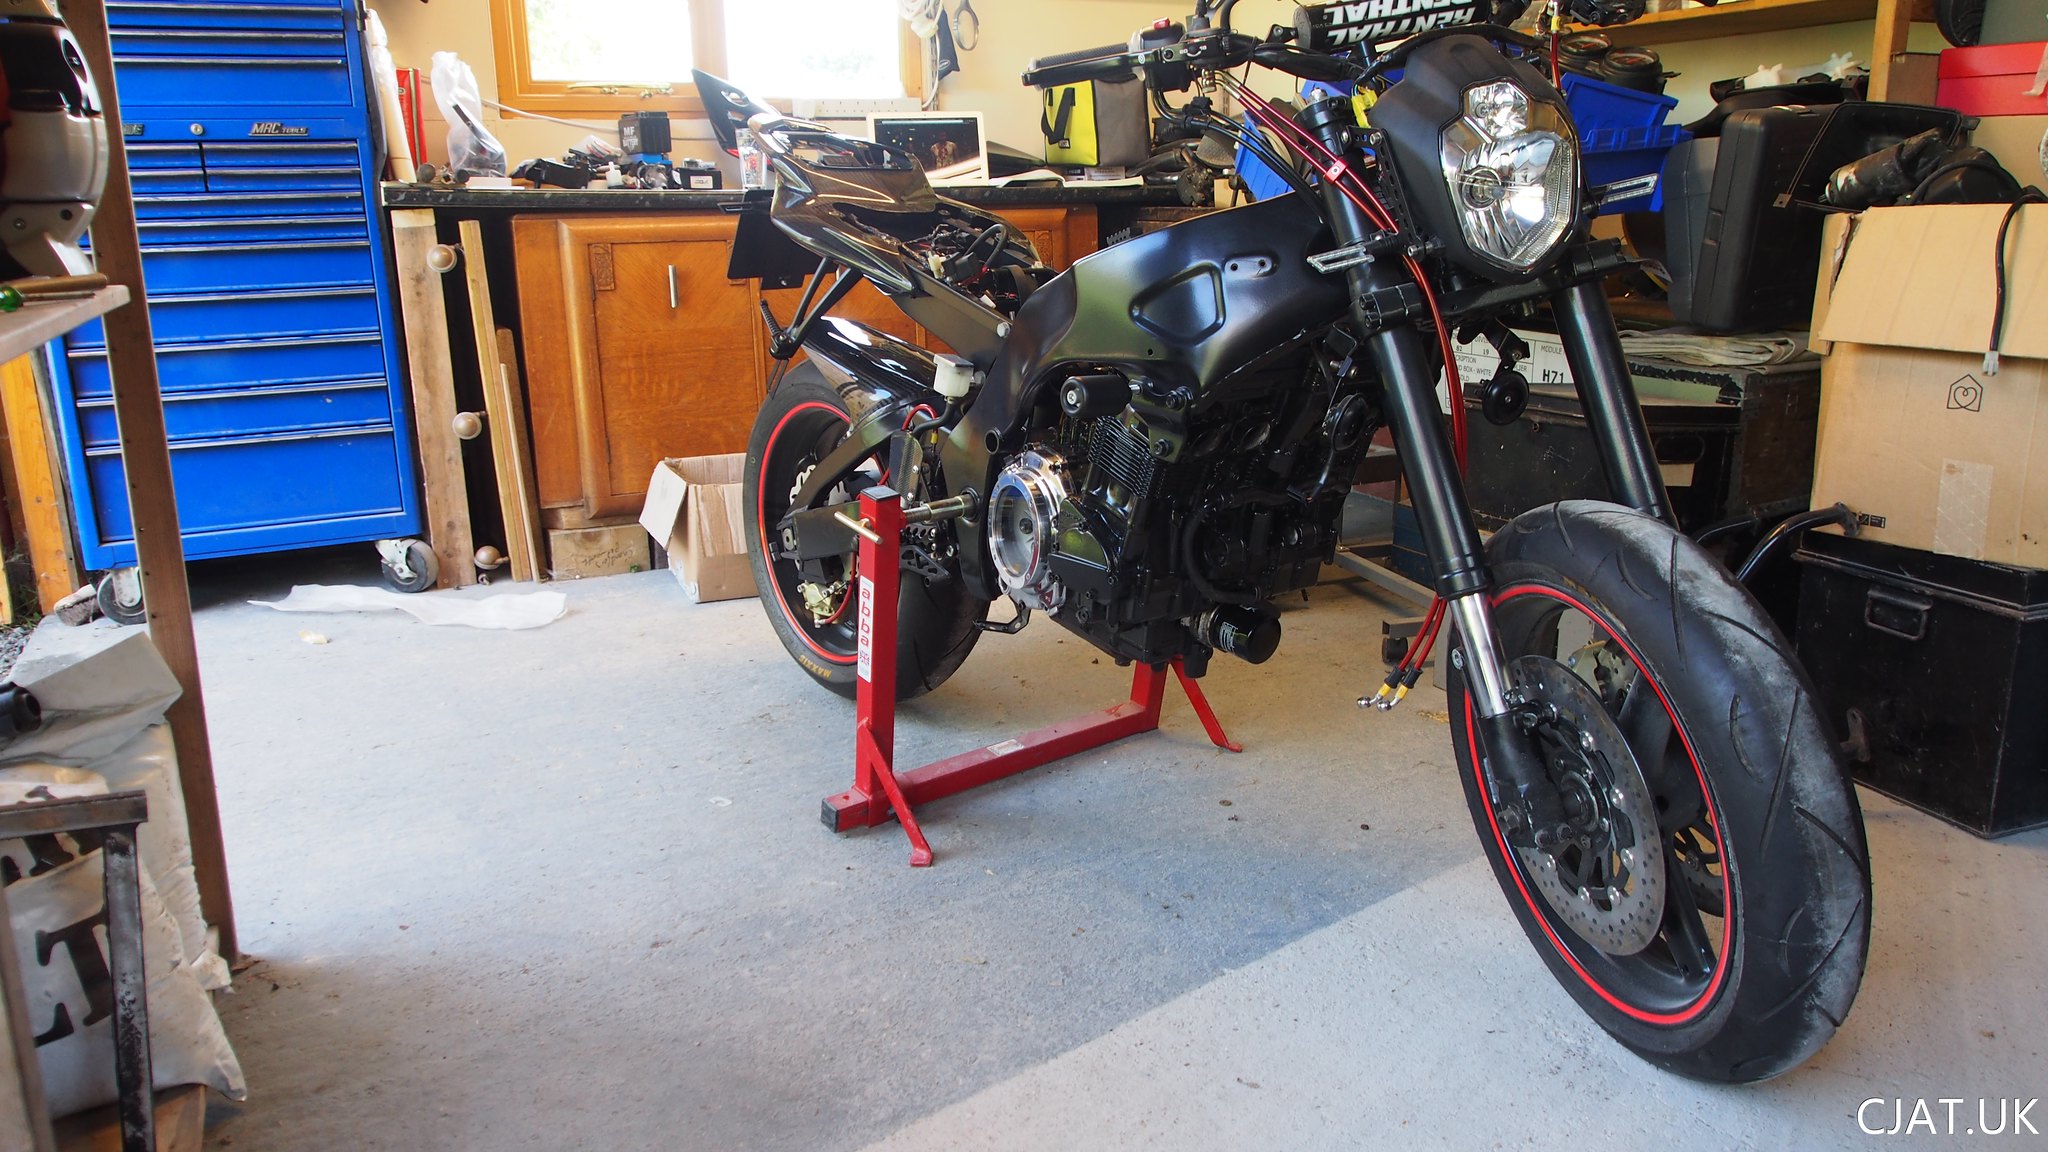
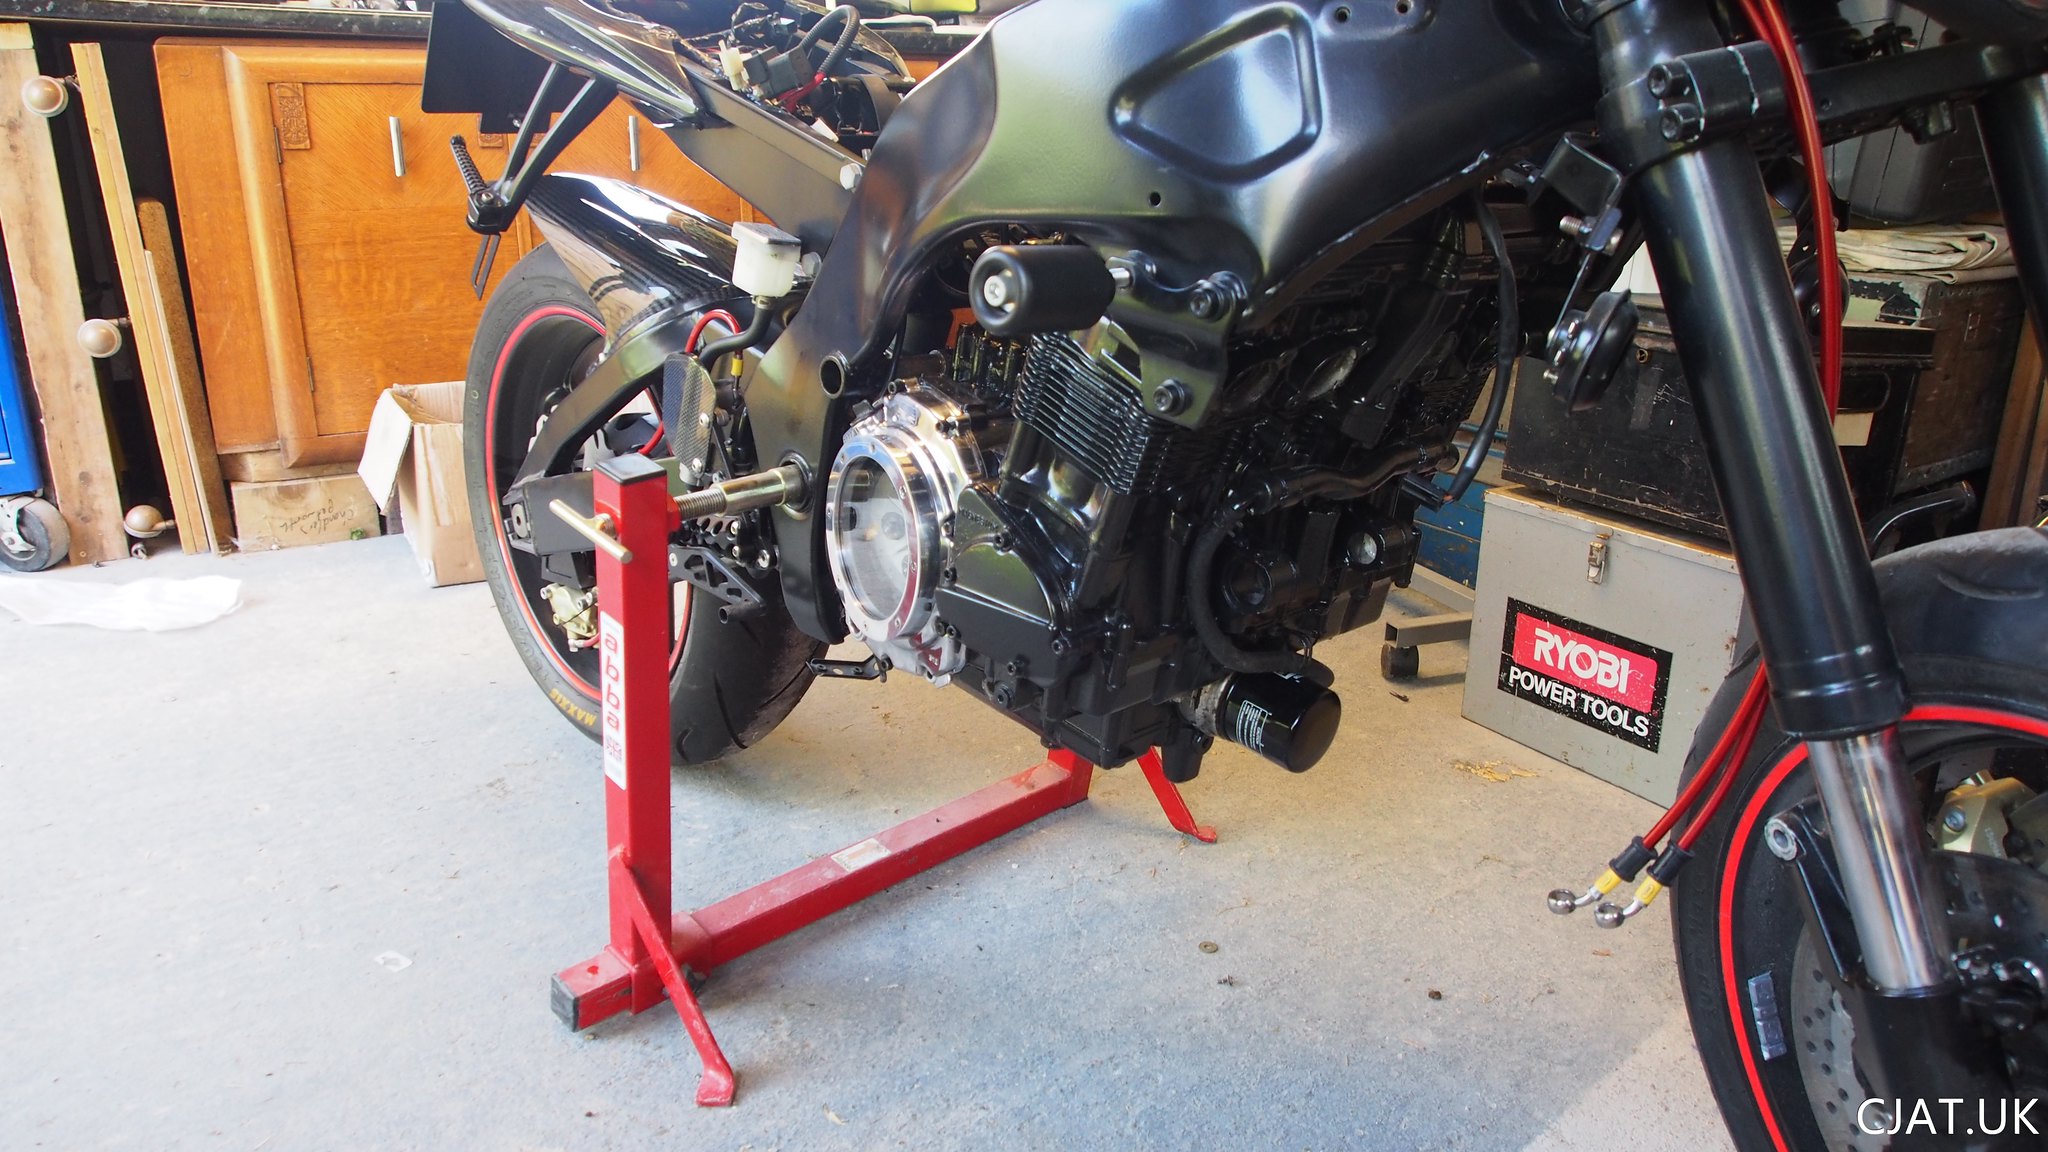
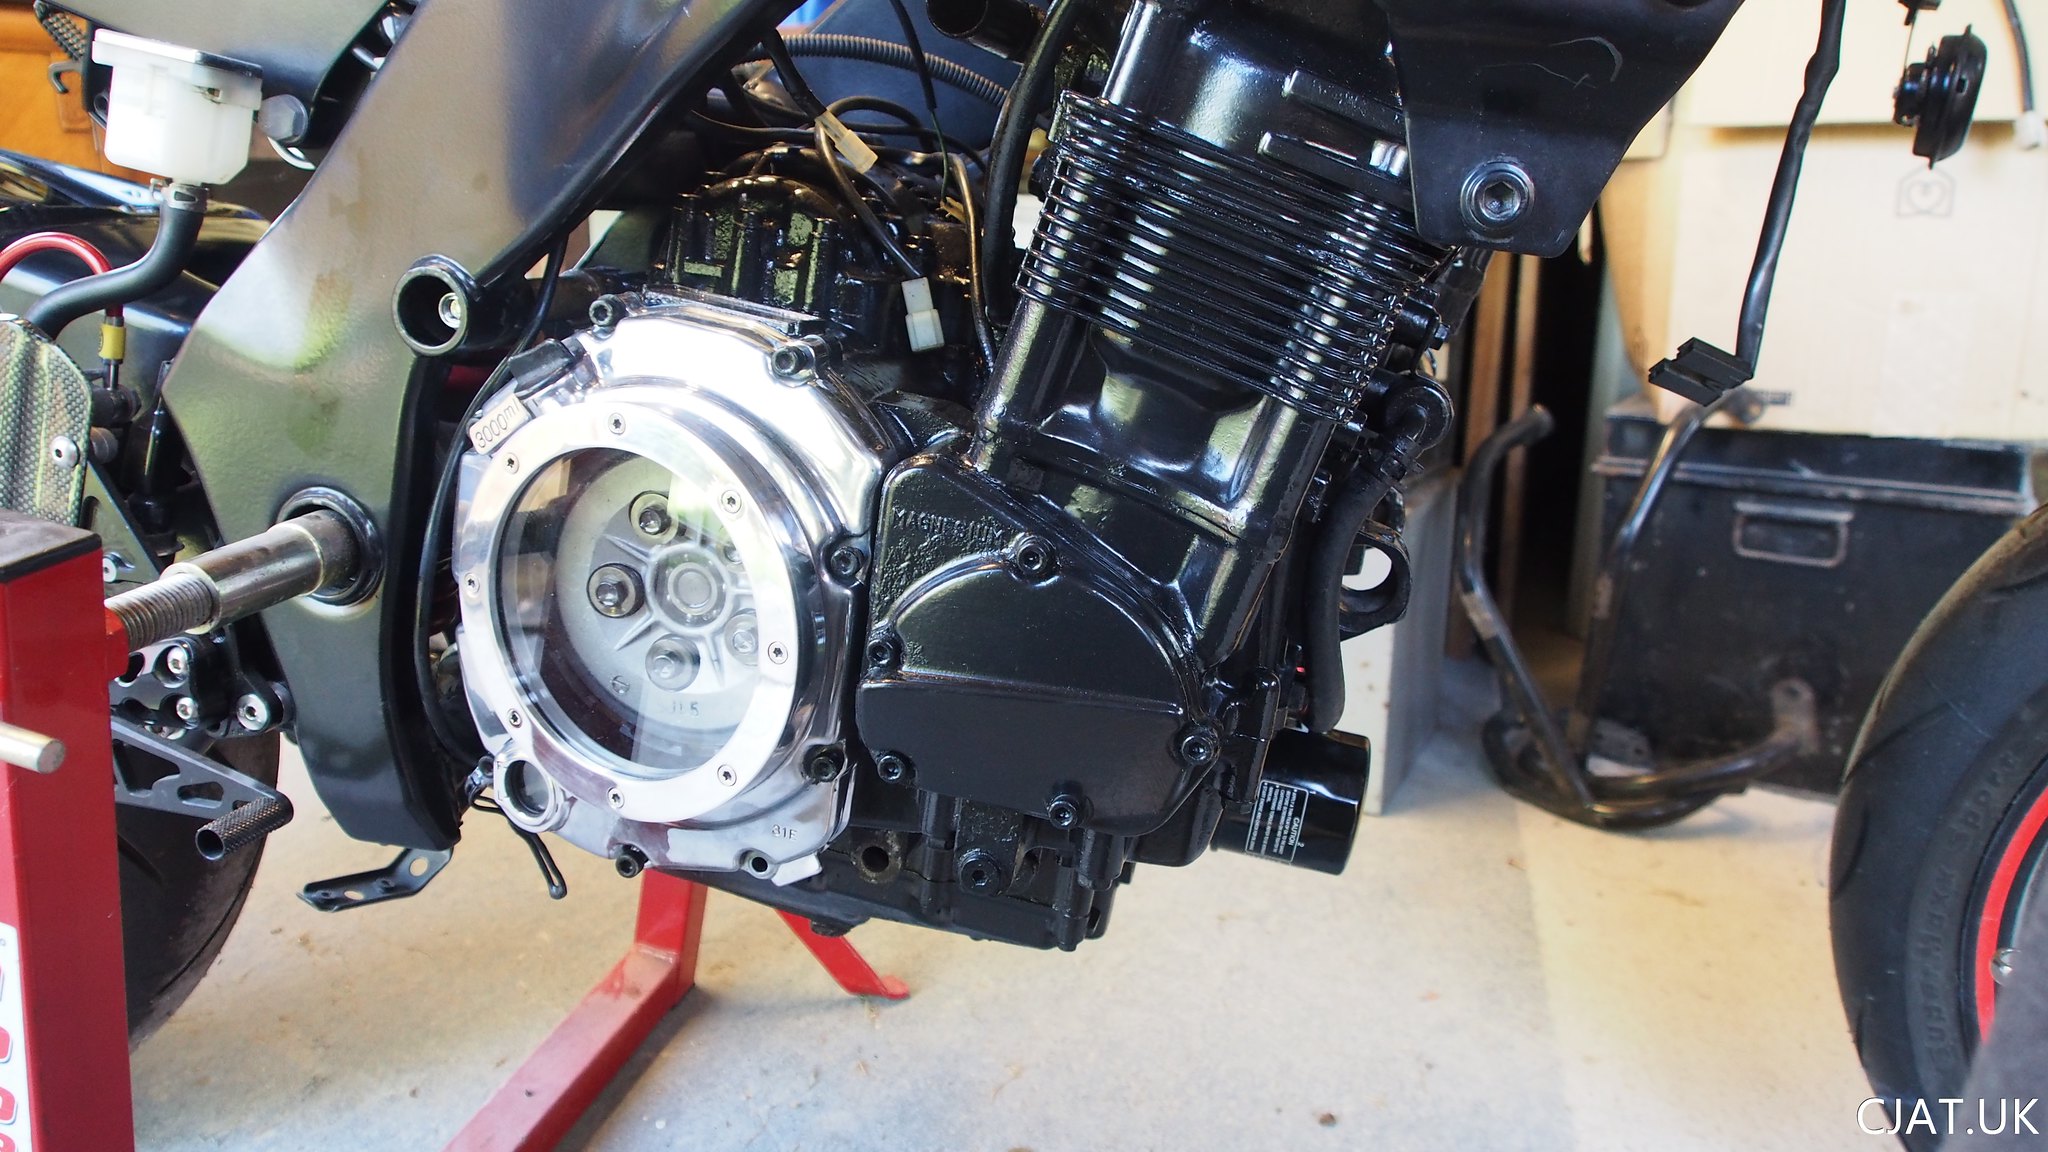

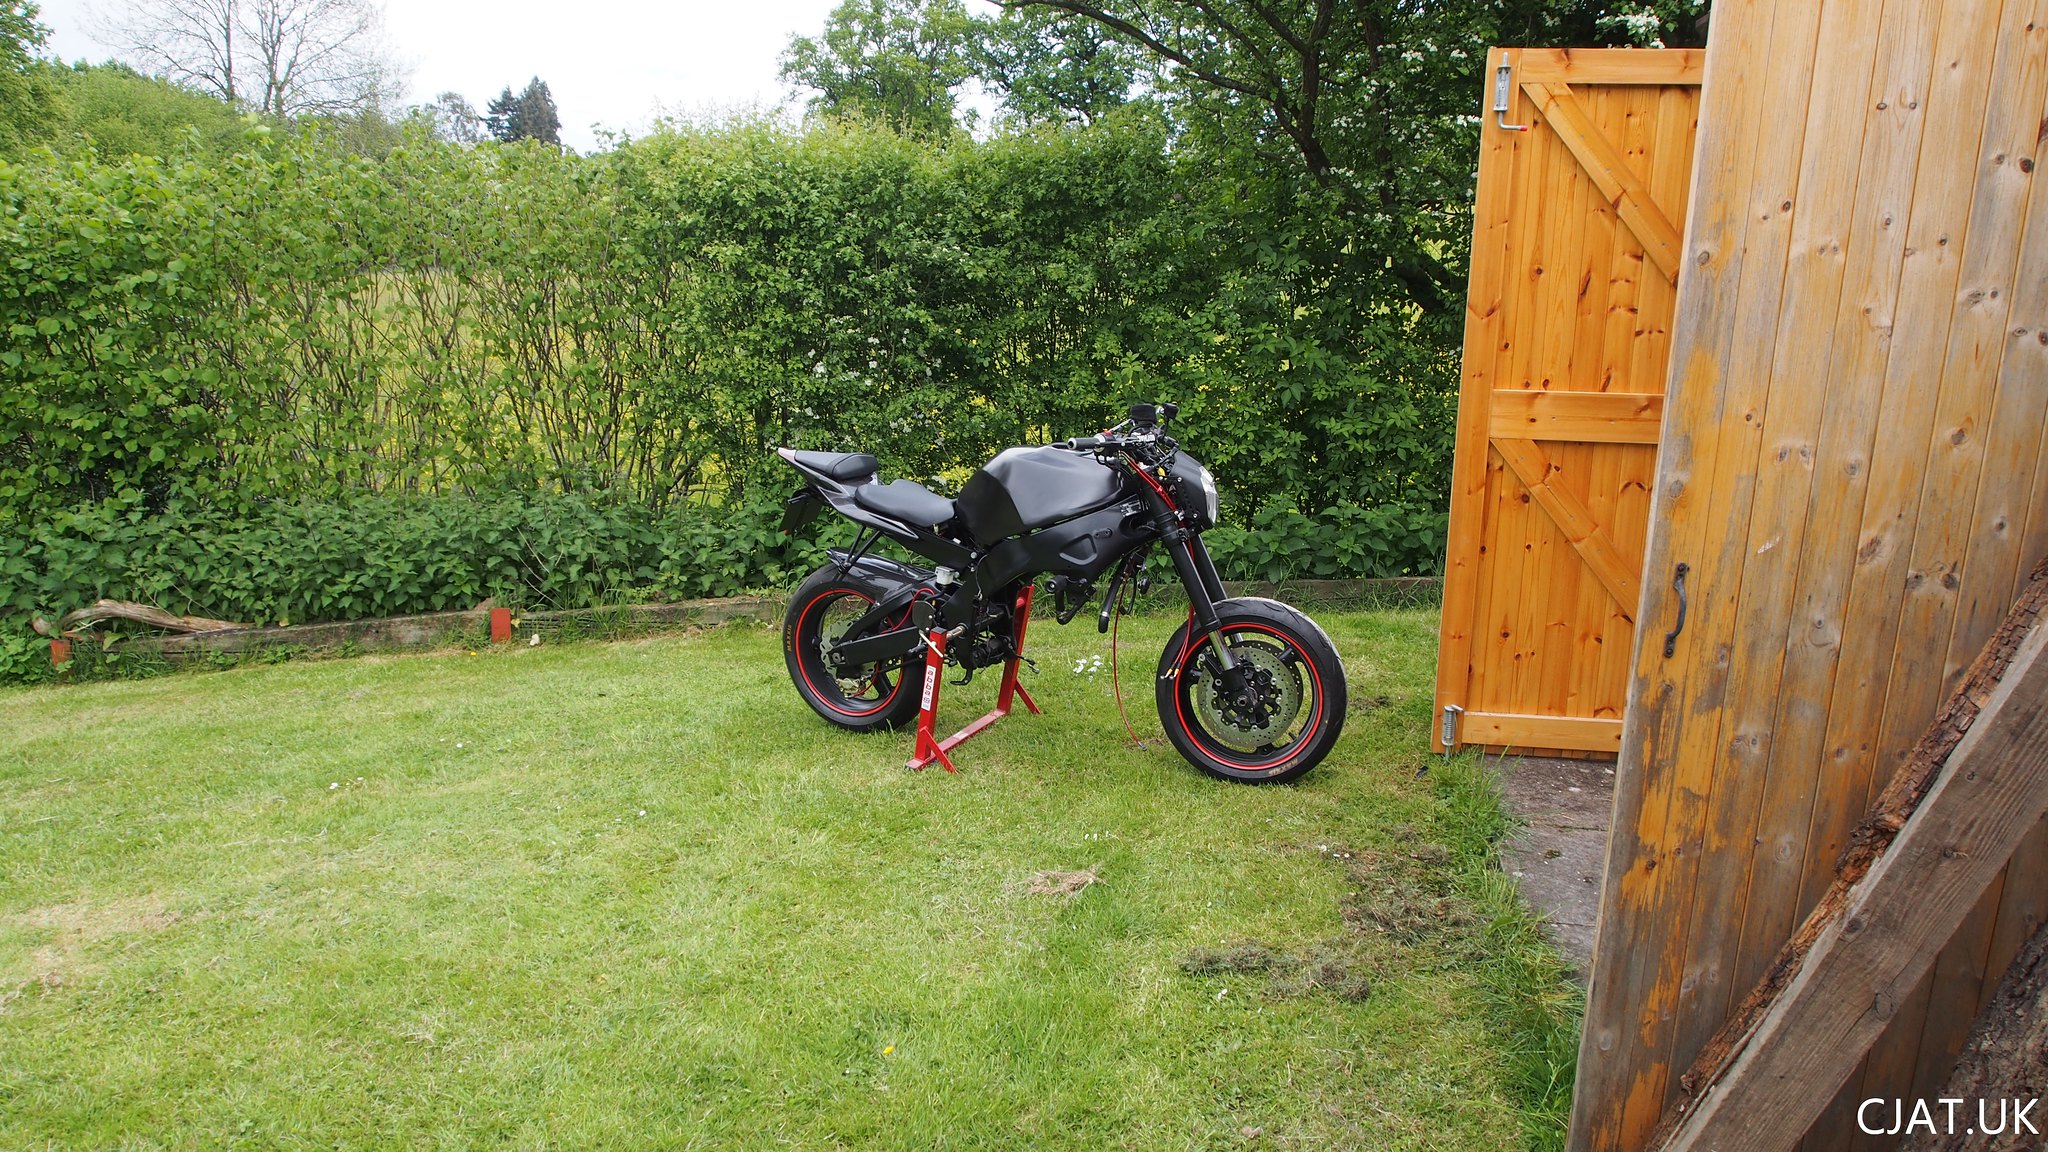
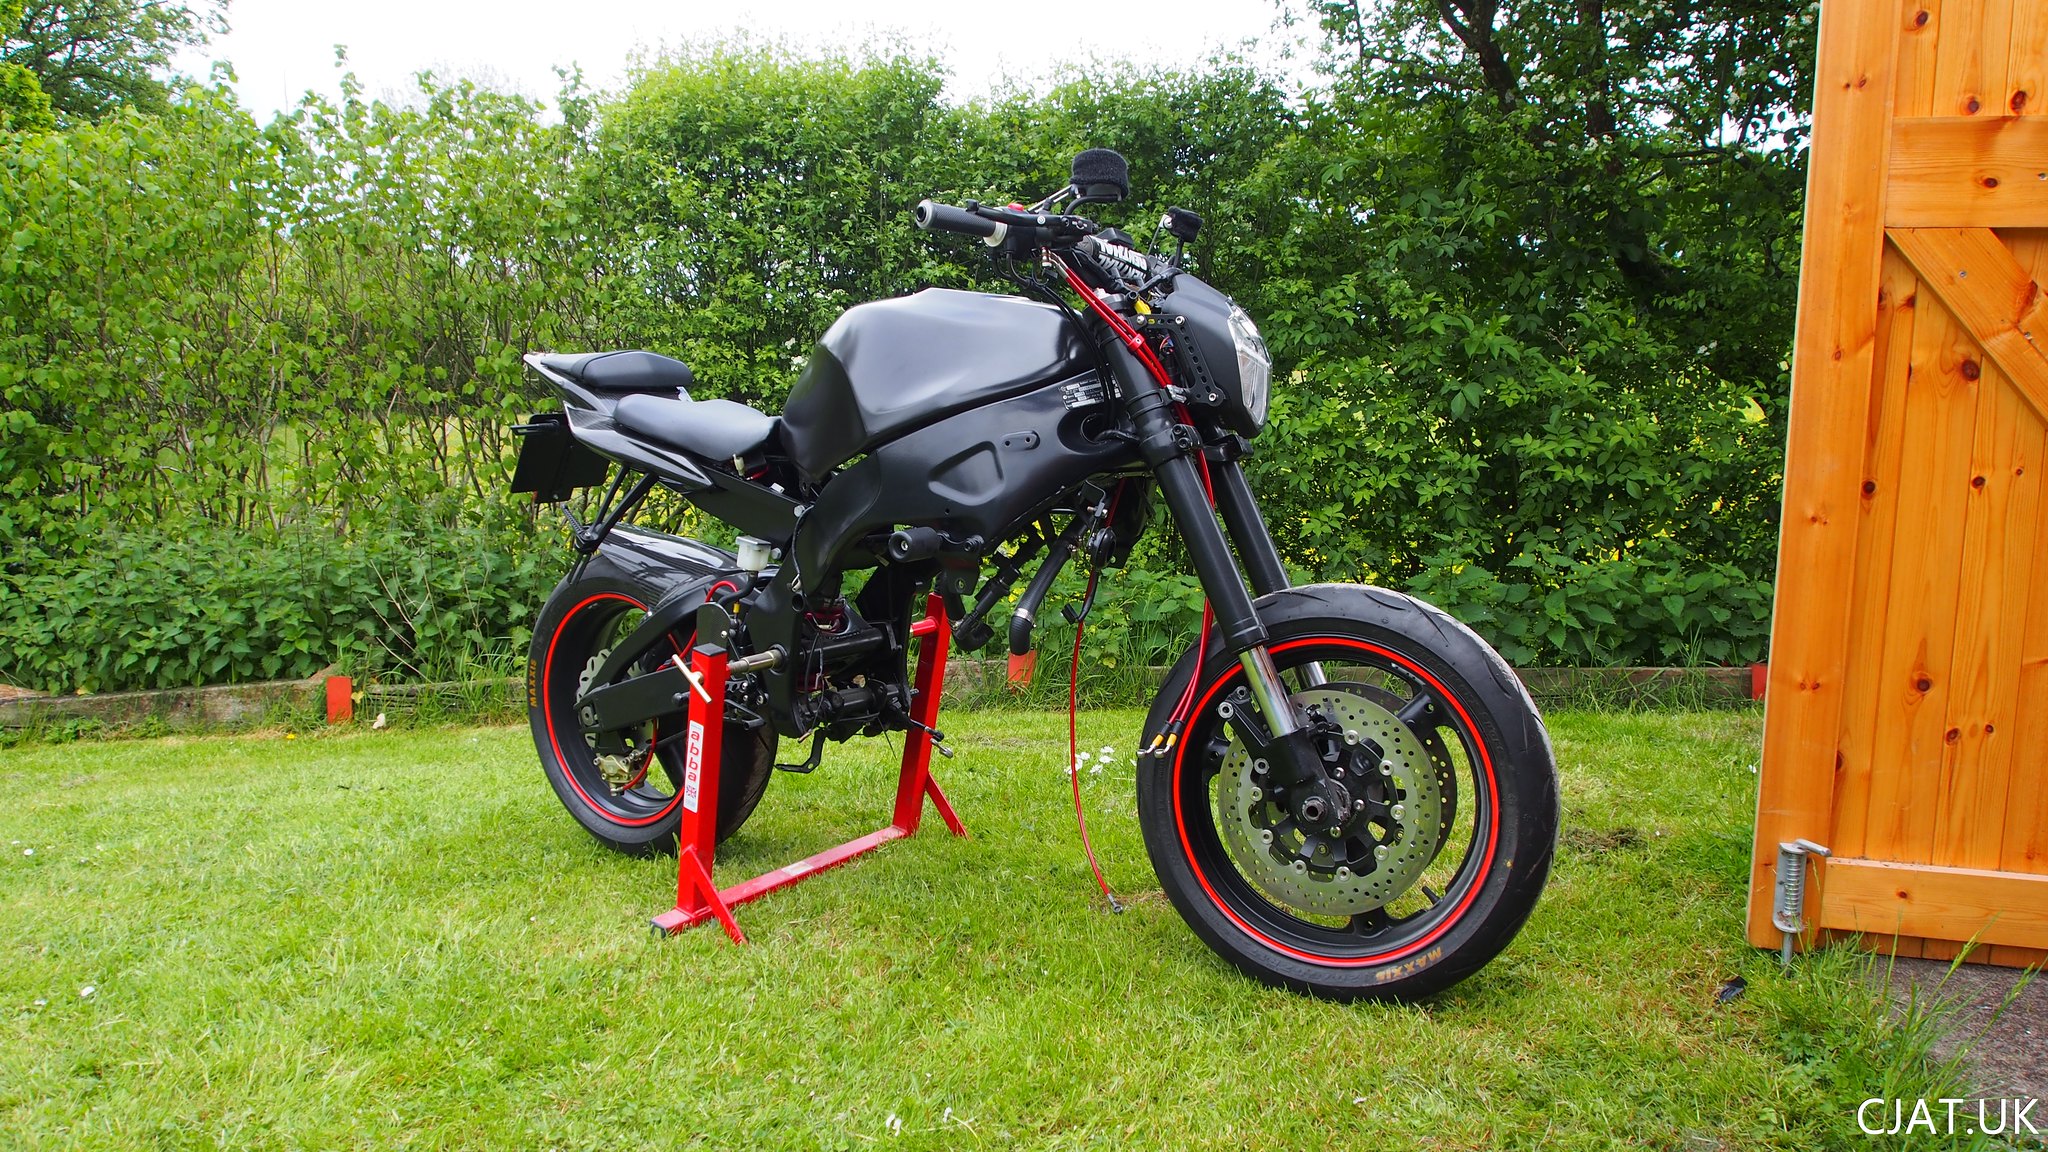
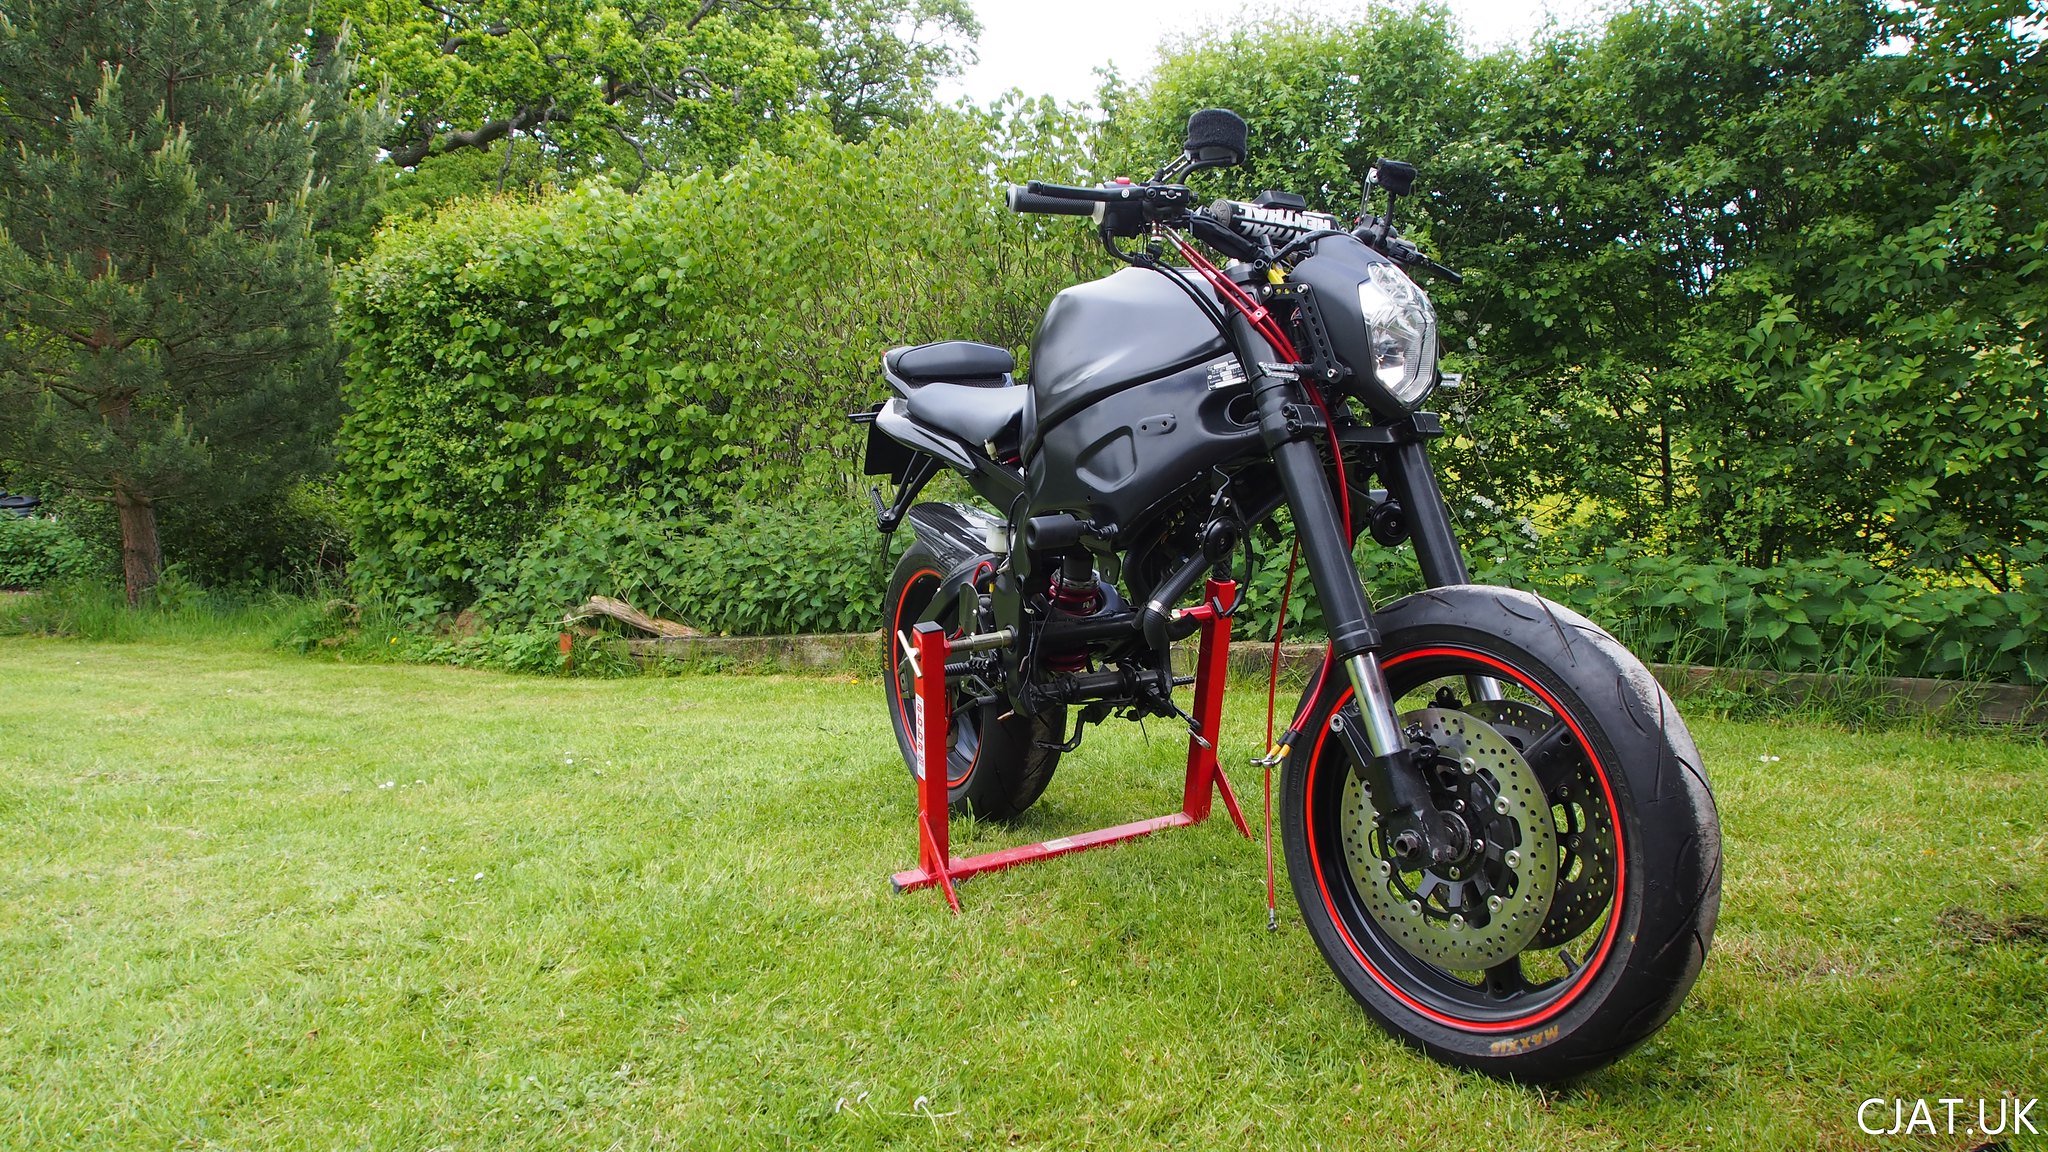
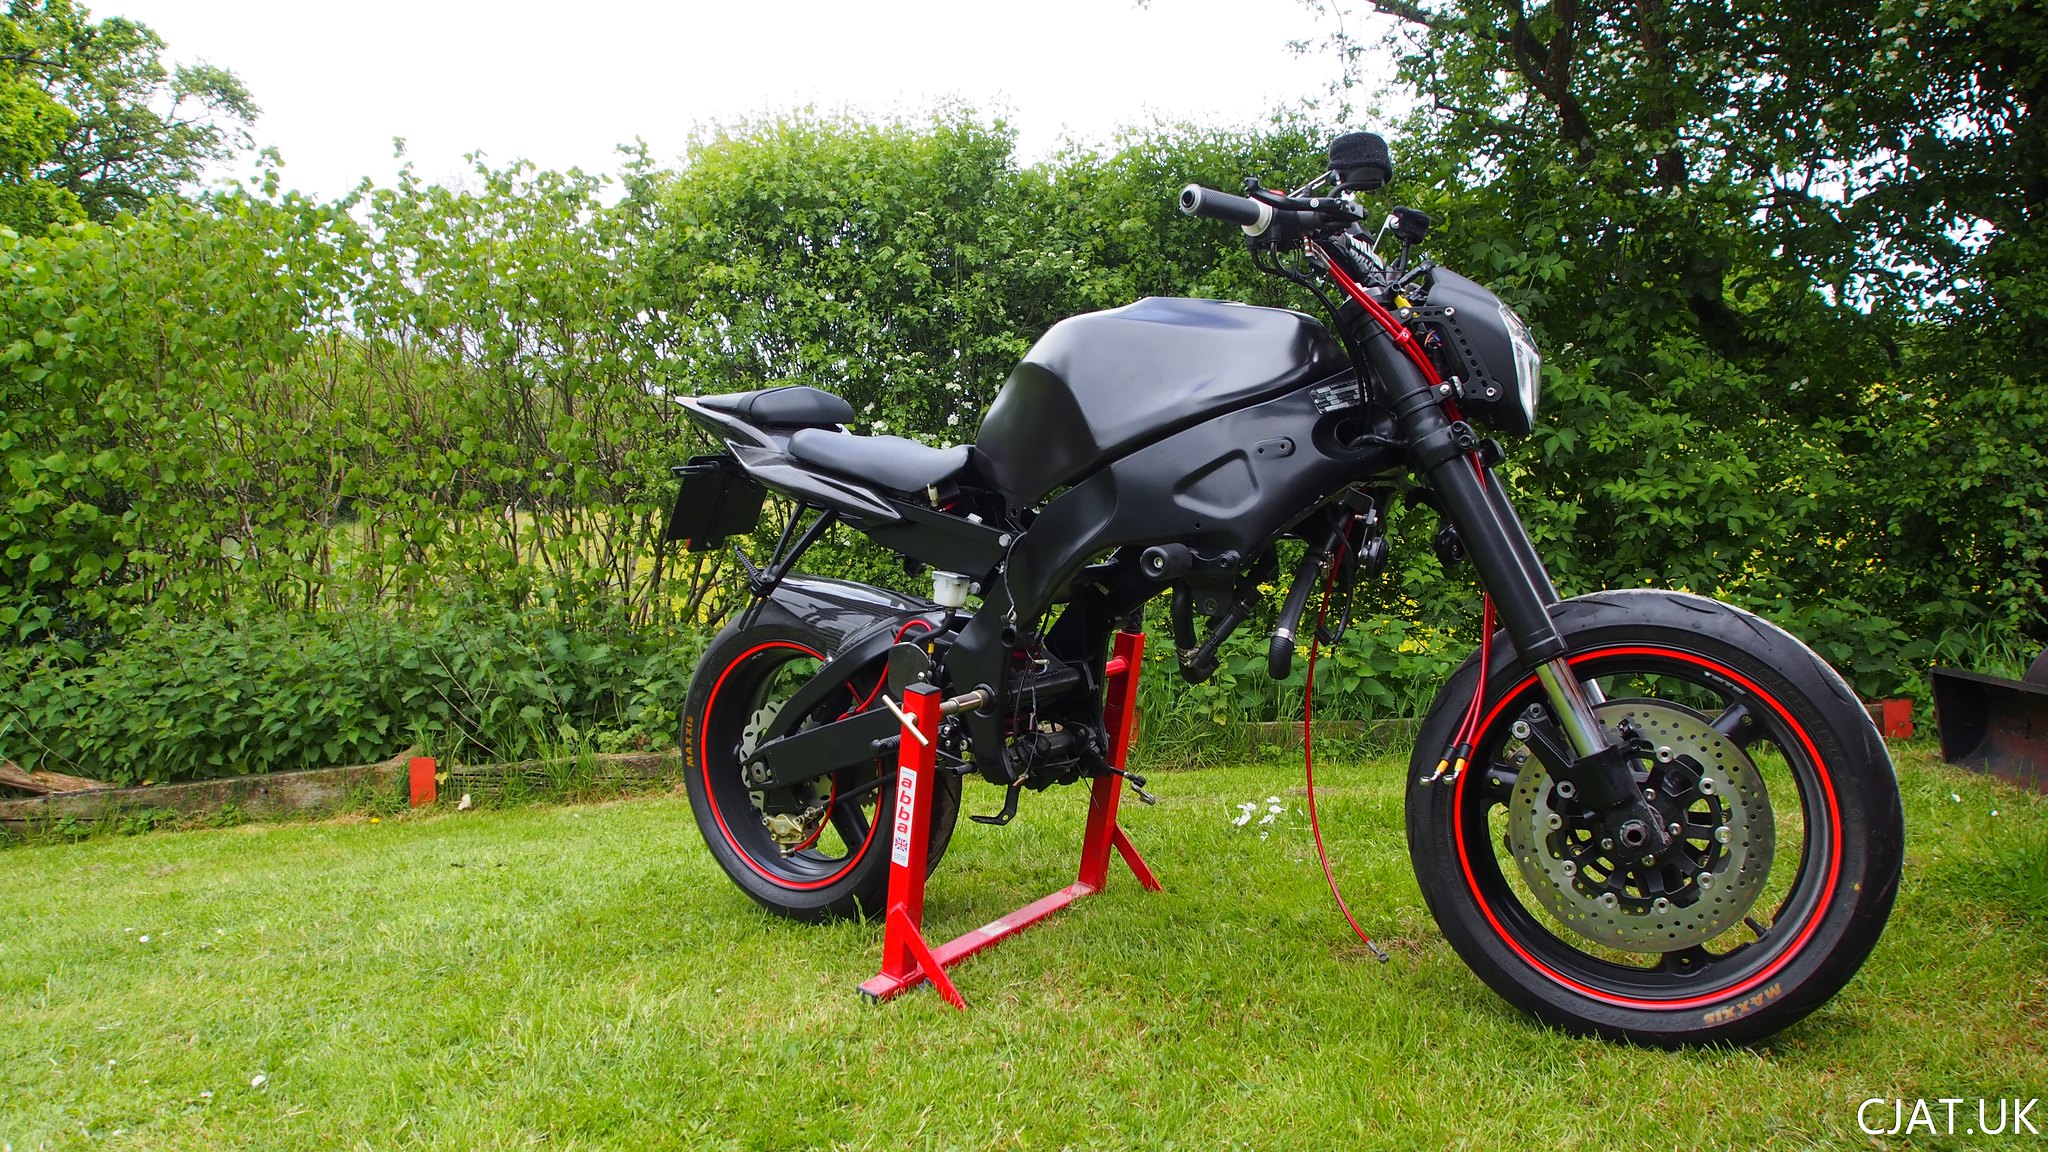
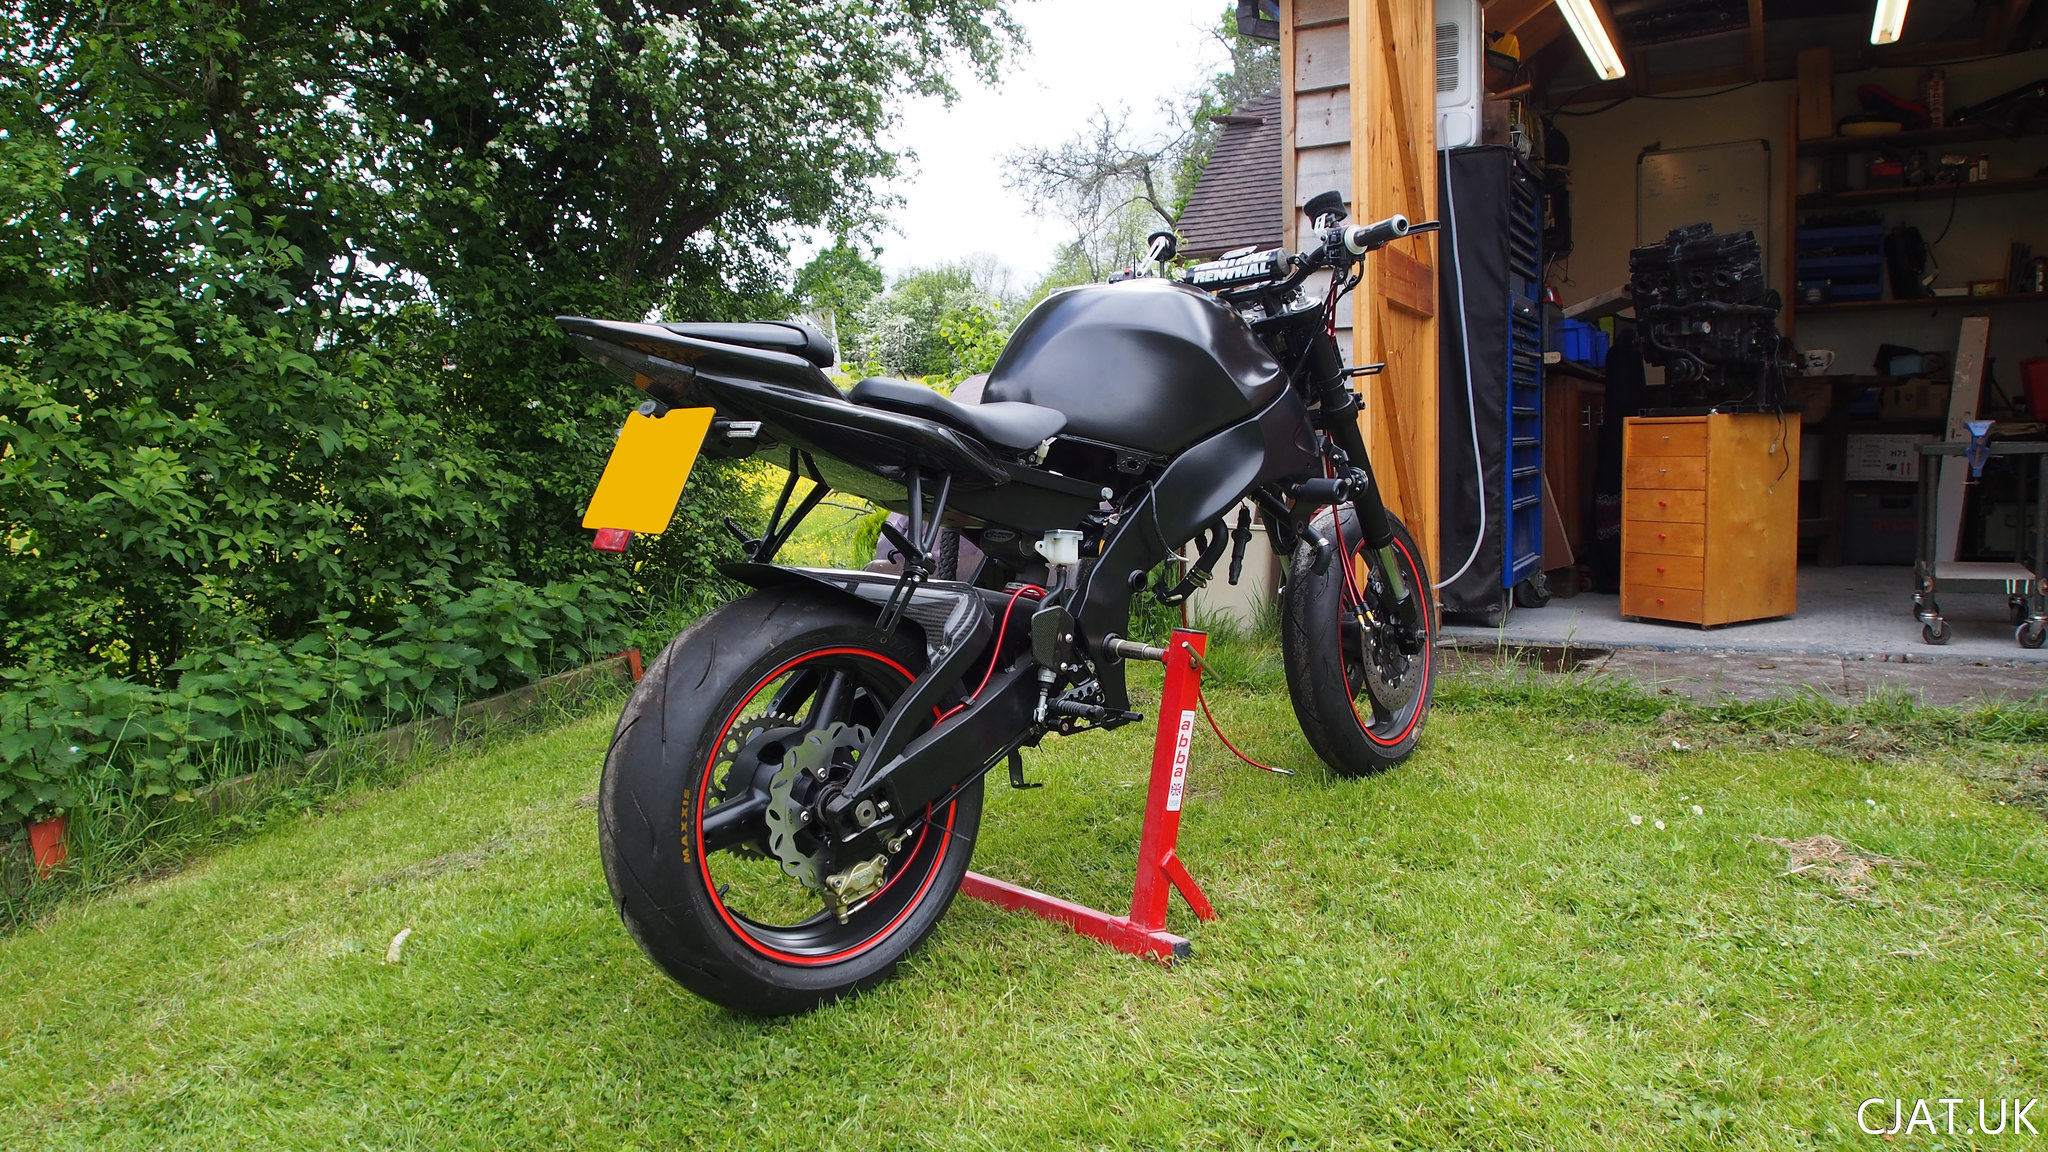
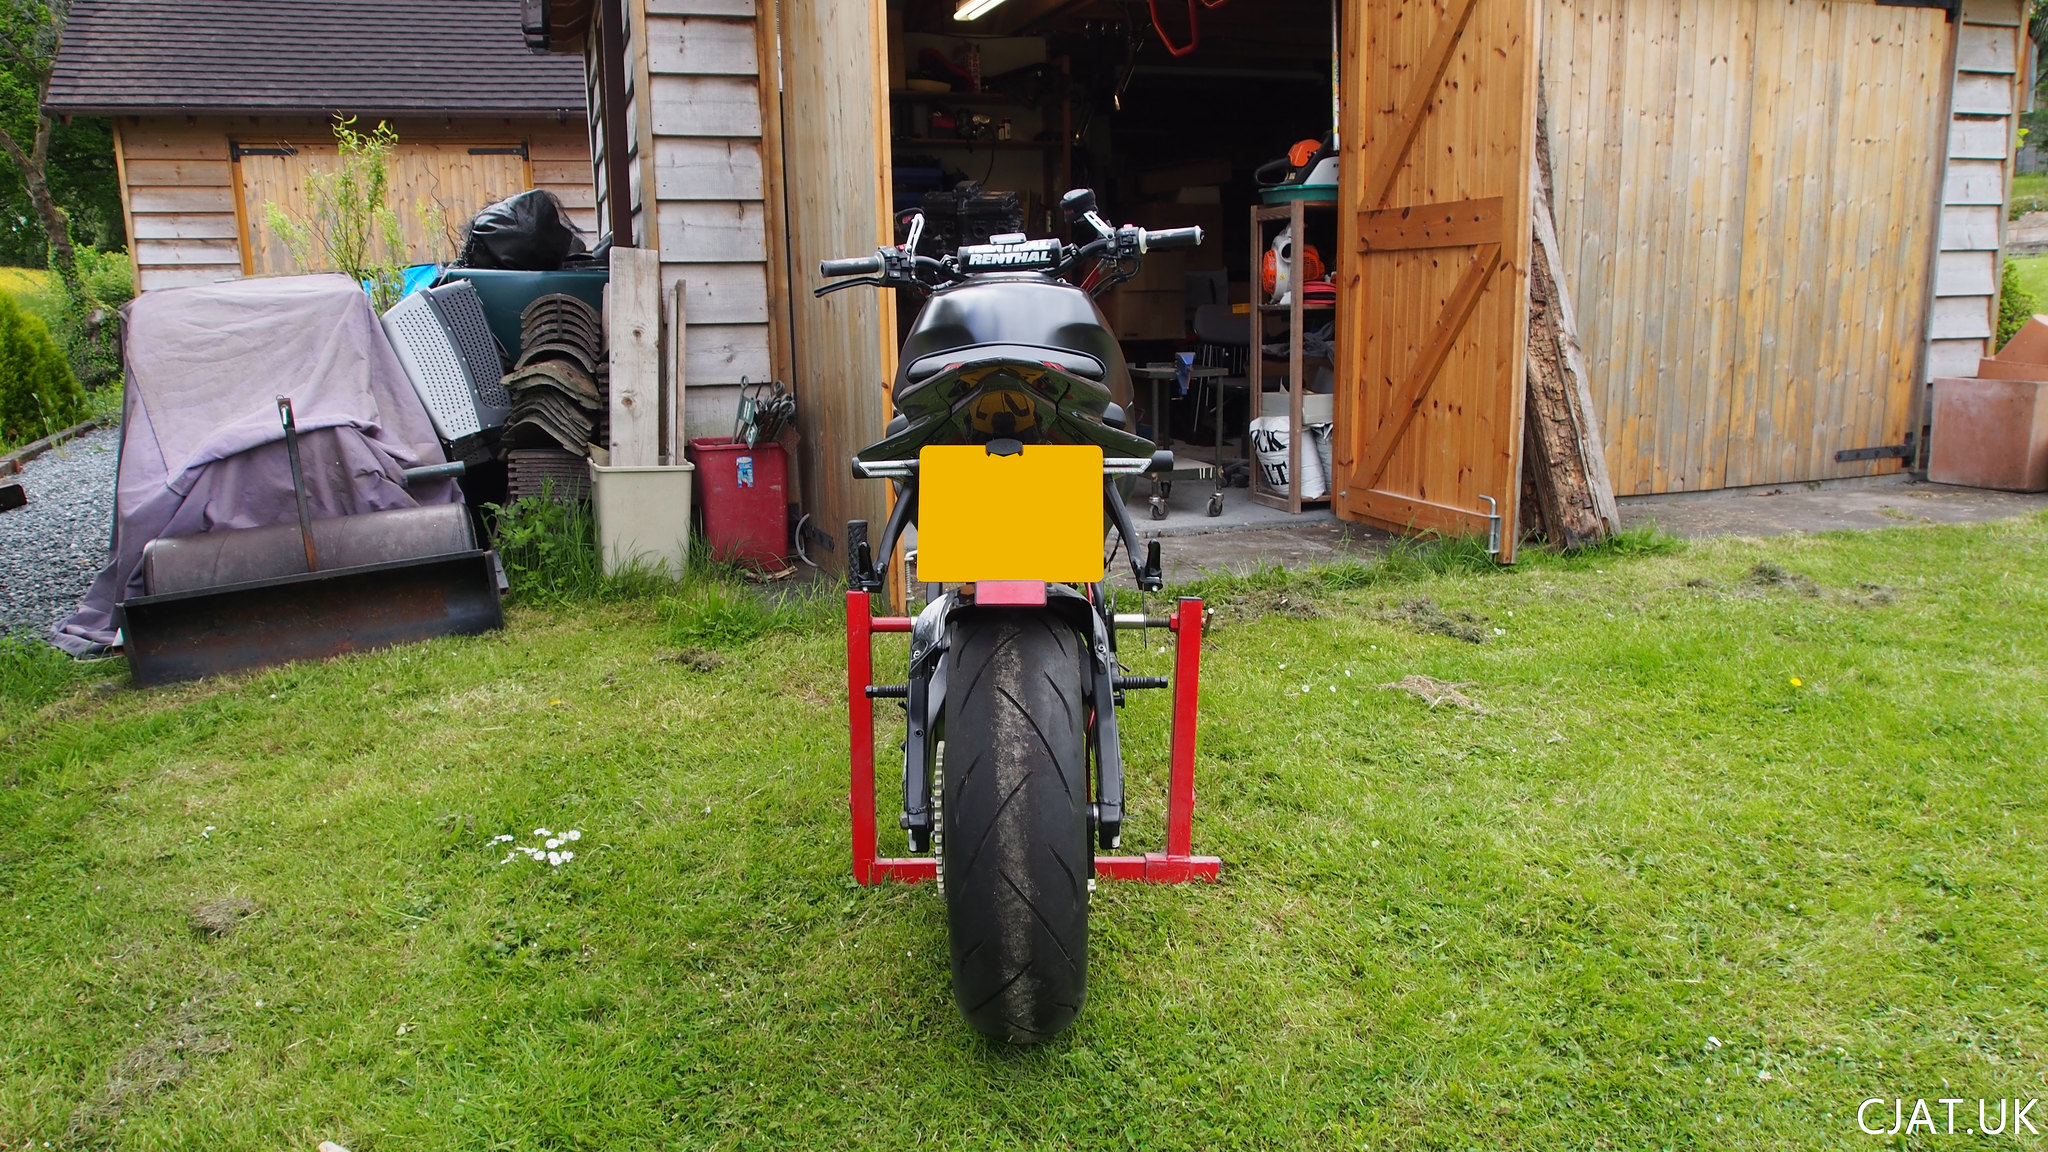 Looks amazingly different to the last
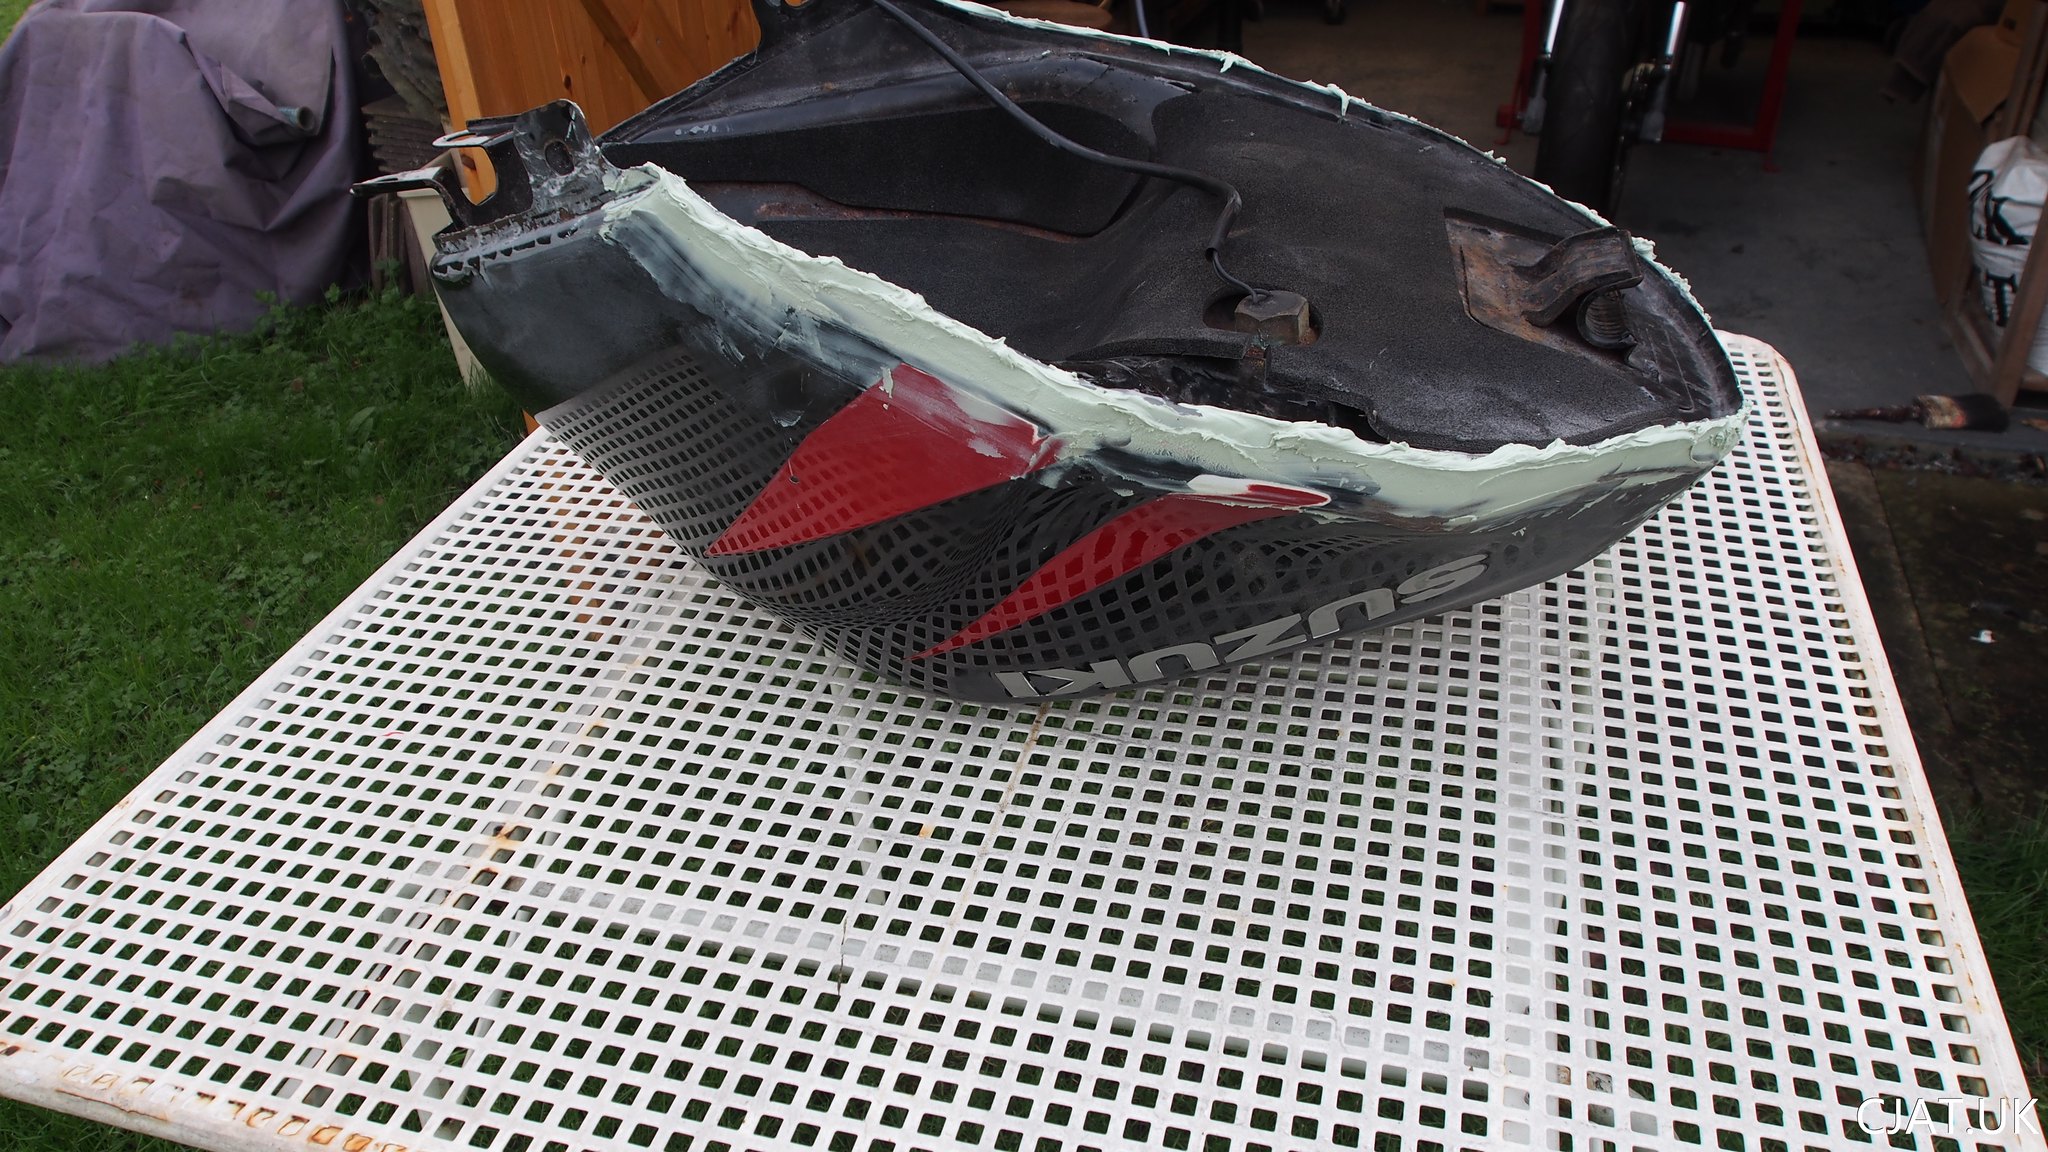
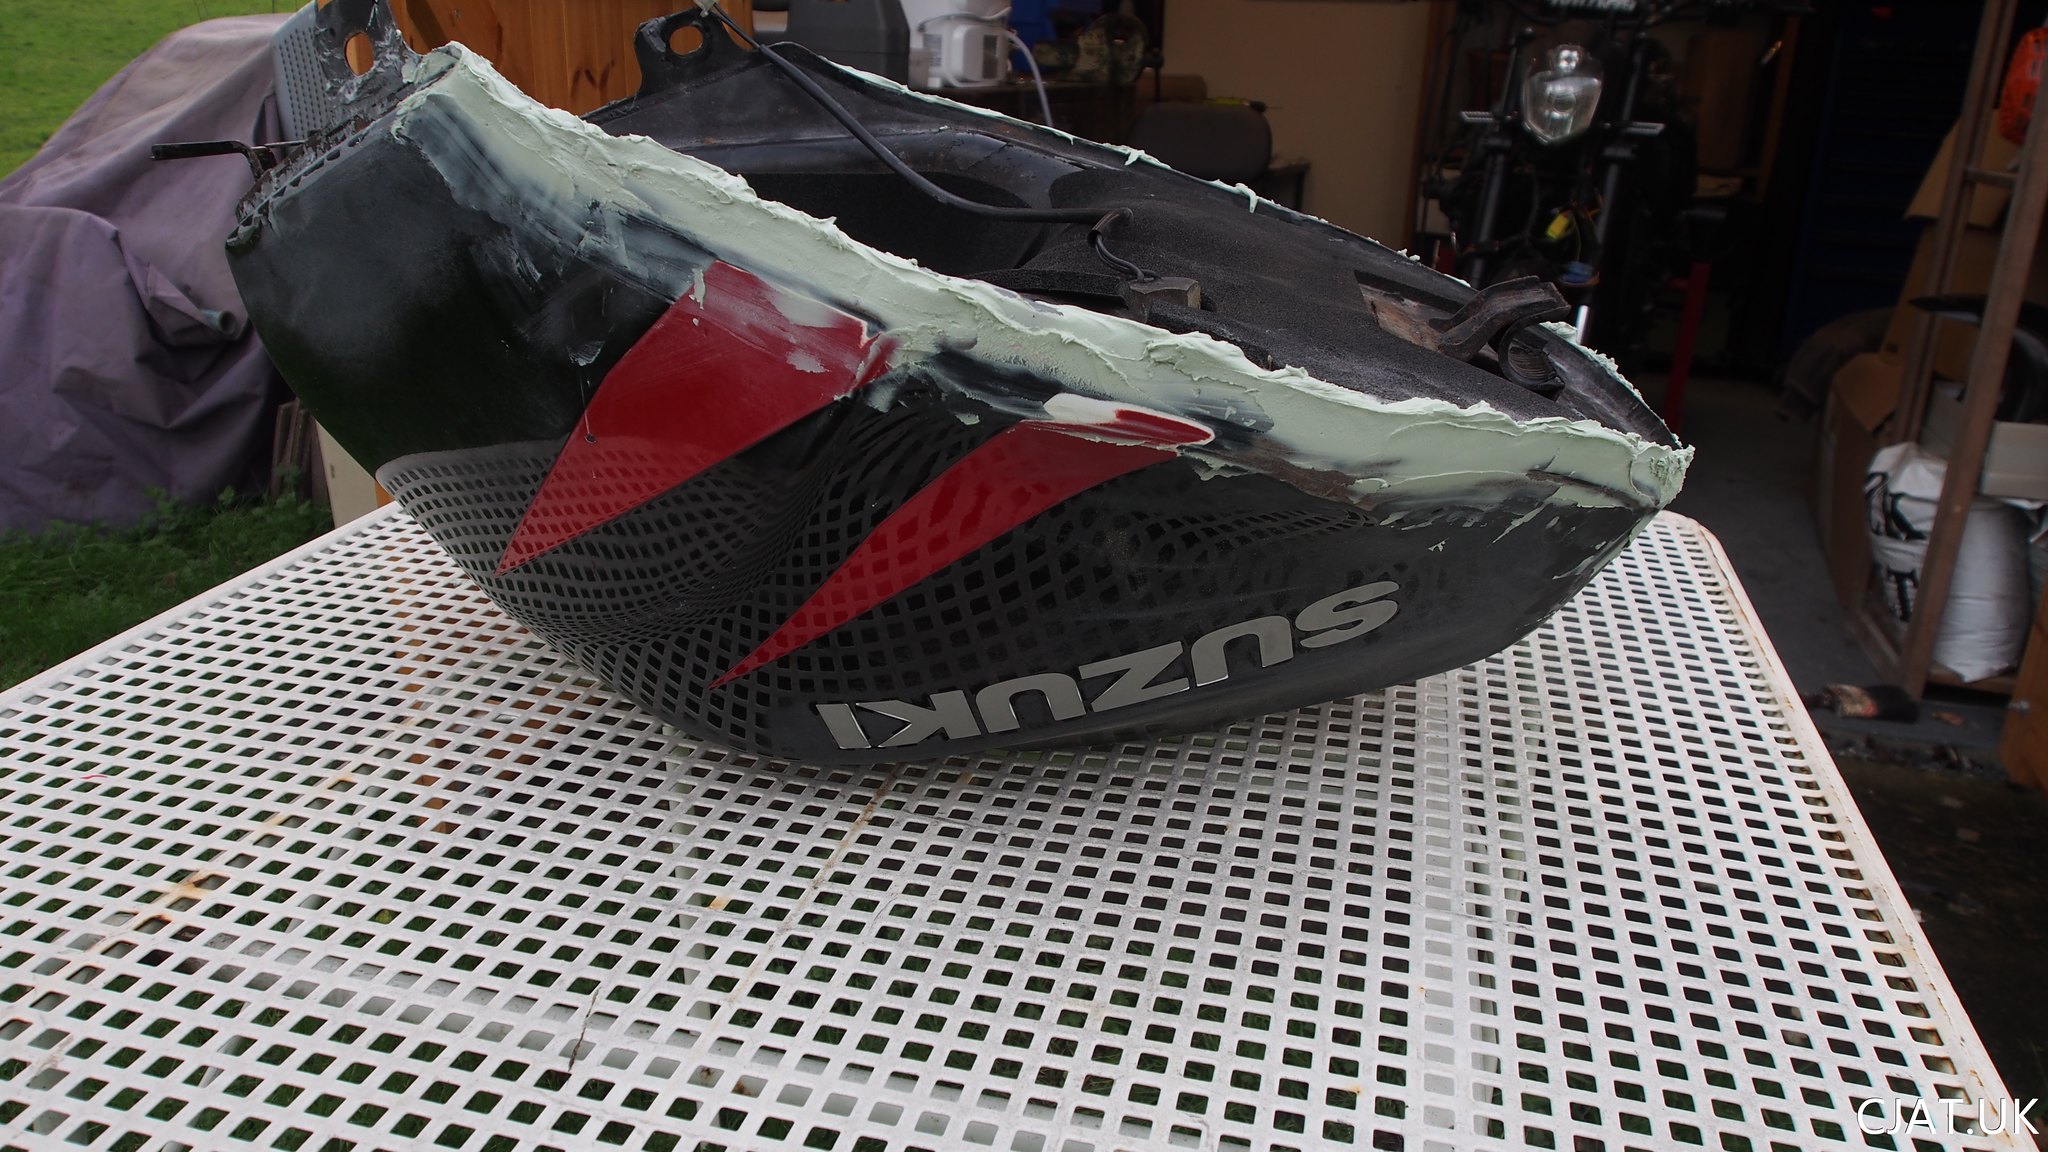
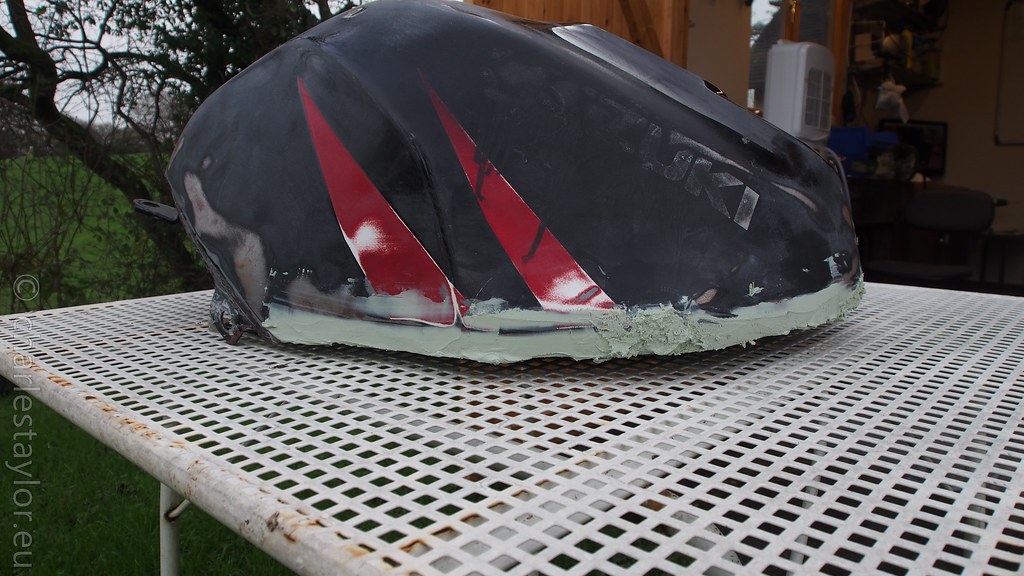
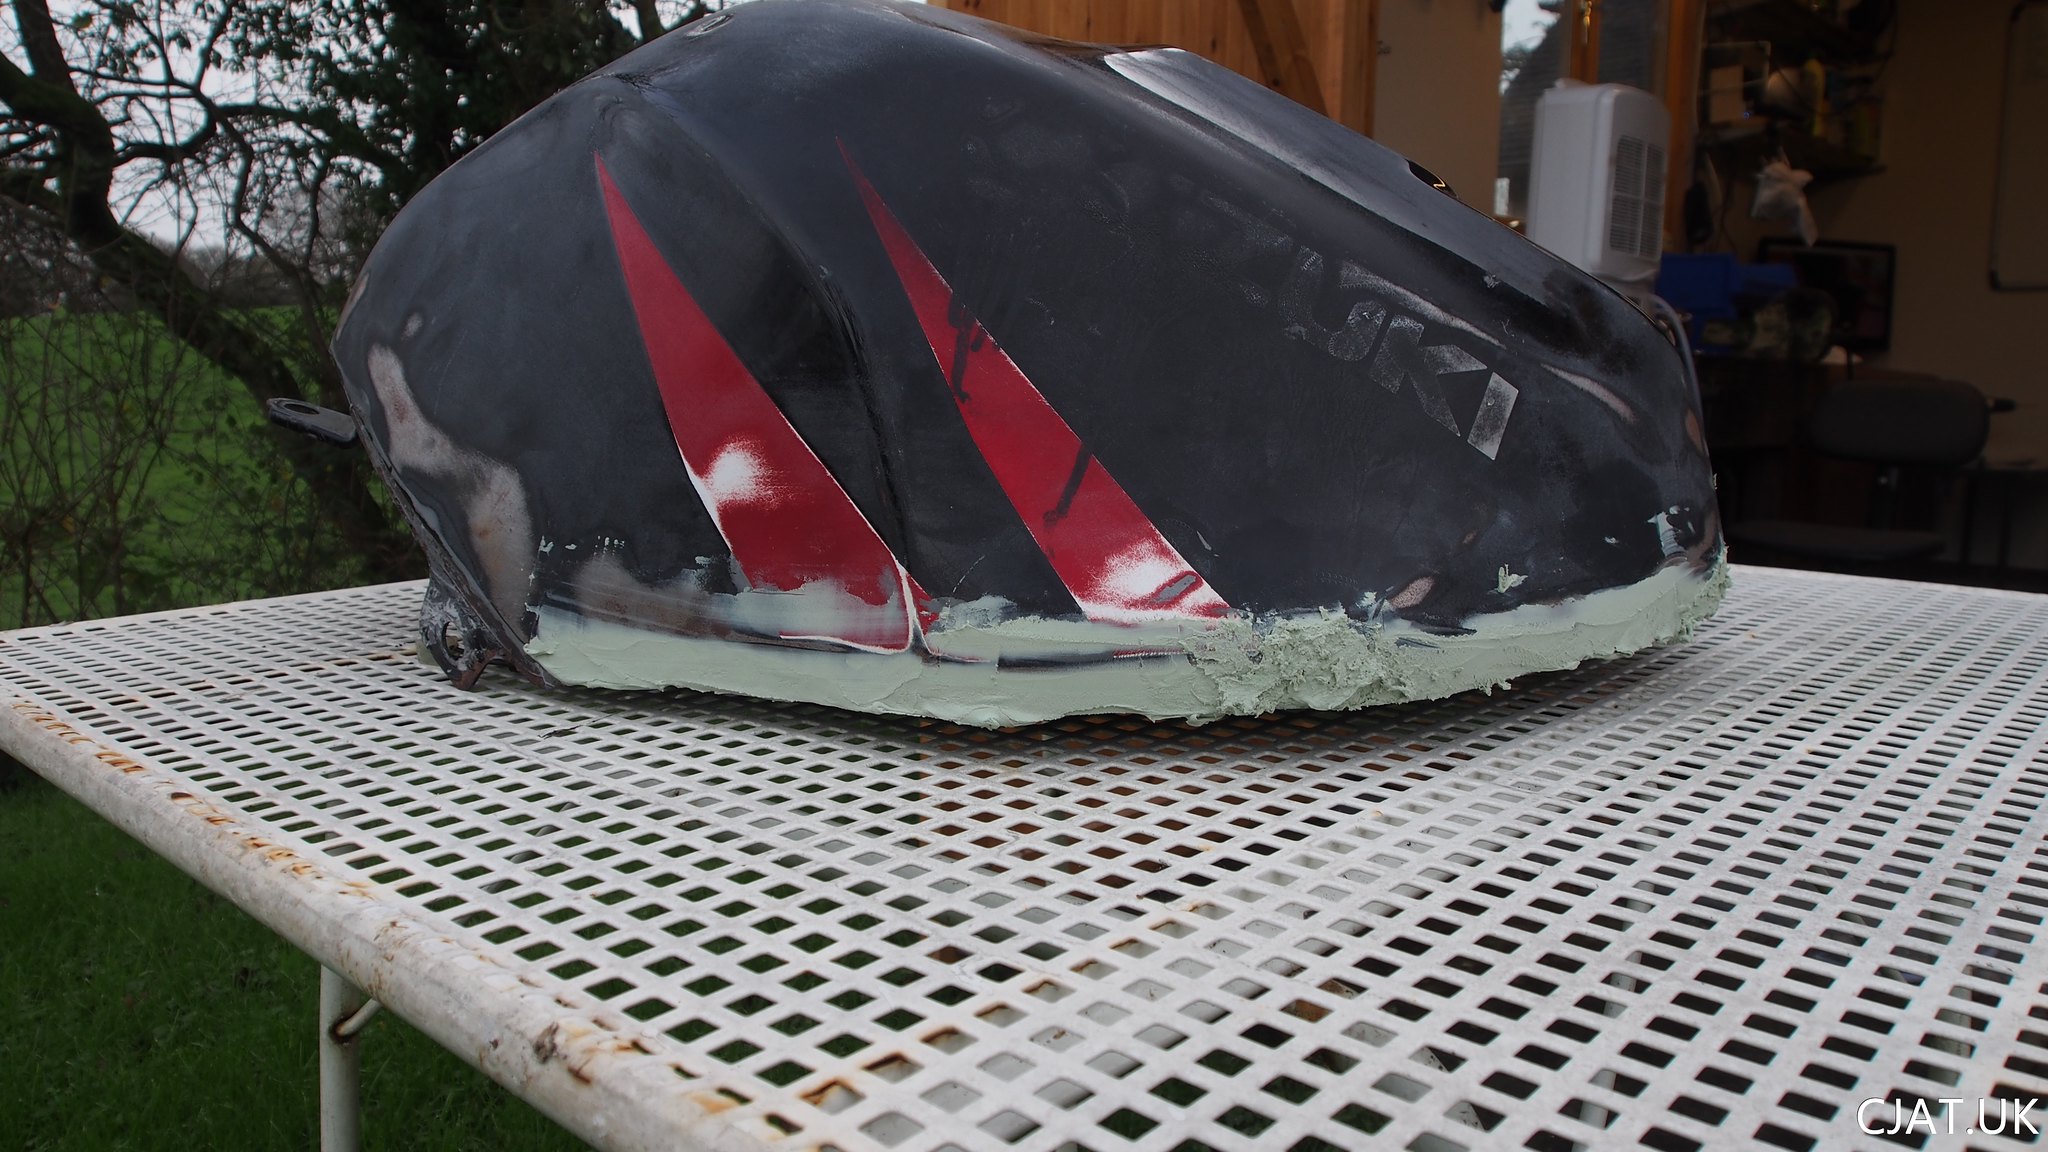
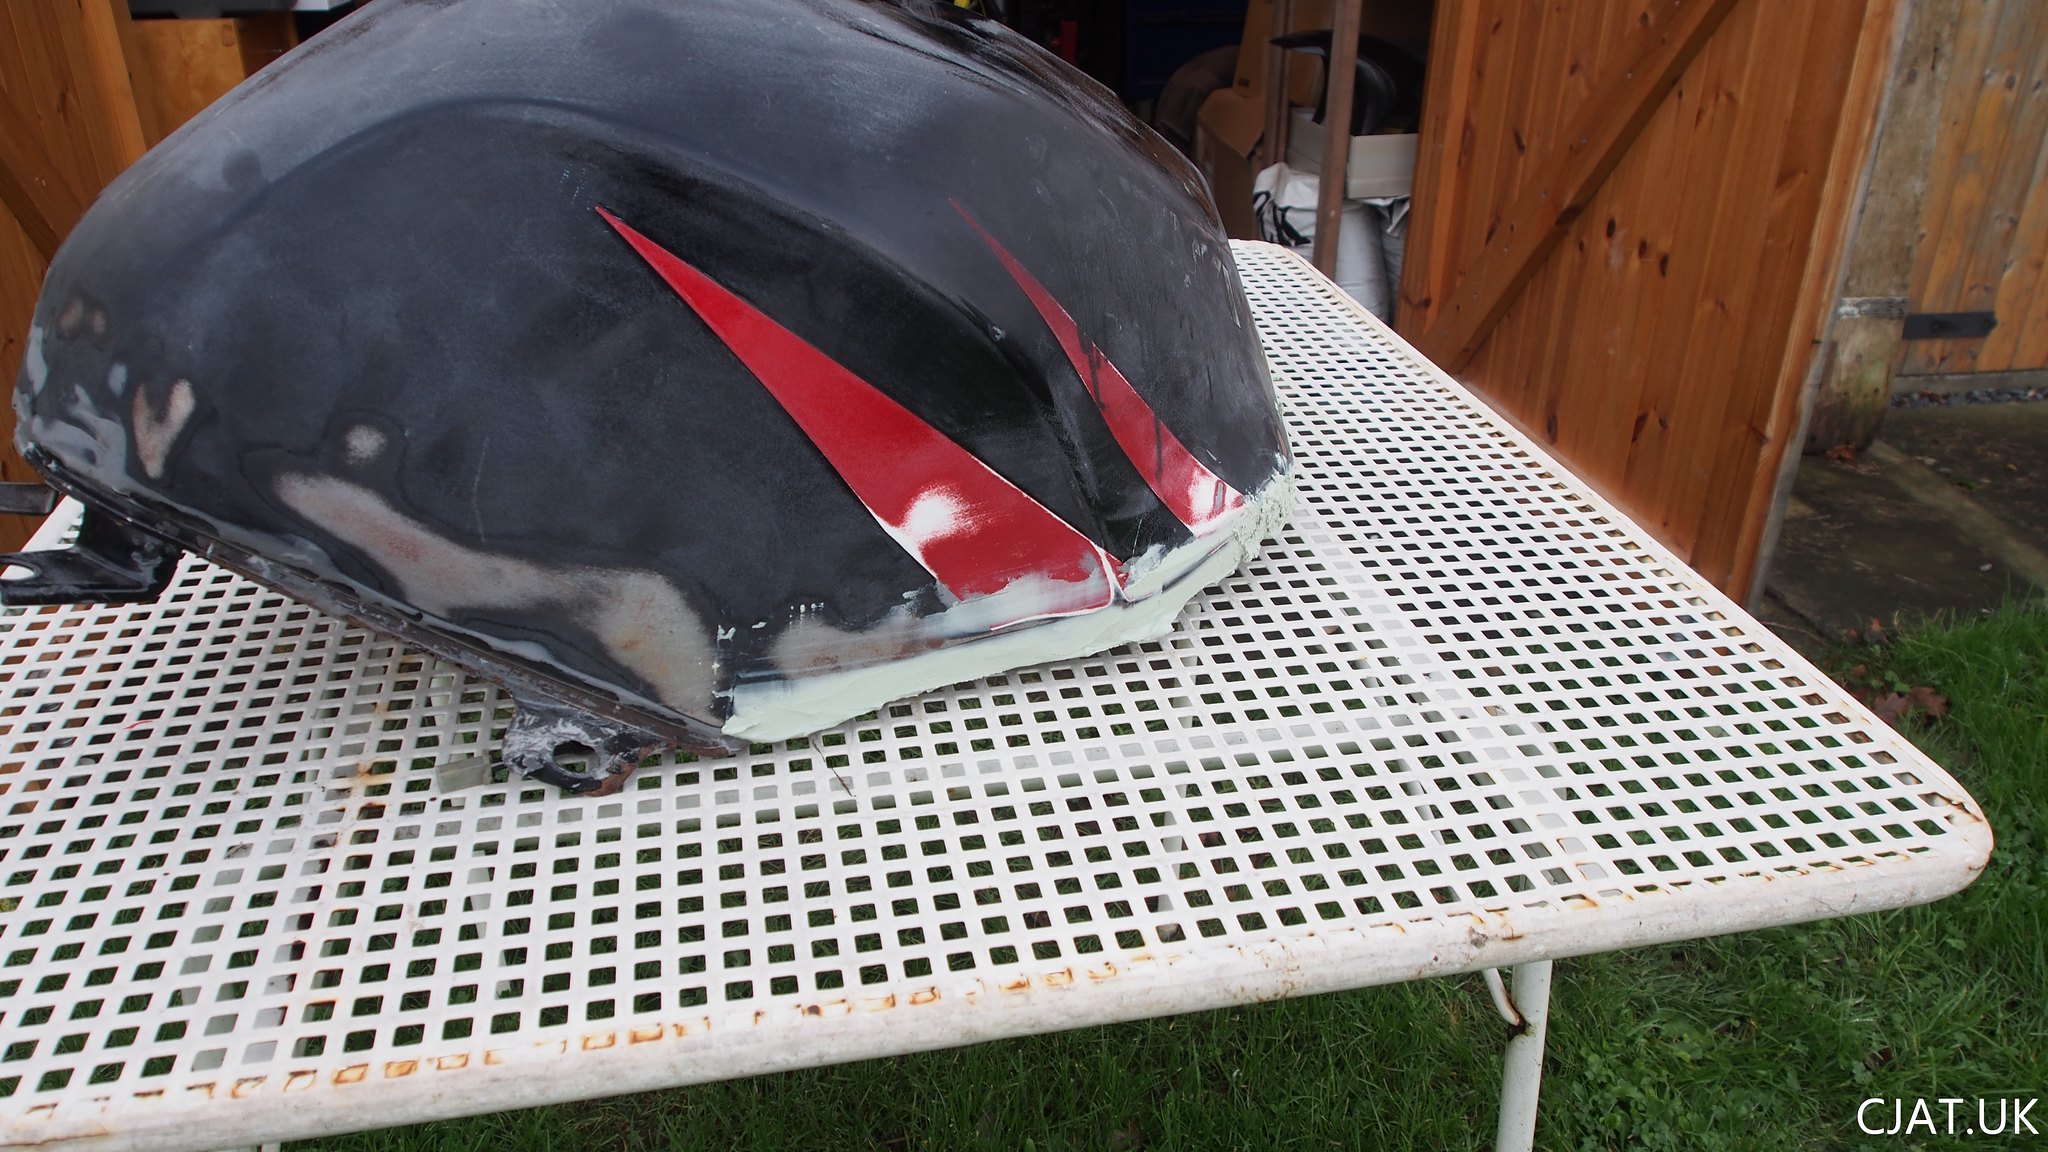
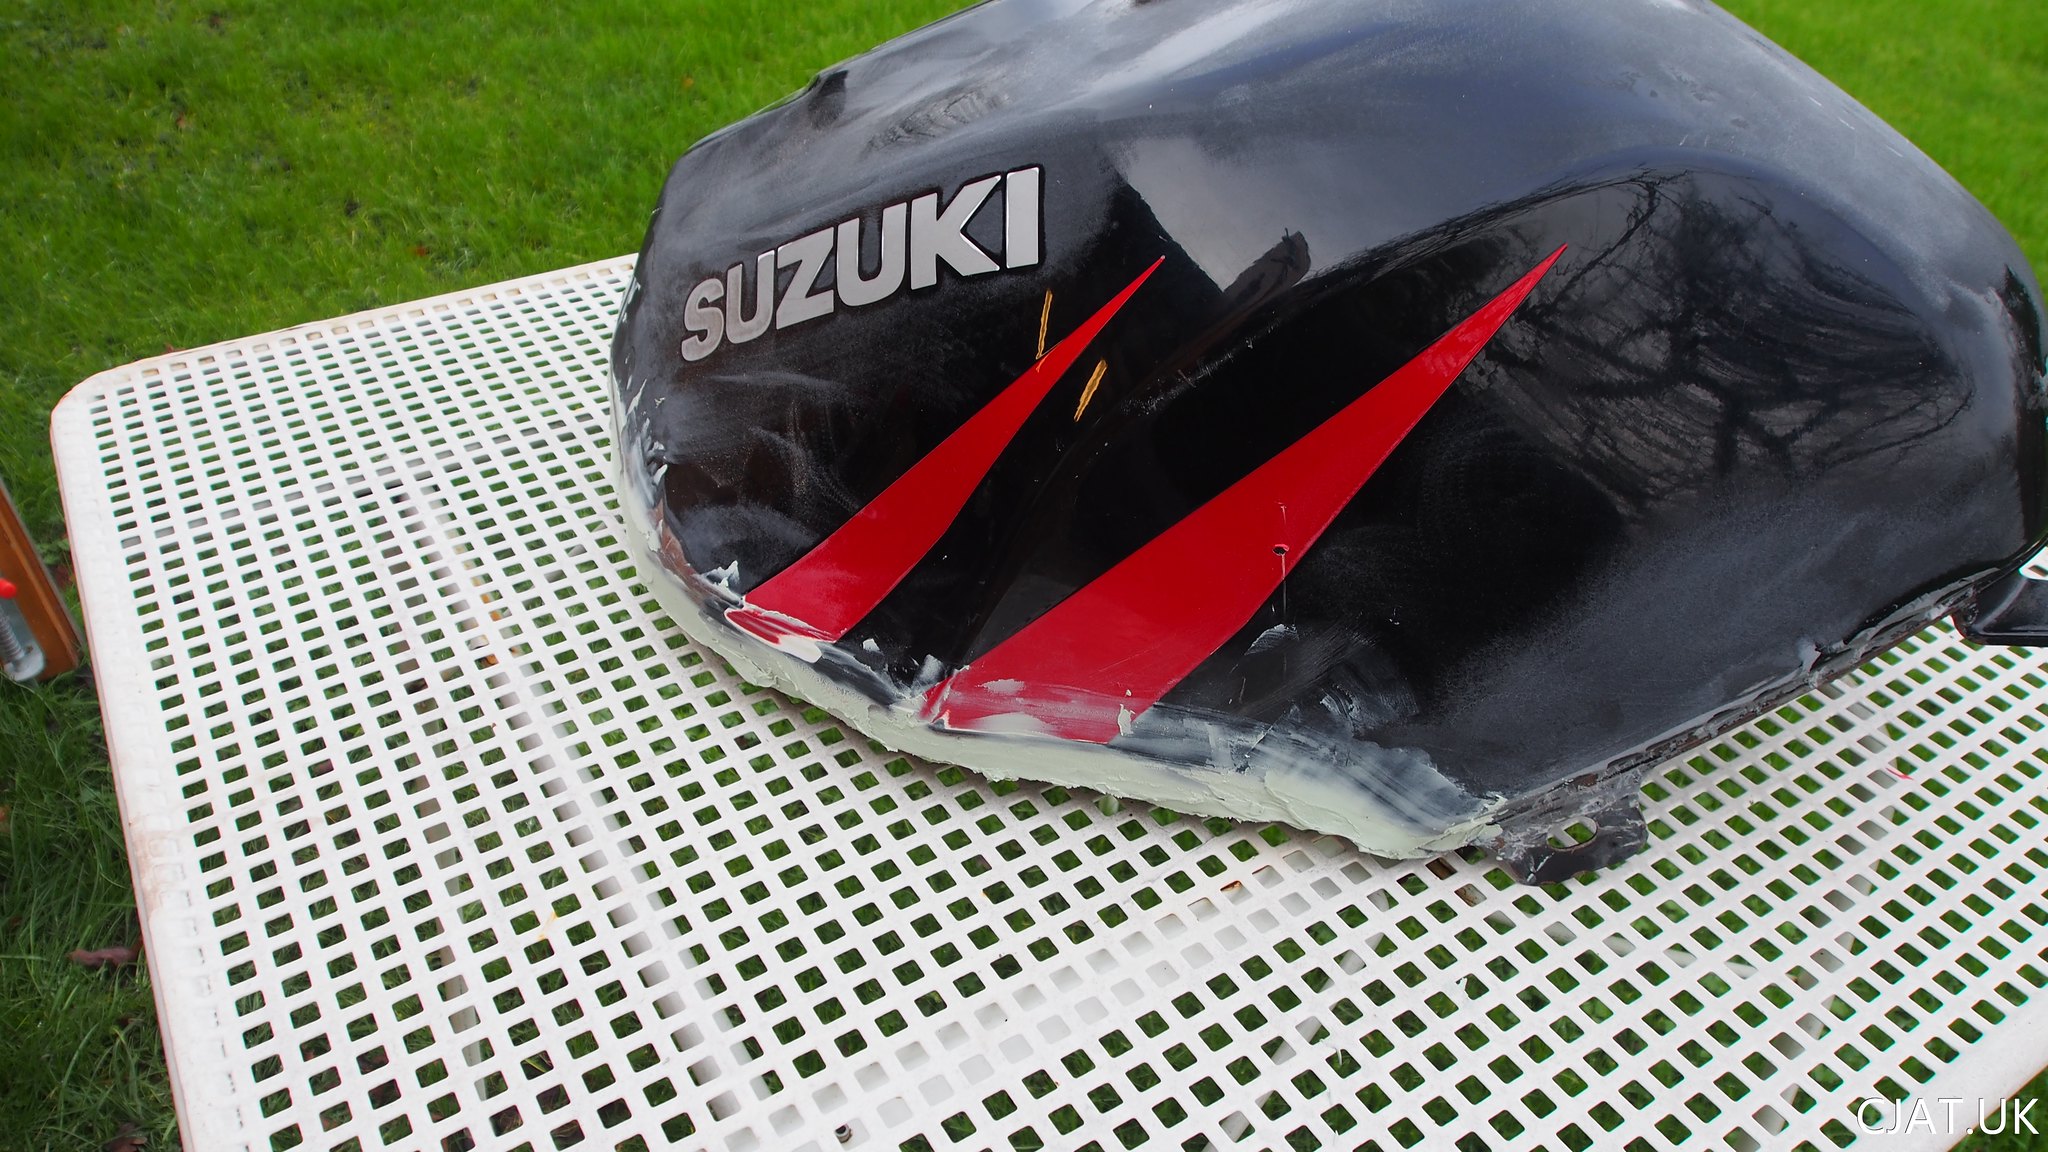
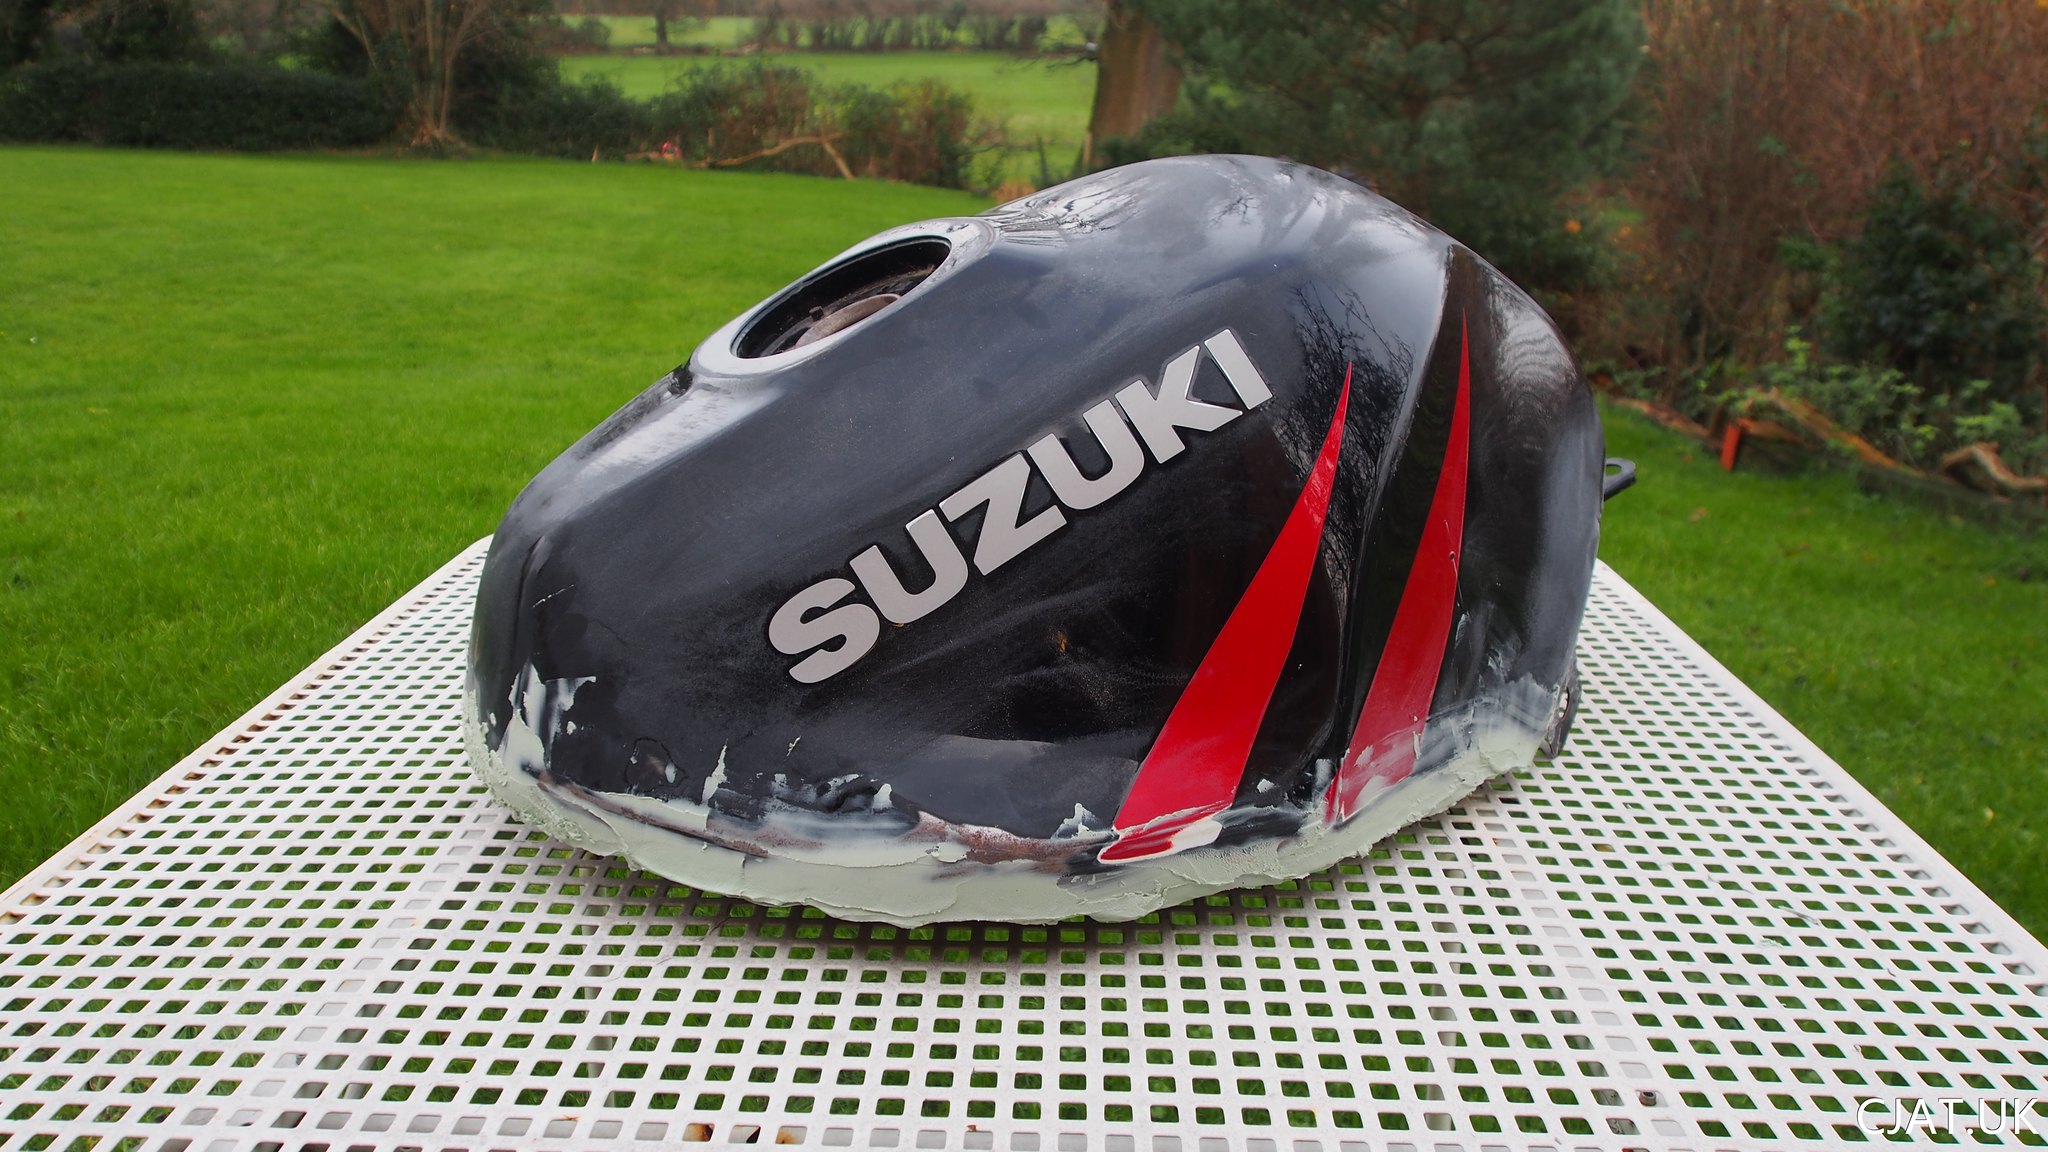 As you can see from the images above I began again to work on removing the gap and creating a nice smooth flow to the body work where it meets the frame.
So I couldn’t fix my engine and I couldn’t finish the tank to a standard I was going to be happy with (I was feeling pretty useless). Overall, I guess I just really didn’t want to spoil all the hard work I had put into the rest of the bike. So I called a local company
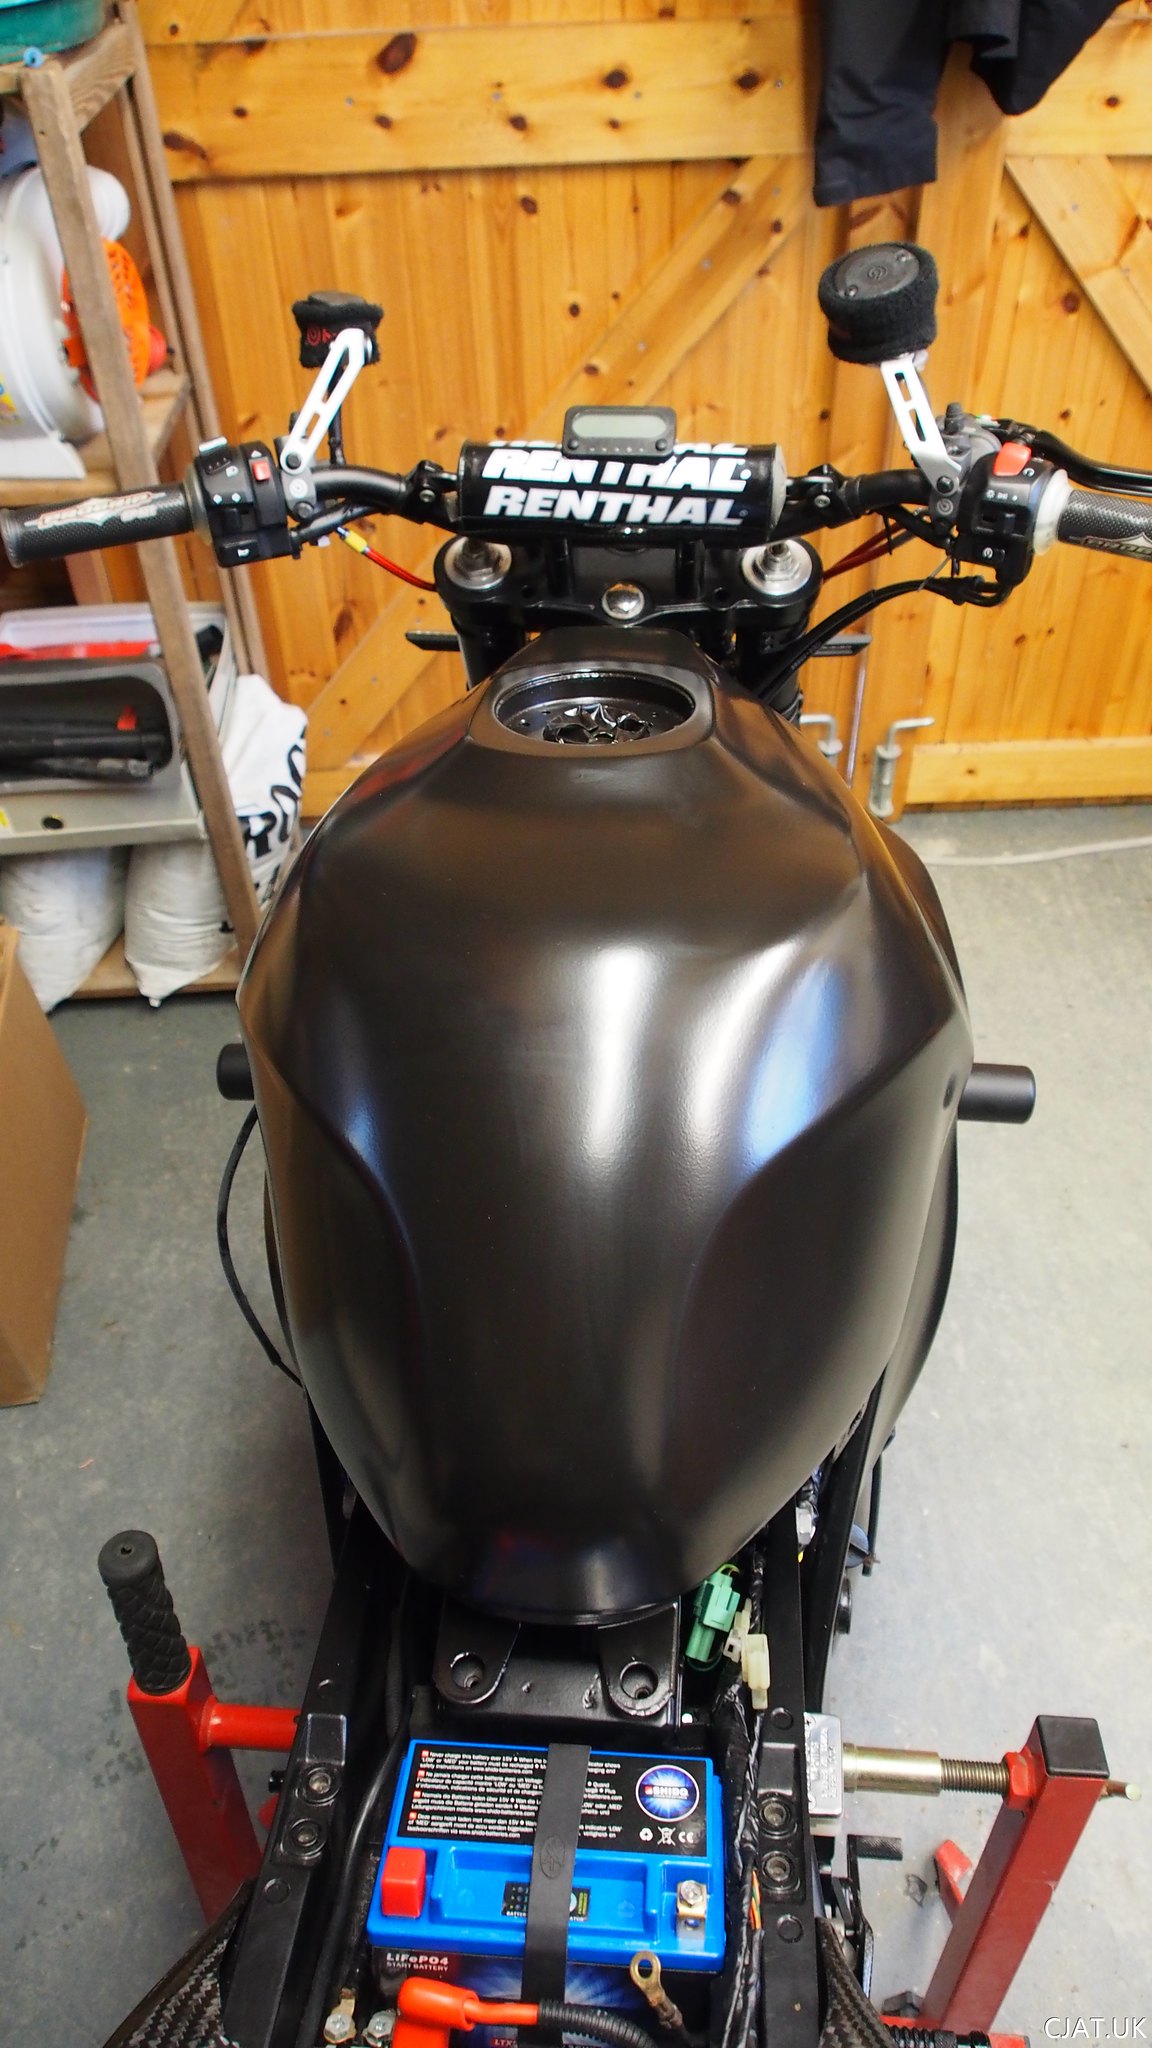
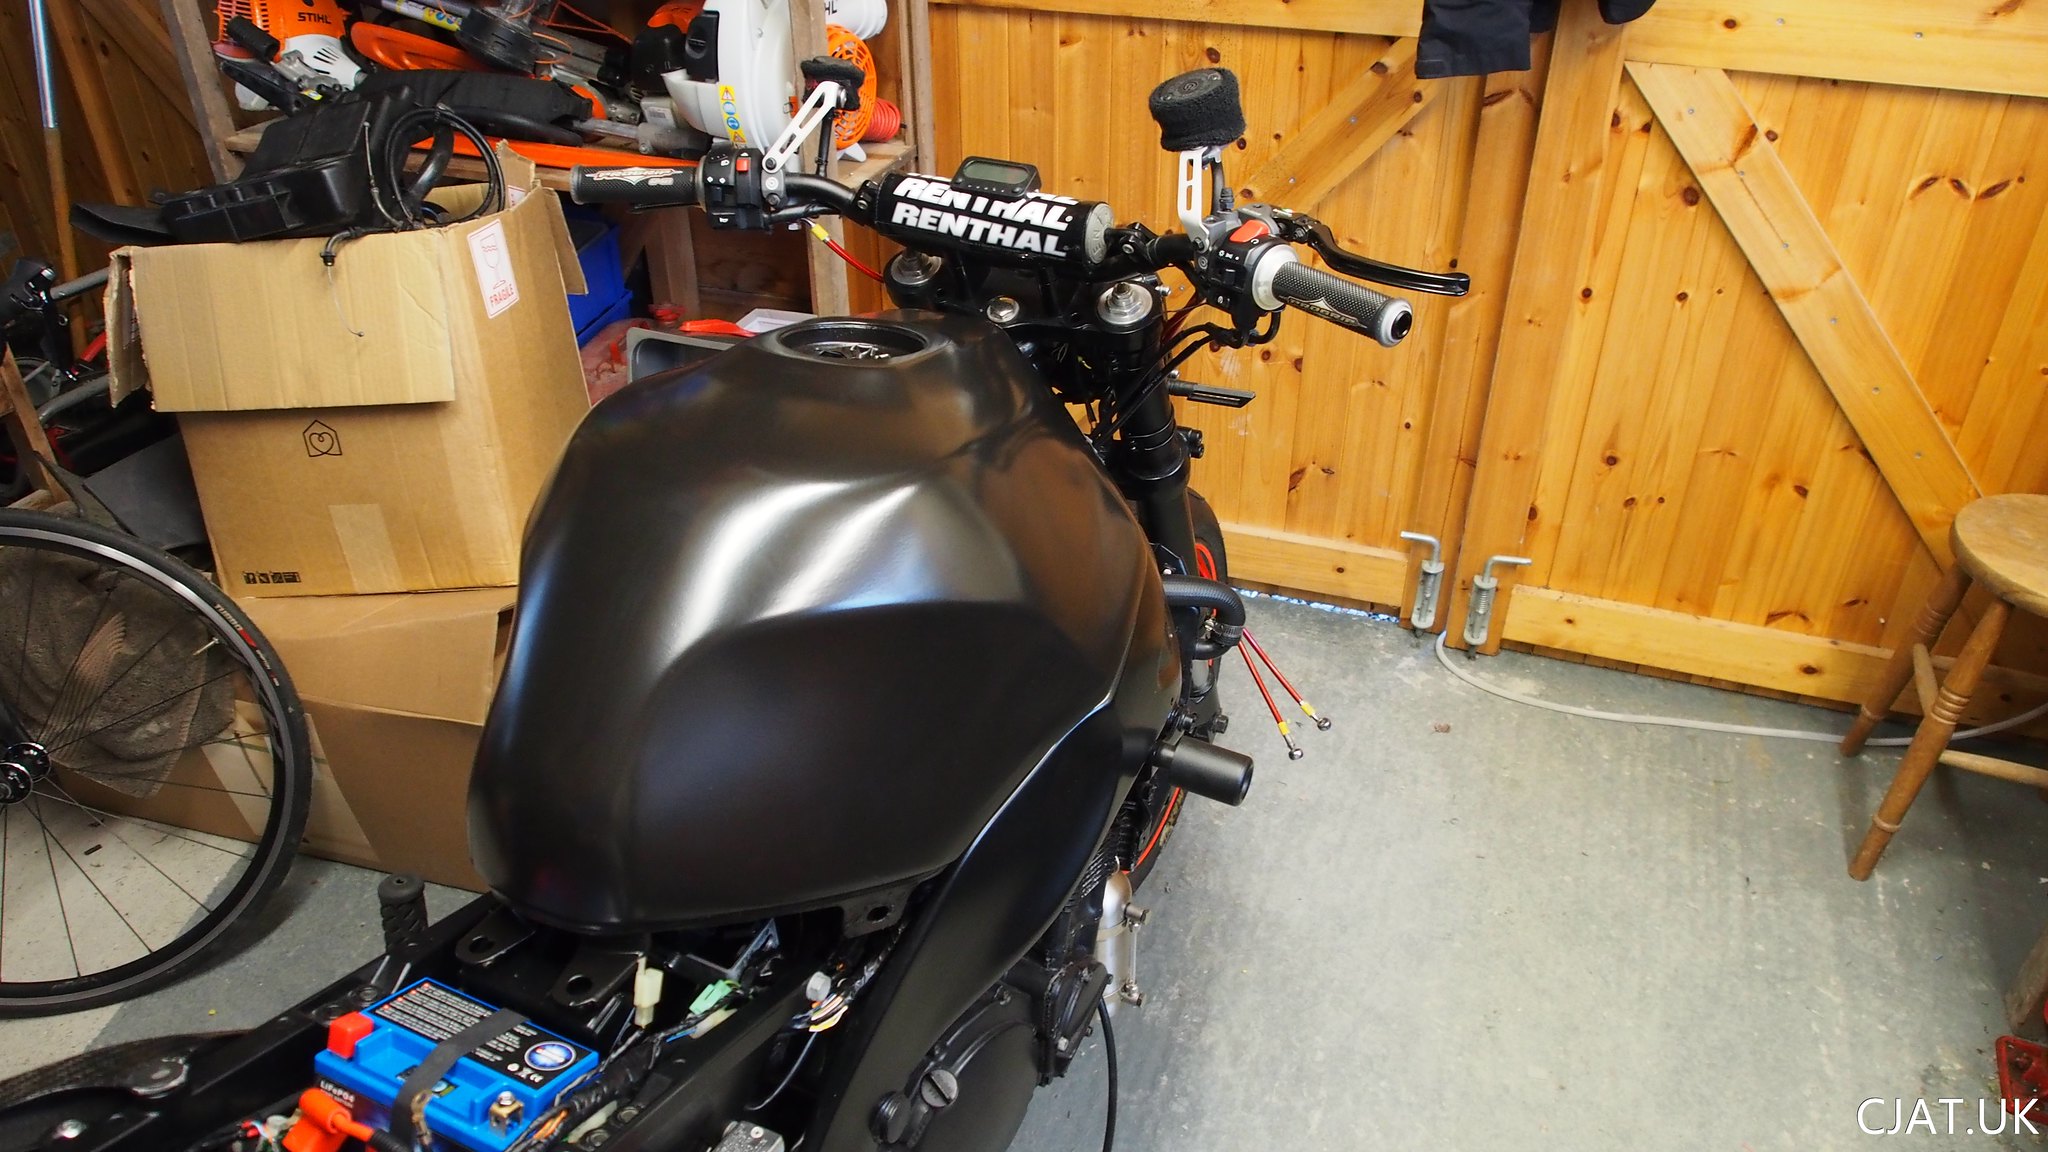
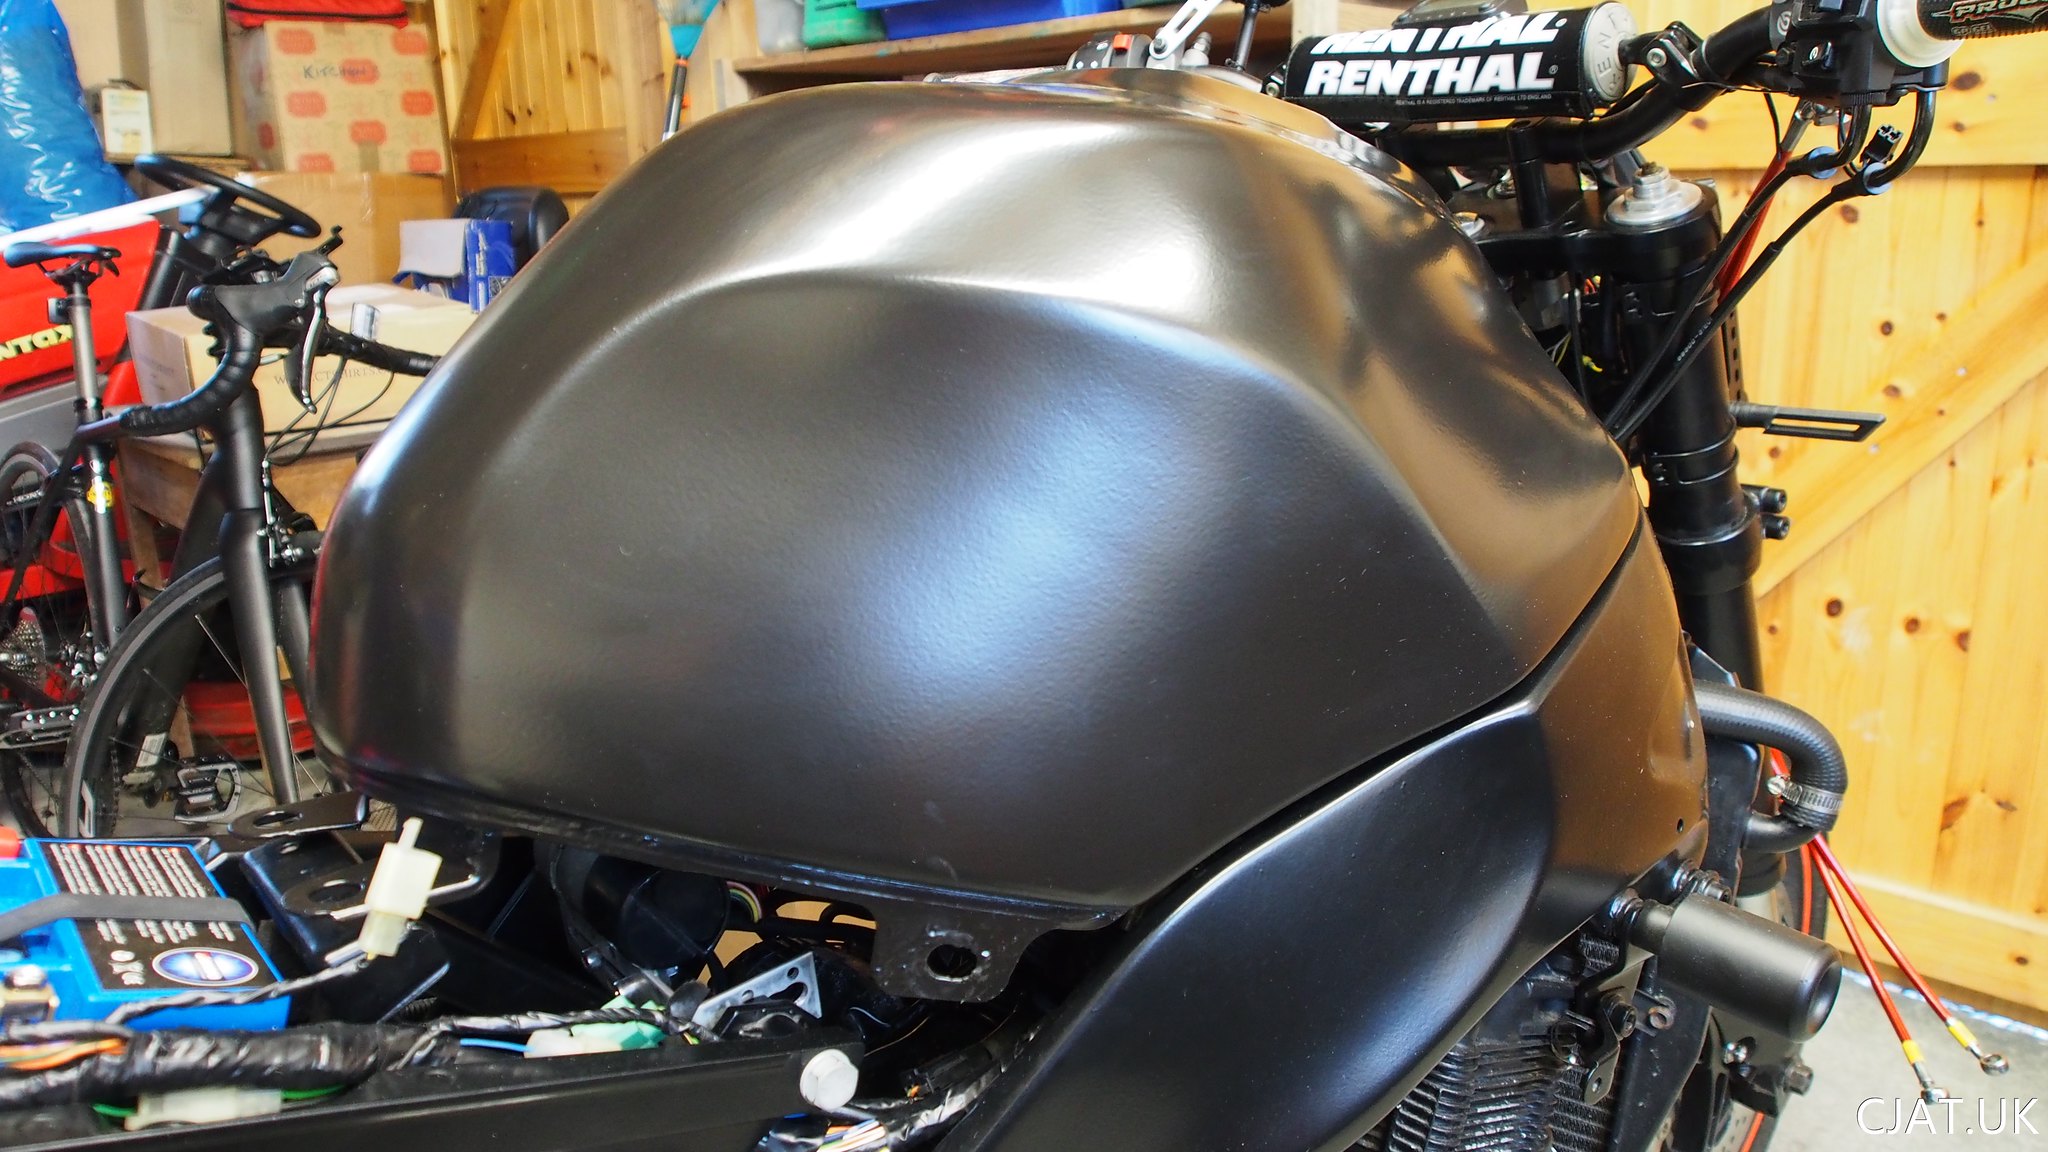 See the next post for some better images of it on the bike.


