Well it’s time to start making this build look like a bike again.
One thing I love about building a project is that you get to buy so many new parts. It makes it feel like Christmas morning every time the post arrives…
Such as:
New rear disk.
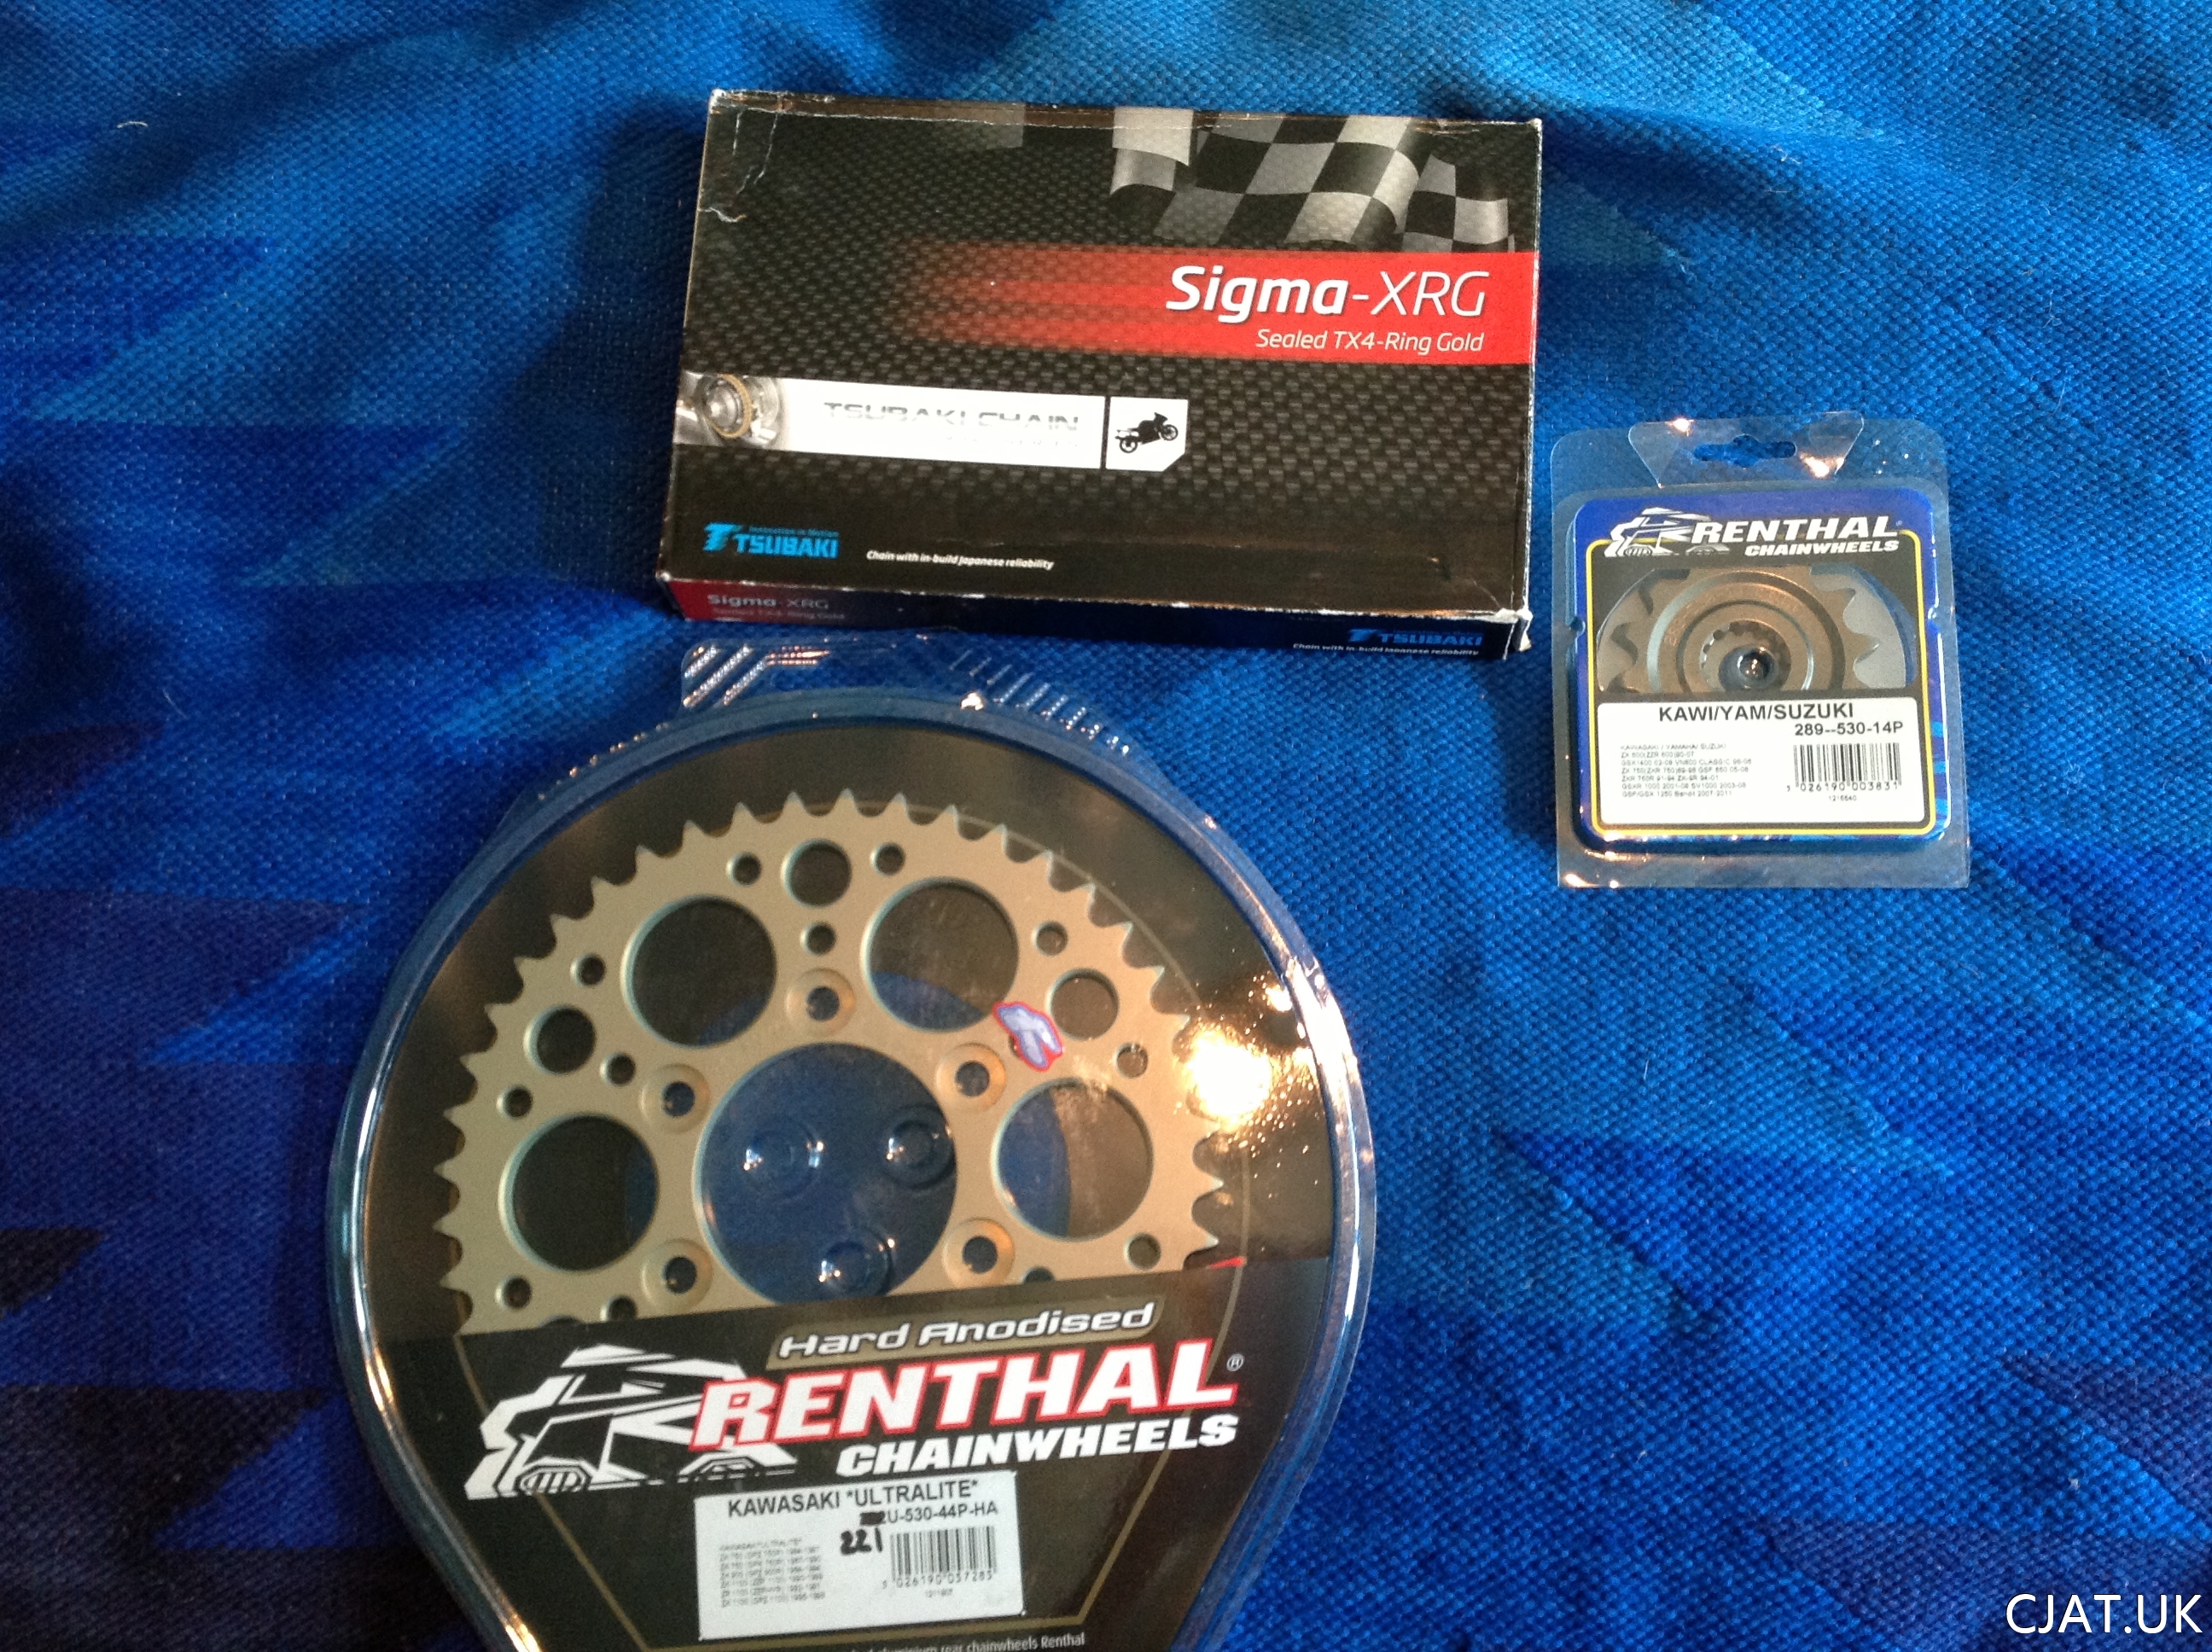
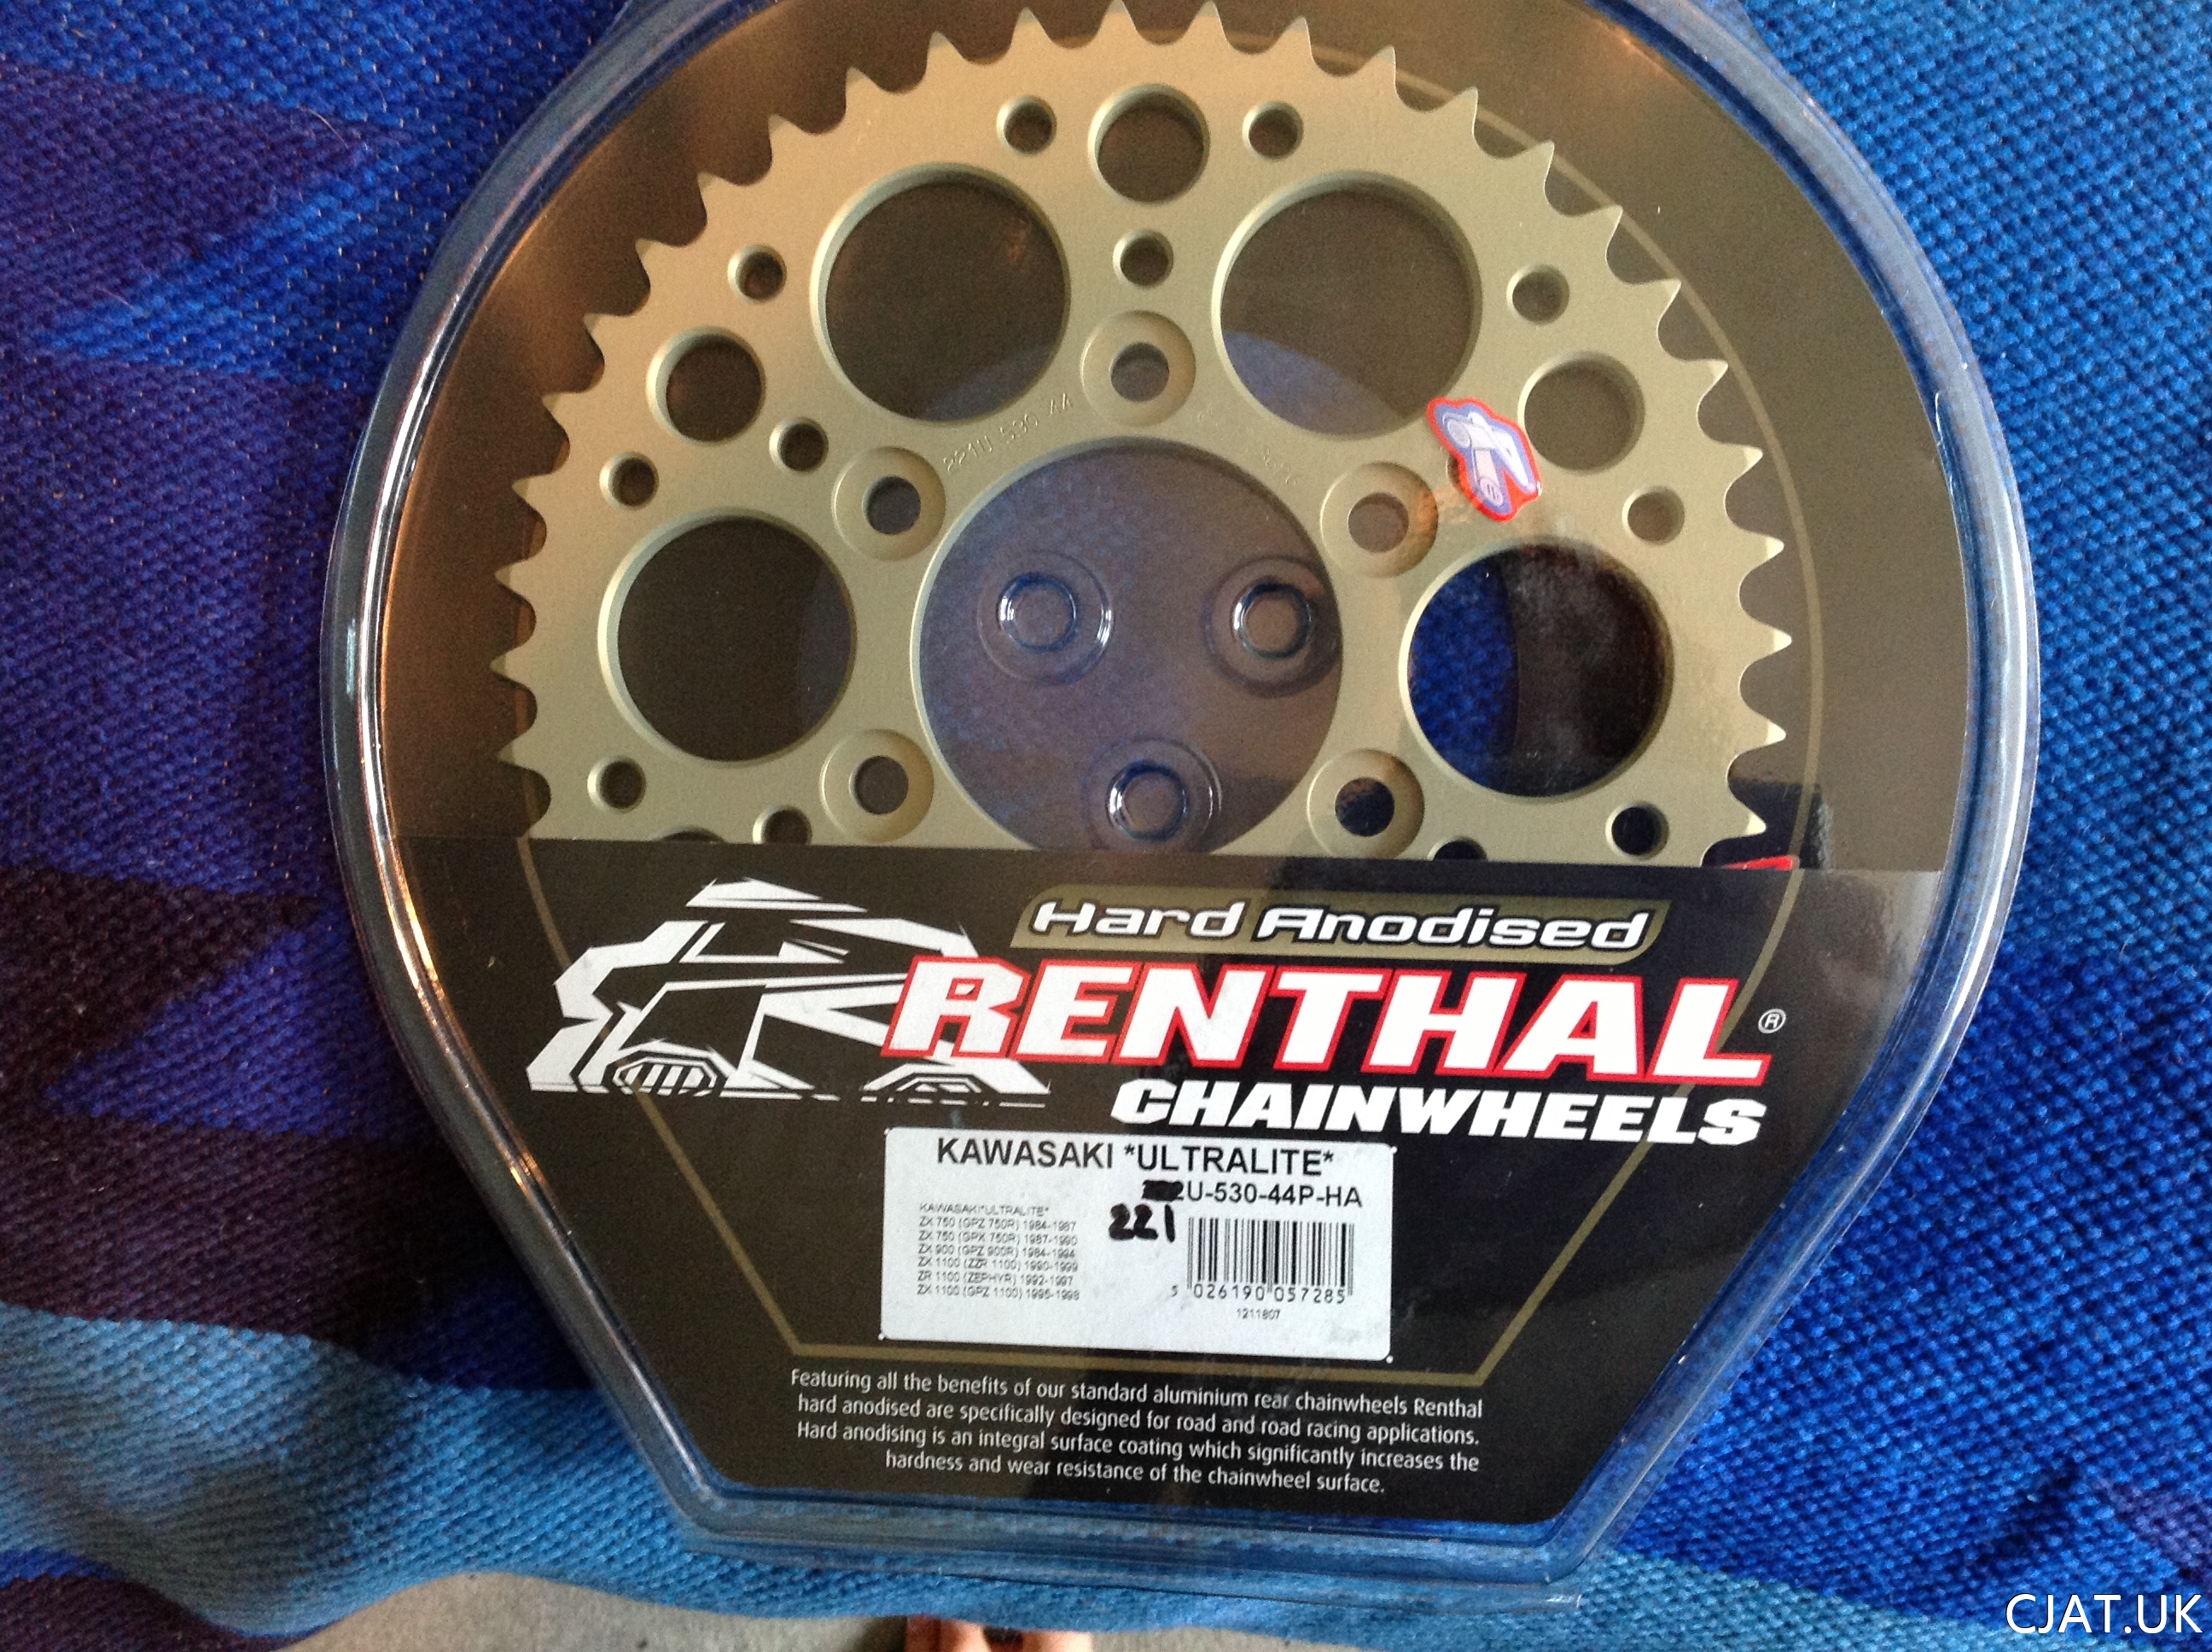
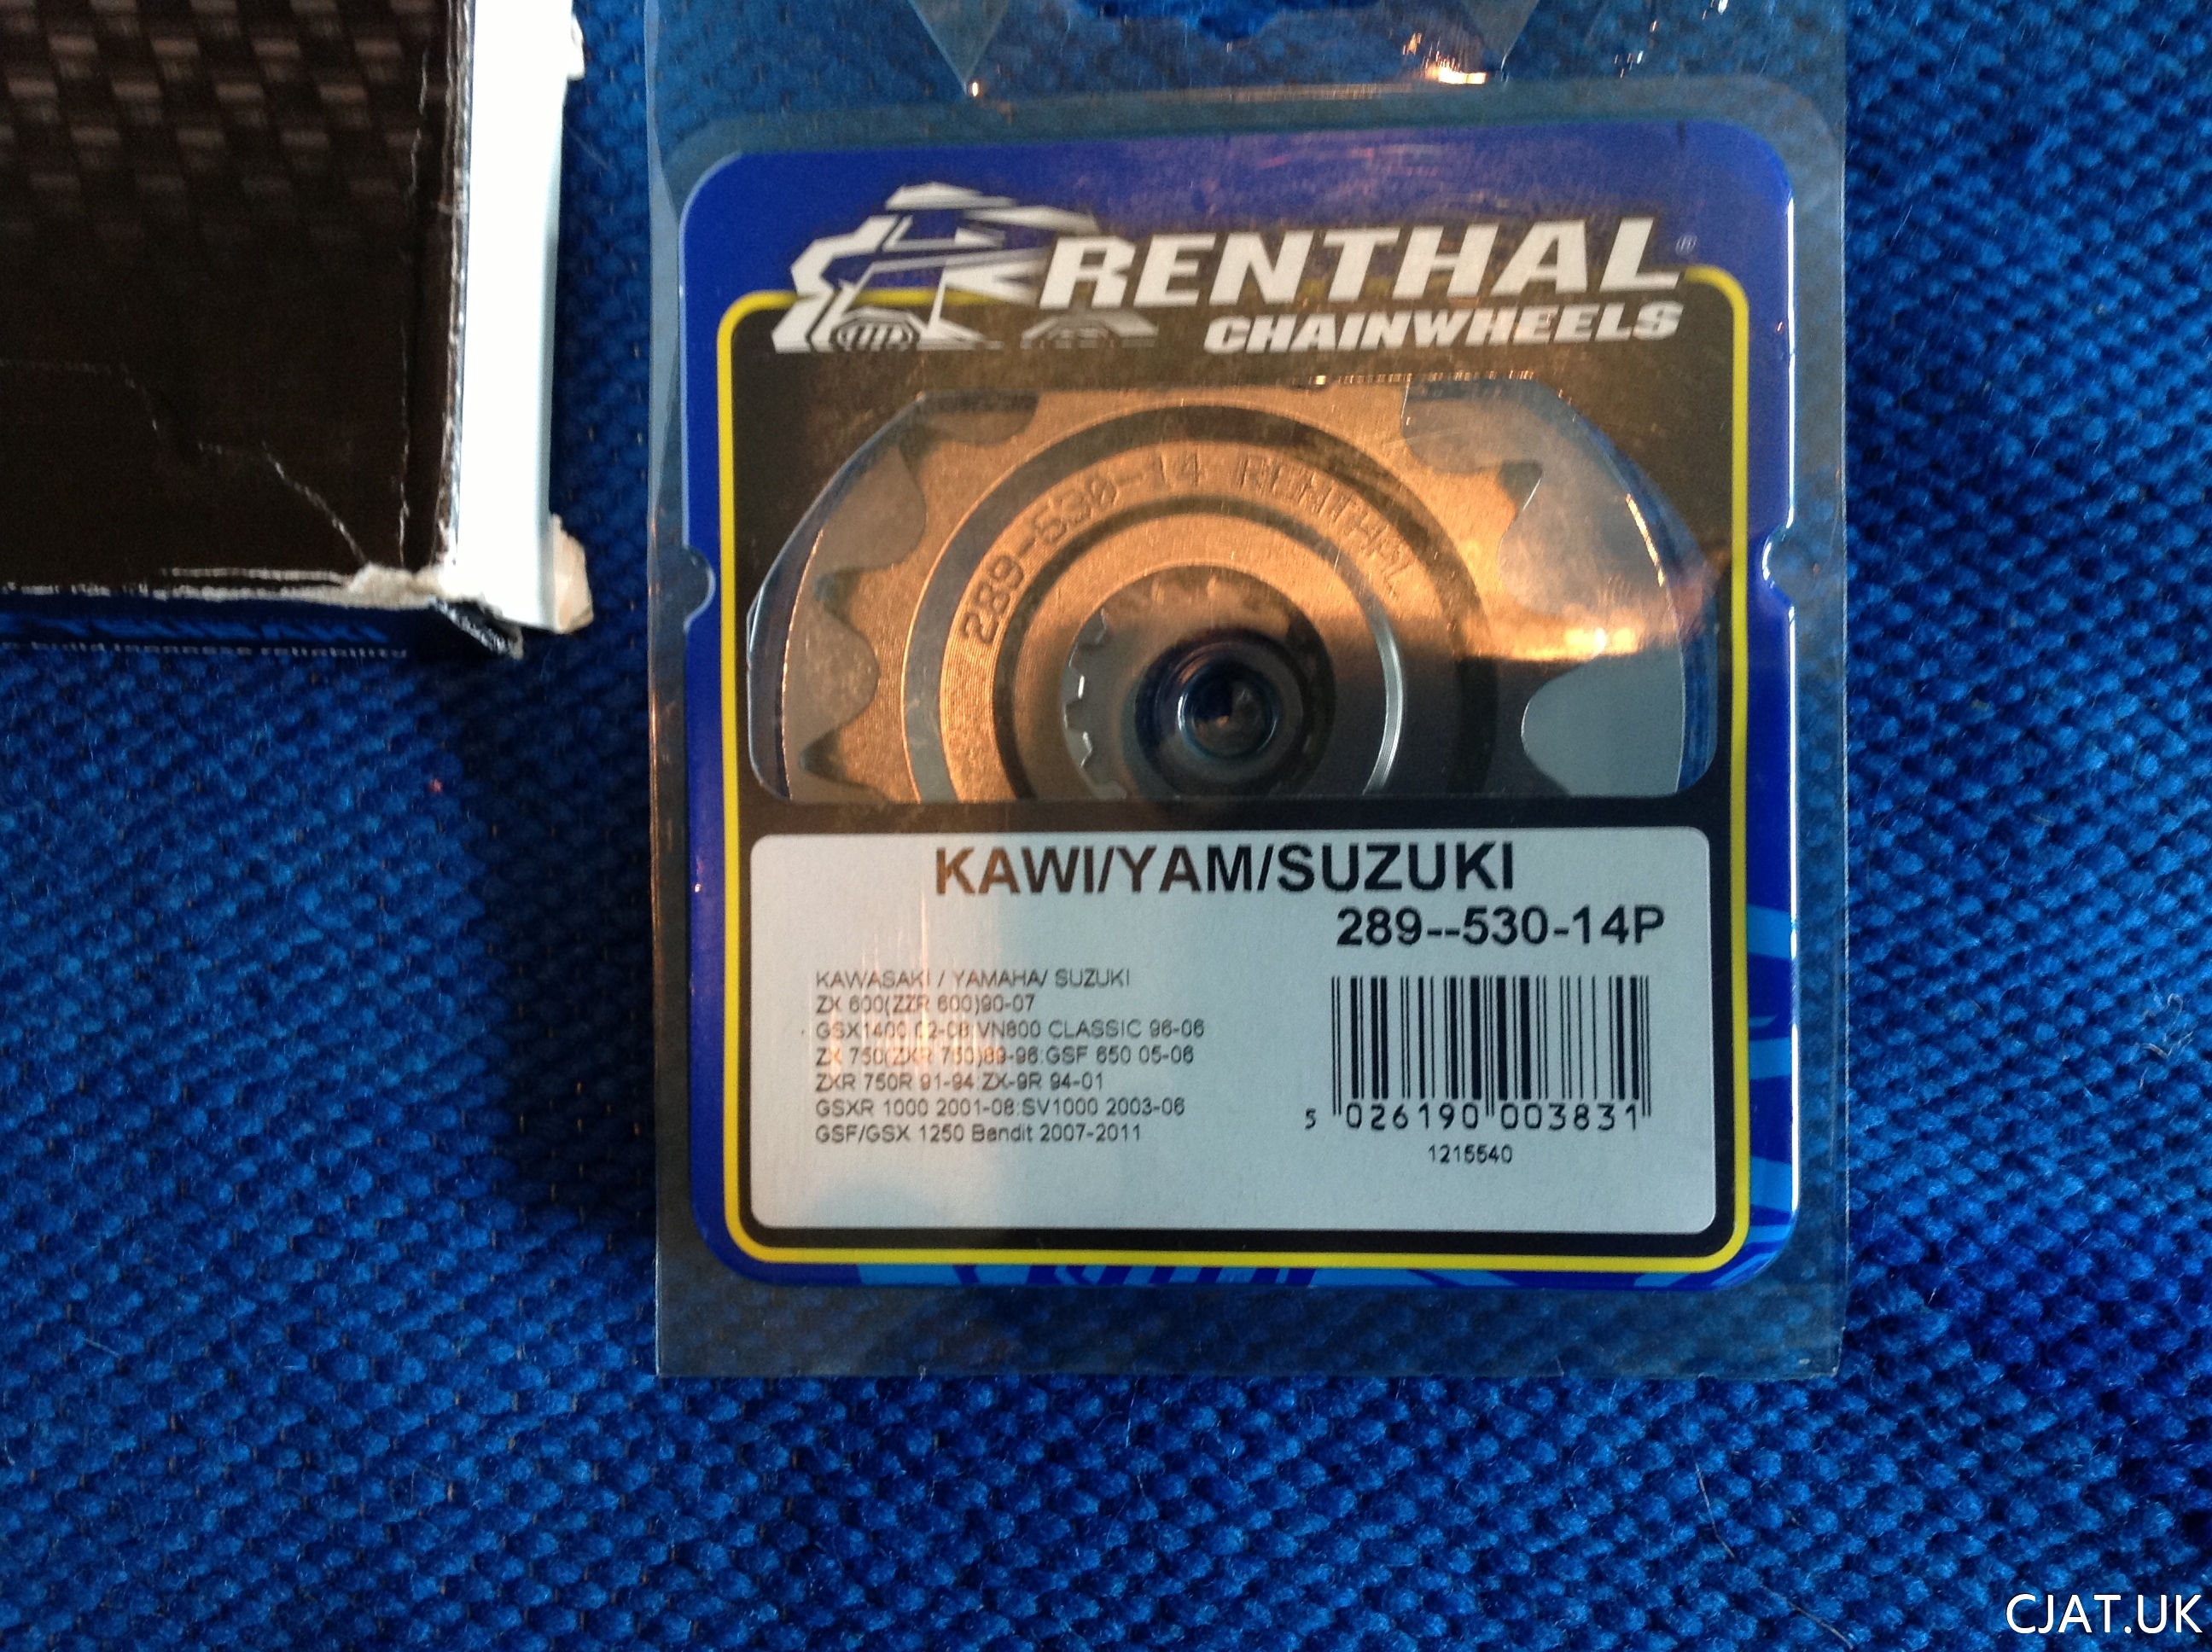
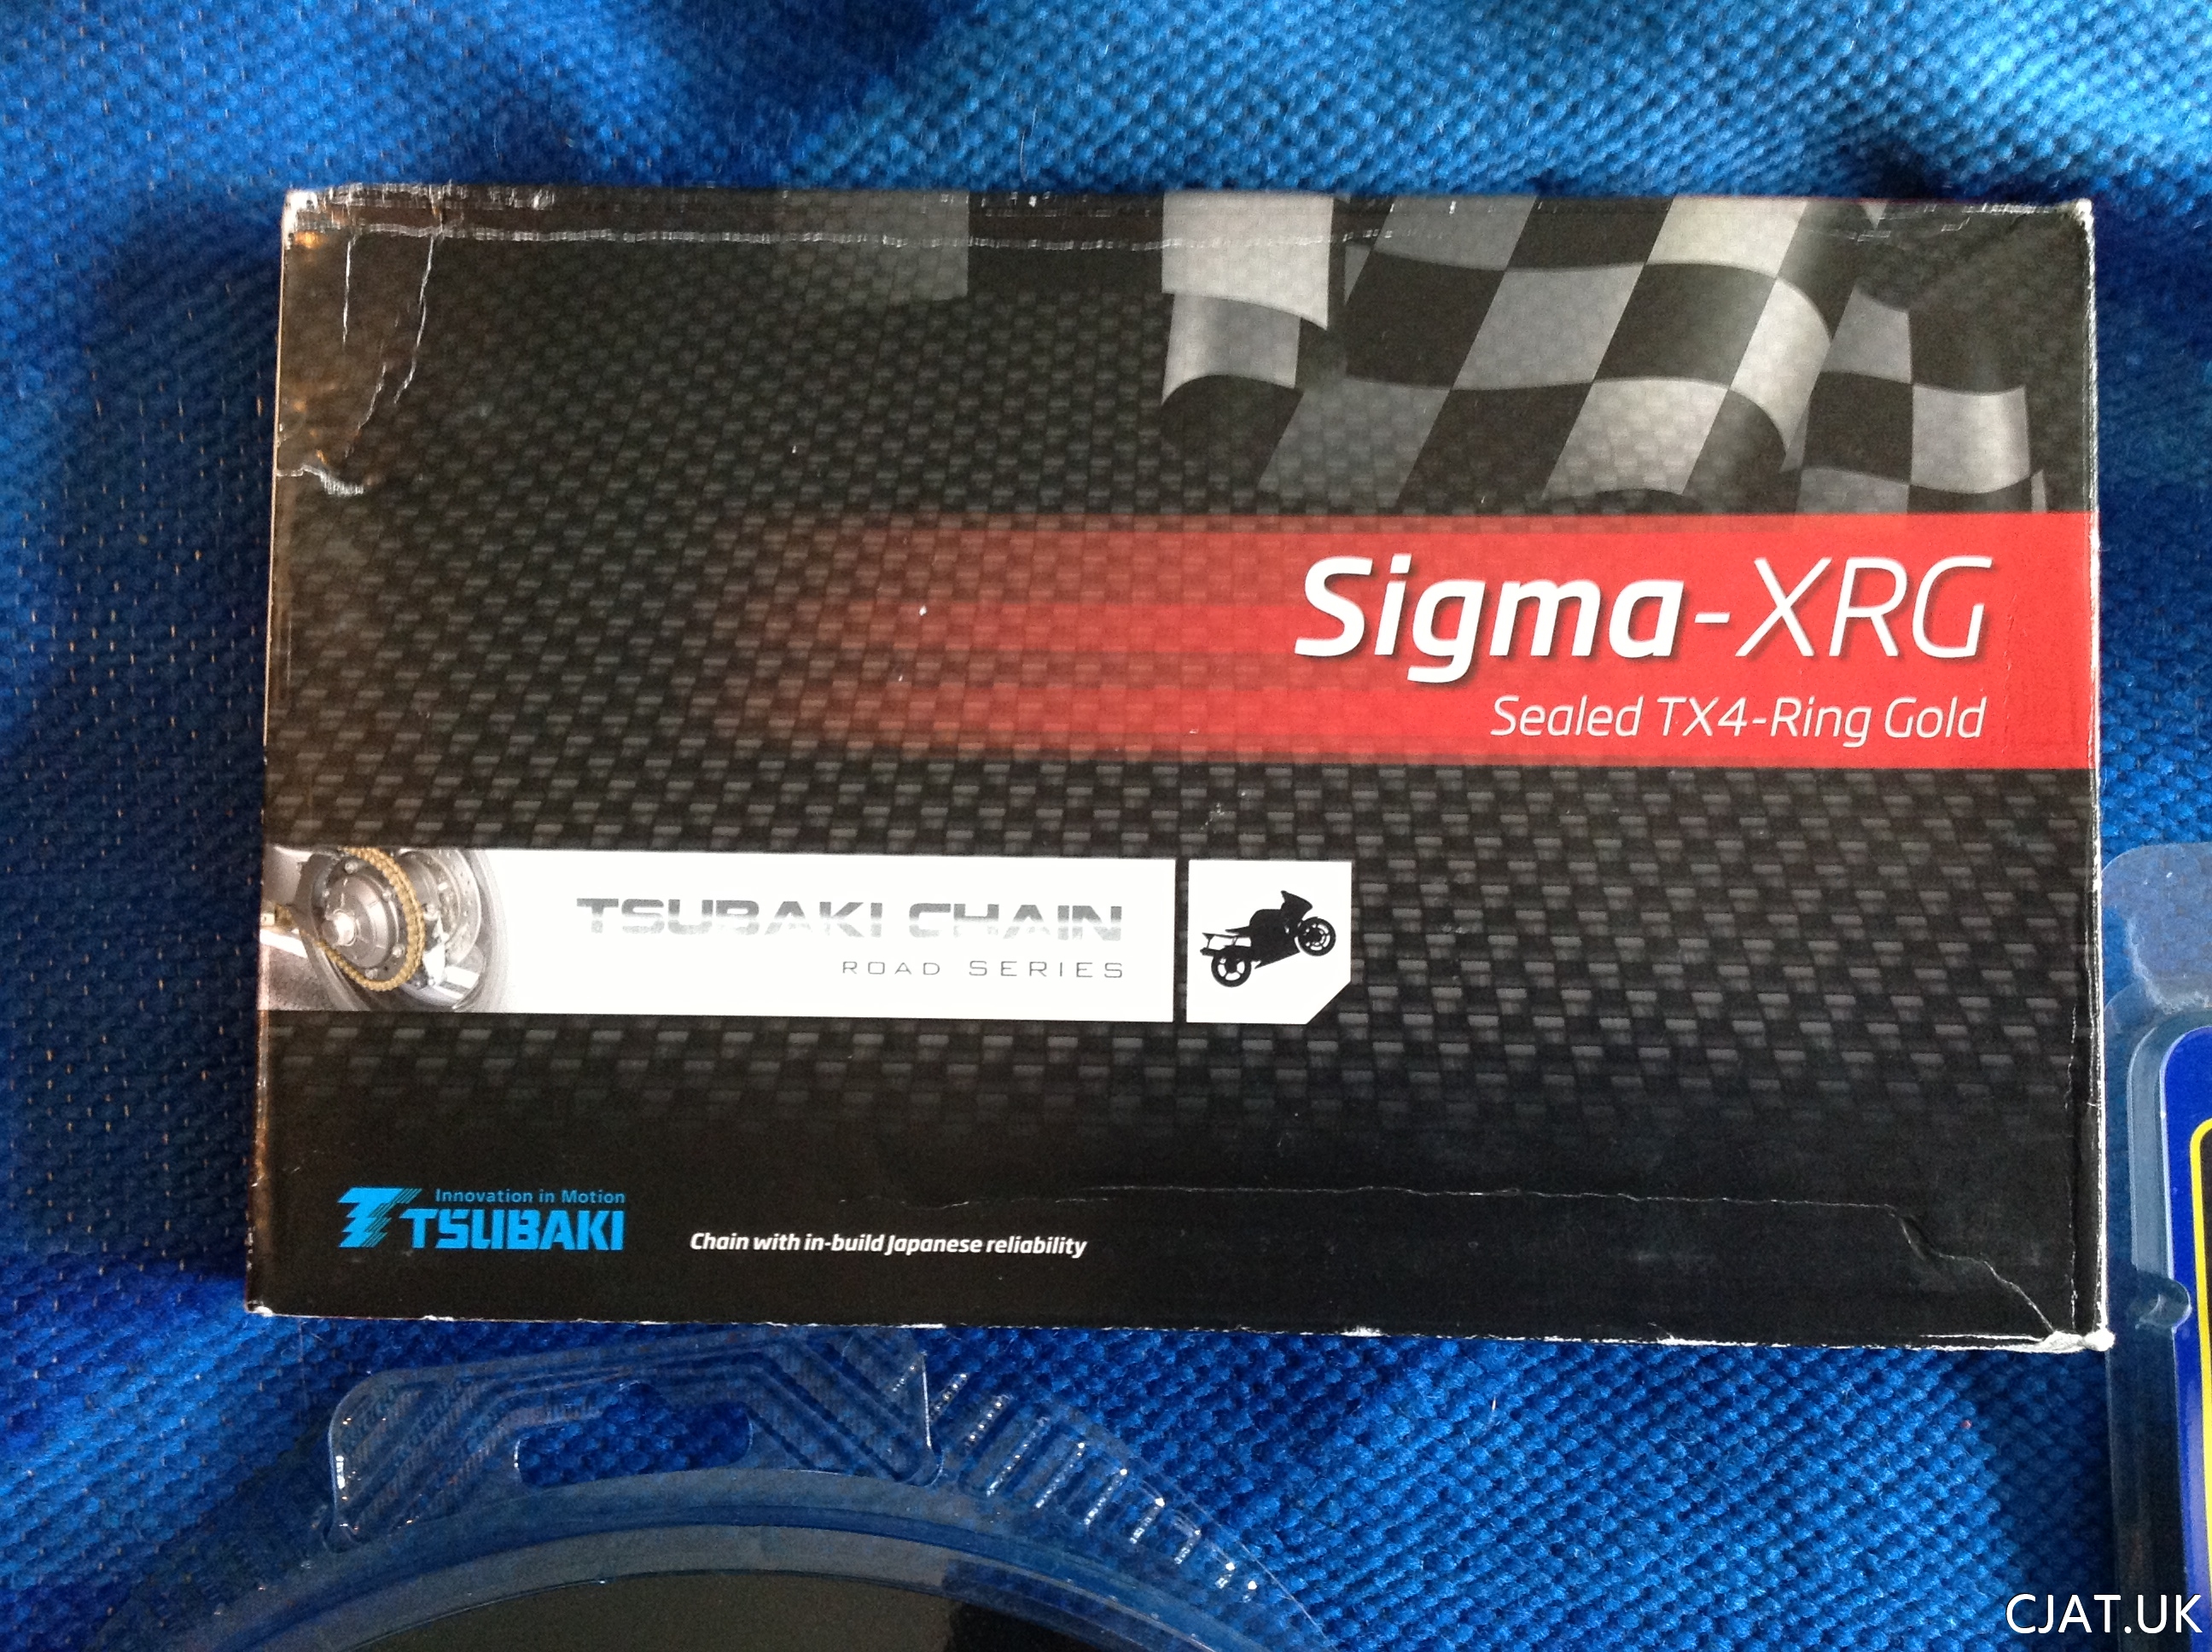
New Renthal sprockets plus Tsubaki Sigma–XRG chain.
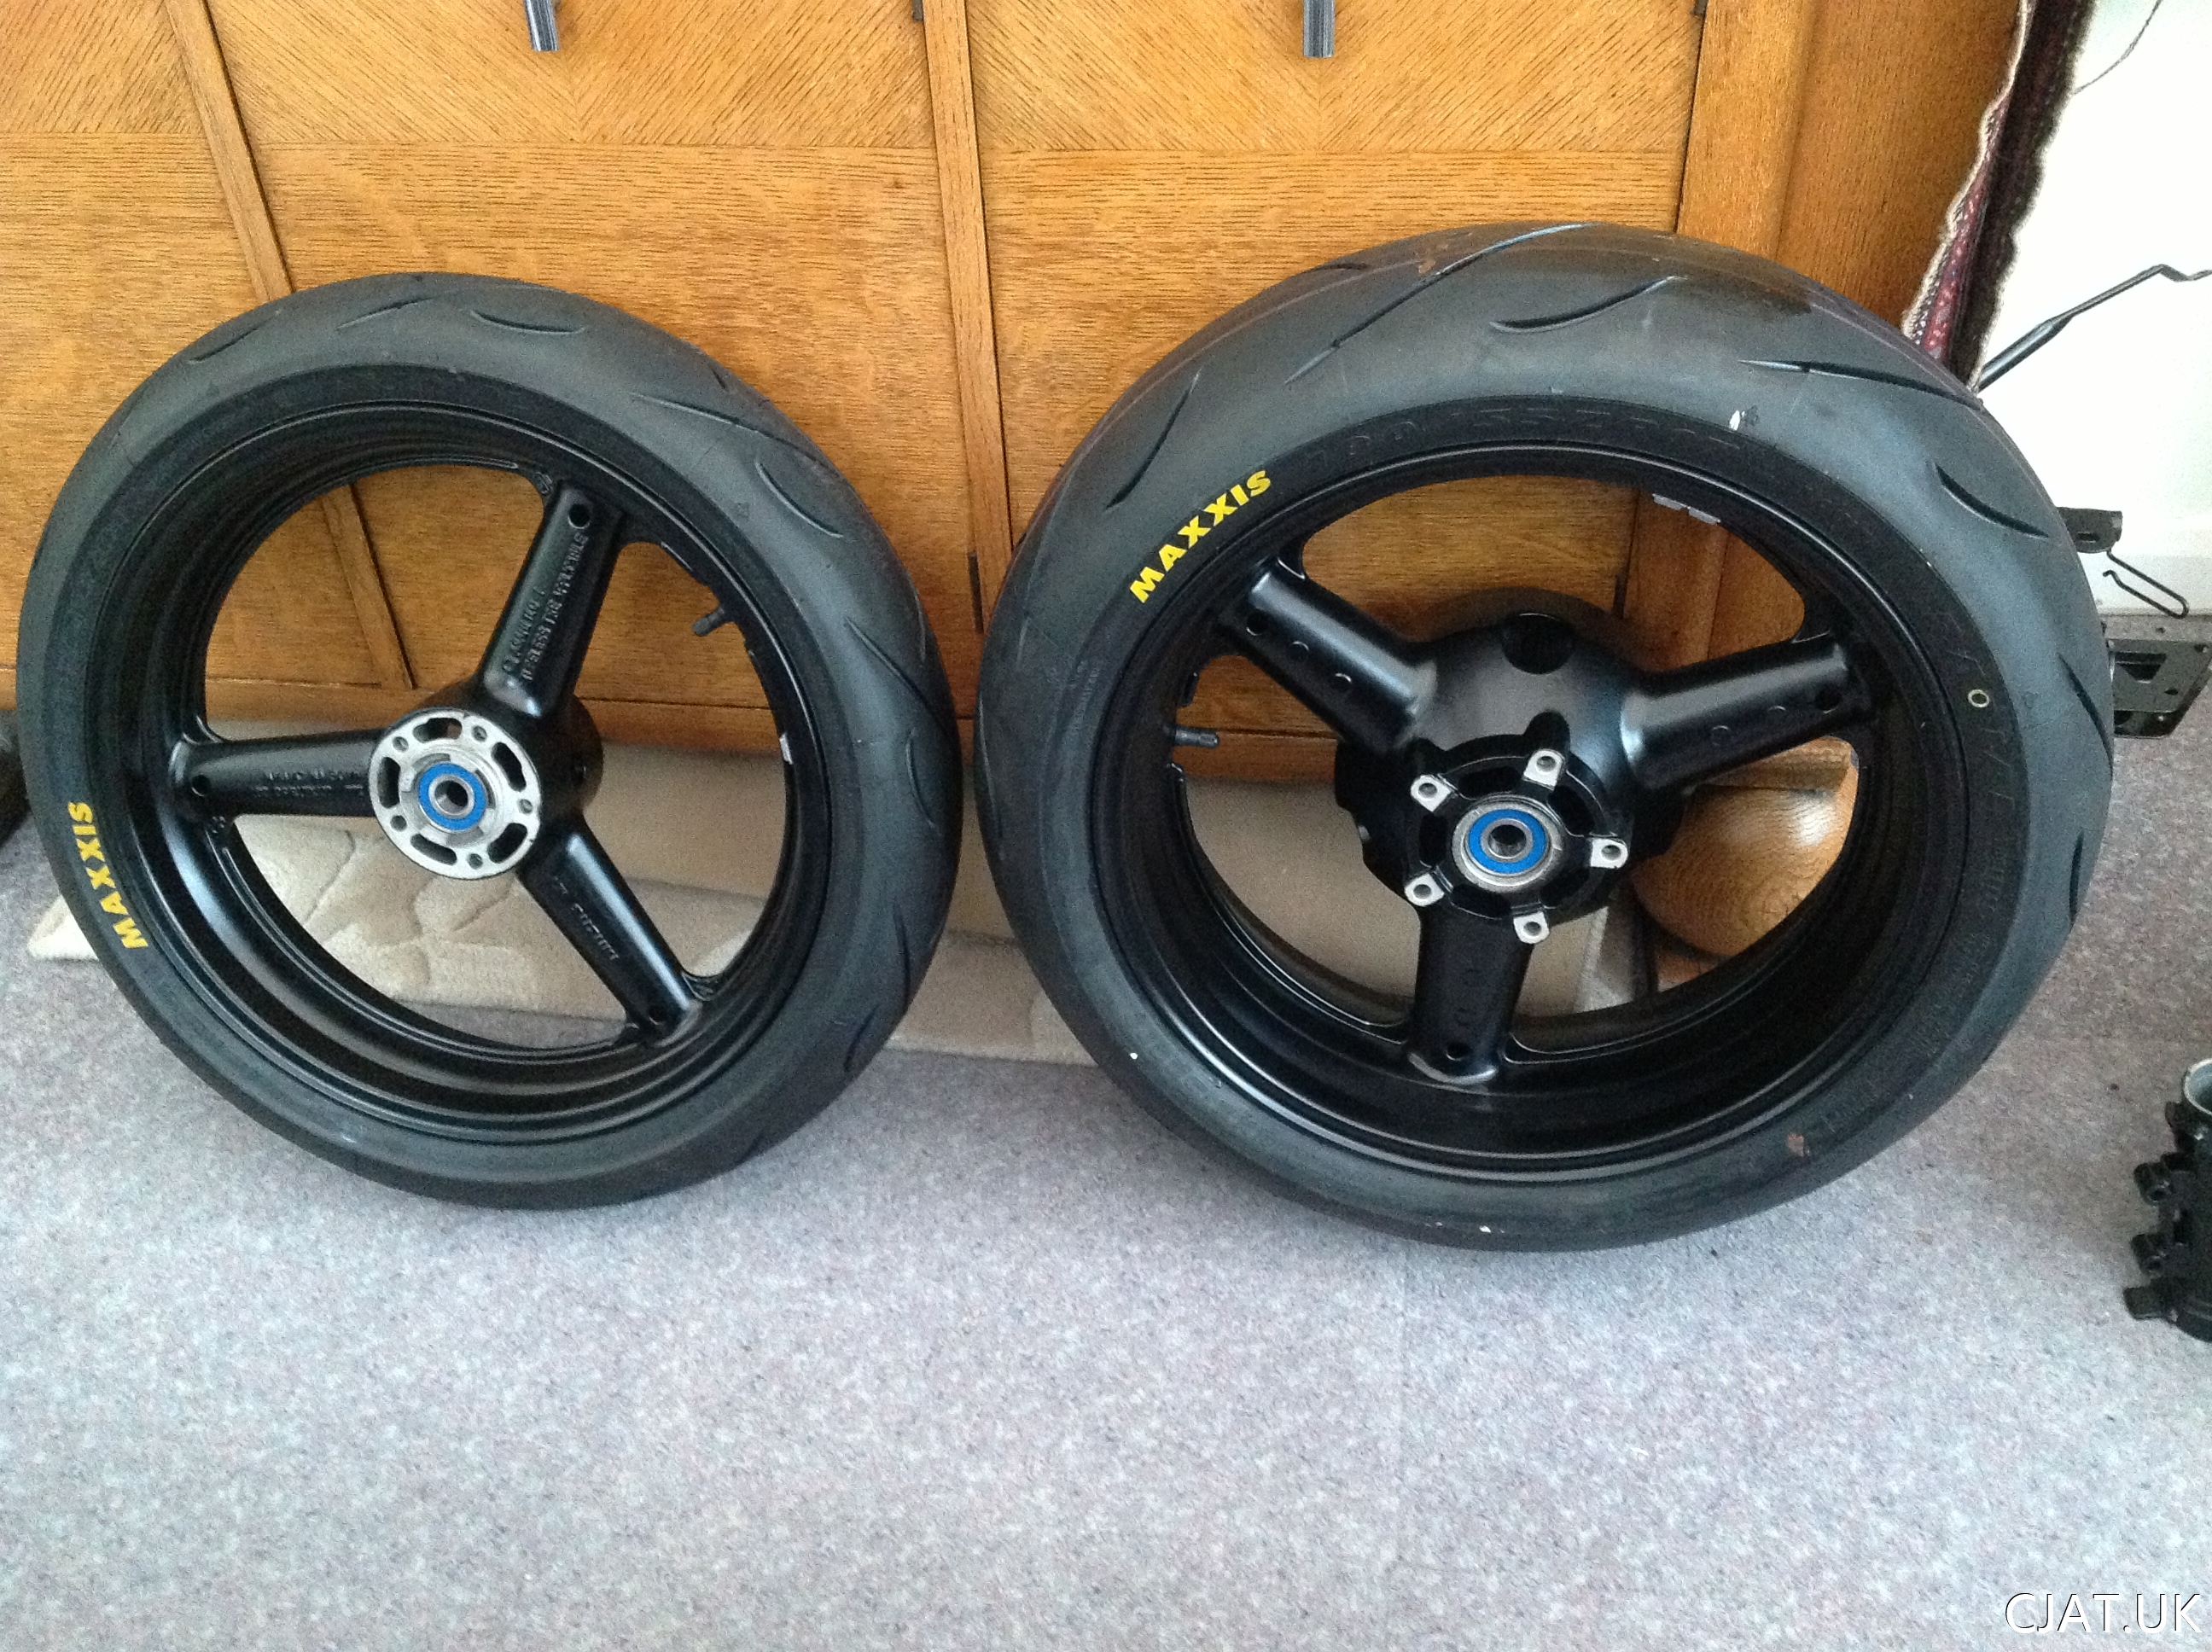
 Wheels
Got me some new rubber, and new bearings here, there and everywhere.
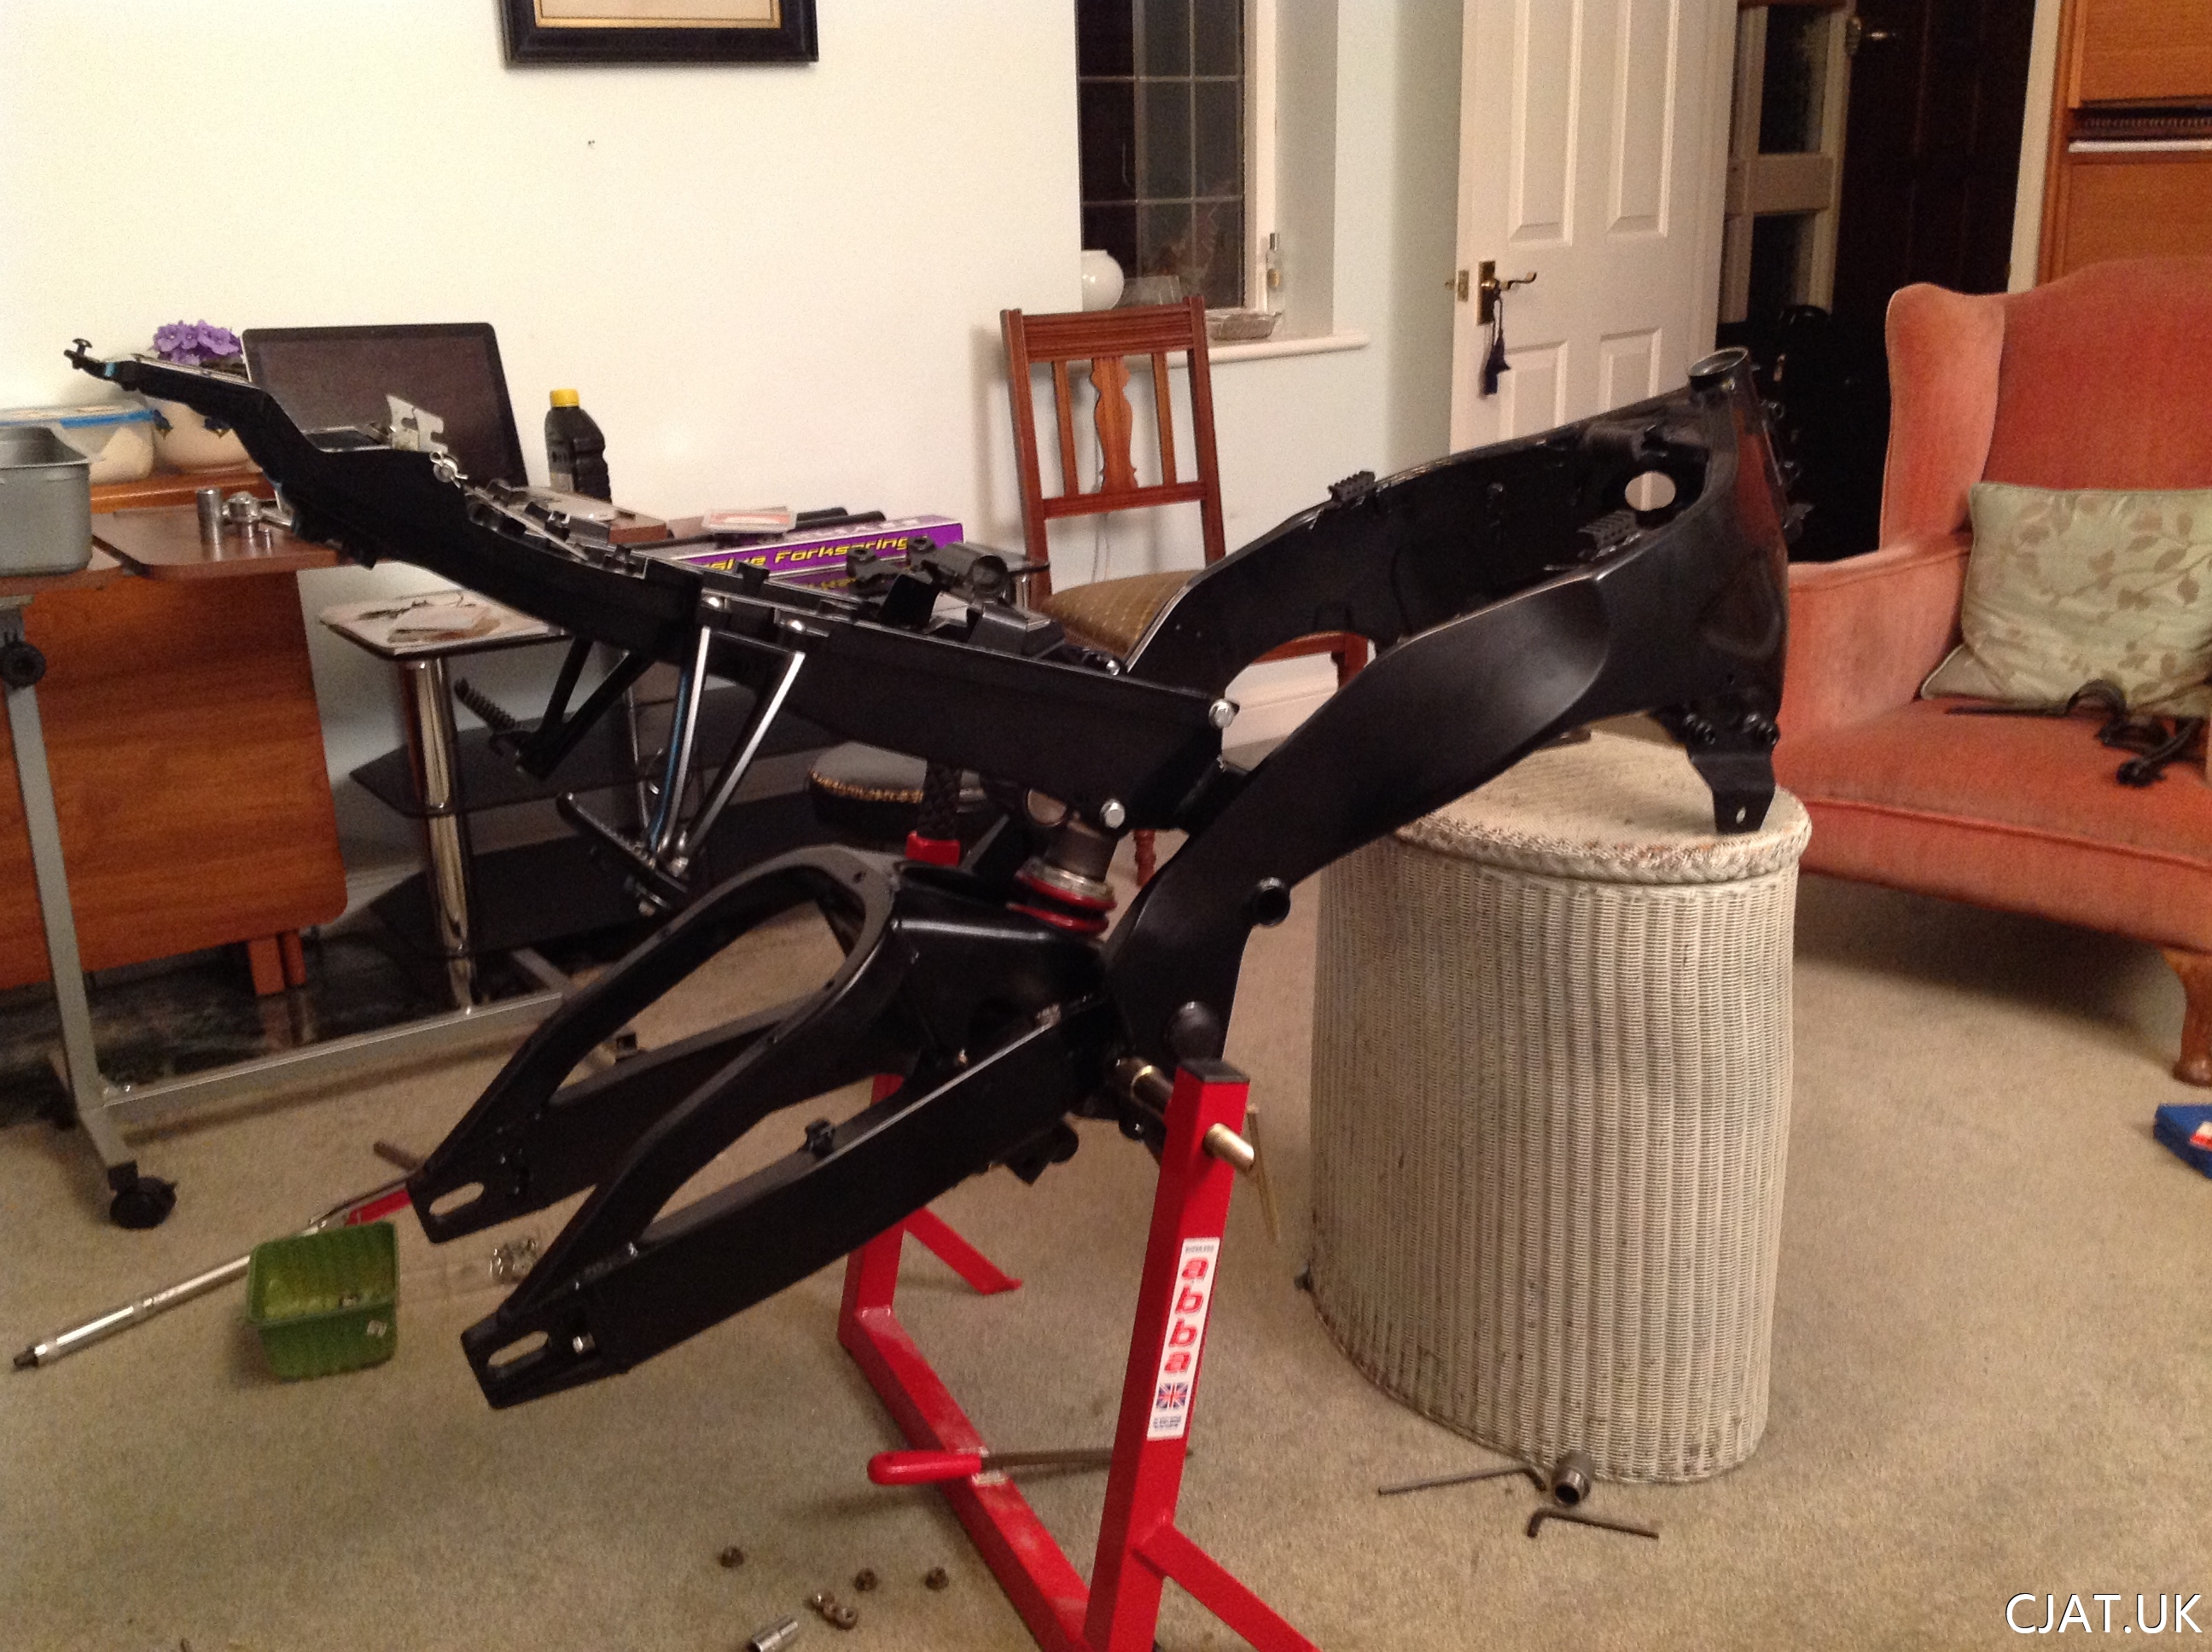
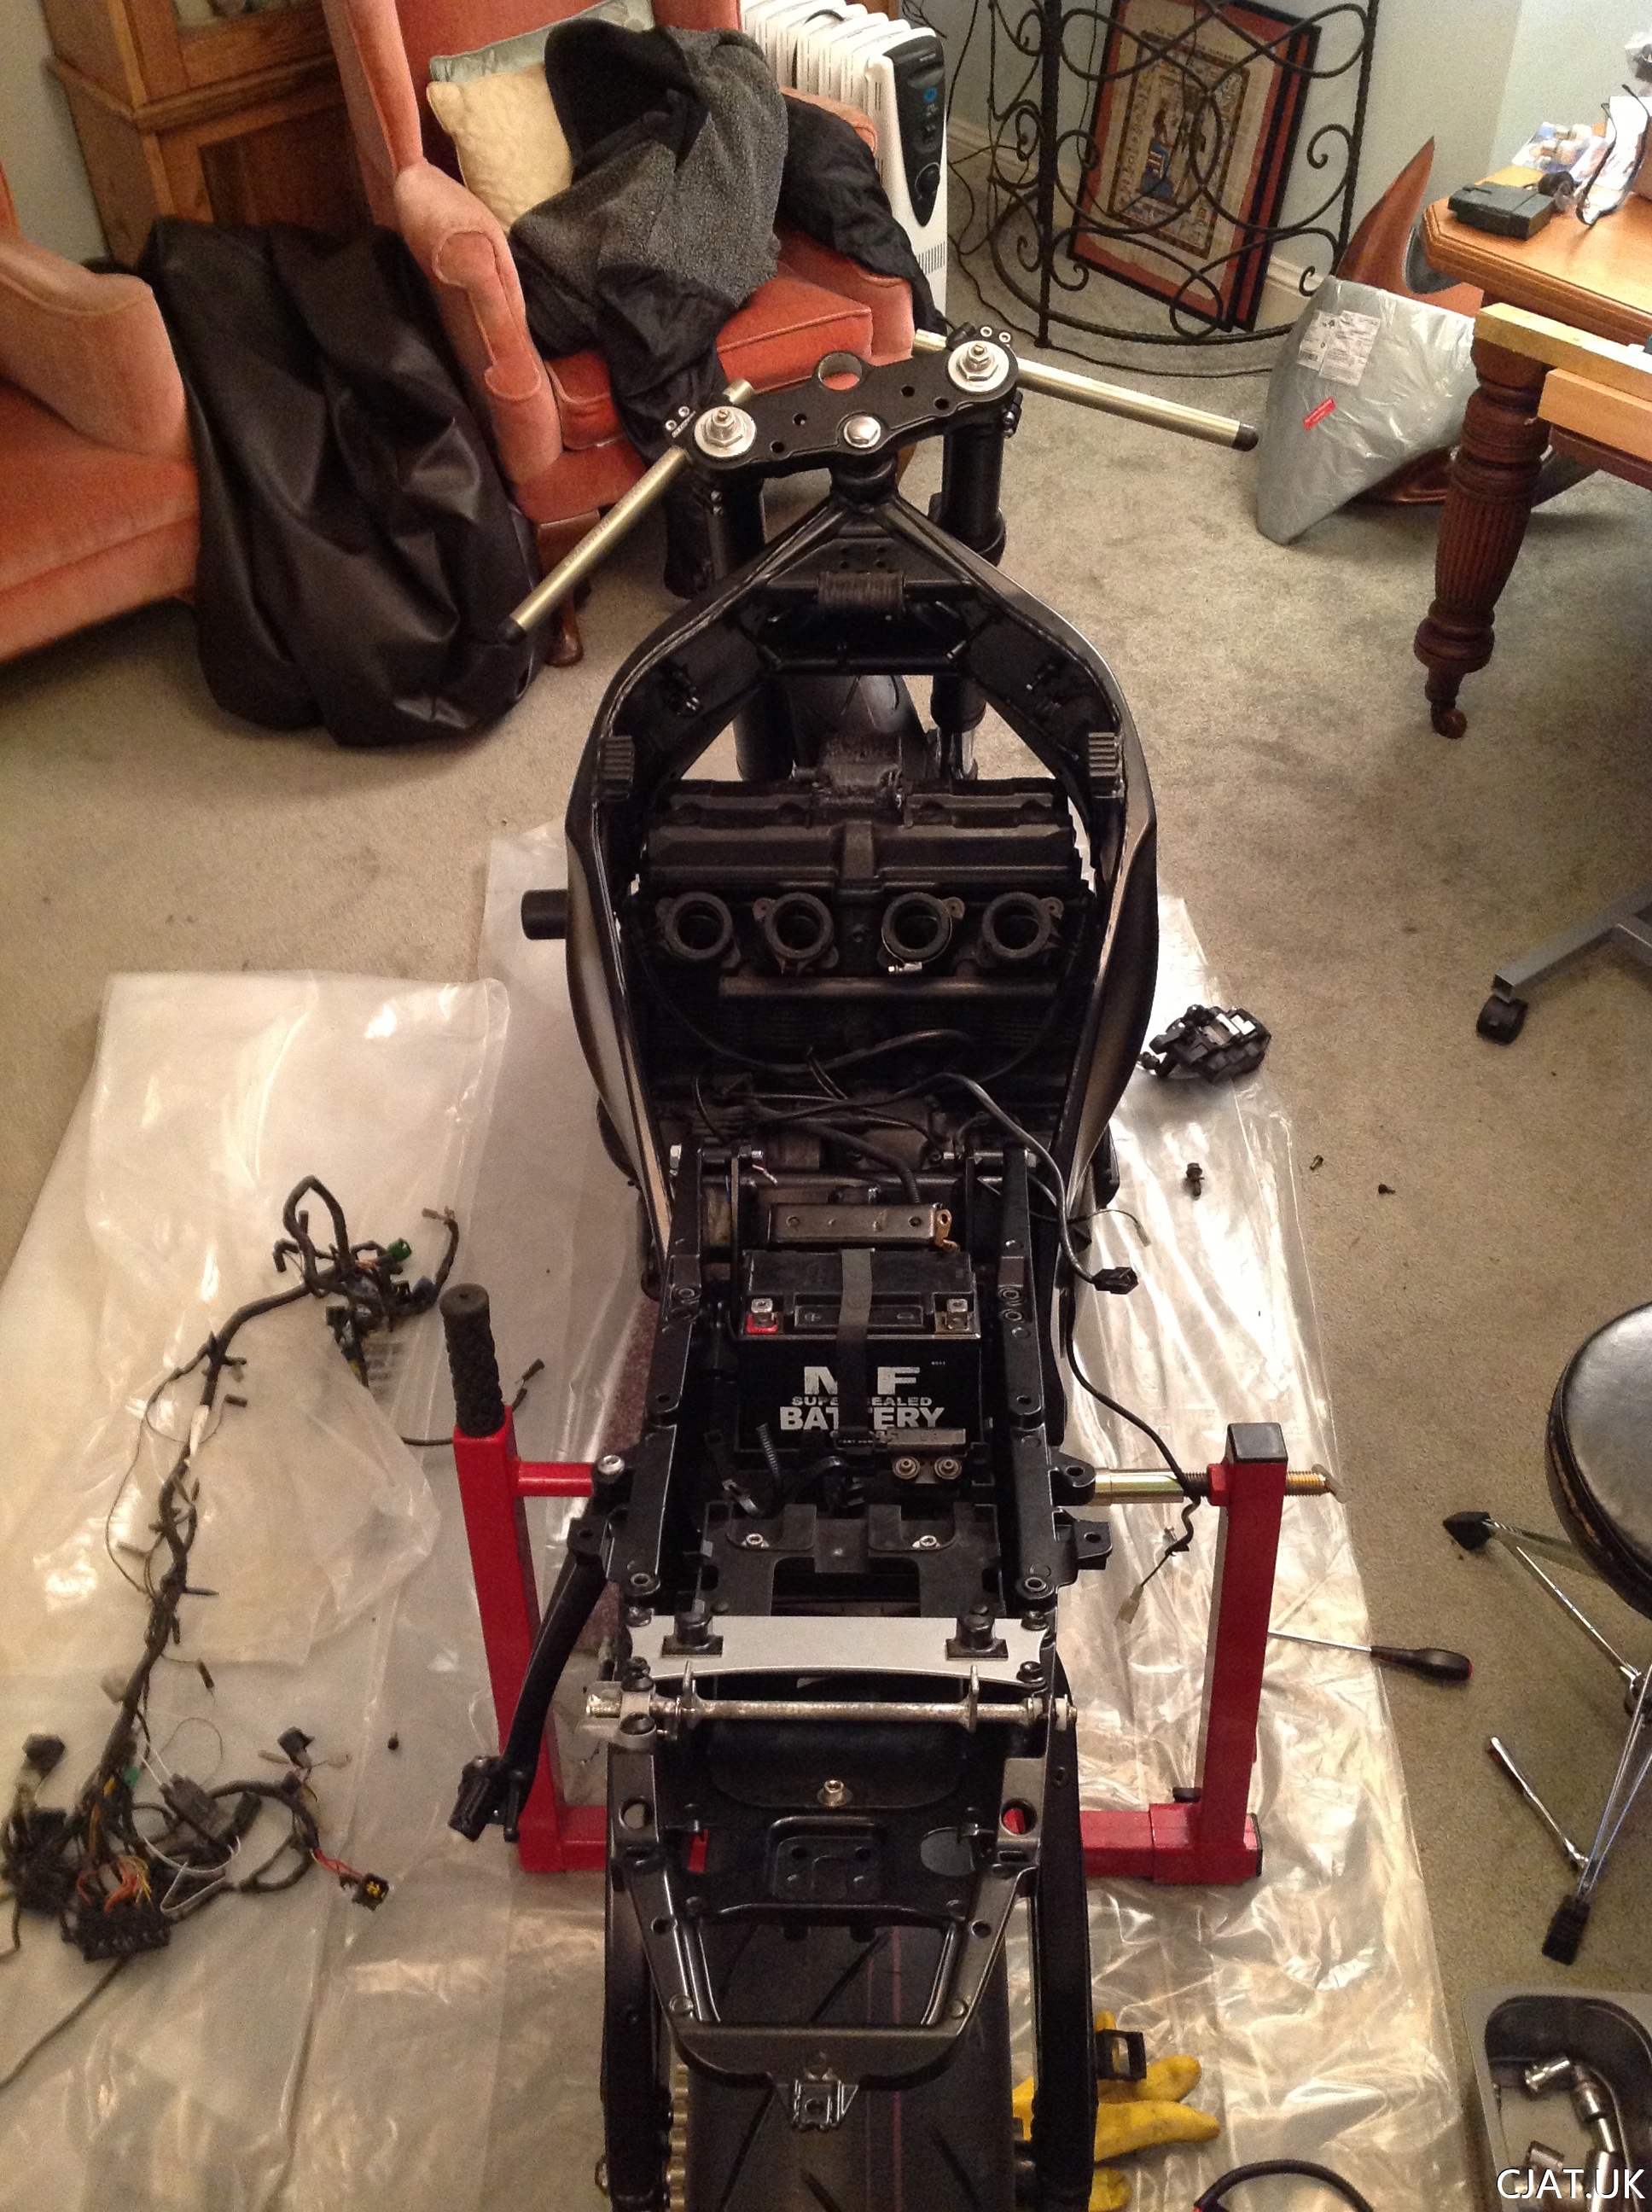
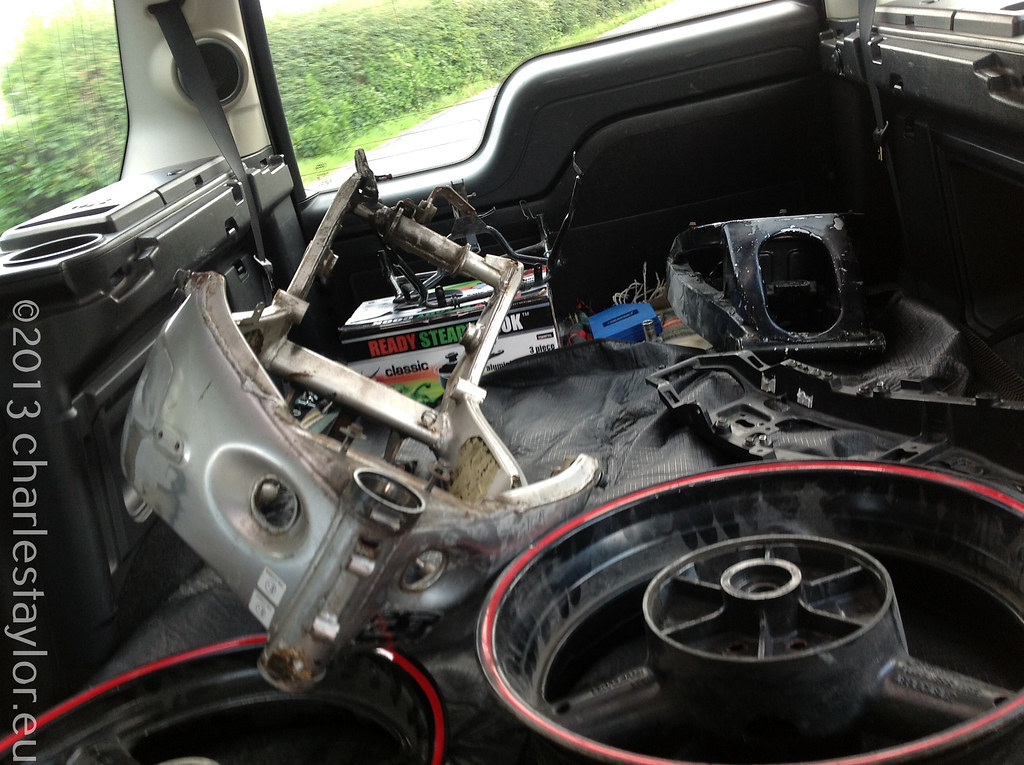
Workshop in the winter was giving me frostbite, so I moved the operation inside. This did not make me particularly popular but it did mean that I didn’t have to worry about bashing newly powder-coated parts on a concrete floor.
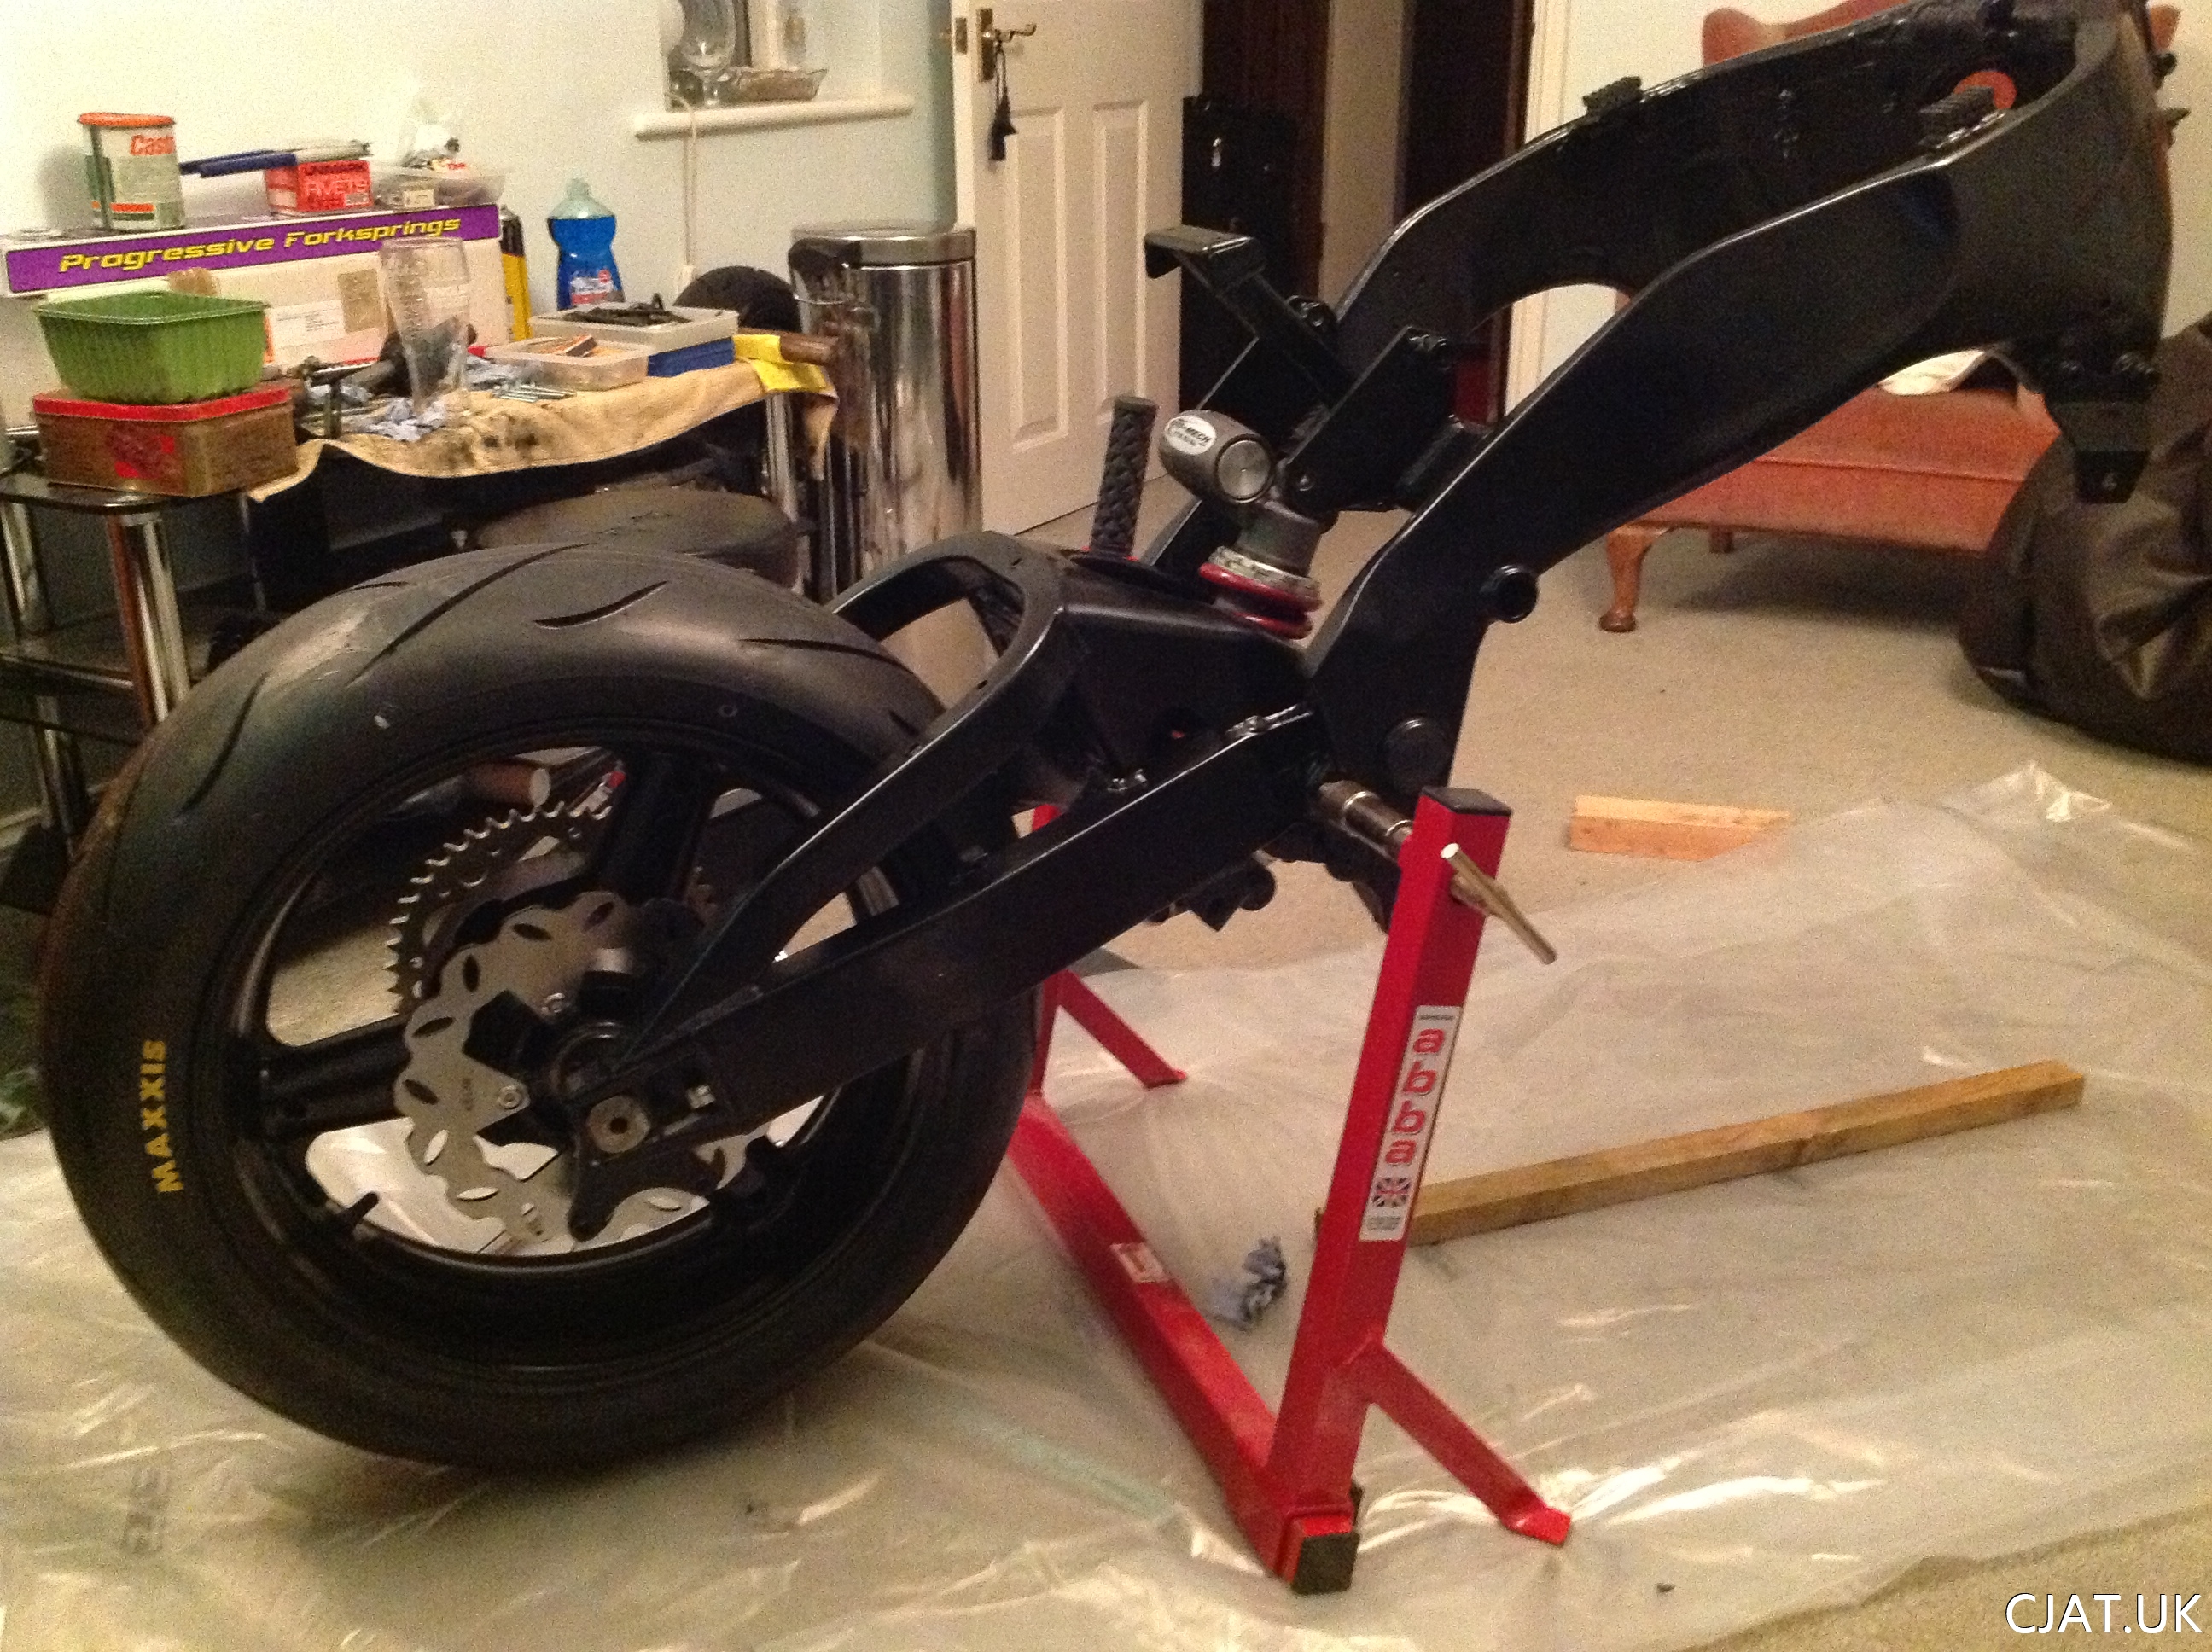
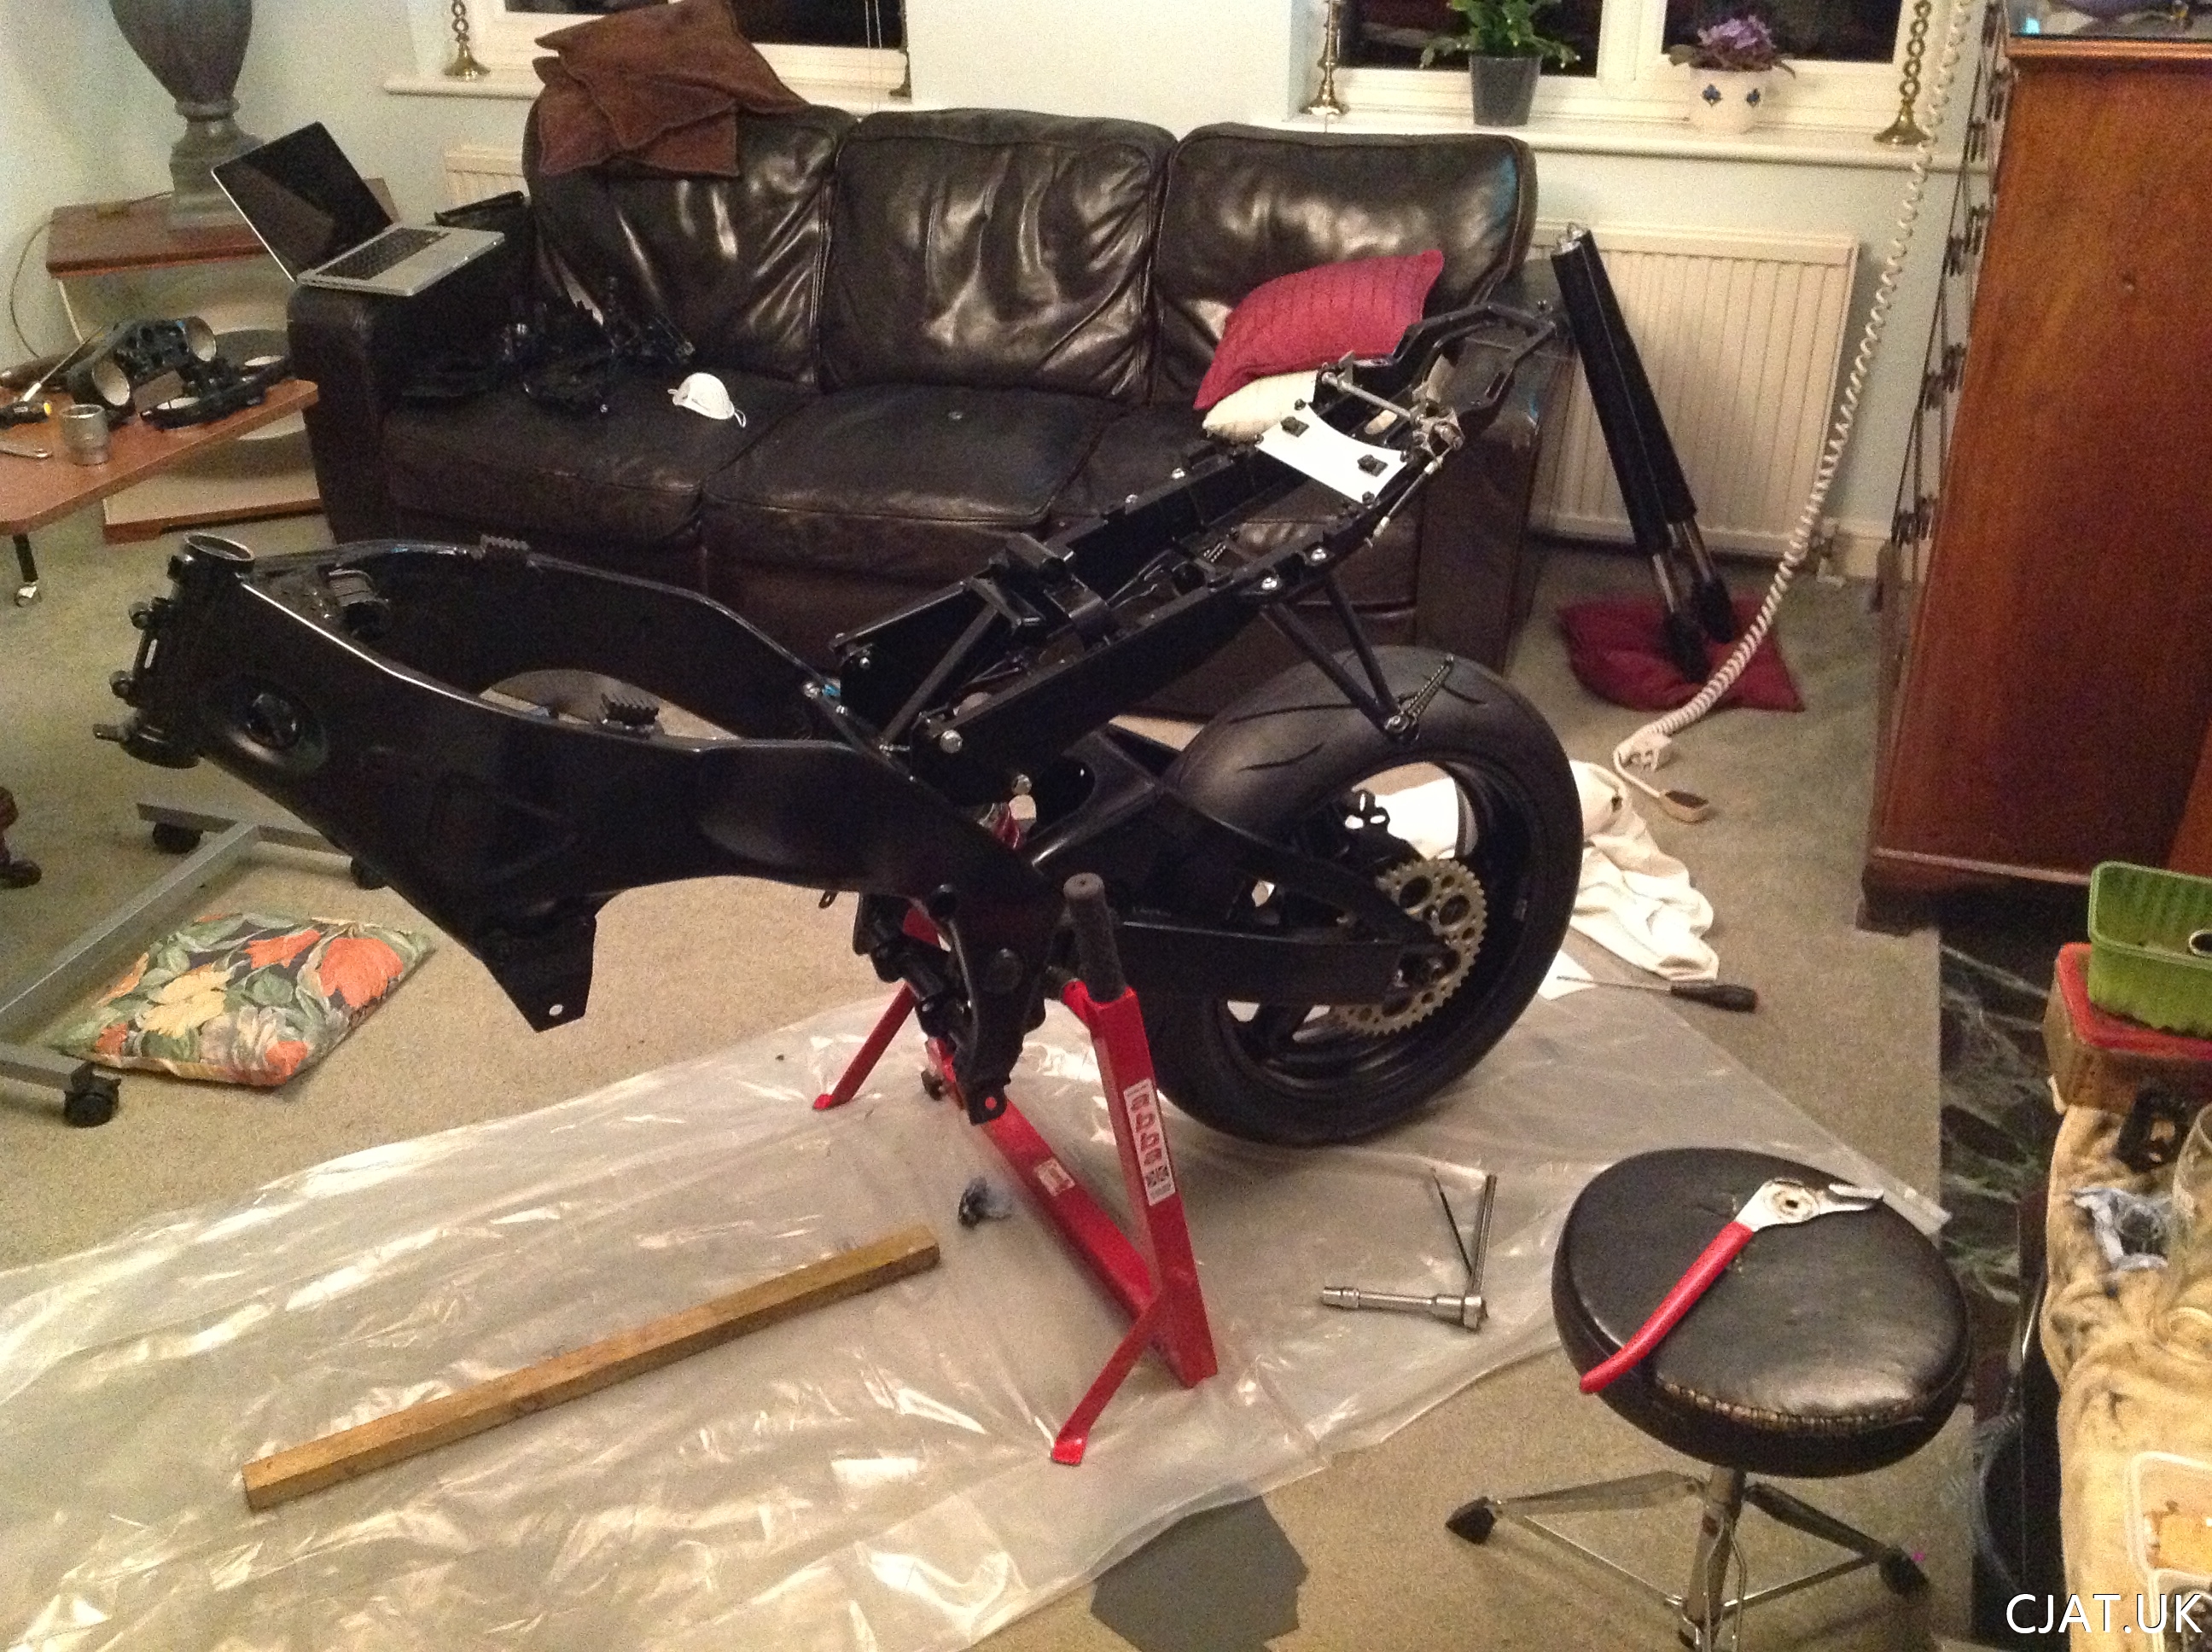
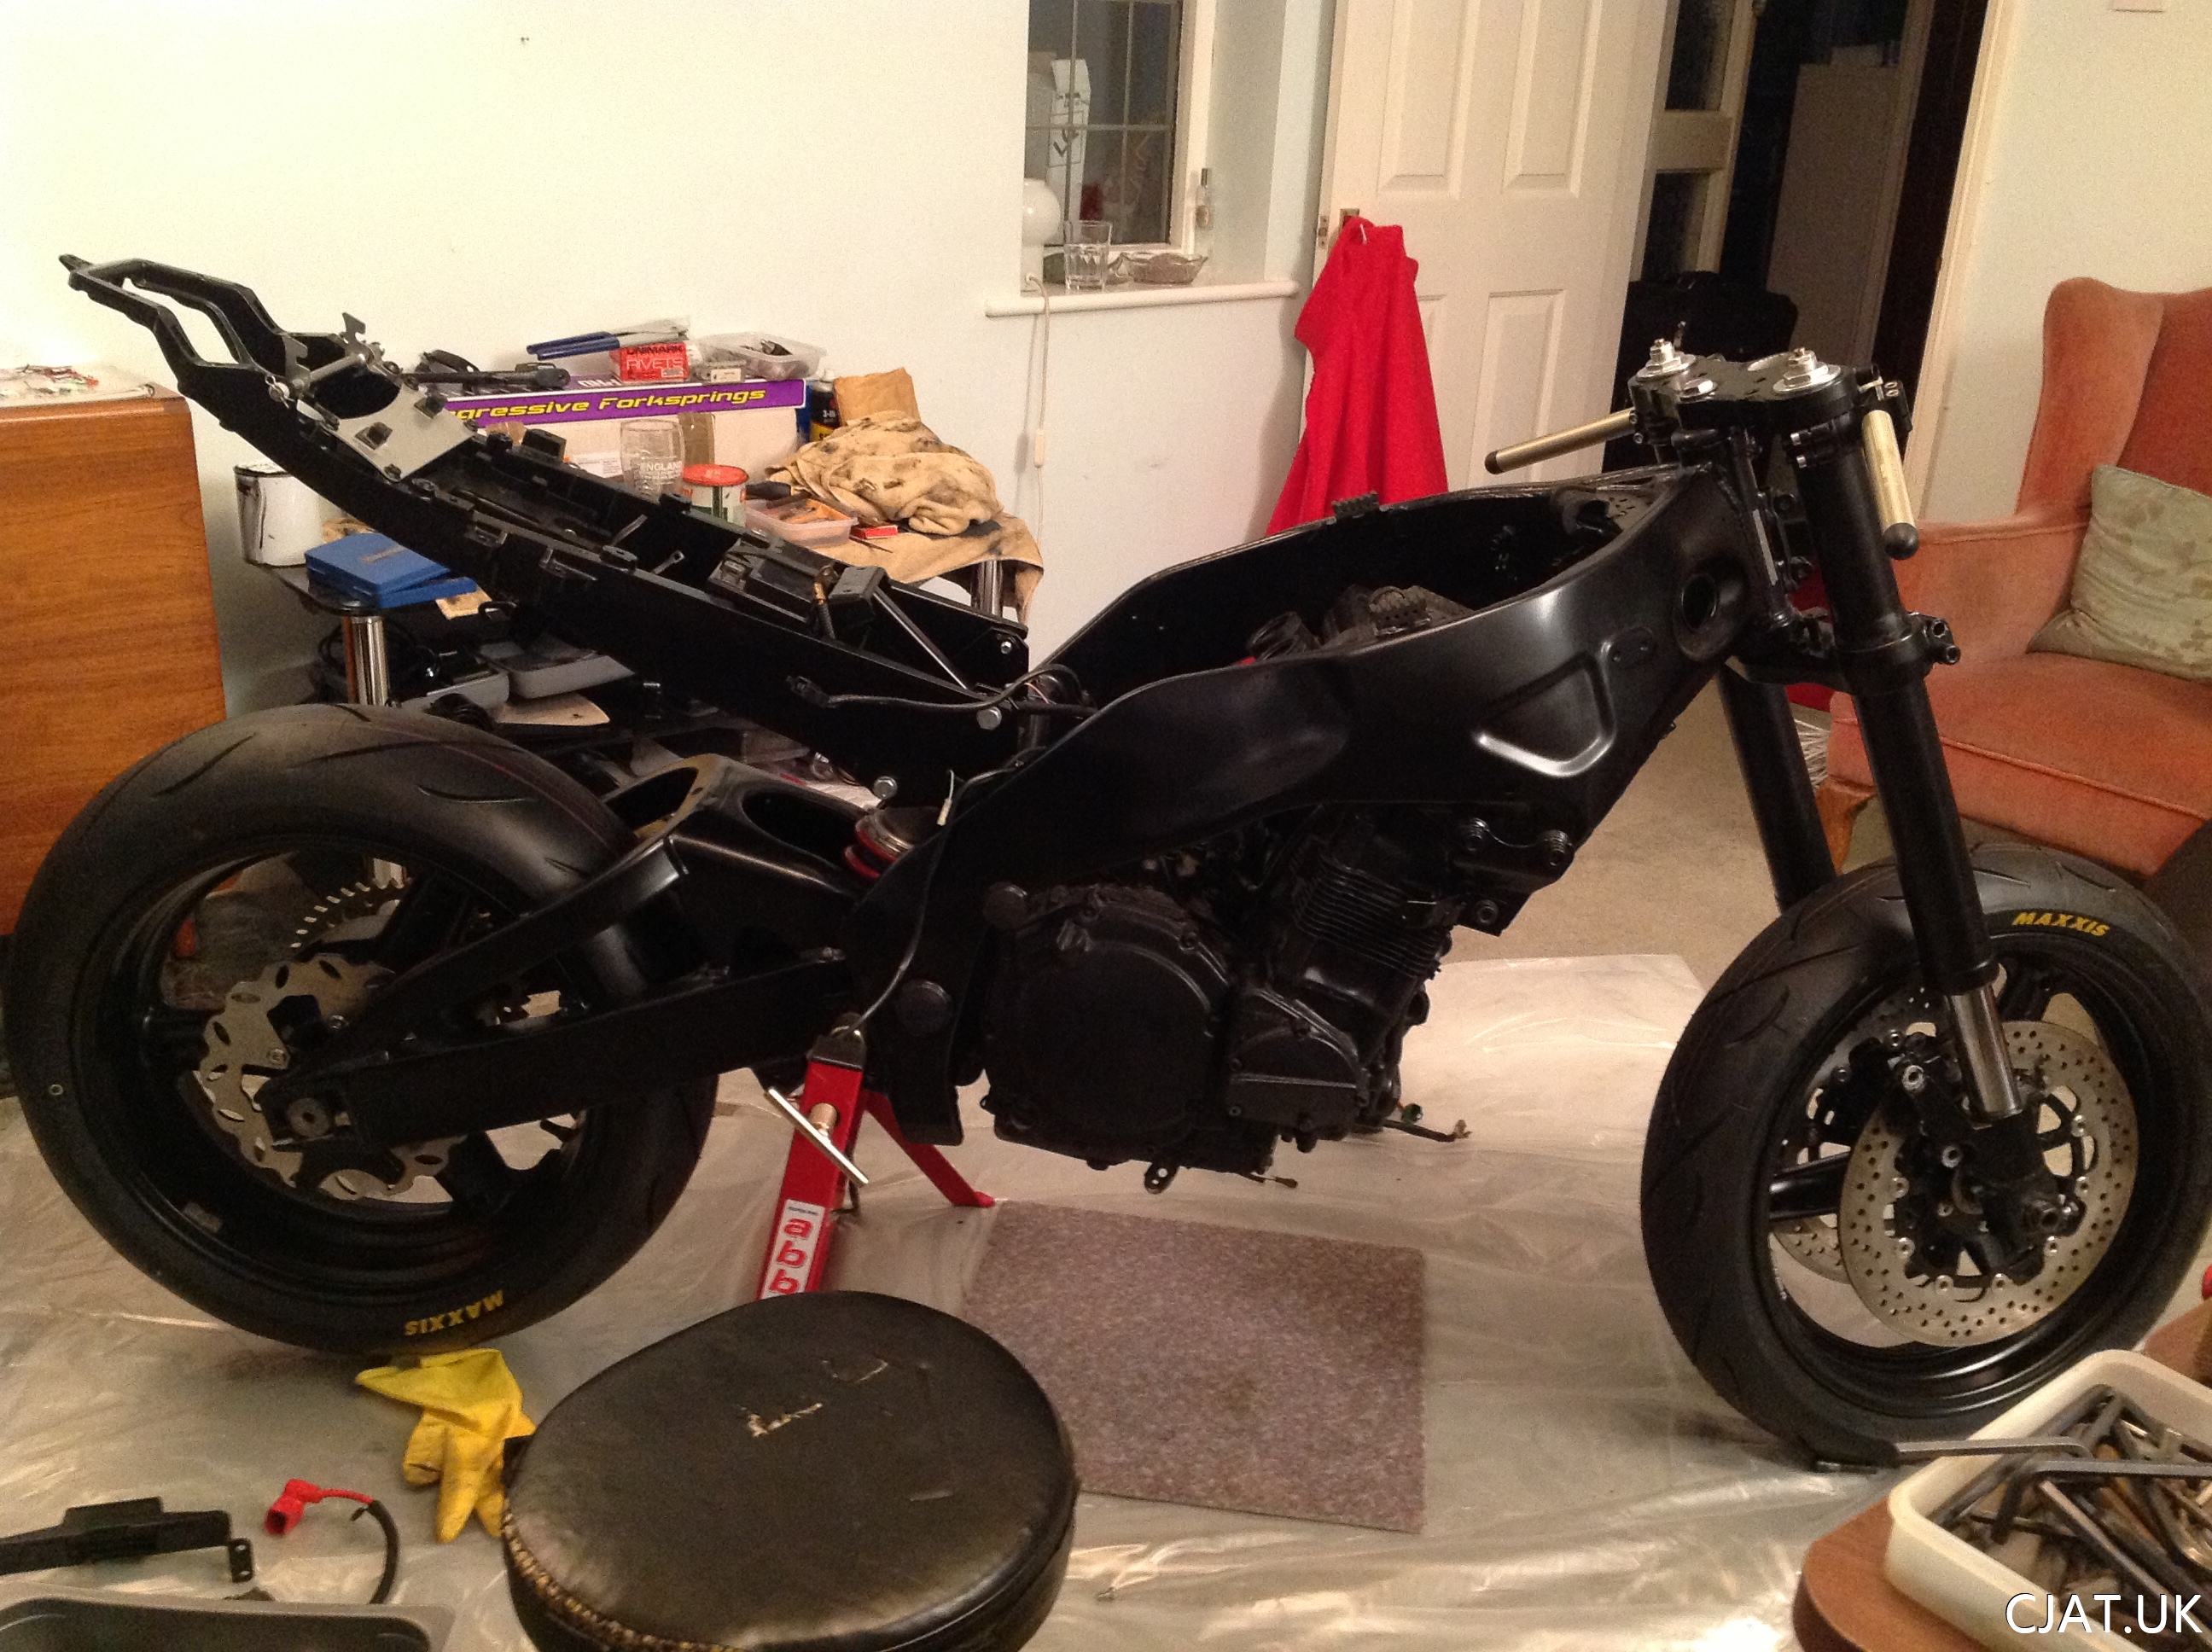
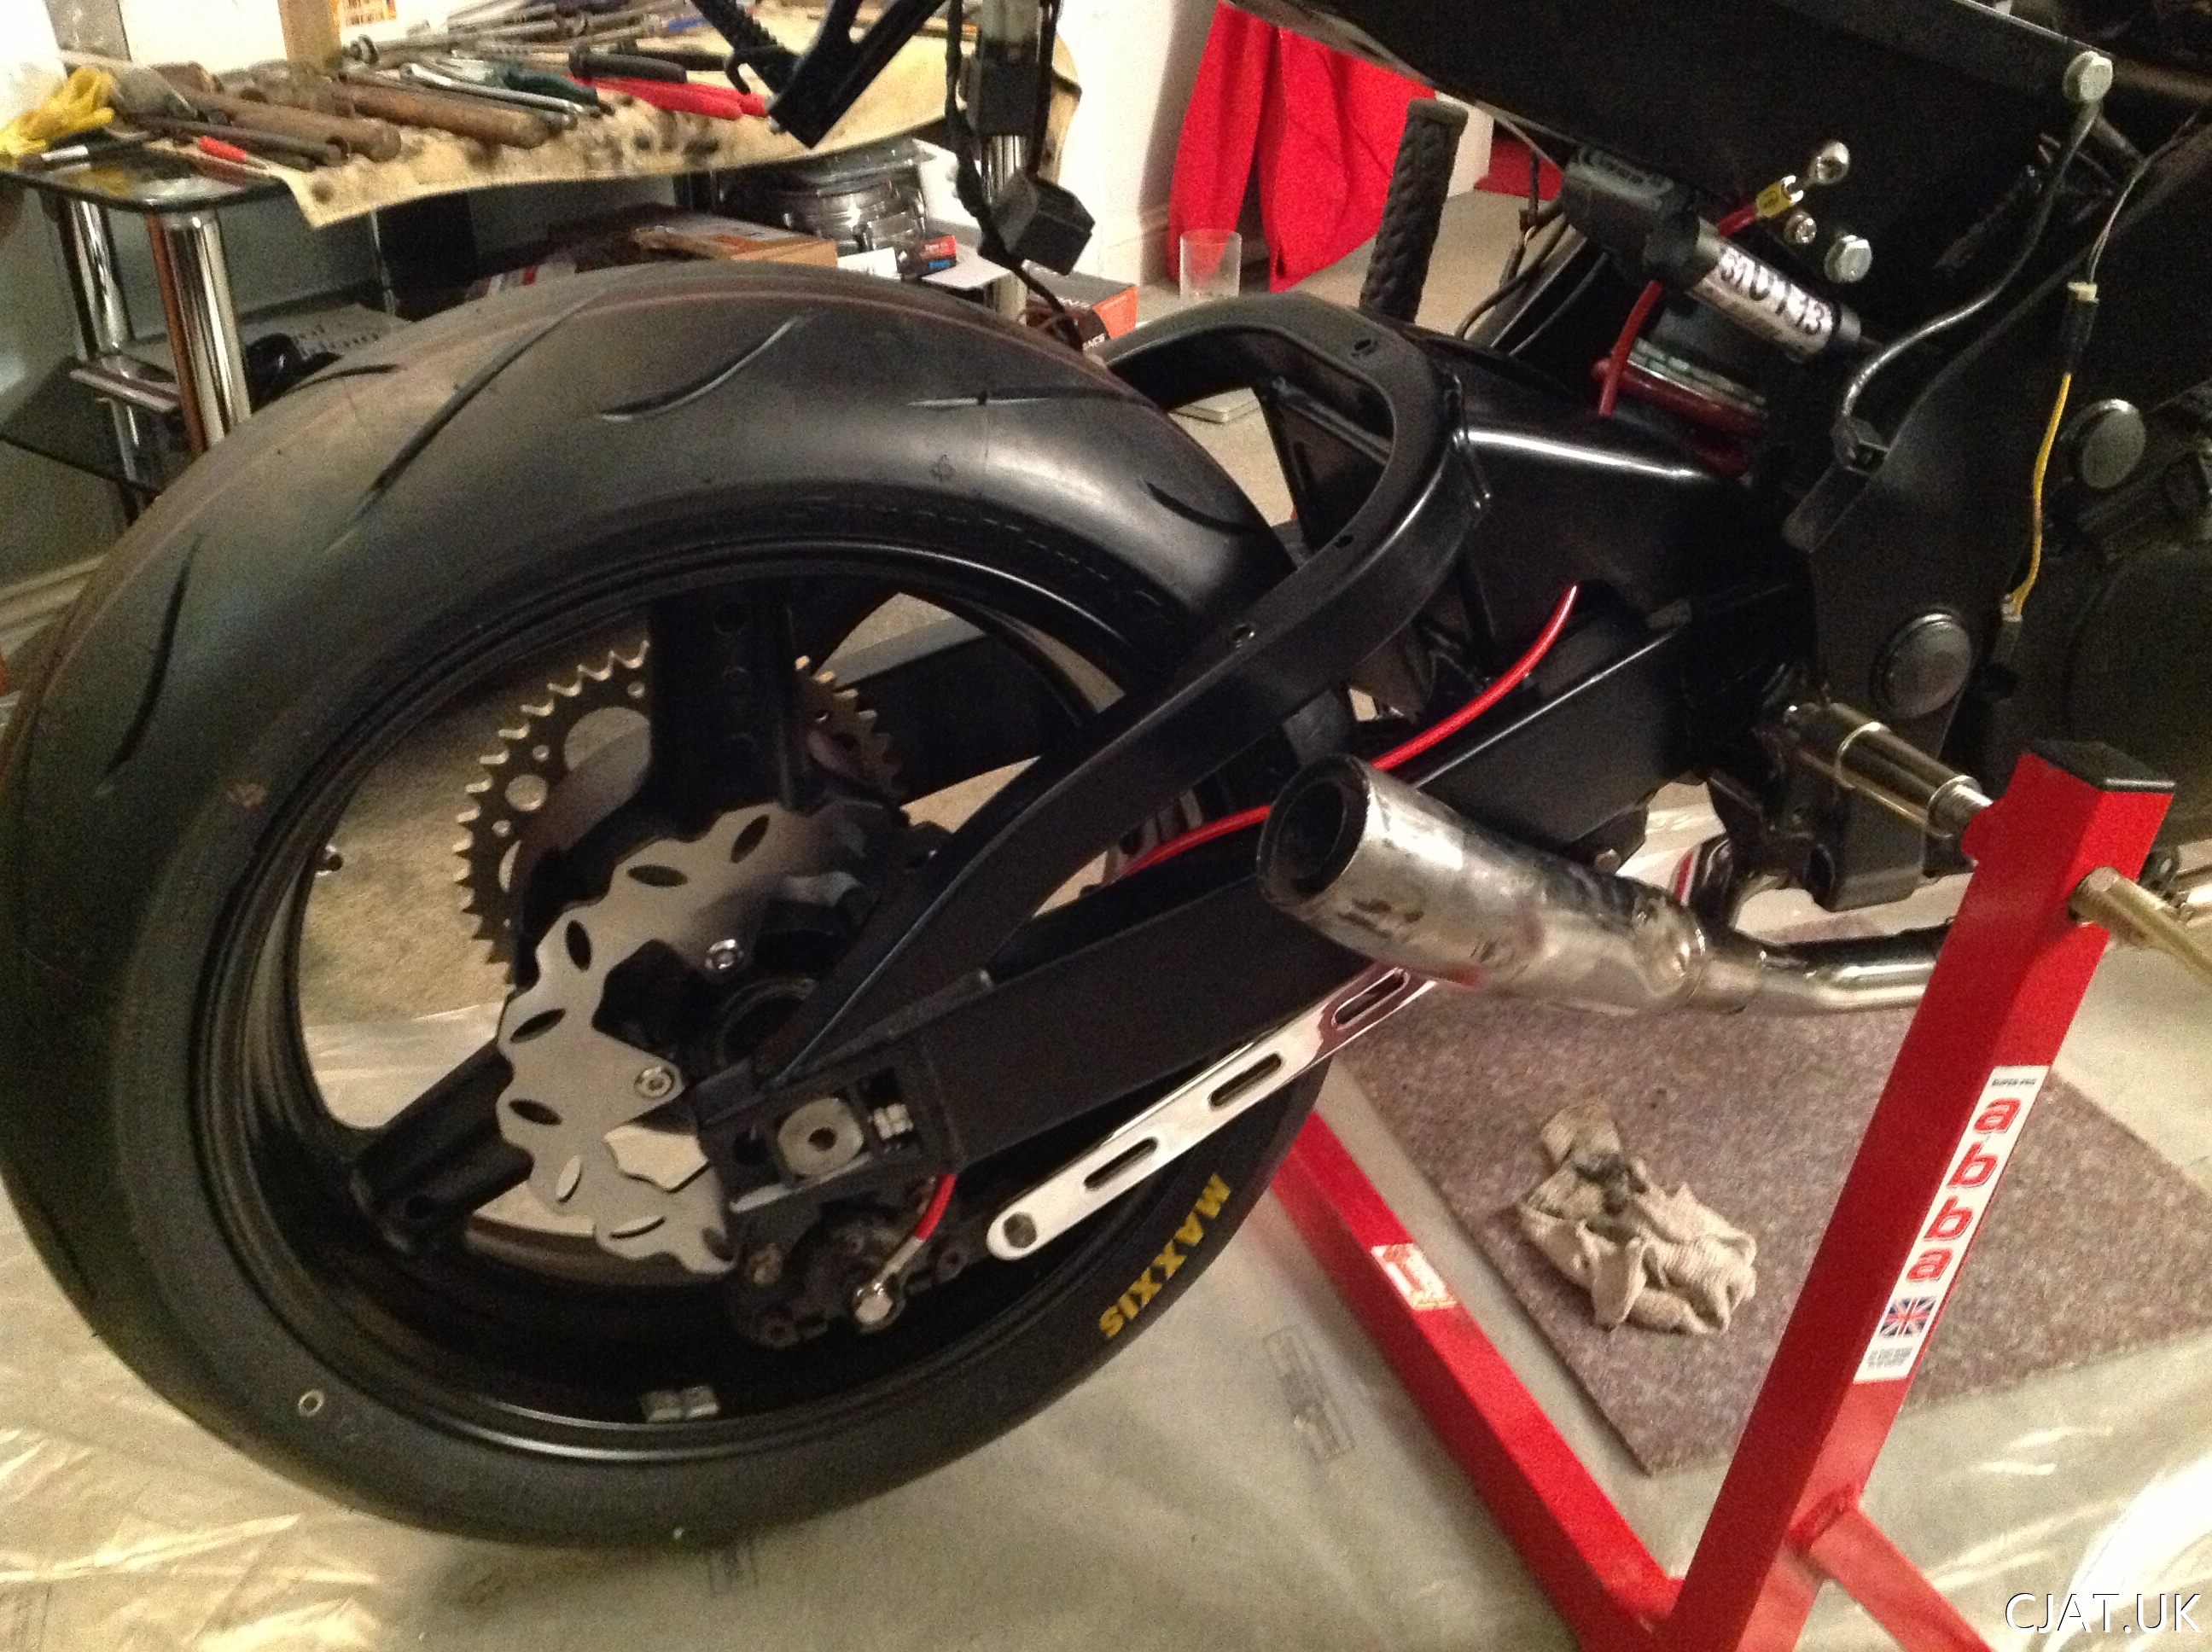
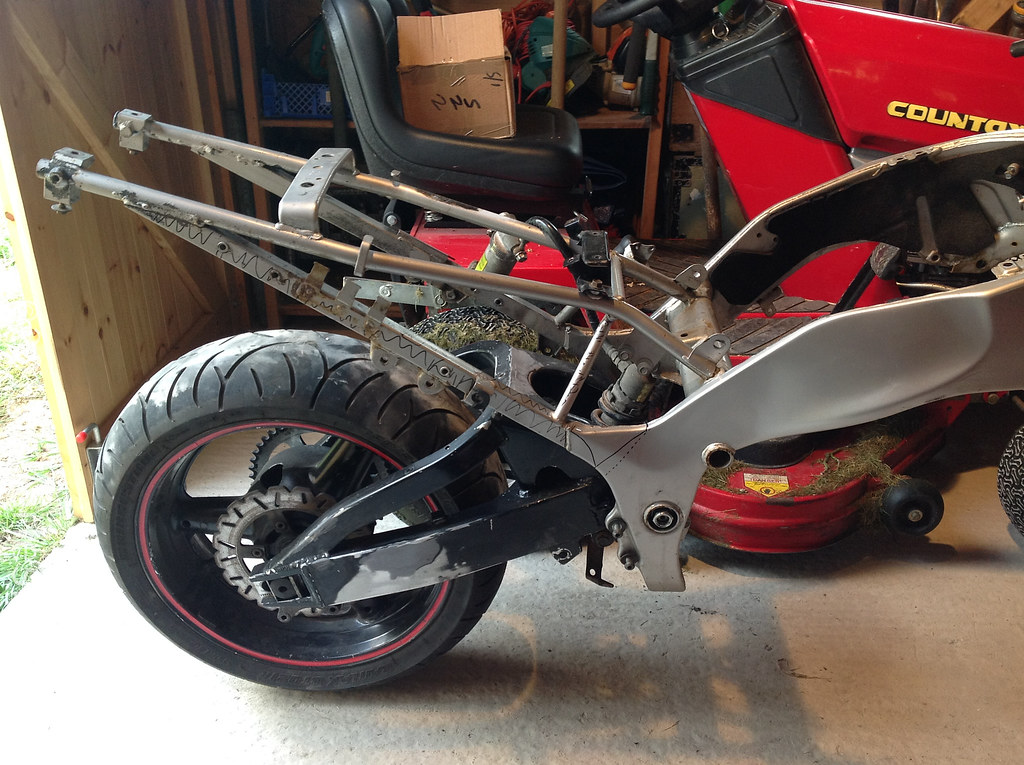
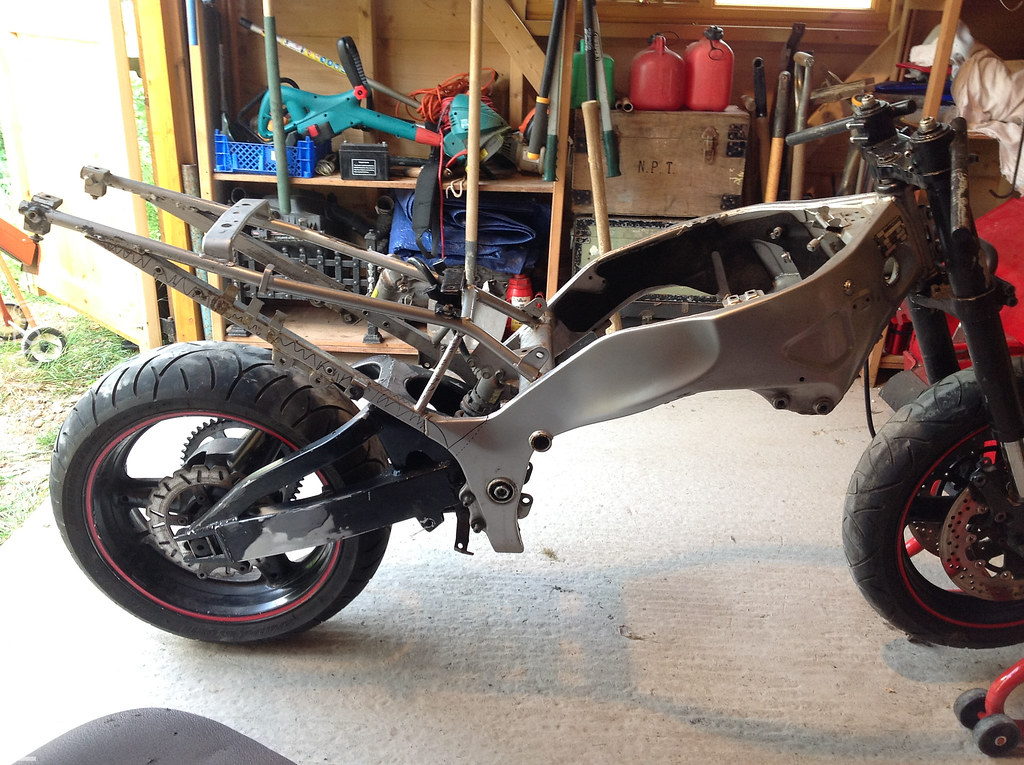
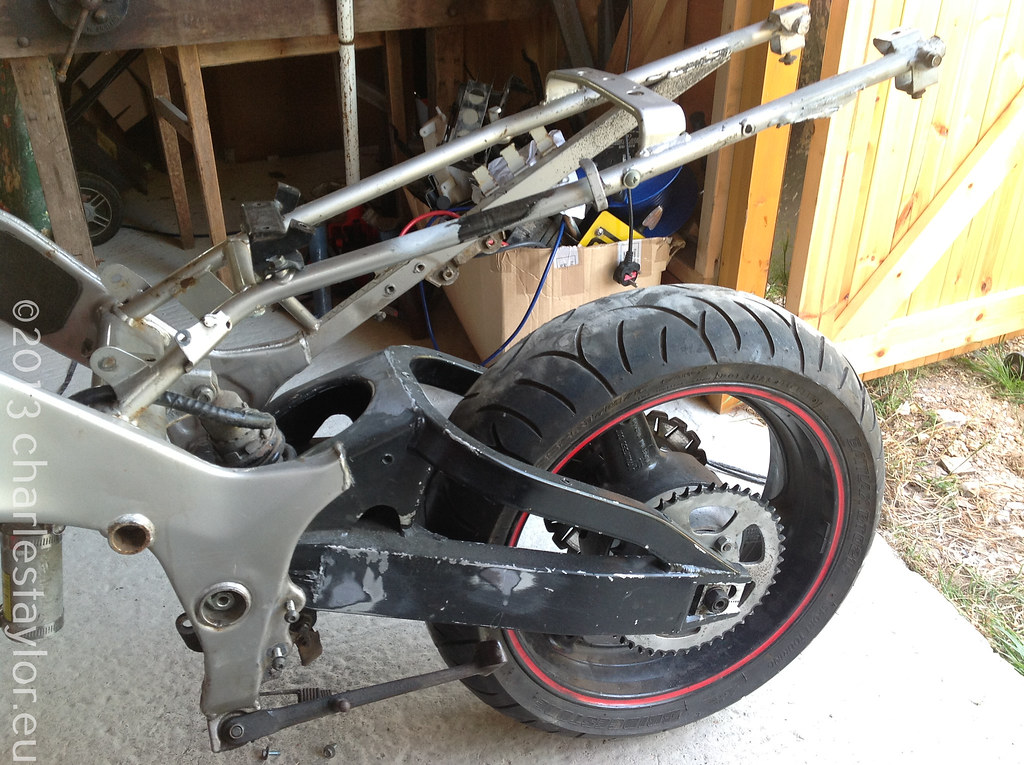
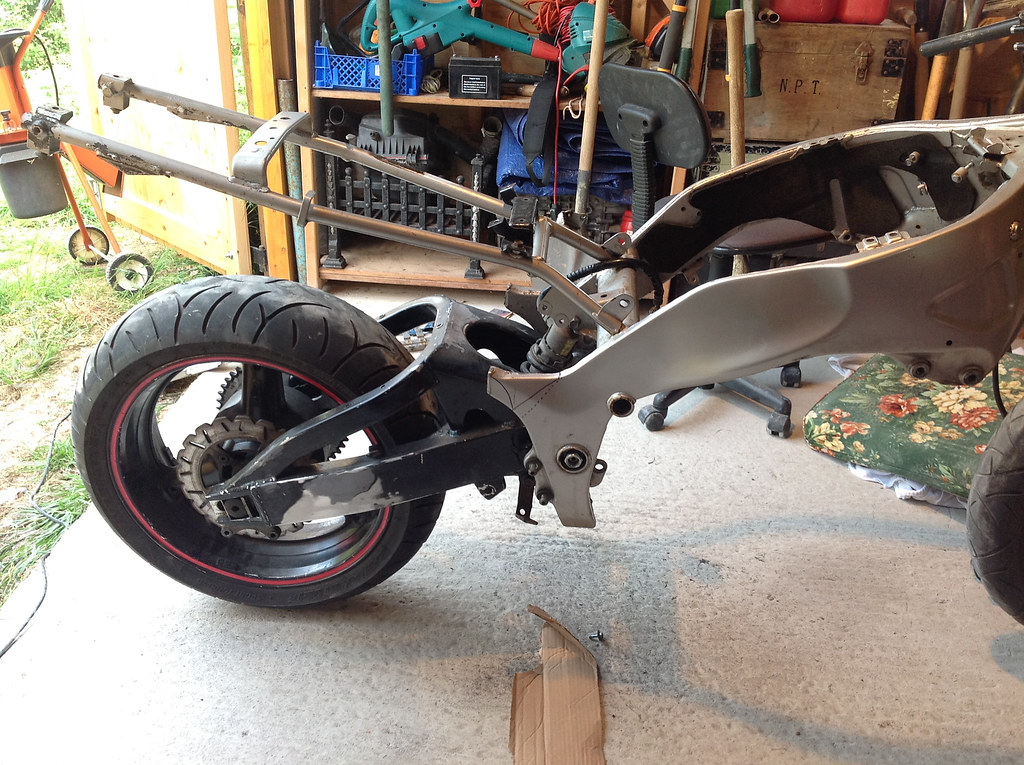
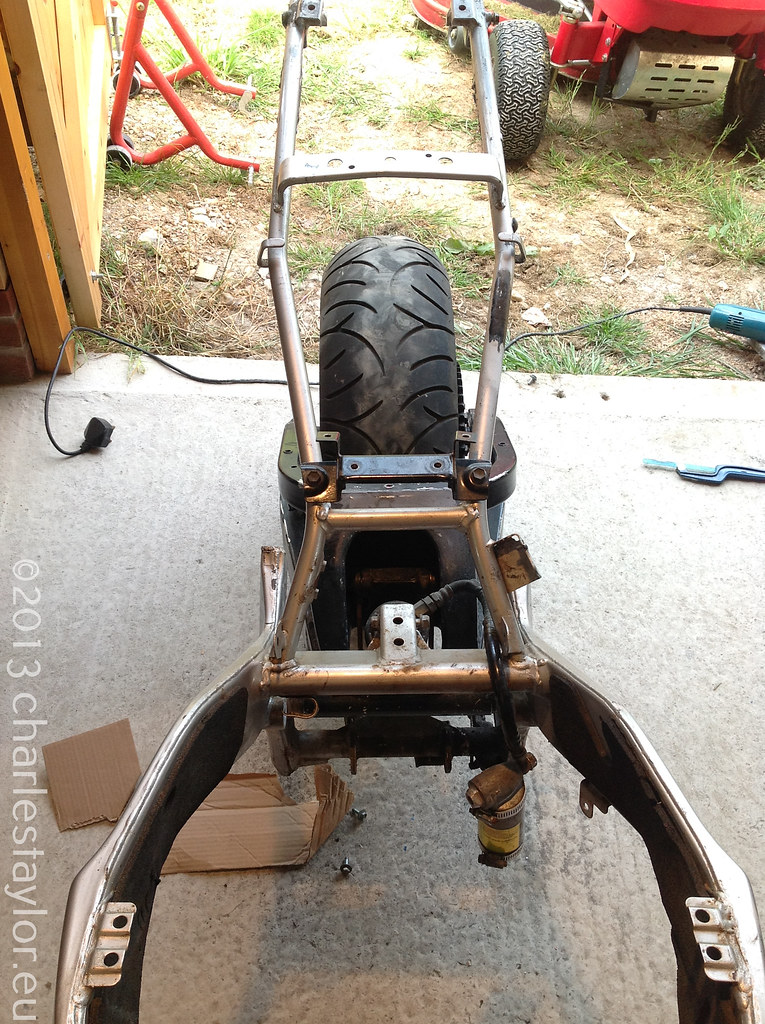
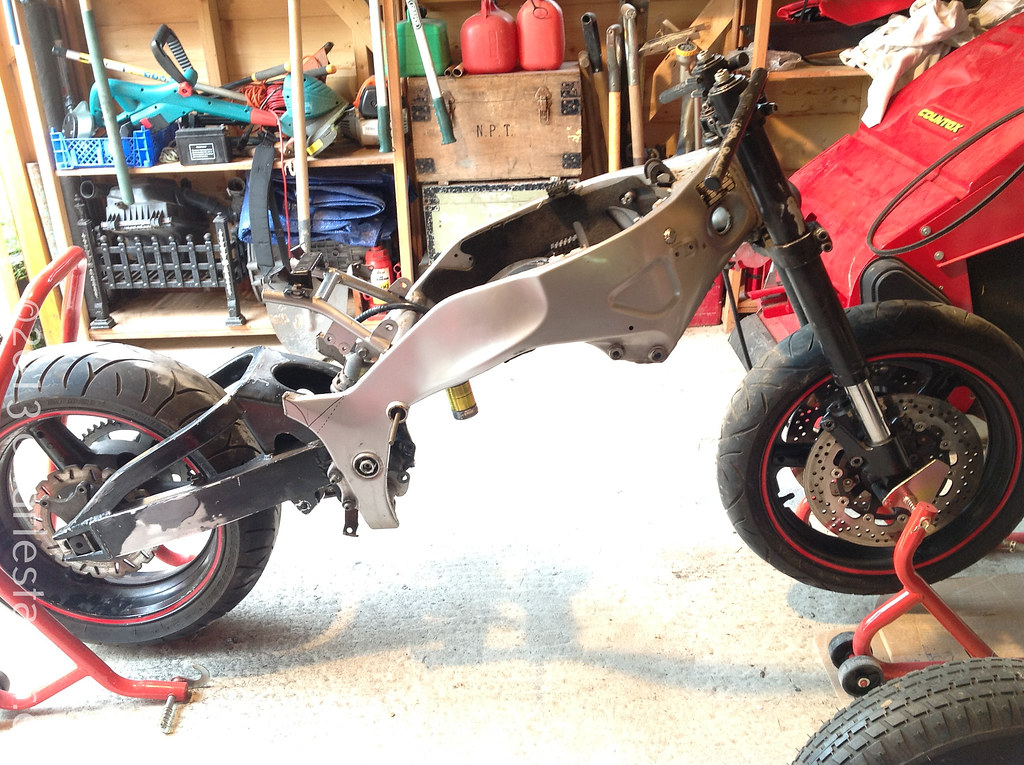
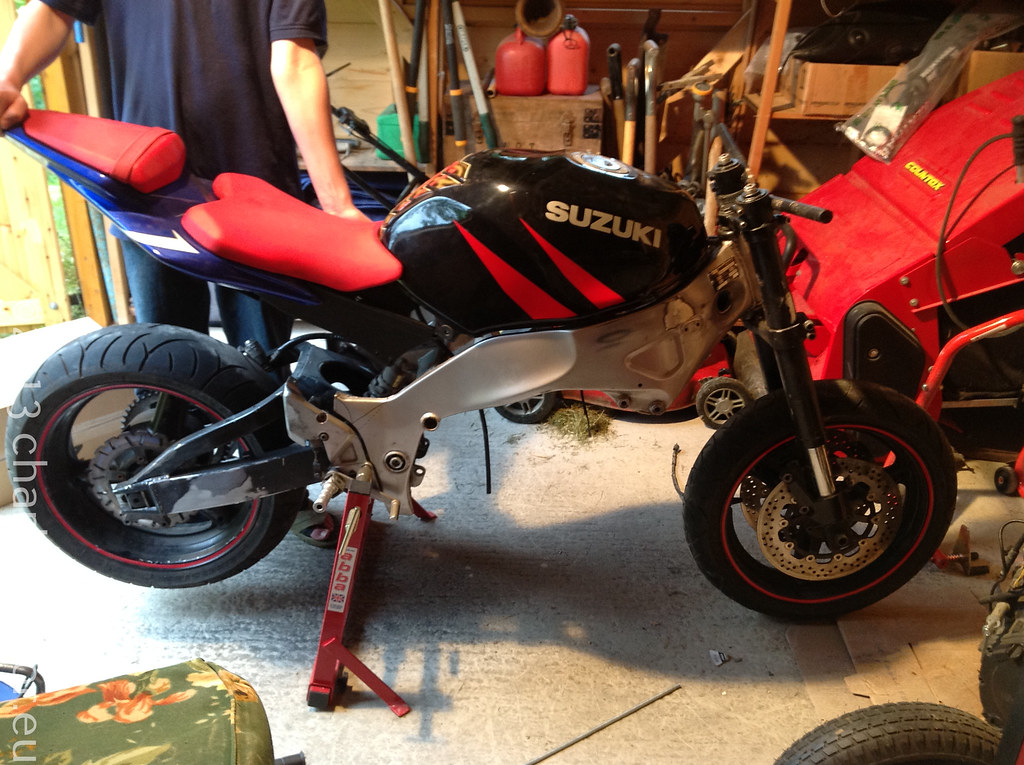
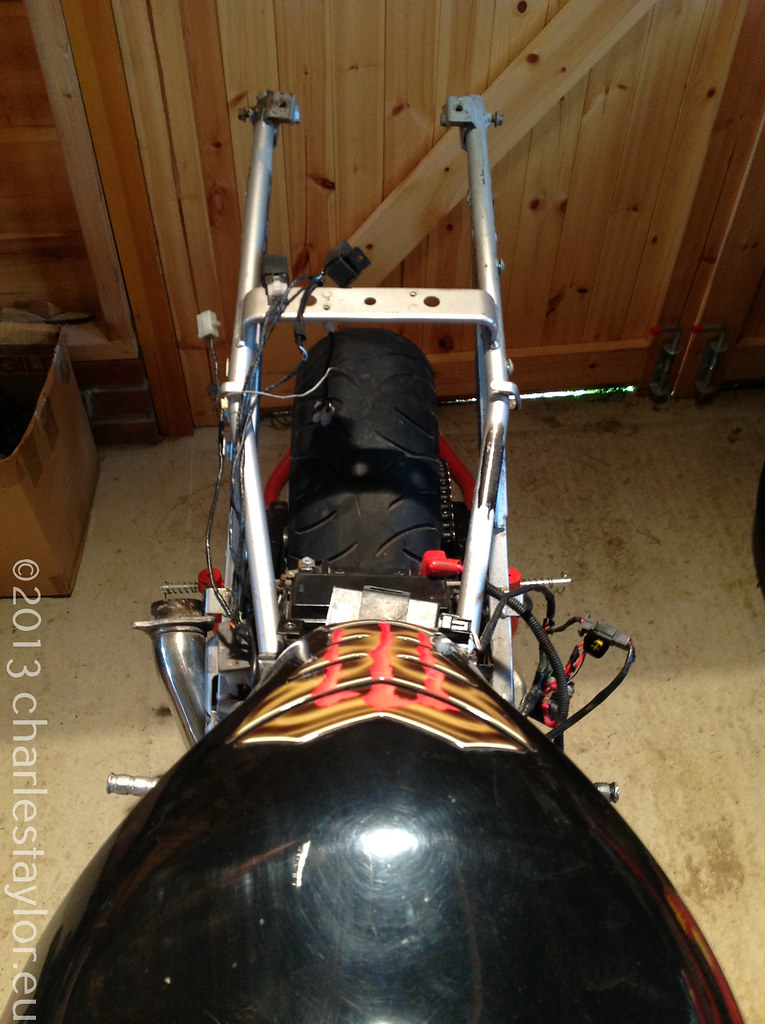
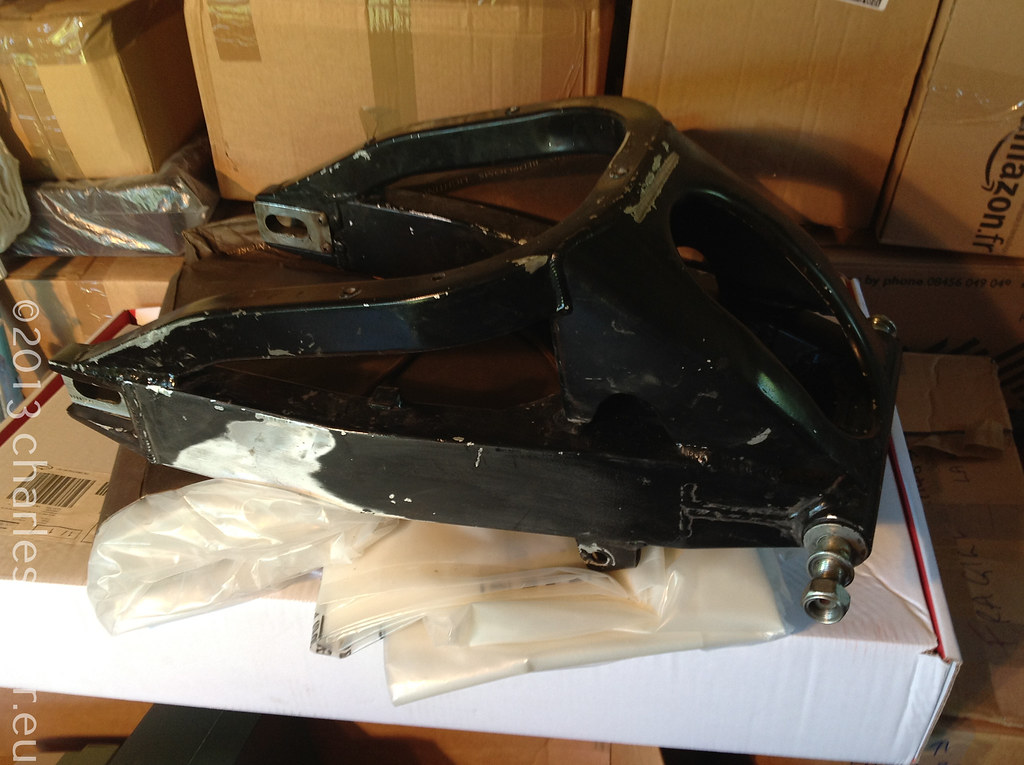
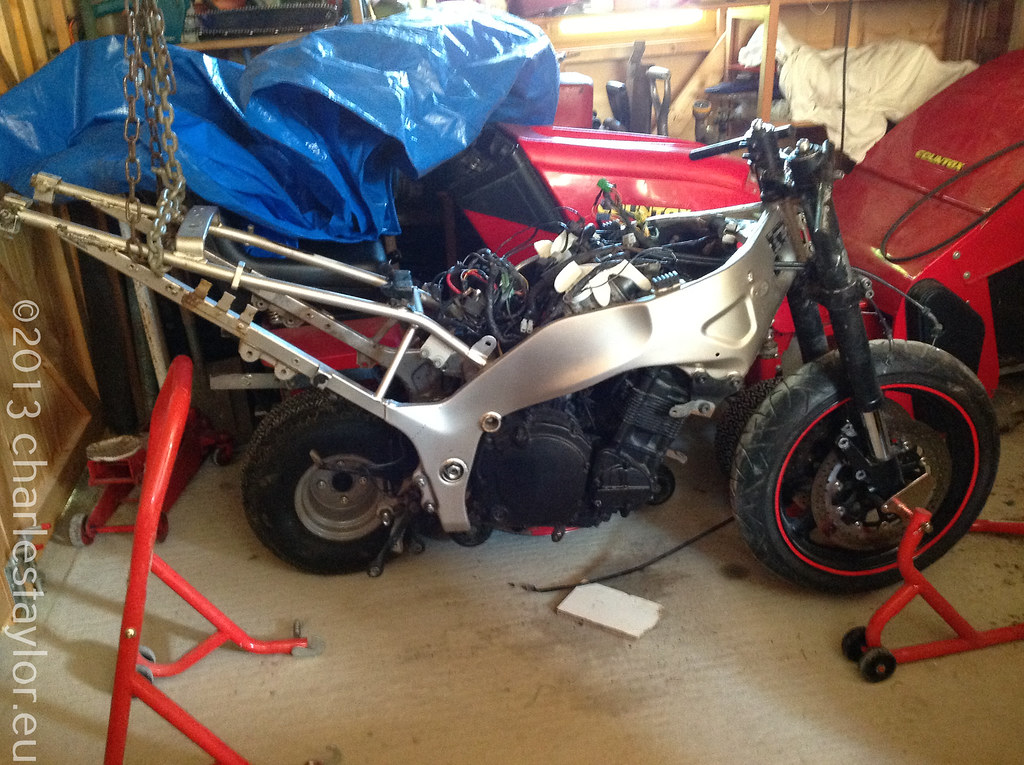
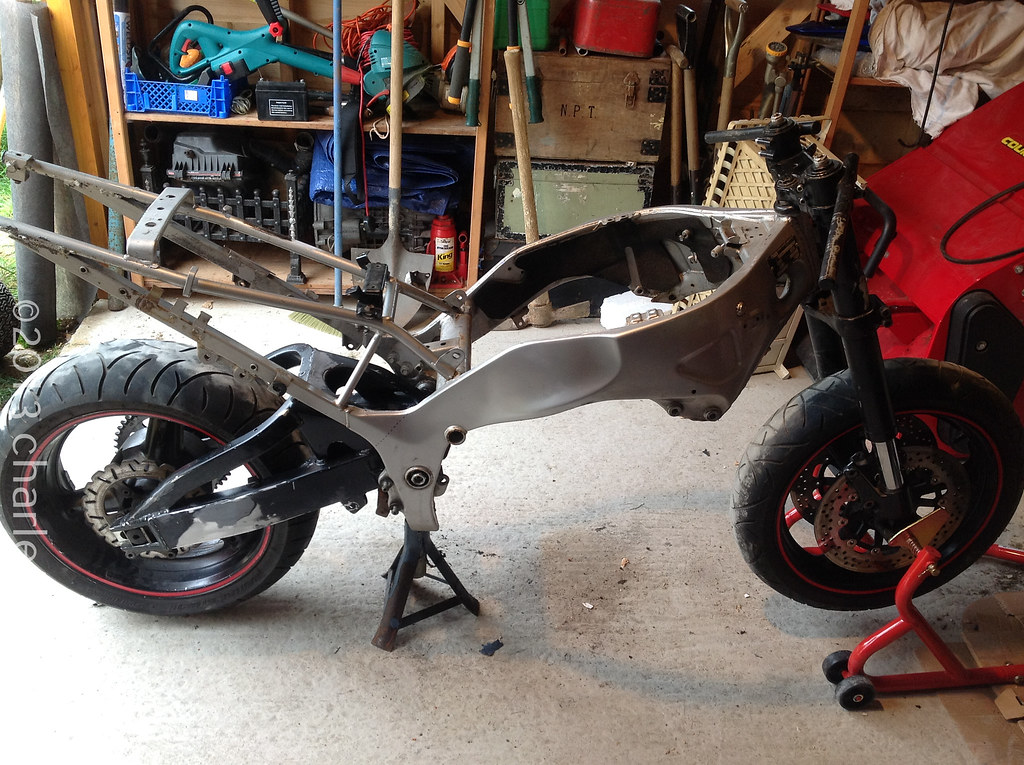
See below for the frame, sub frame, swing arm and shock together.
 Worst Wrenching
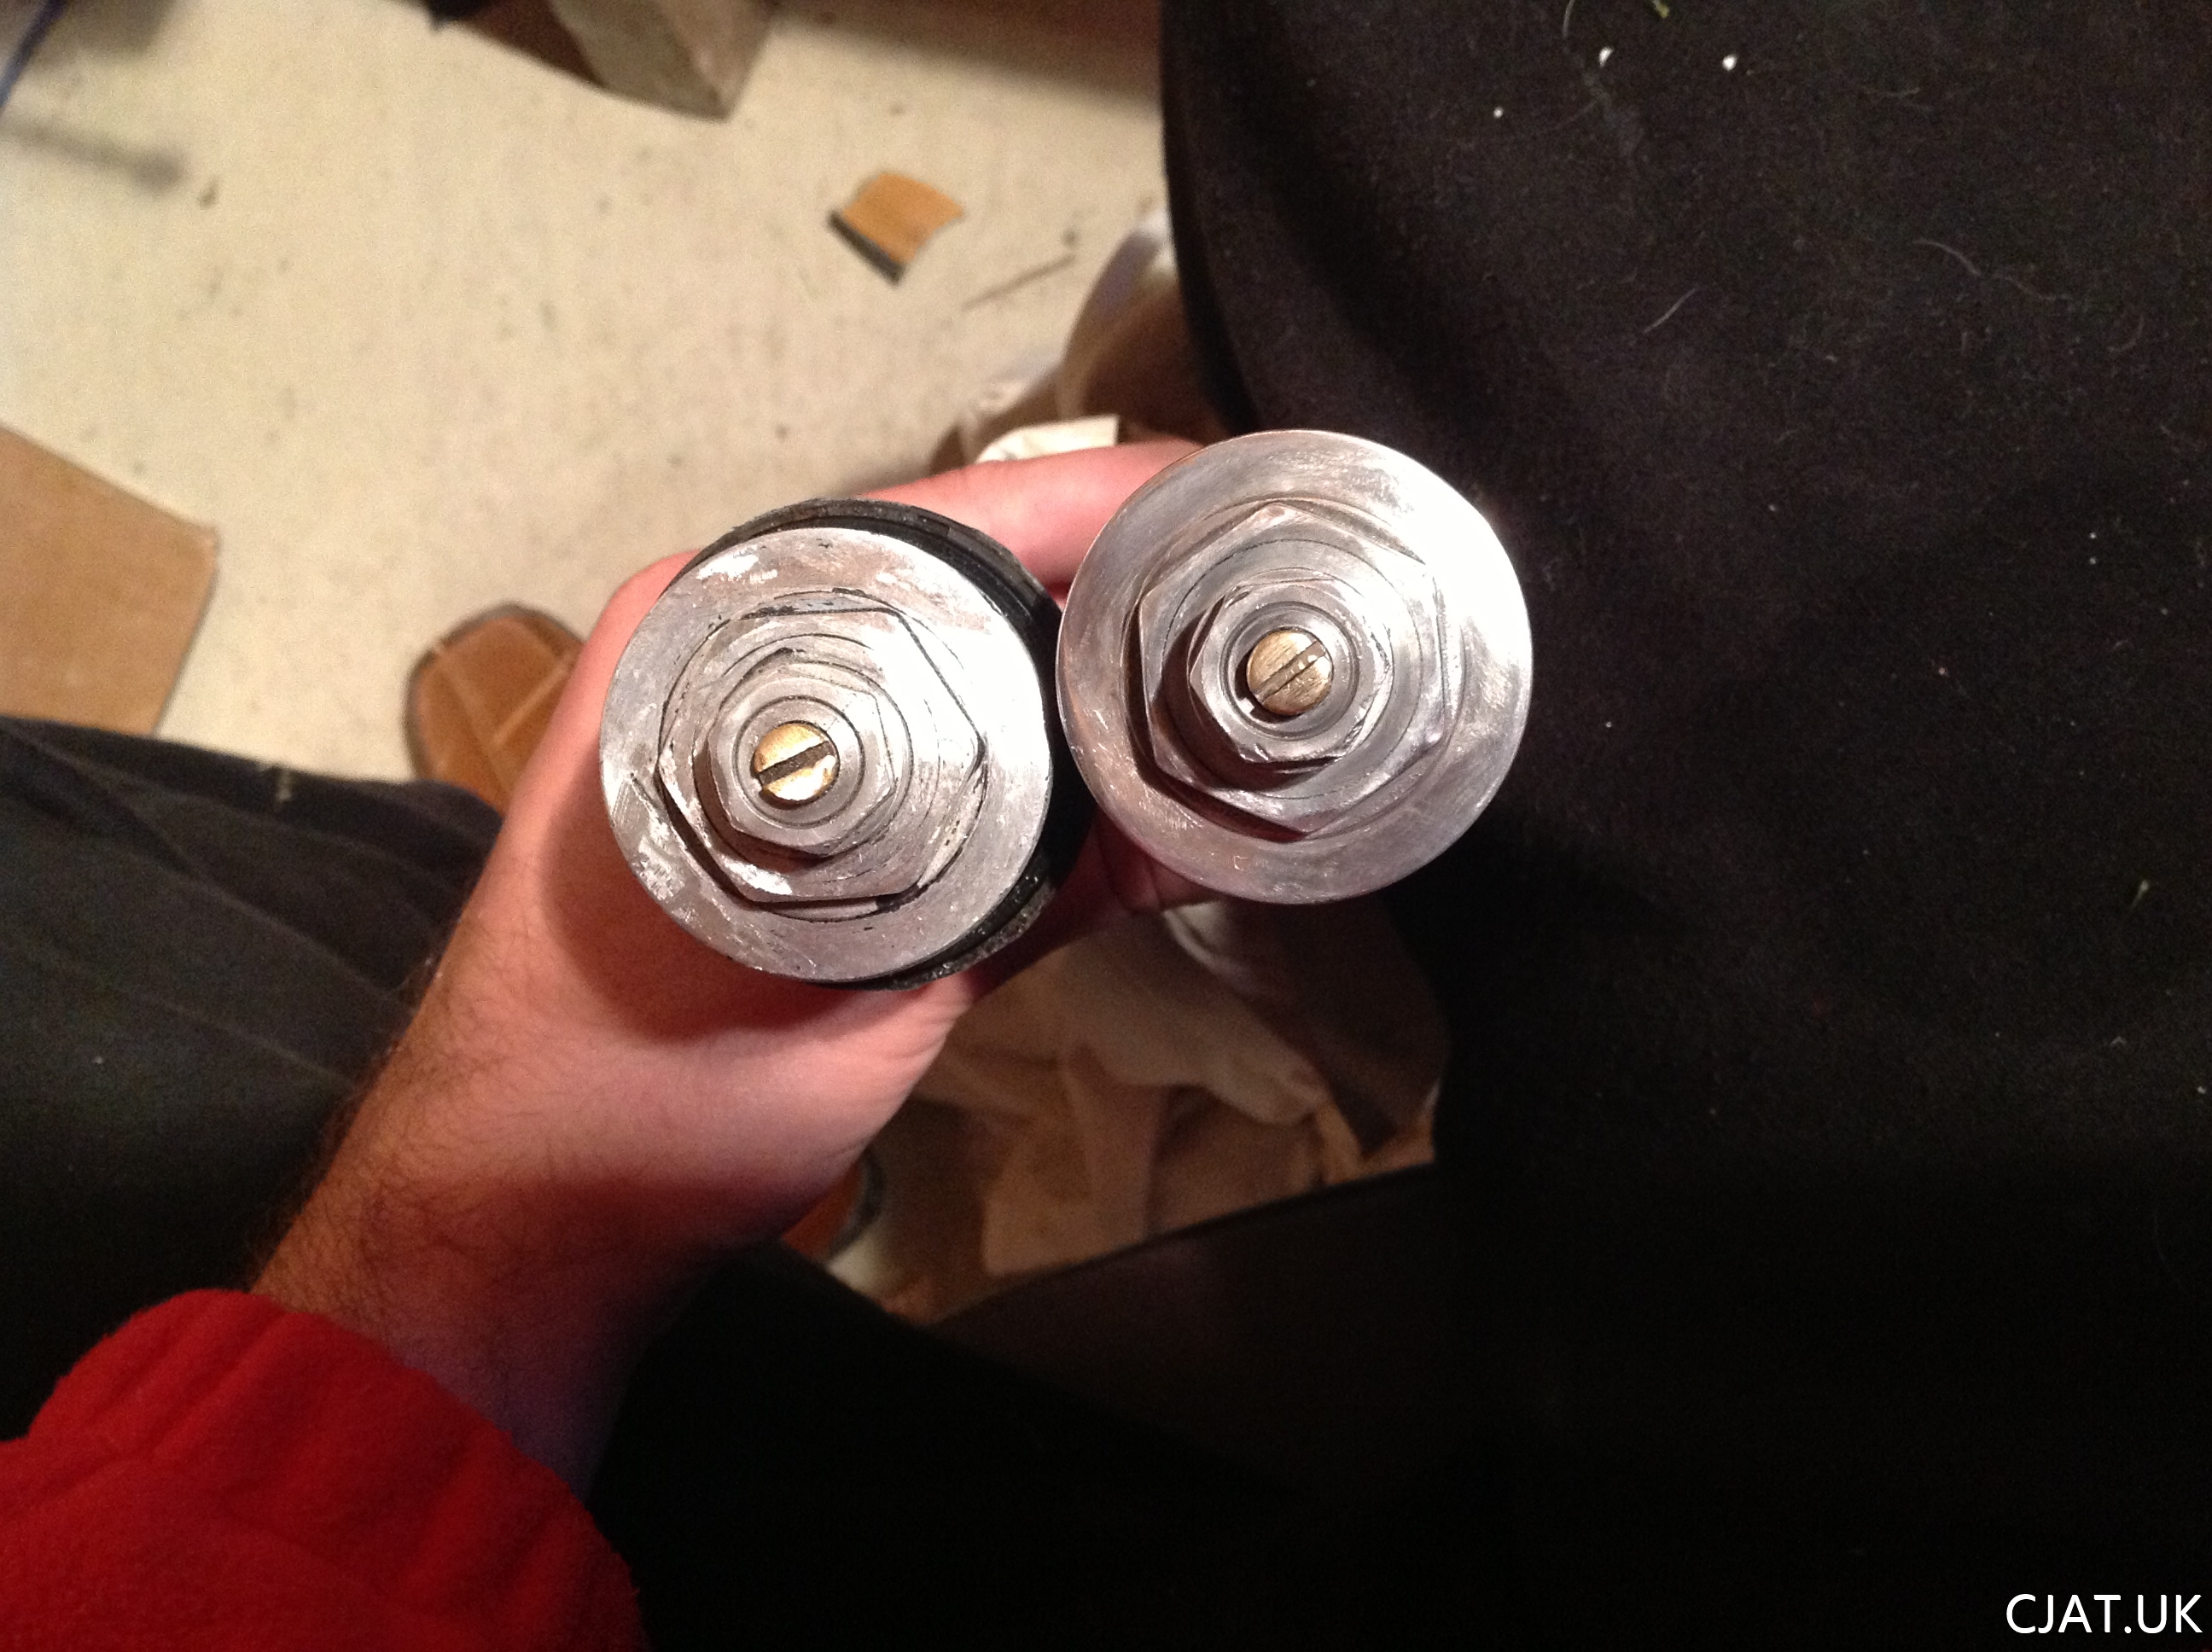
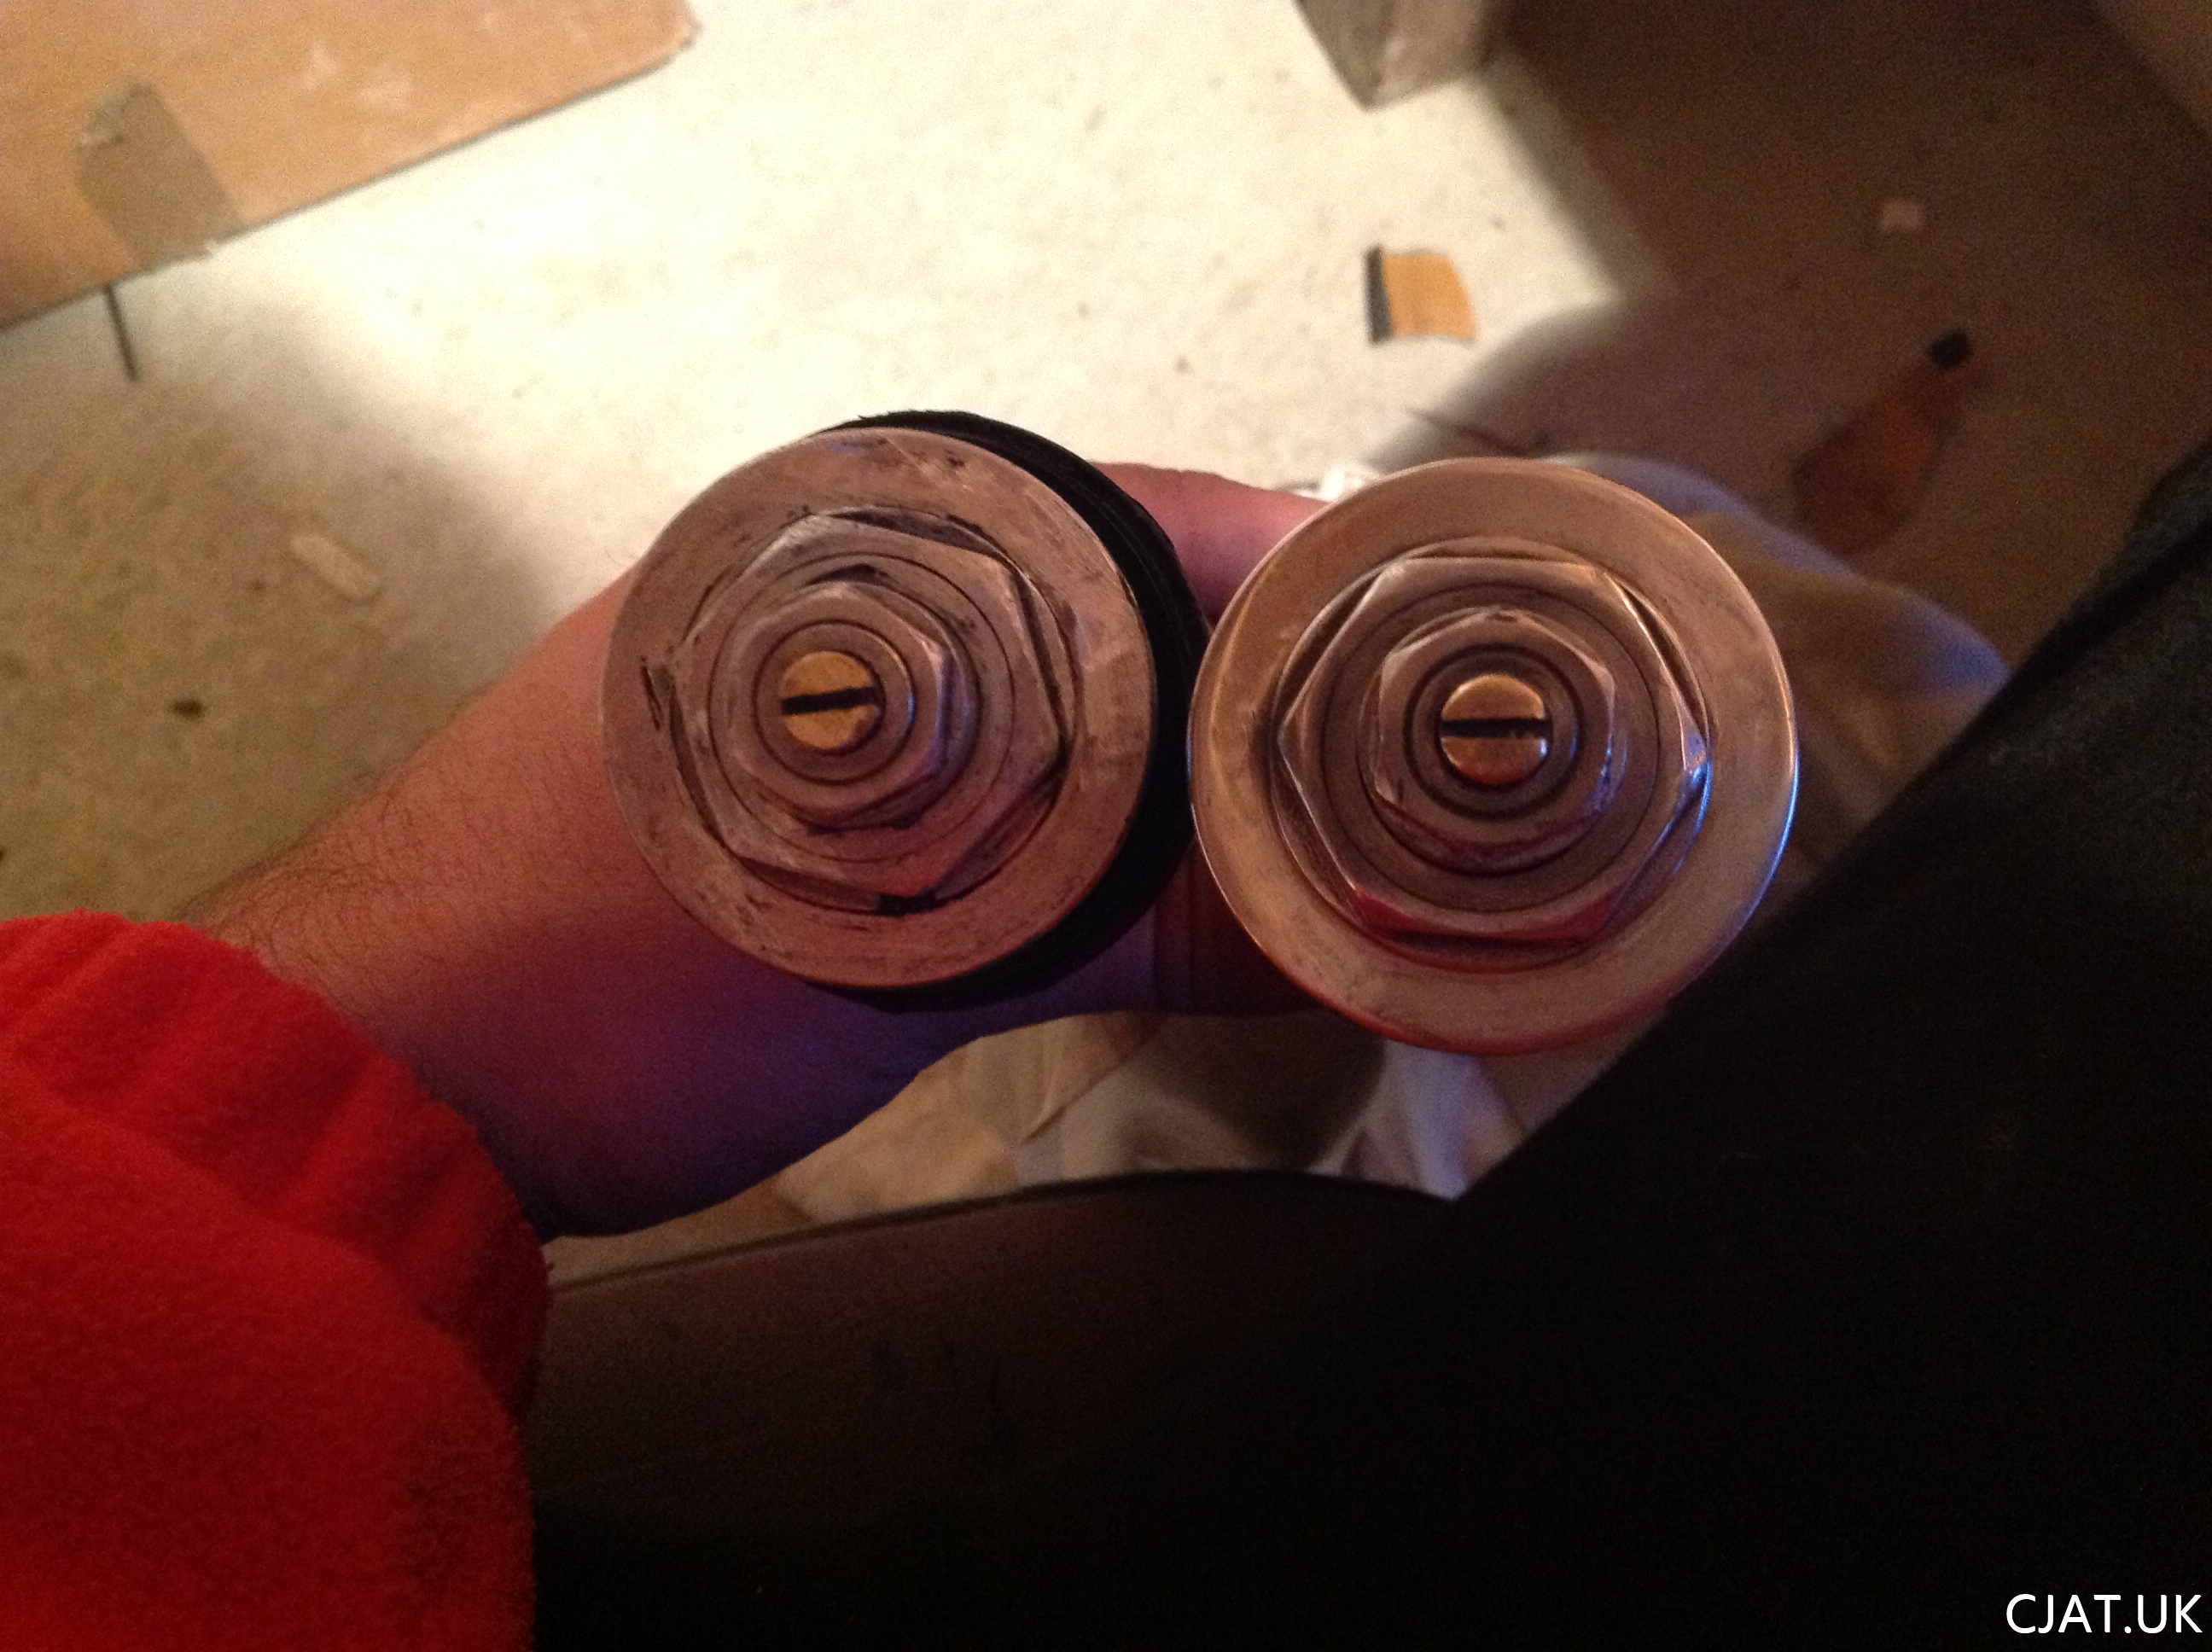
I was putting the rear sprocket using a set of Pro Bolt Anodised Aluminium nuts (swish) with an old torque wrench when I realised I had set up the torque wrench the wrong way round and, as a result, my work had destroyed the nut and the thread on the bolt. Sigh…
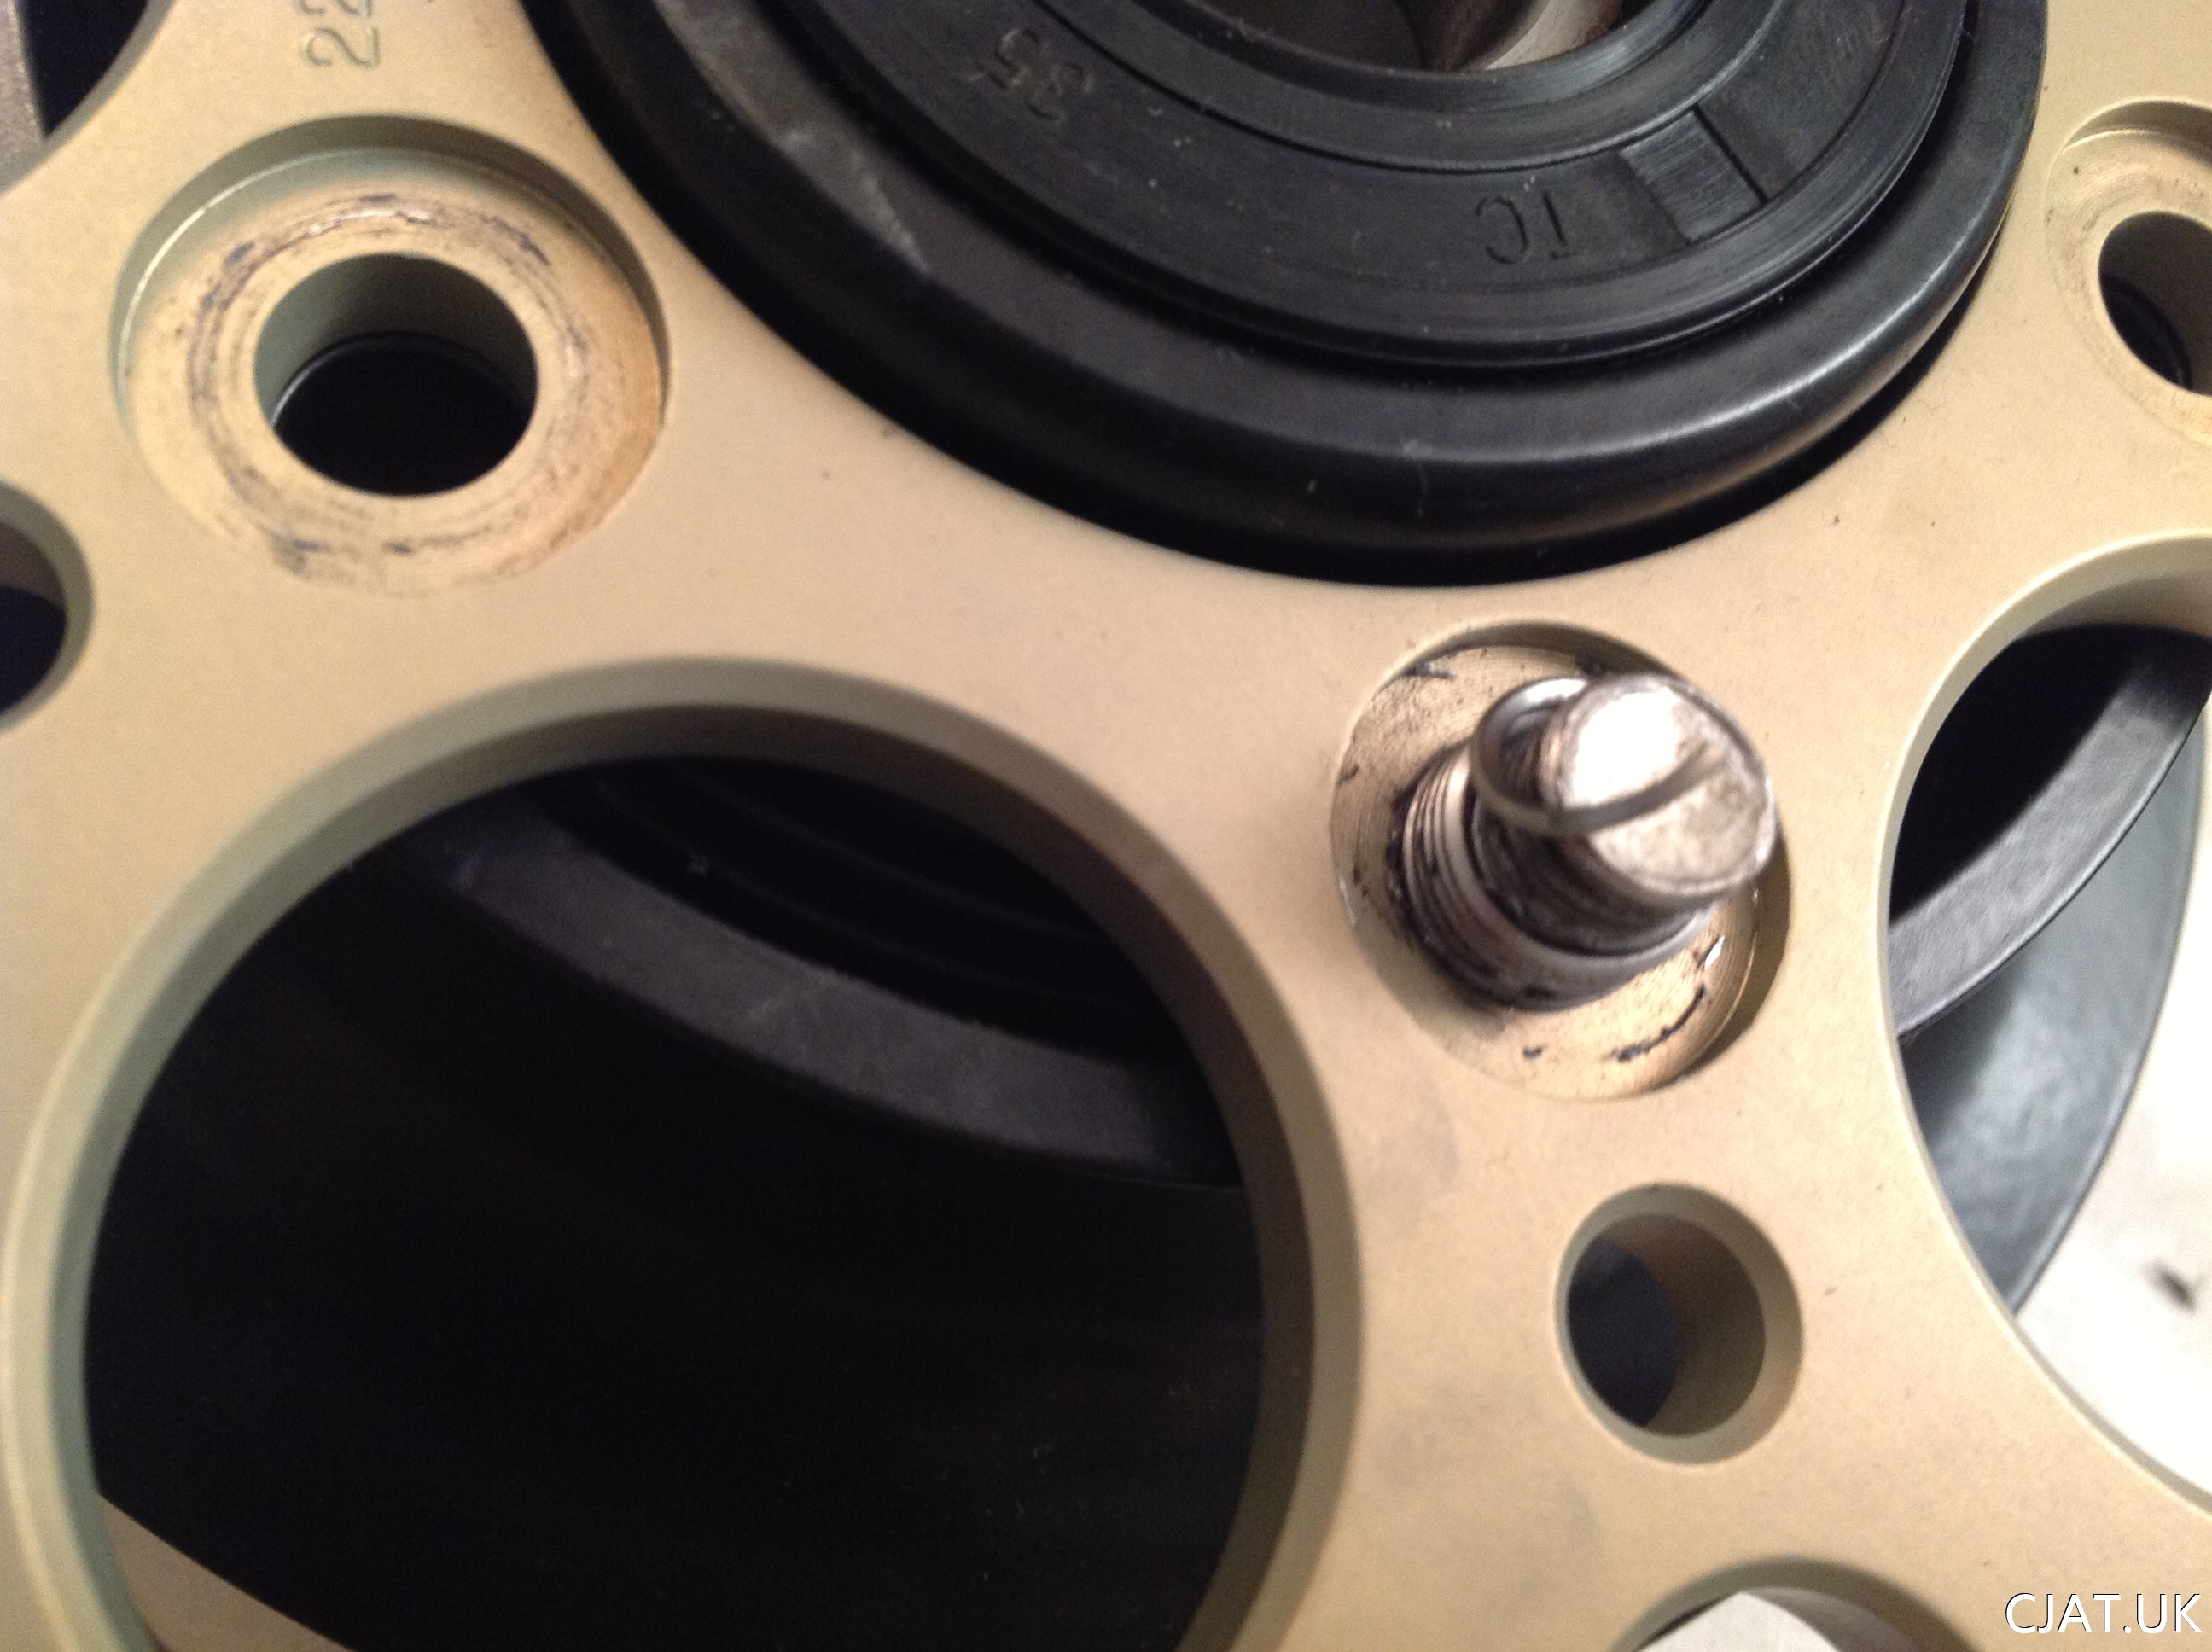
Anyway new bolt and nut (more expense…) and rear wheel is done.
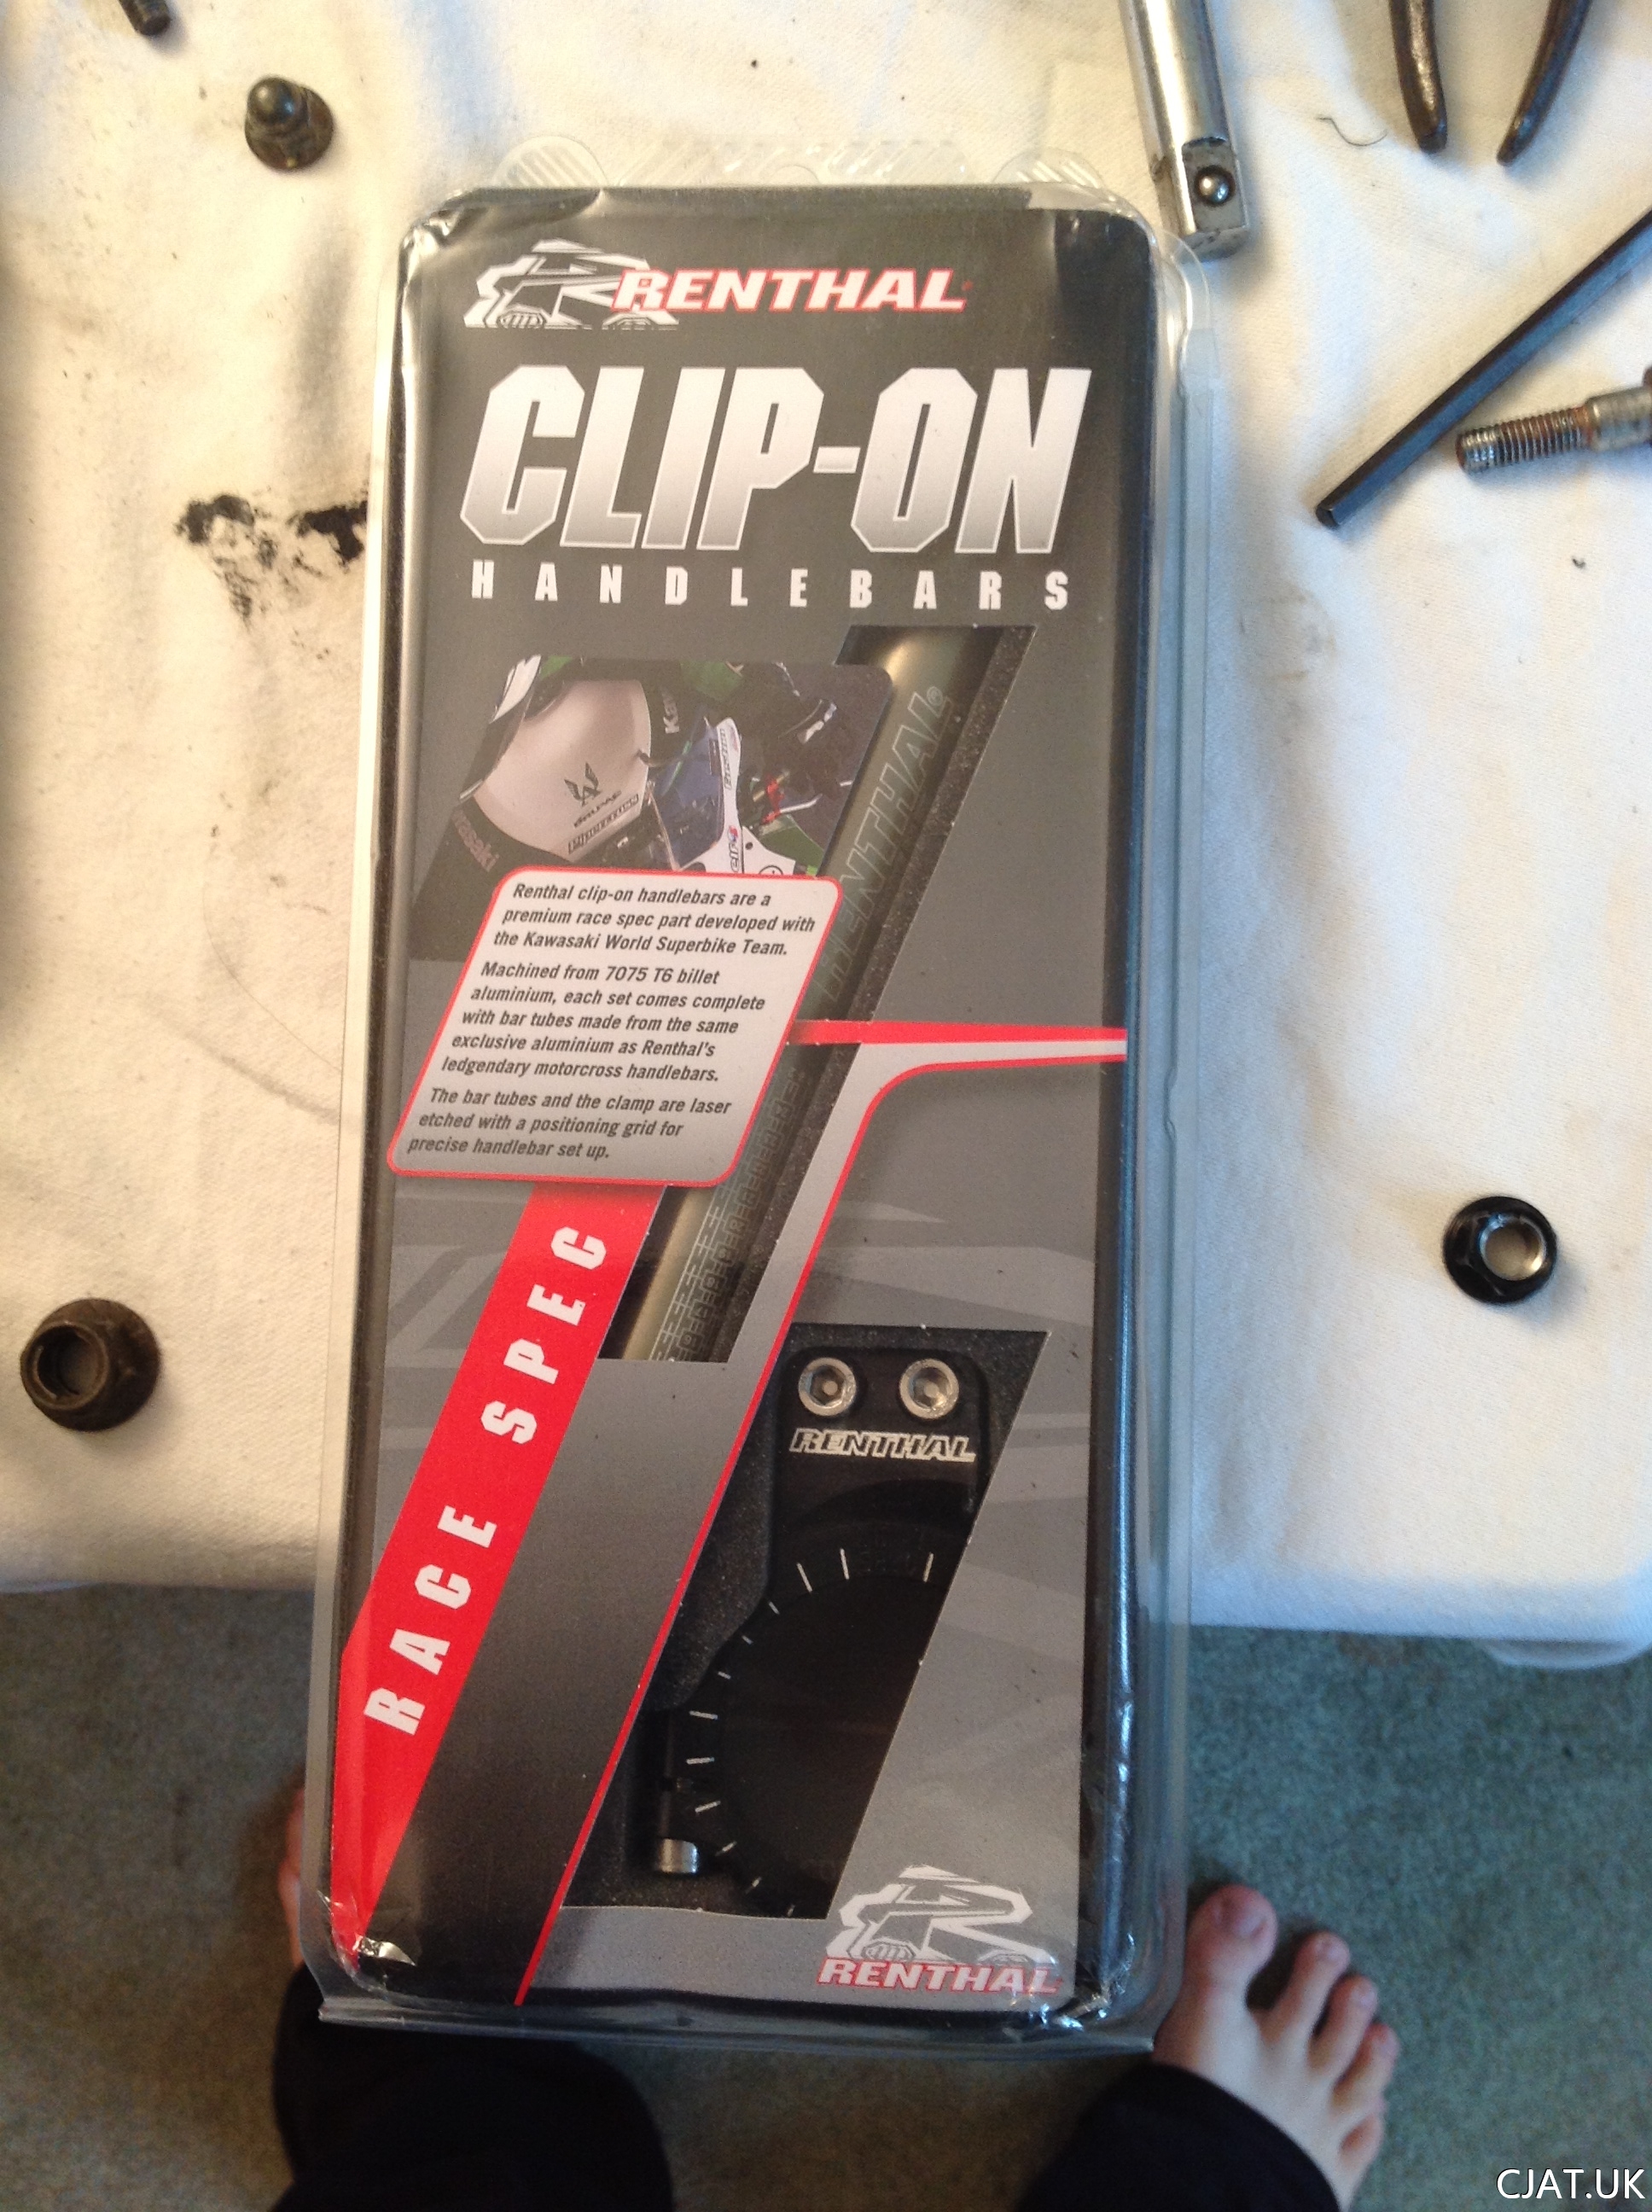
 Bars
Bars
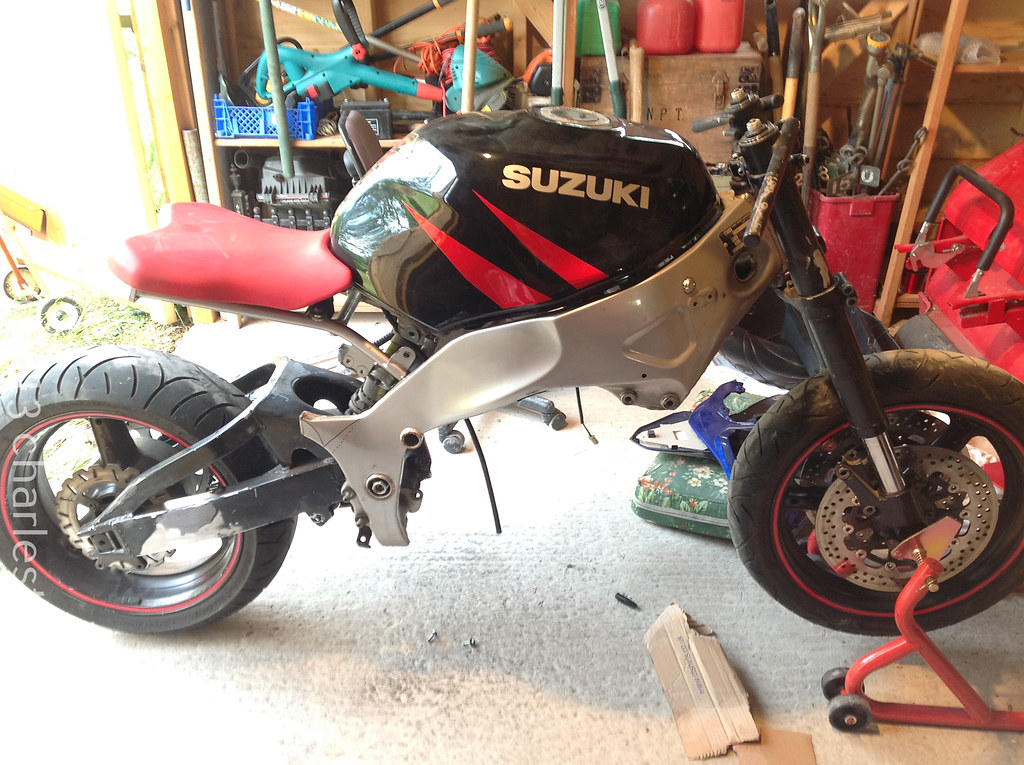
Now on to the front end and another tasty buy. As I said, I was not sure on raised bars and have decided that I do prefer the look and feel of the clip-ons. So I treated myself to these beauties:
") Don't powder your forks...
Don't powder your forks...
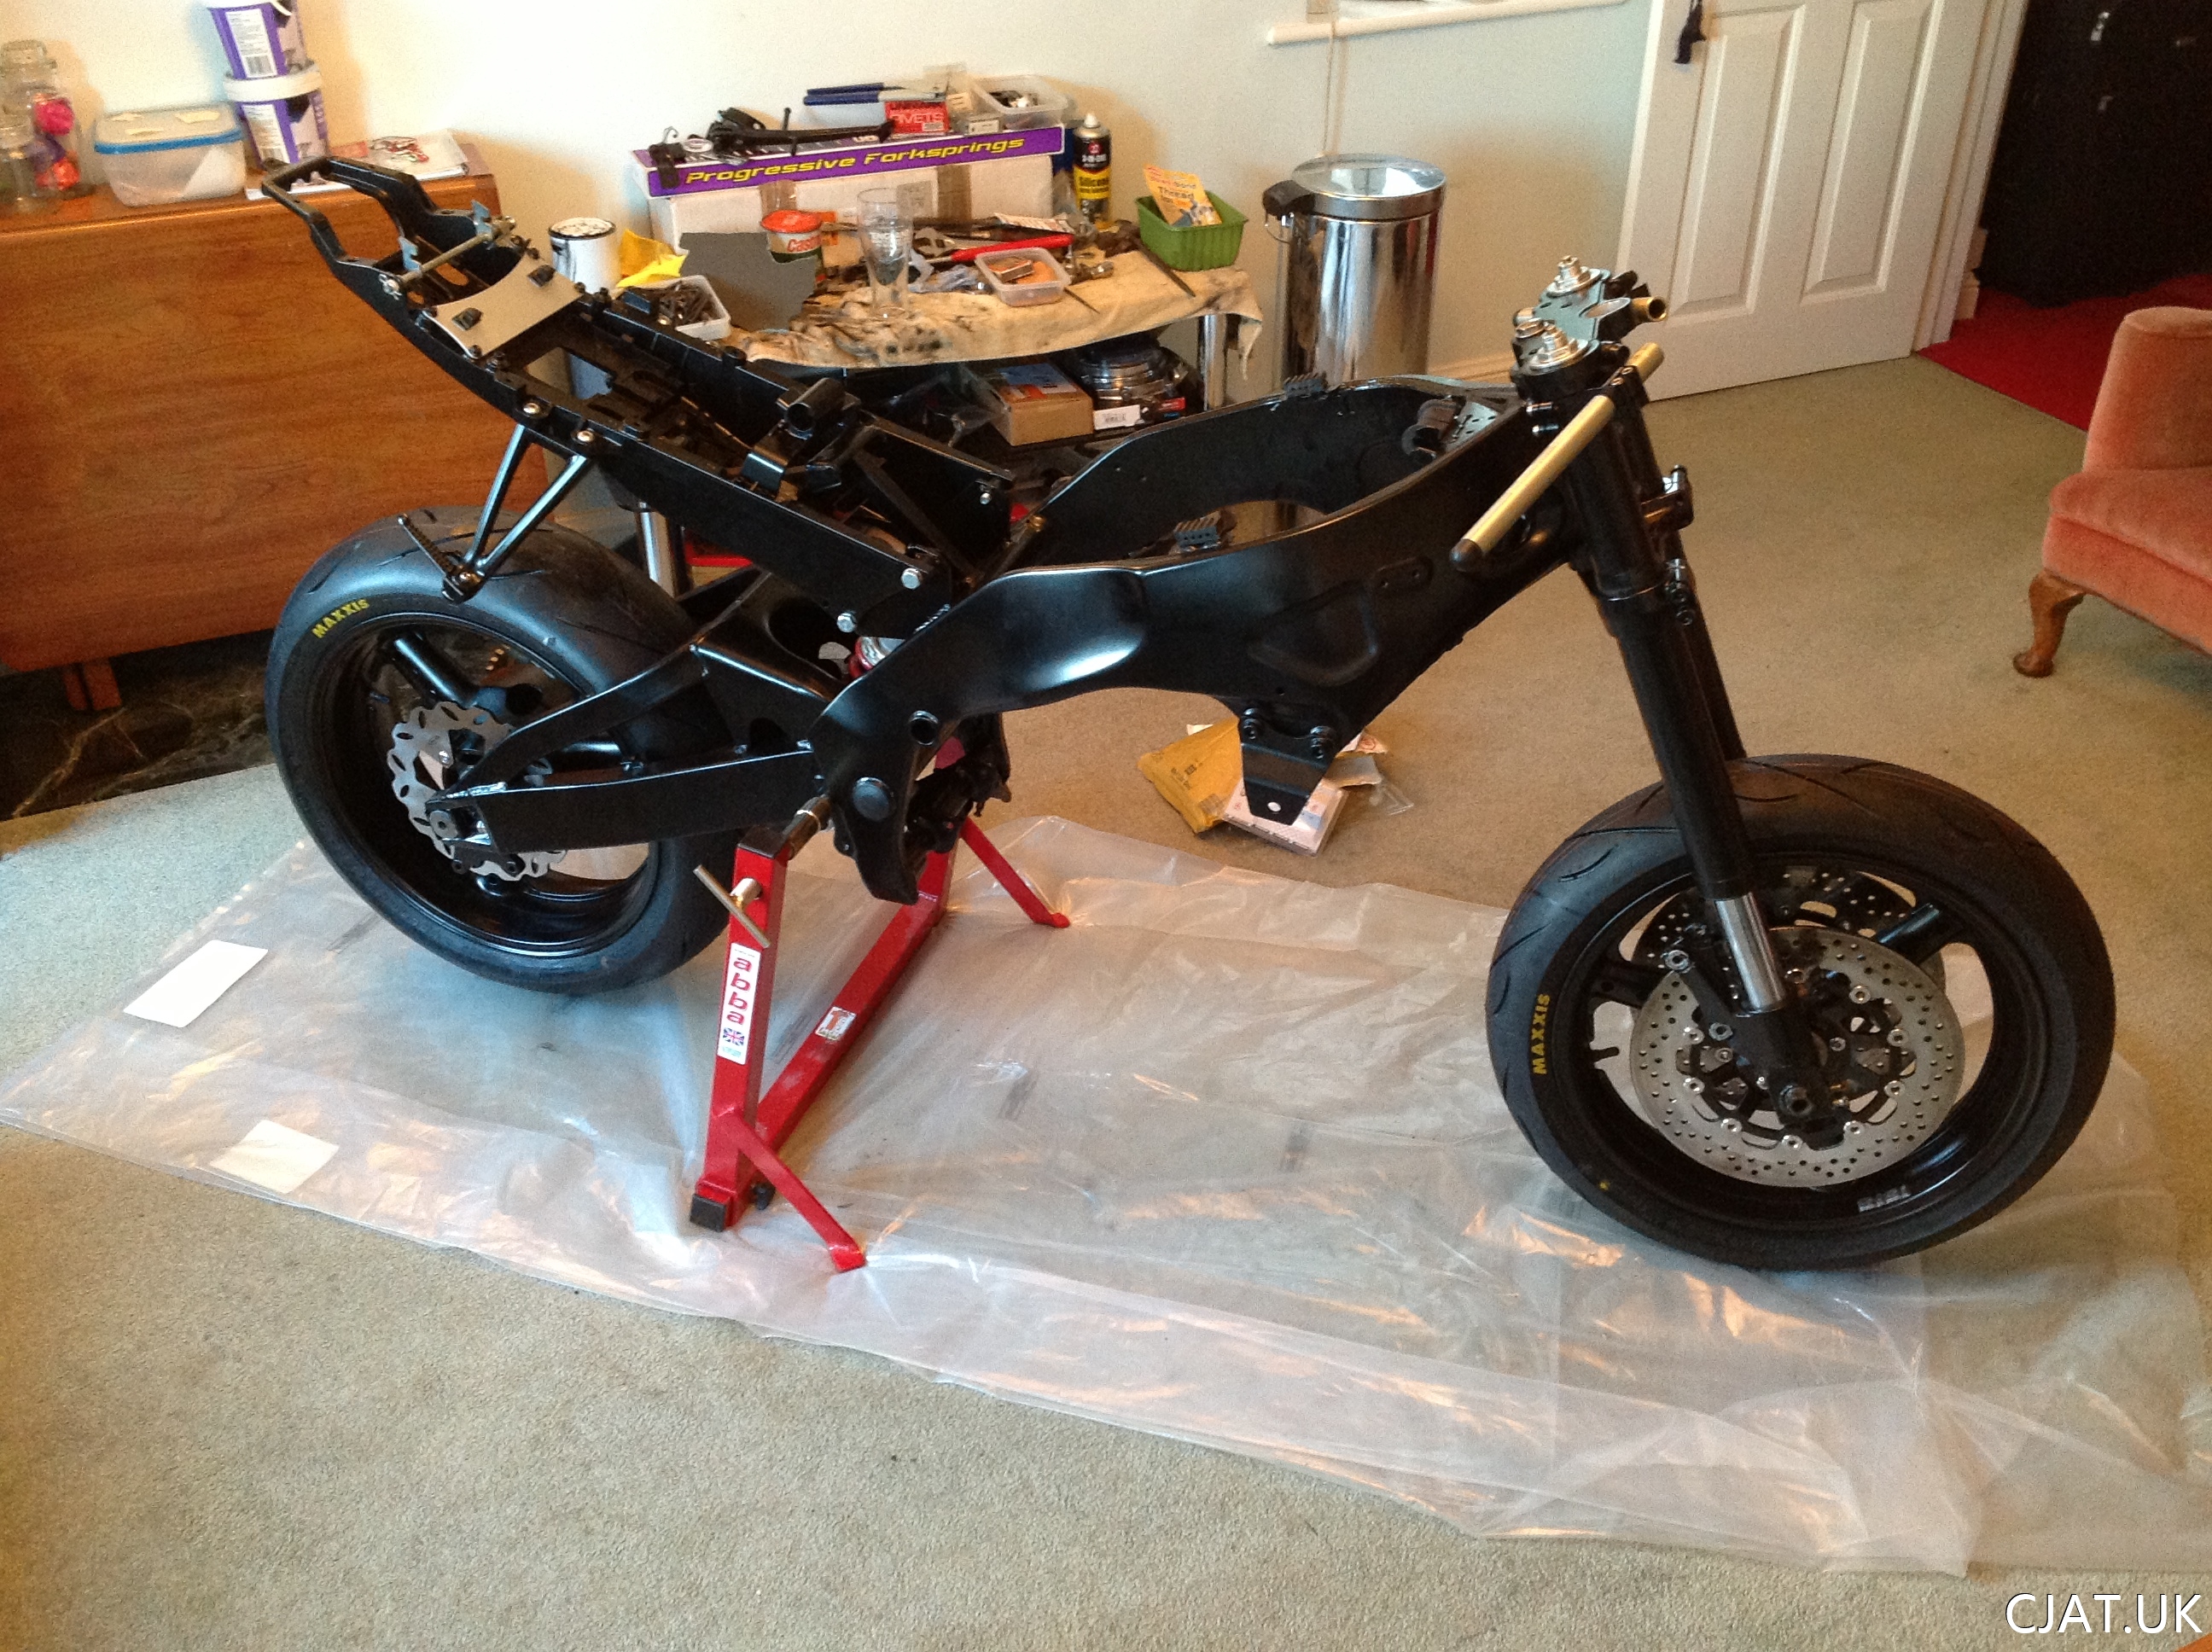
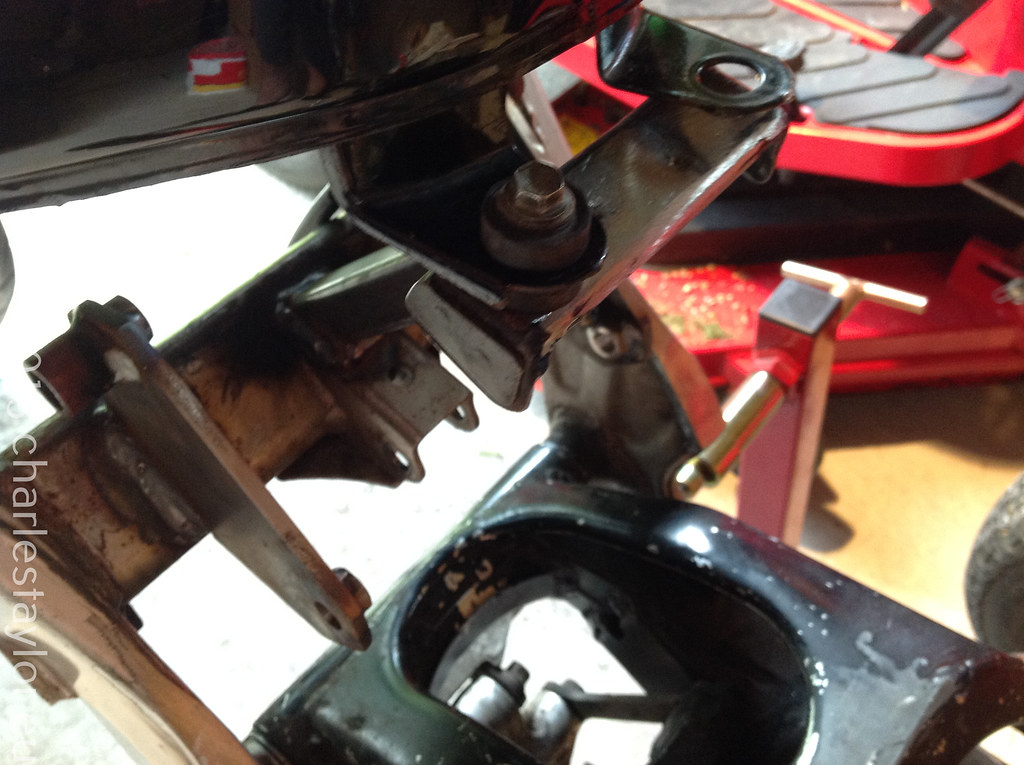
Frontend on. I will just say to anyone who is thinking of powder coating their forks, don’t. It’s not worth the hassle, they’re a bastard to get in without scratching them. Took my brother and I ages to painstakingly get them in there but because the yokes need to be so tight they will mark the powder anyway, meaning that they can not be moved up or down without showing the scratches.
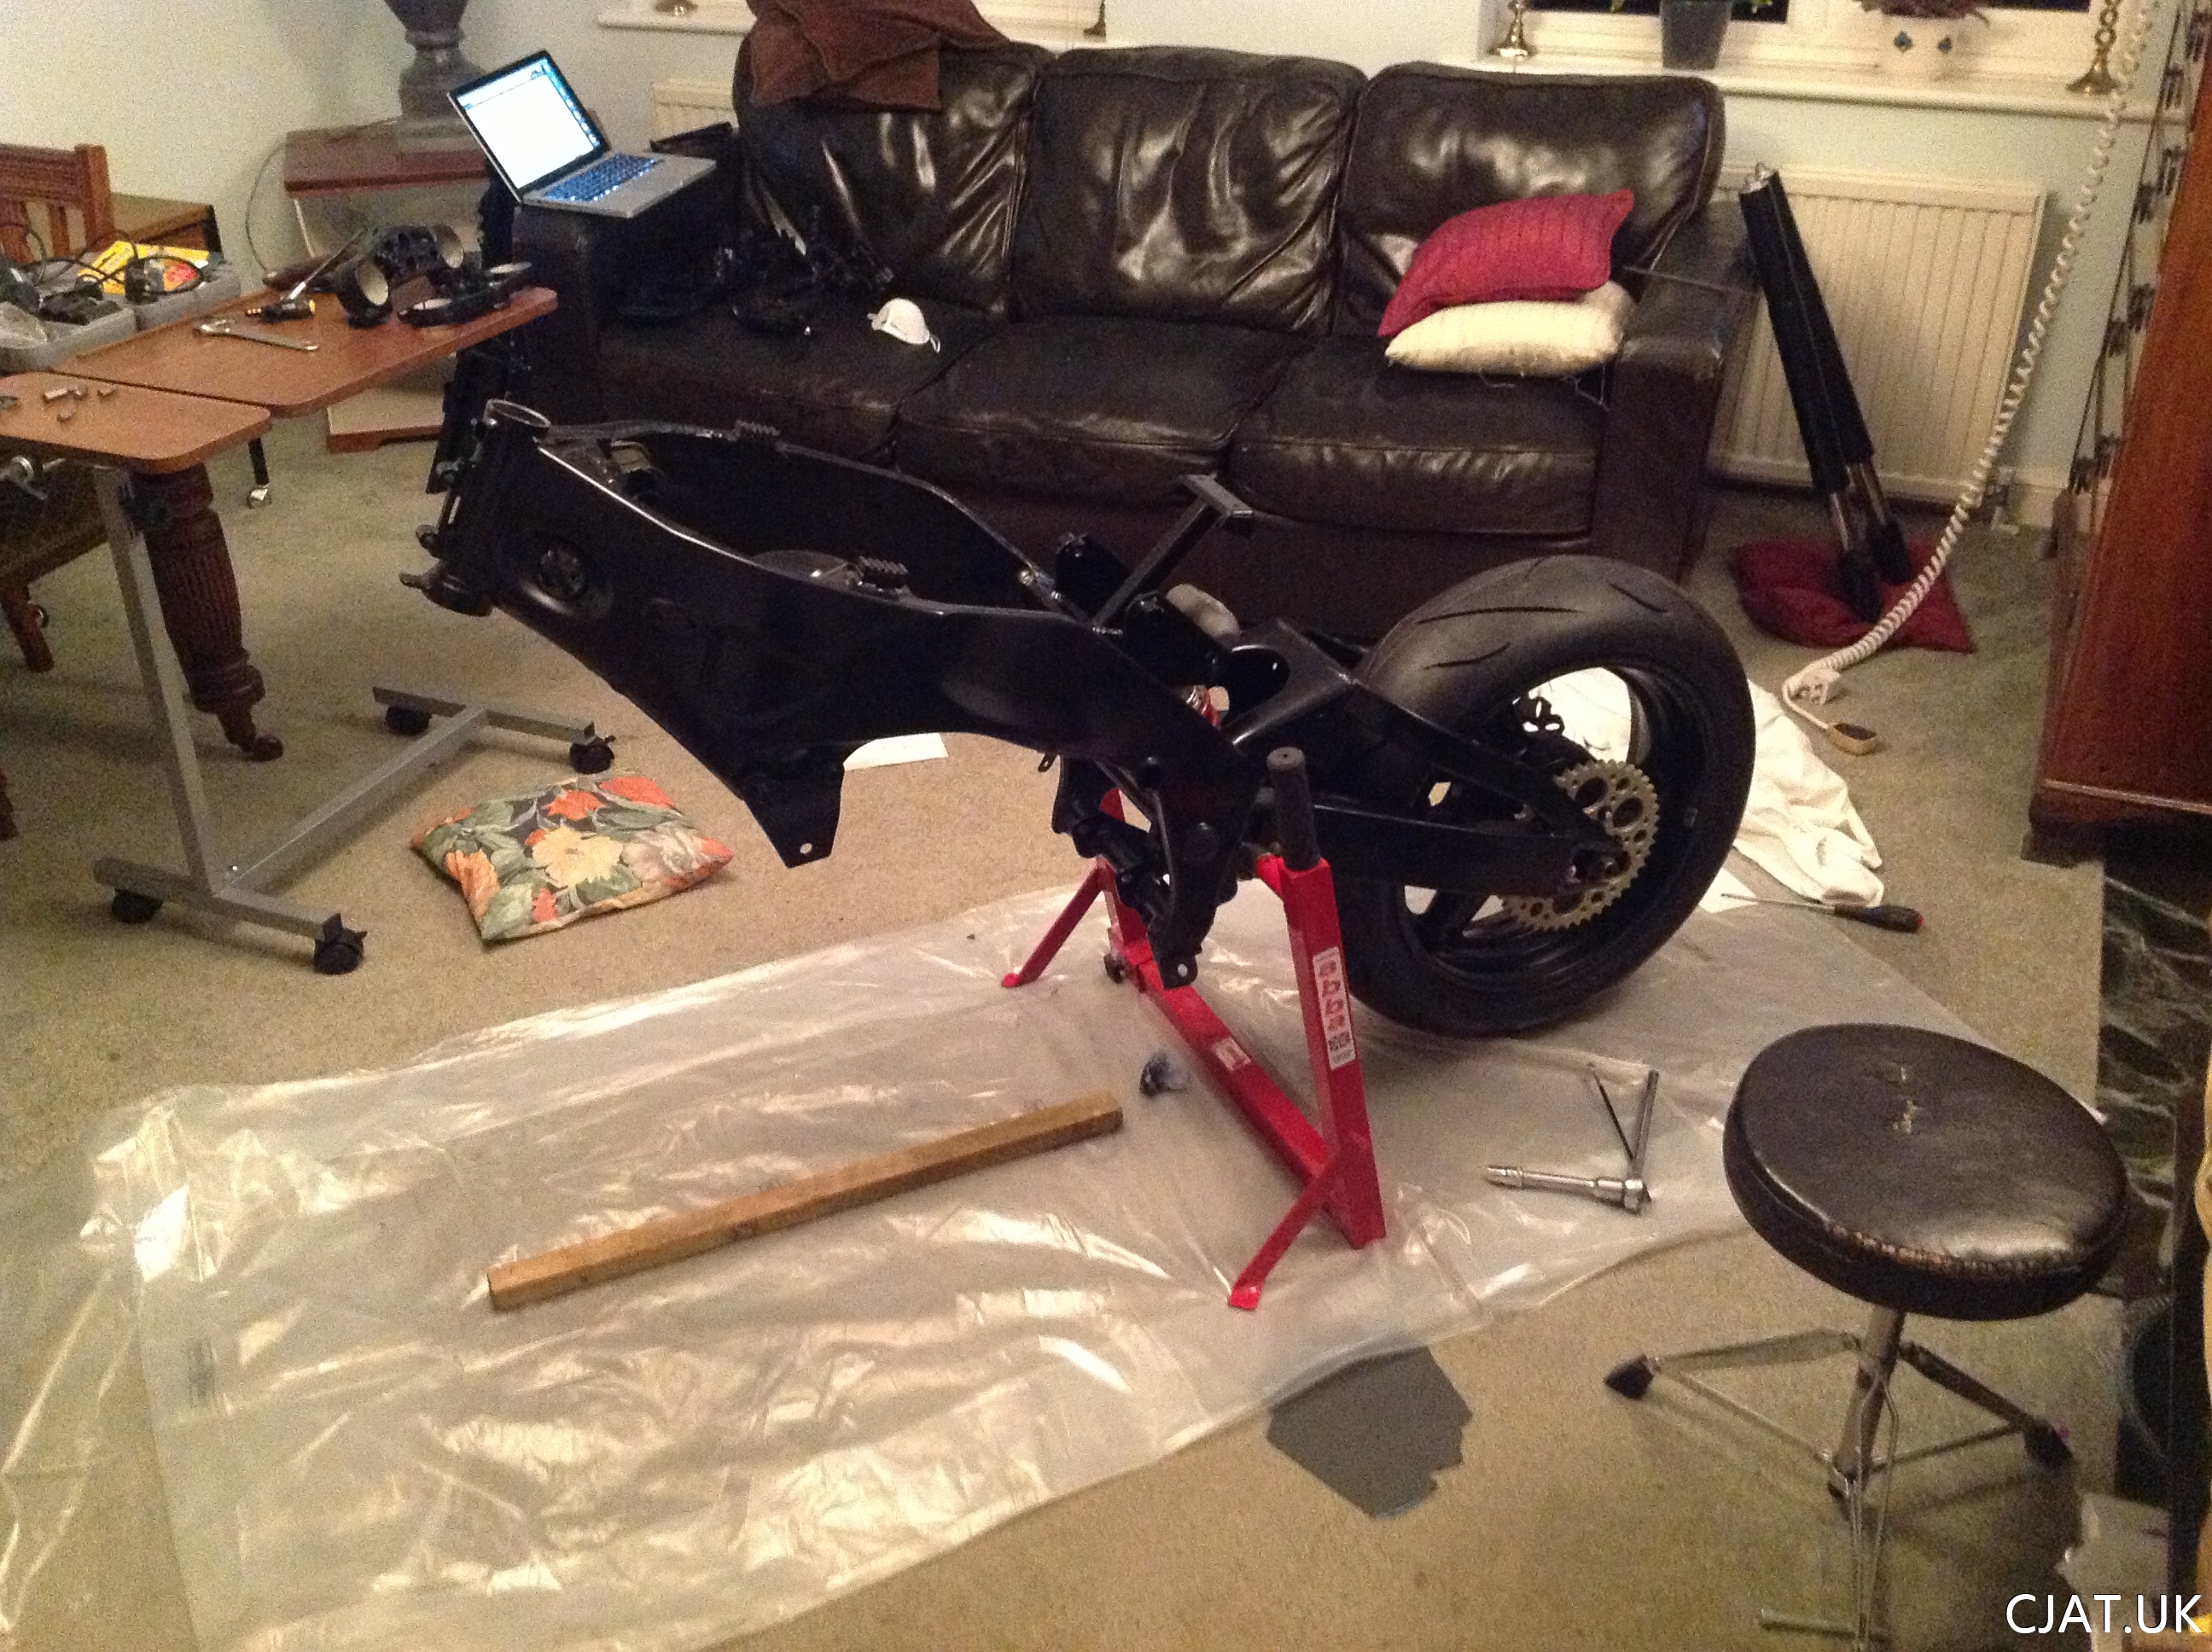
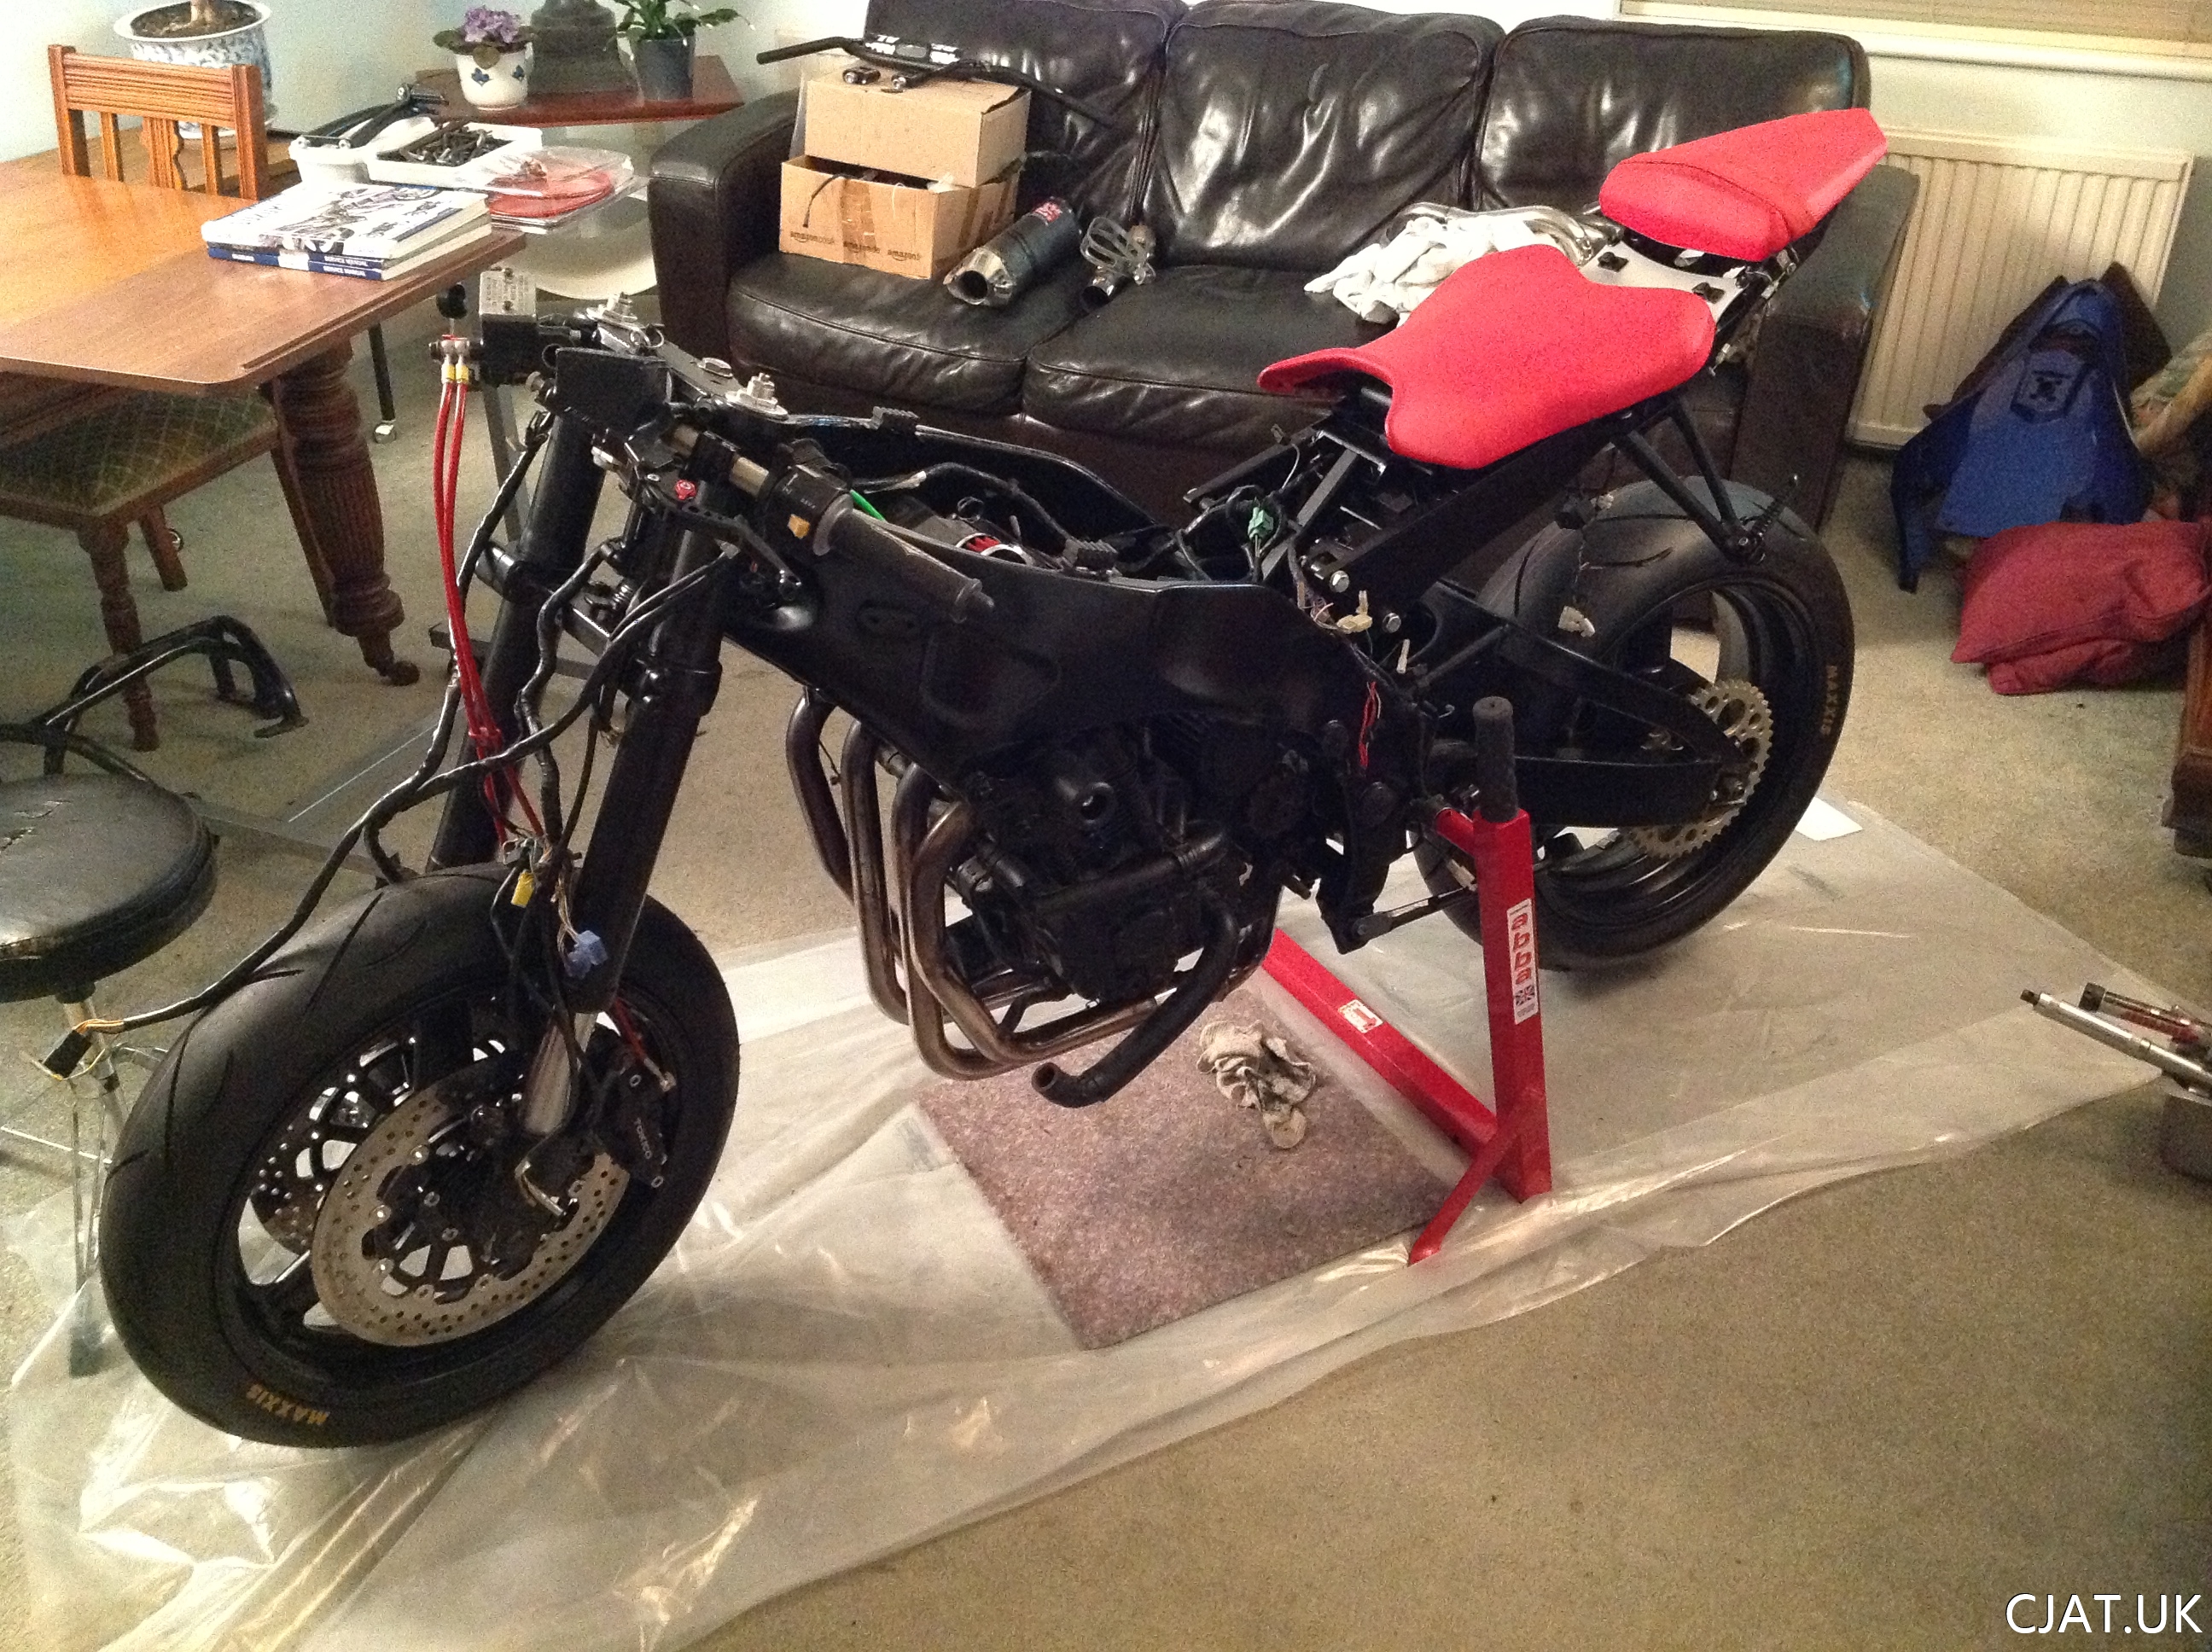
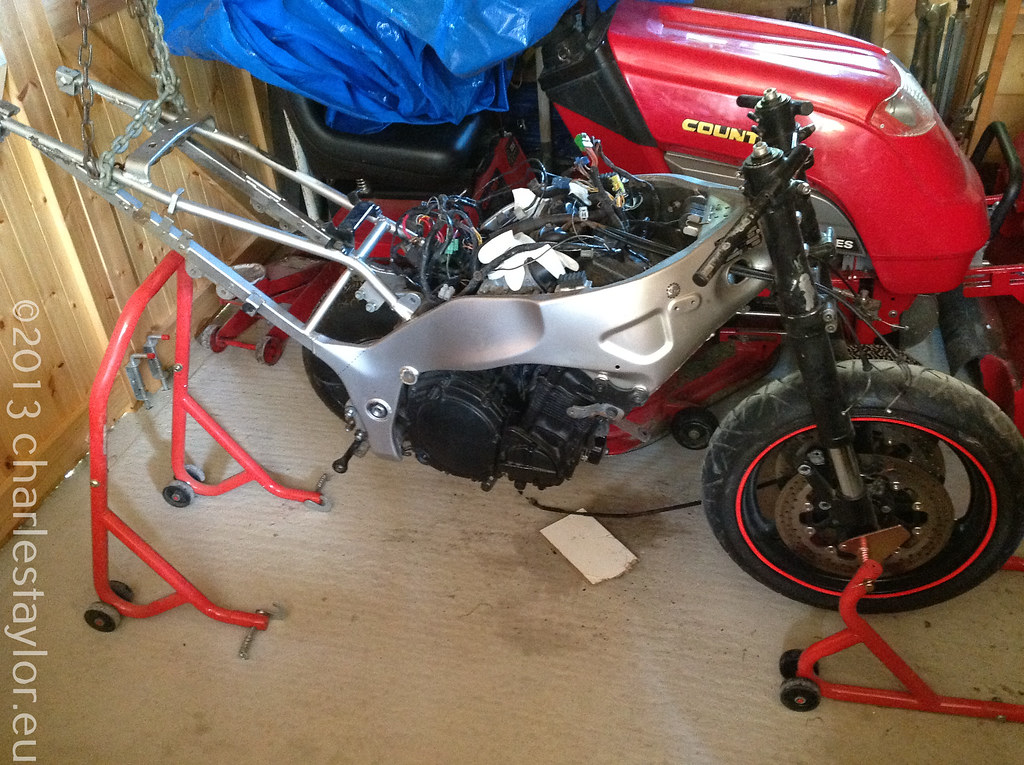
 Installing the Engine (Solo)
As I had no help this evening, I had a very interesting time installing the engine… cough, cough; but I got it in finally and without scratching the powder… Yay.
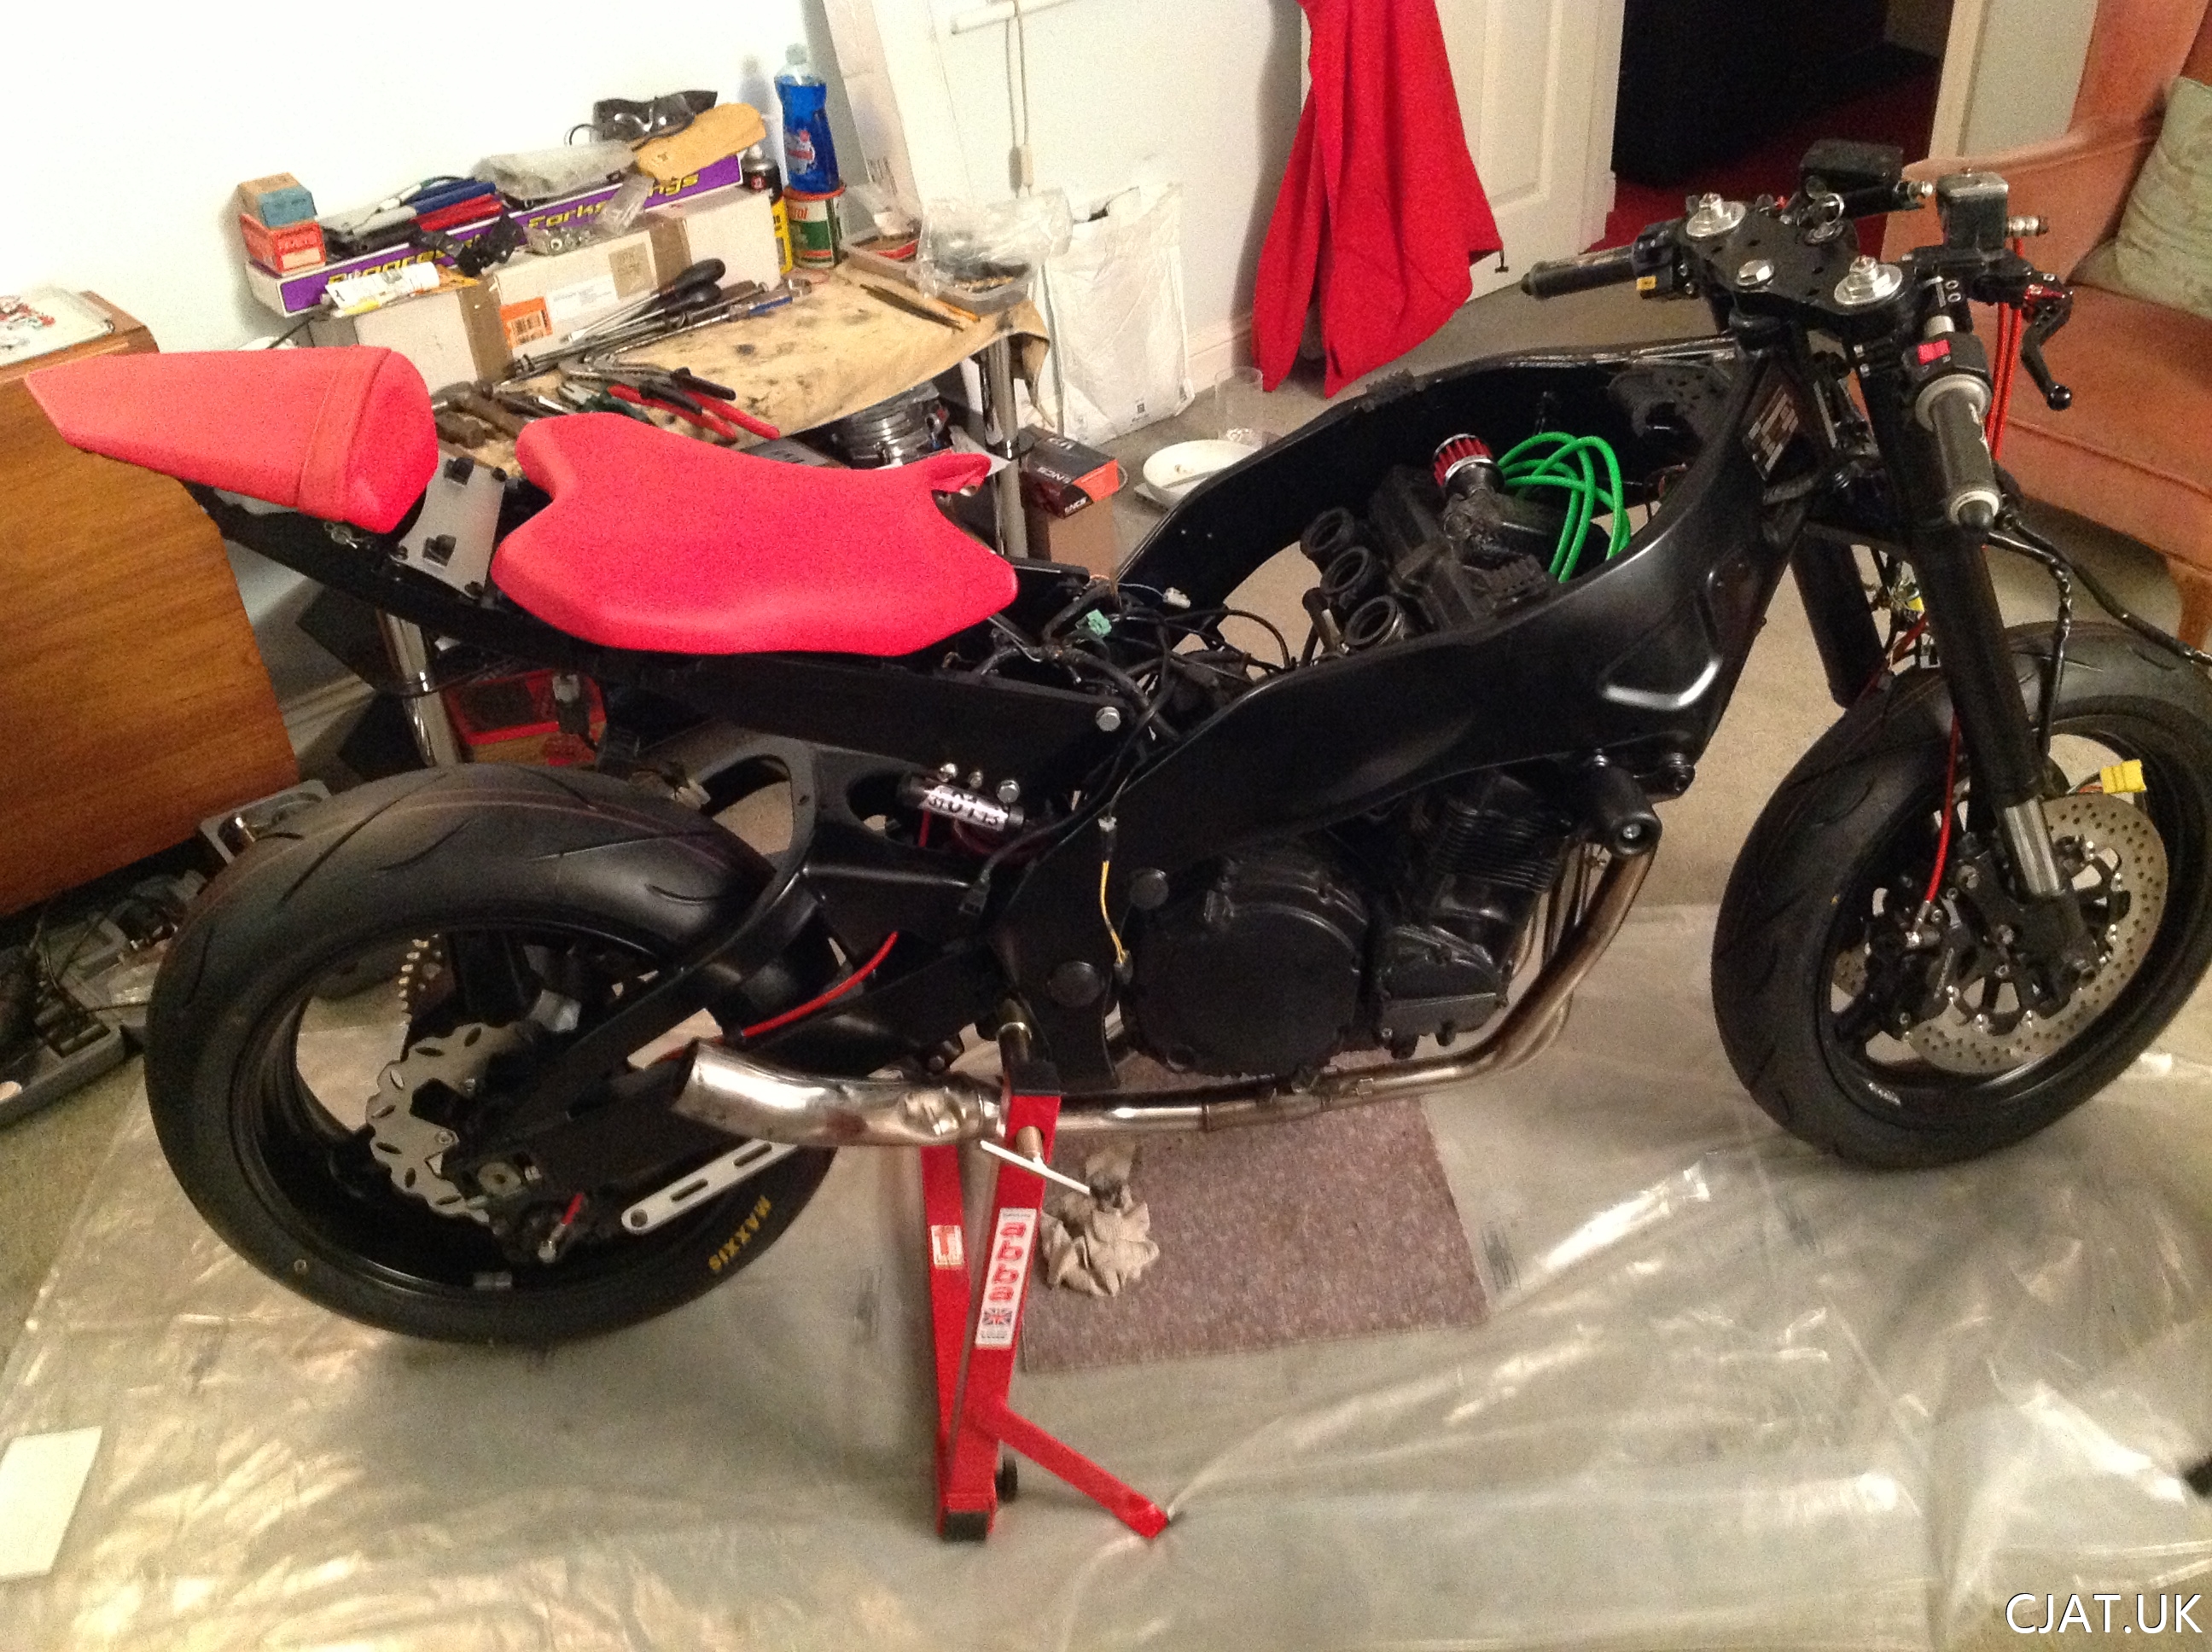
 Master Cylinders vs Clip Ons...and the Clip Ons are down and out
Trying some other bits and pieces on. Came across another discovery, the master cylinders will not fit on the new clips ons. This is a pain as it means more expense but does allow me to get new radial ones. I can hear the word Brembo in my head 🙂
 Official Registration
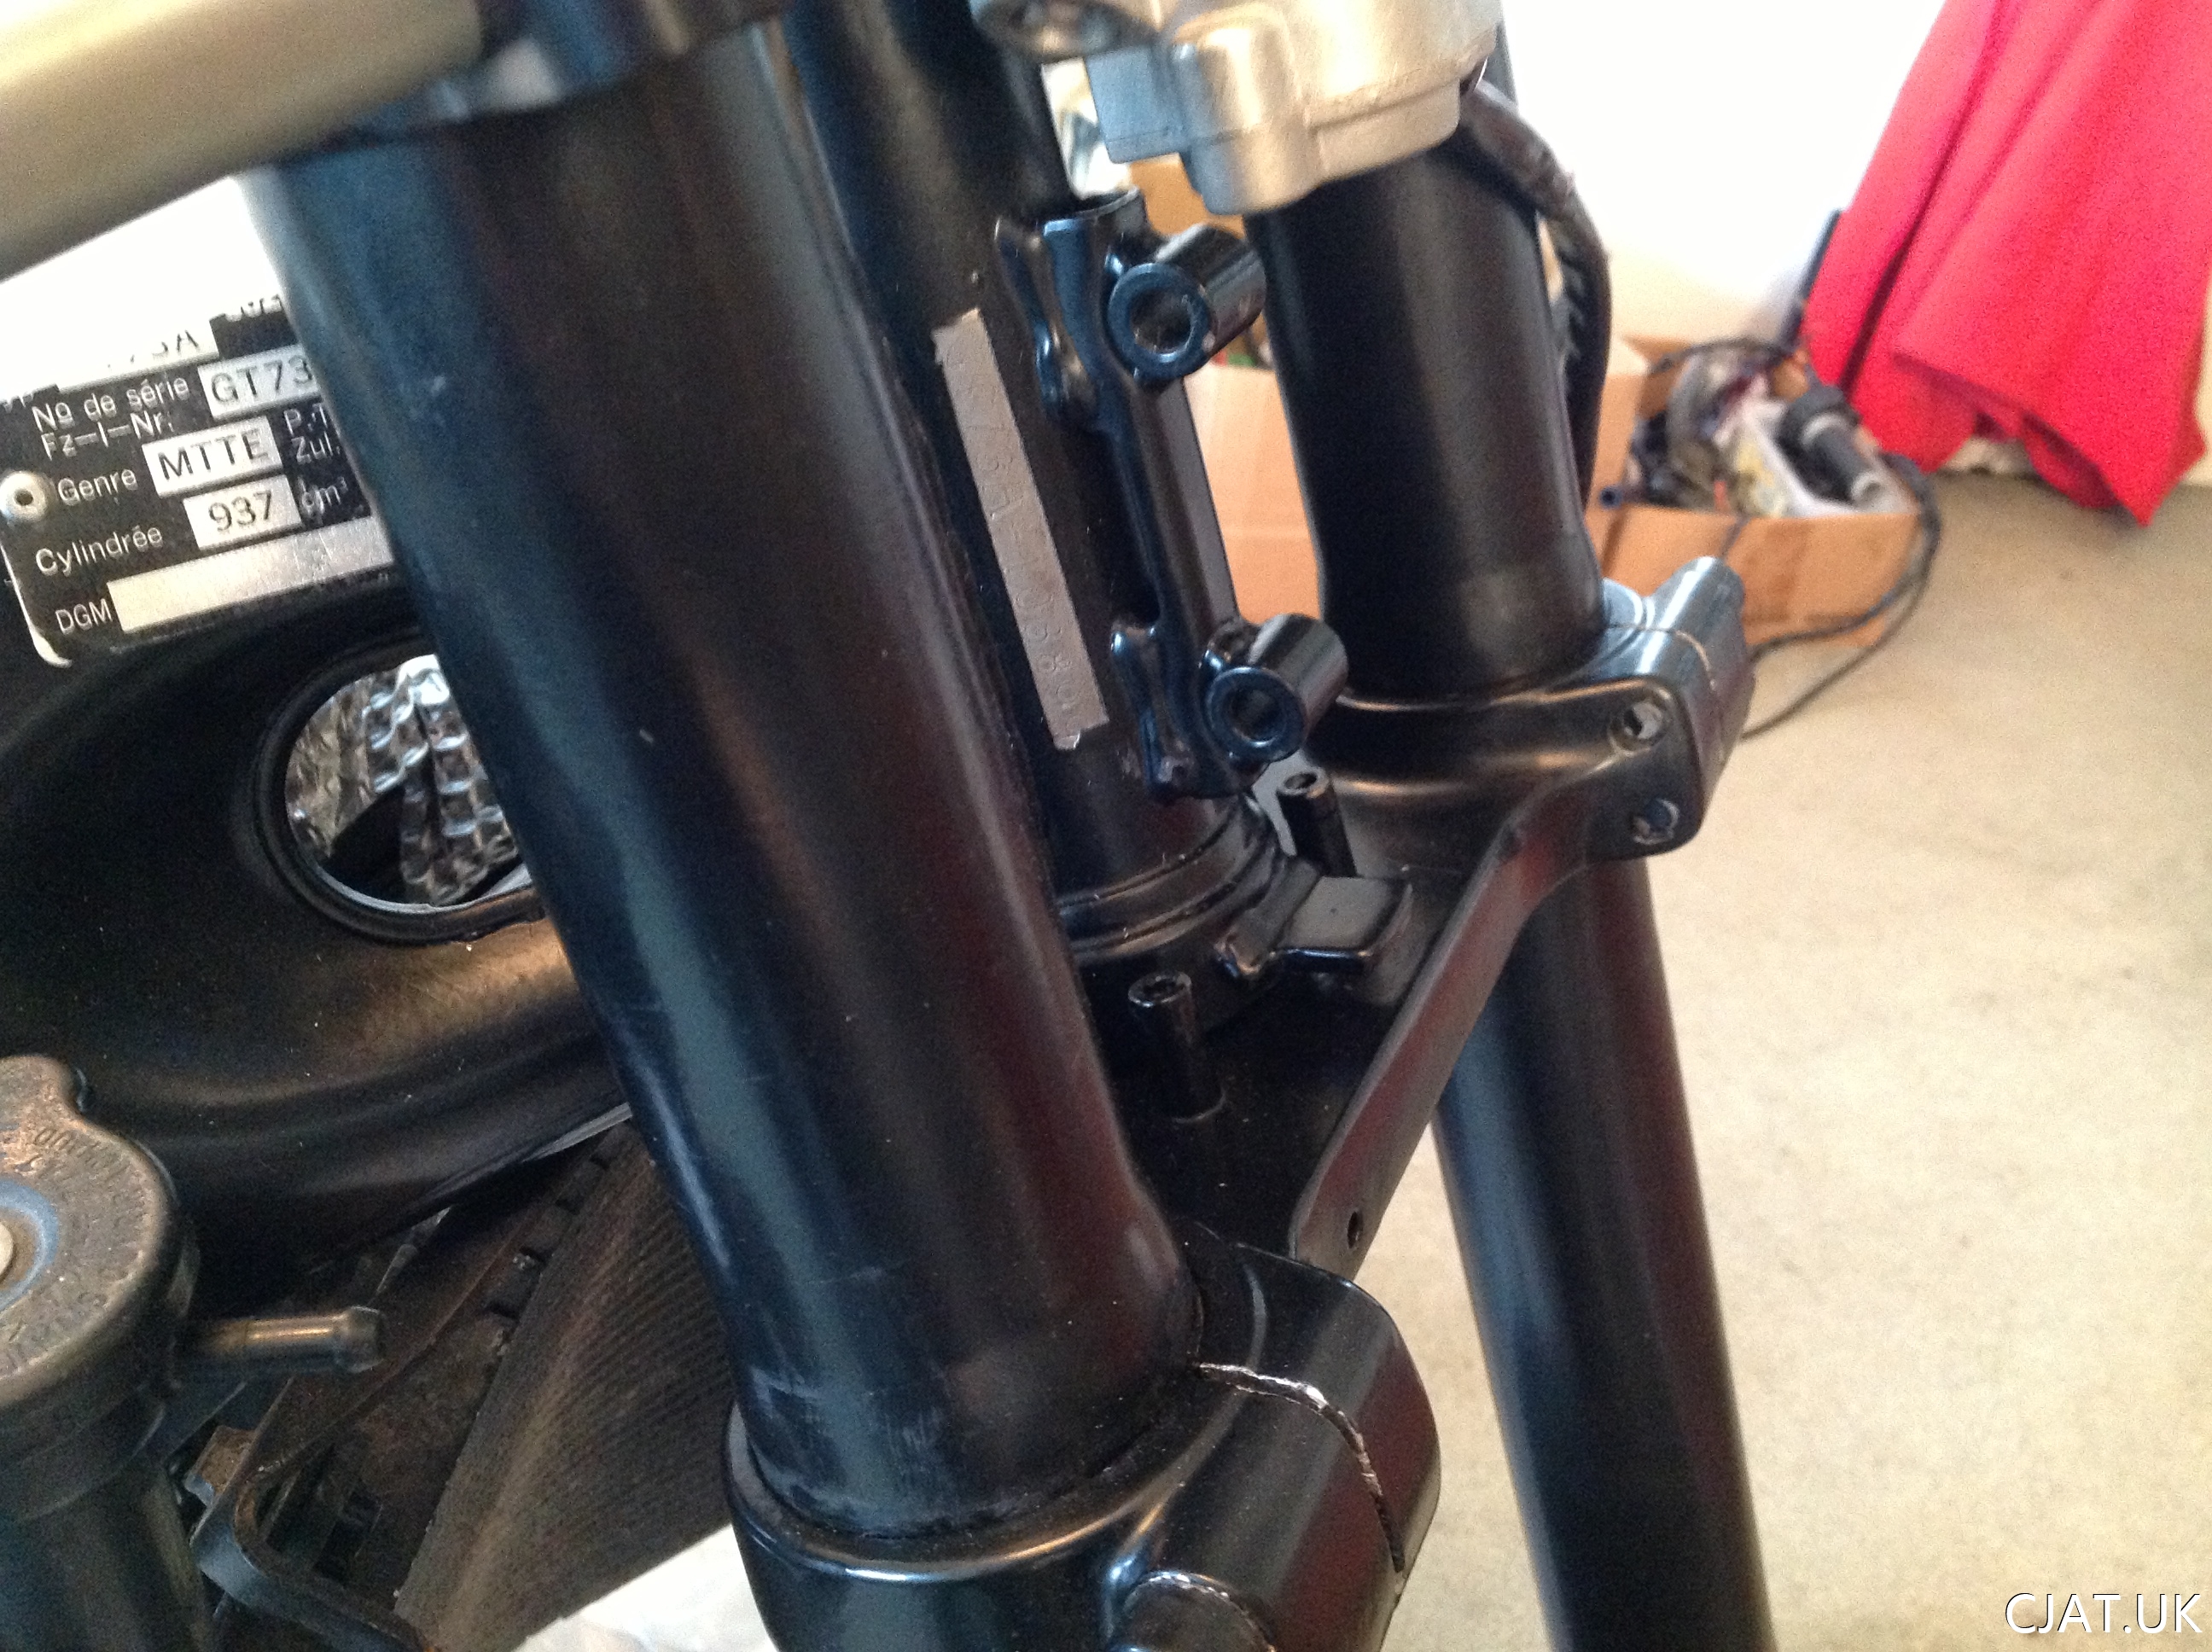
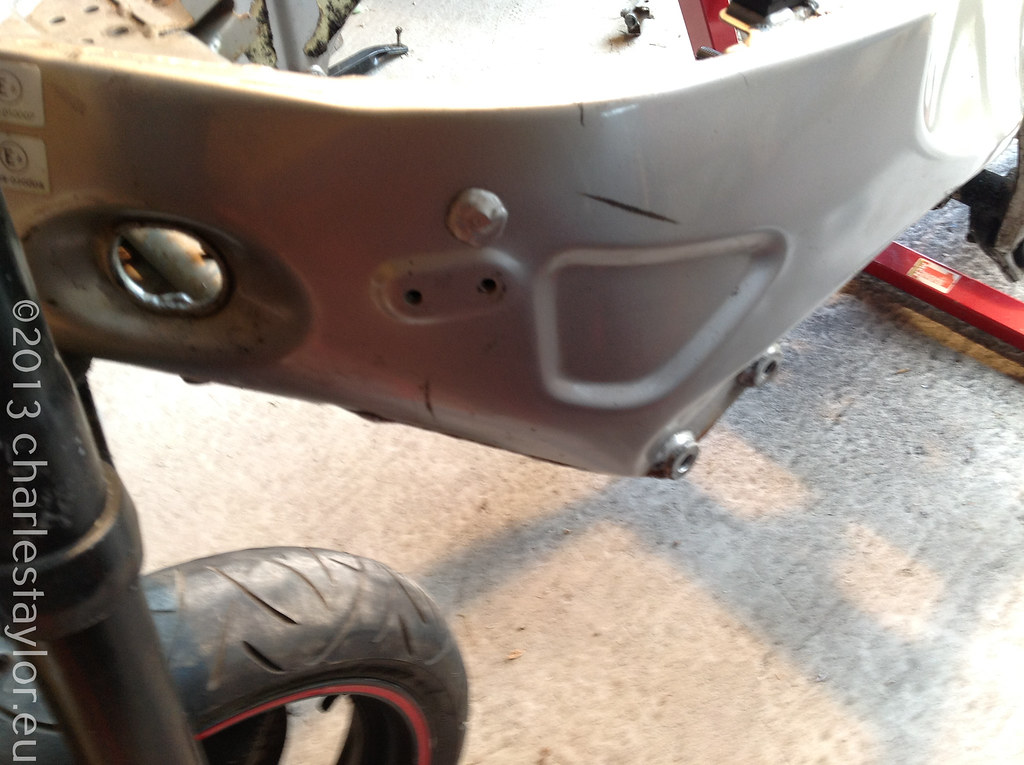
Also installed the VIN plate. You can also see some of the damage from installing the forks.

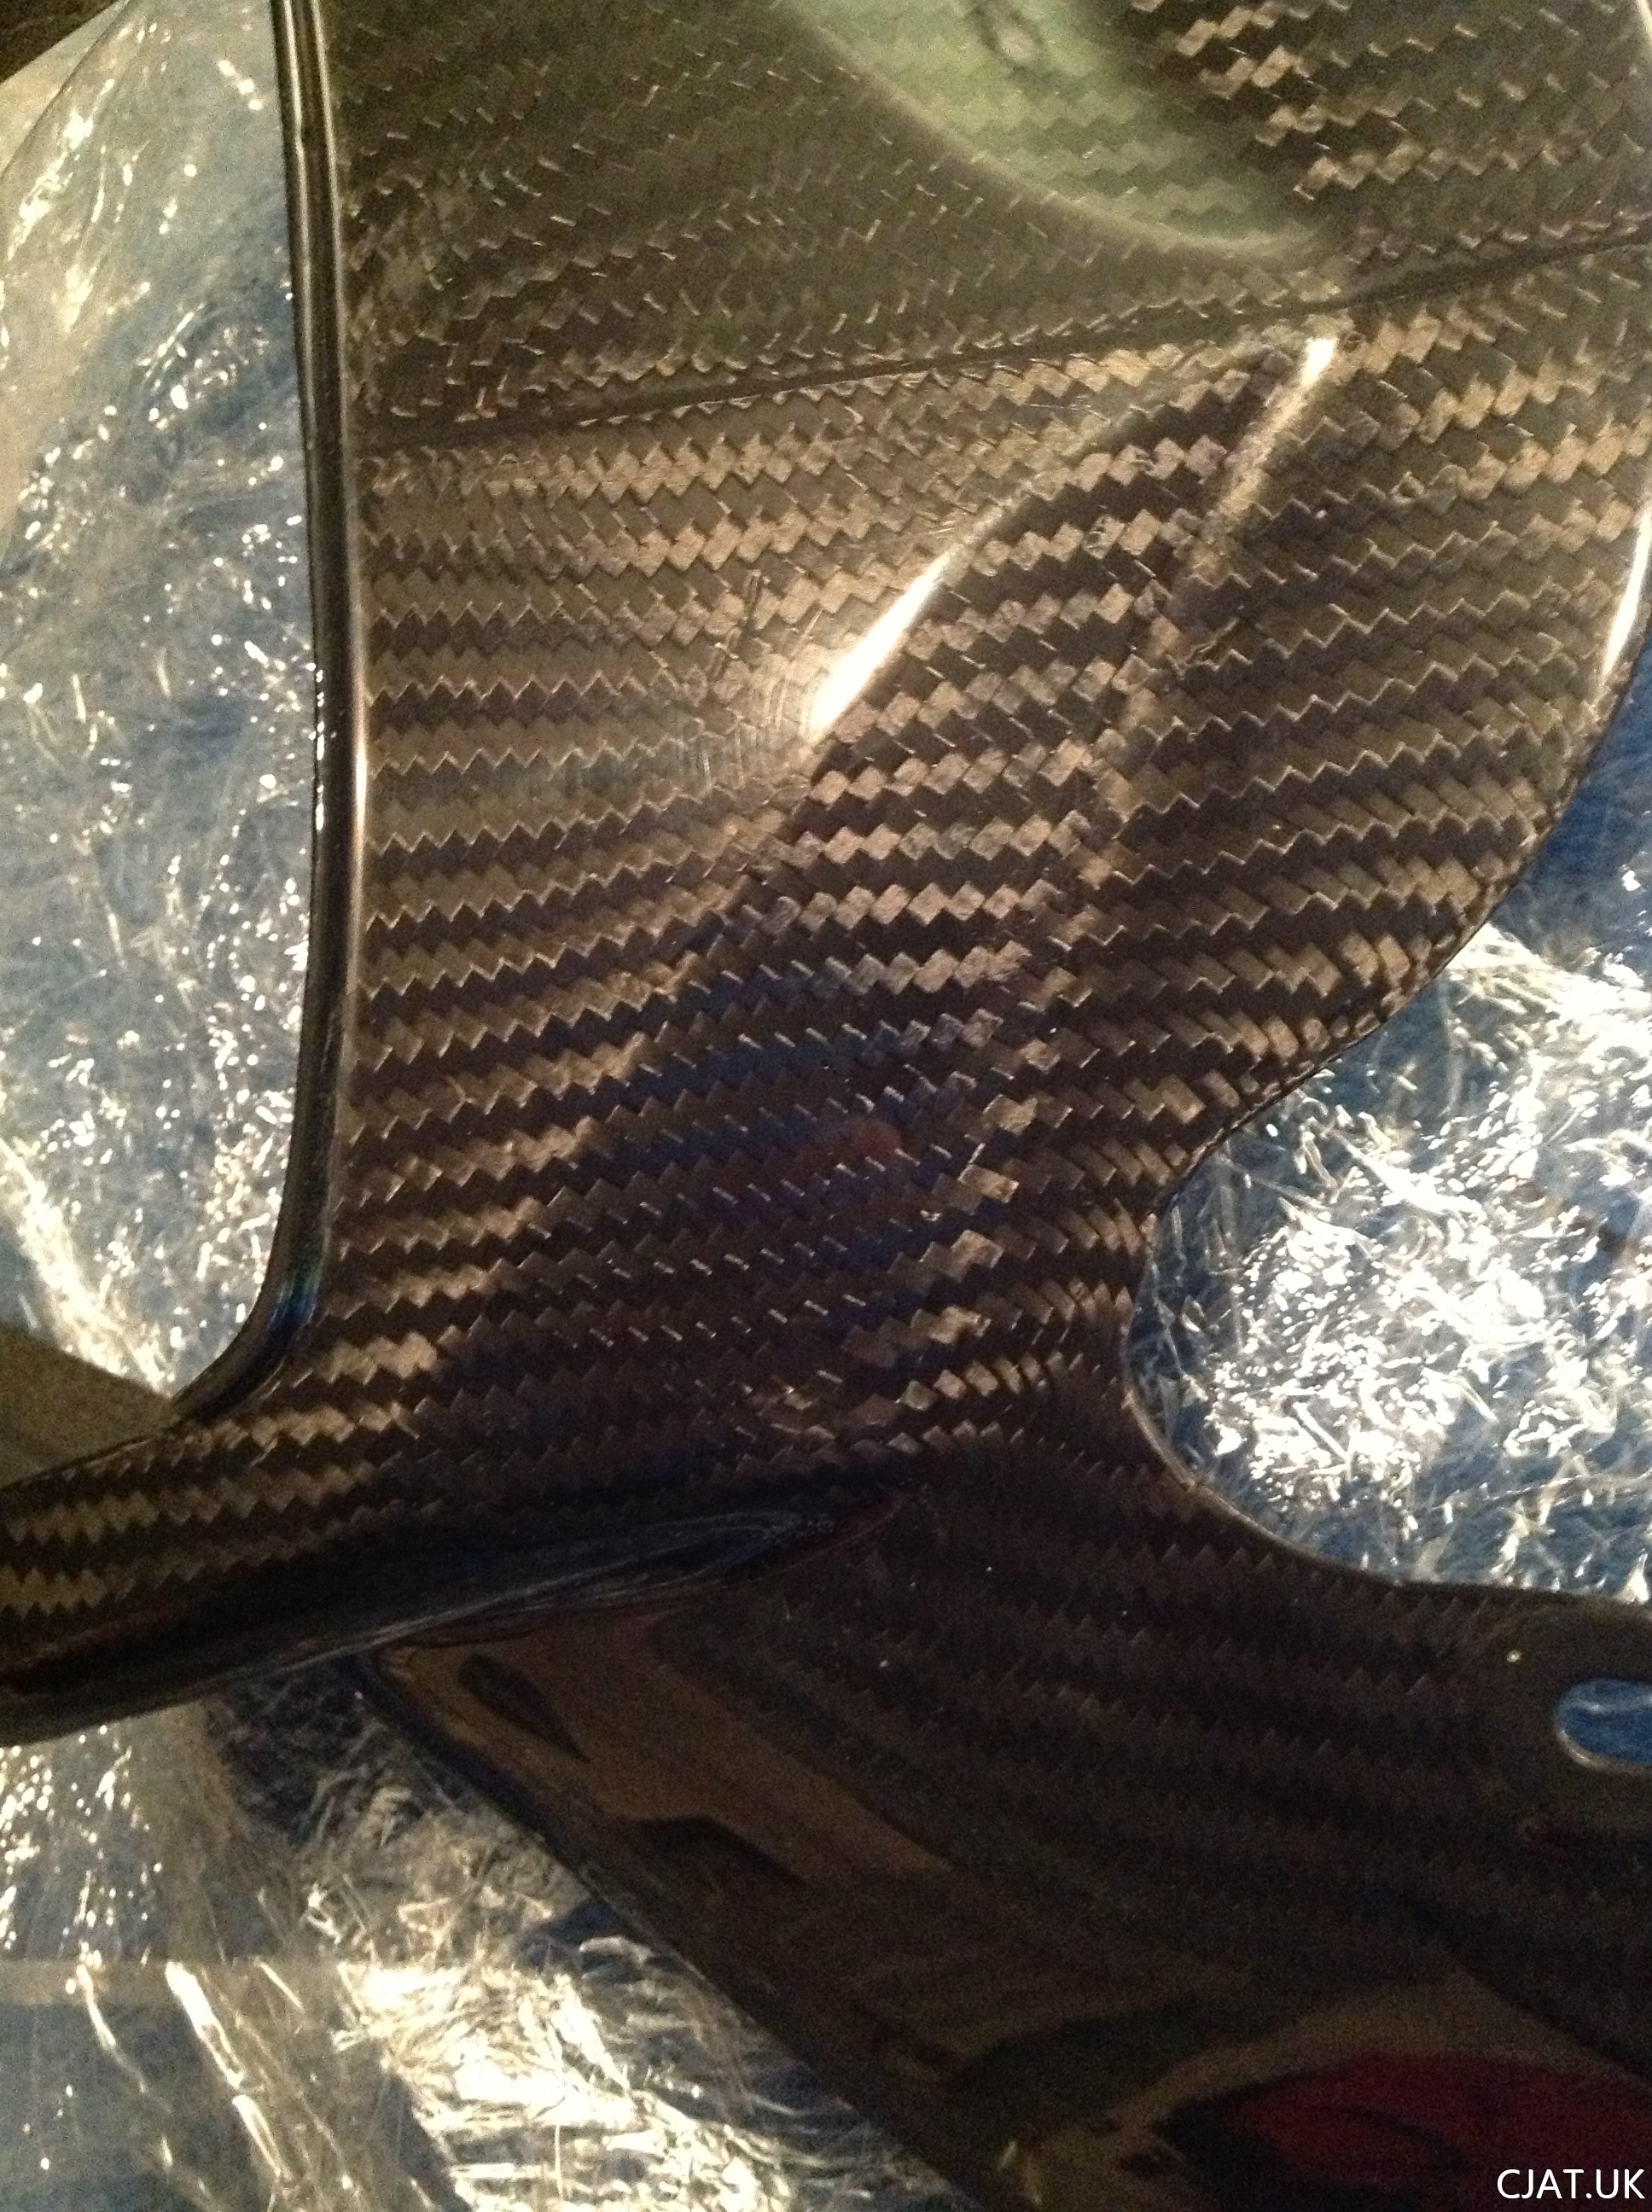
 Tail Swap – Carbon Fairings")

 I also cleaned and polished up the tops as they looked tired and would have ruined the look of the newly powdered yokes...

 I got a quote from Jim at
 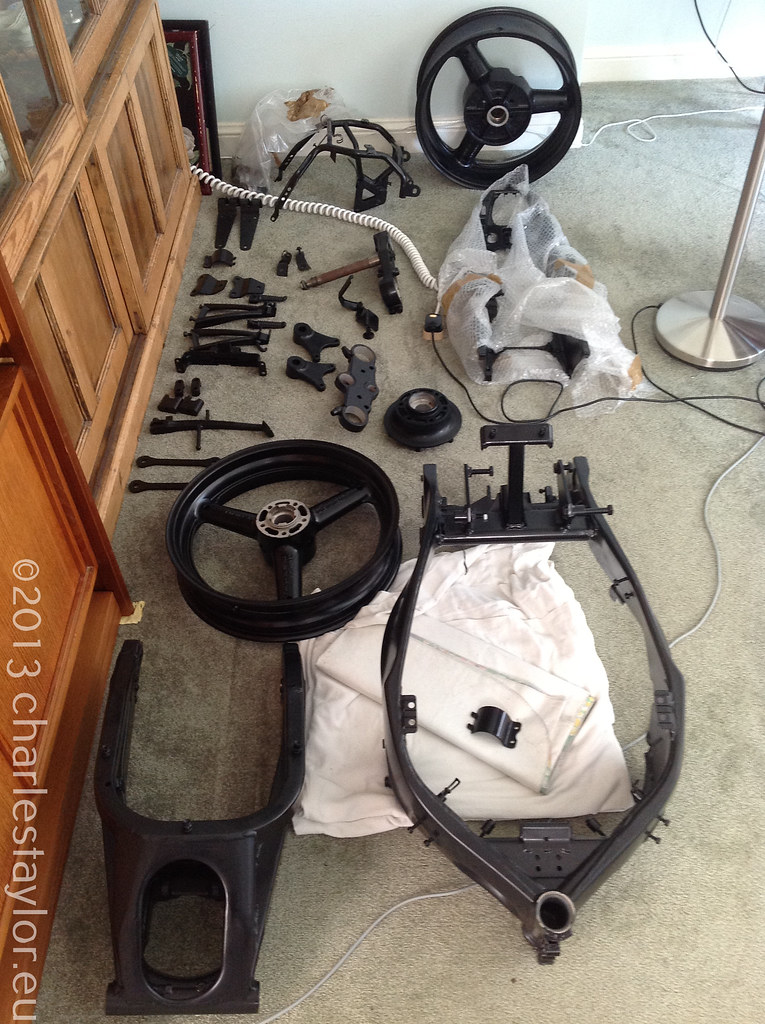 Paint Job, Round #1
It wasn't until I got everything home and unwrapped the bubble wrap that I noticed a couple of things:
Paint Job, Round #1
It wasn't until I got everything home and unwrapped the bubble wrap that I noticed a couple of things:
 2. Poor finish on both rims
 Round #2
I immediately took them back and Jim redid the swing arm. Unfortunately Jim explained the rims were made from cast alloy and the powder coating process causes air bubbles in the rims to pop and give the effect seen in the photo. After 3 attempts to re-coat the rims I still wasn't happy. He finally tried something called a wet coat (?) which seemed to sort out the problem and gave the same finish as the rest of the parts (forgot to take pictures of finished rims.. oops).
Round #2
I immediately took them back and Jim redid the swing arm. Unfortunately Jim explained the rims were made from cast alloy and the powder coating process causes air bubbles in the rims to pop and give the effect seen in the photo. After 3 attempts to re-coat the rims I still wasn't happy. He finally tried something called a wet coat (?) which seemed to sort out the problem and gave the same finish as the rest of the parts (forgot to take pictures of finished rims.. oops).")
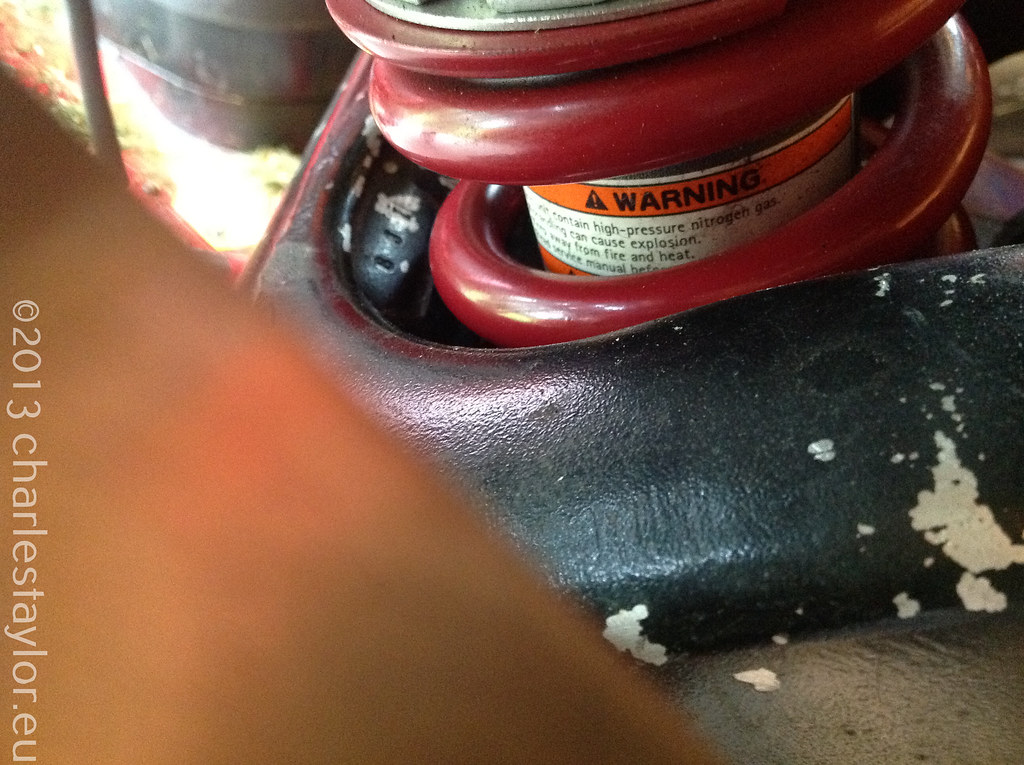
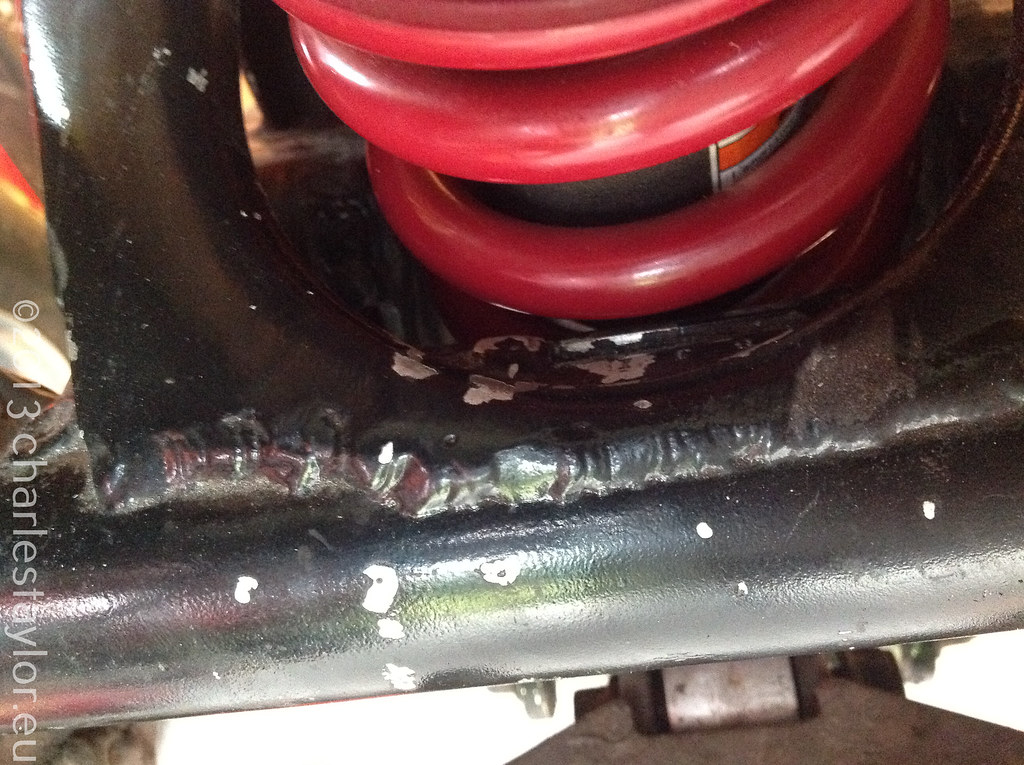
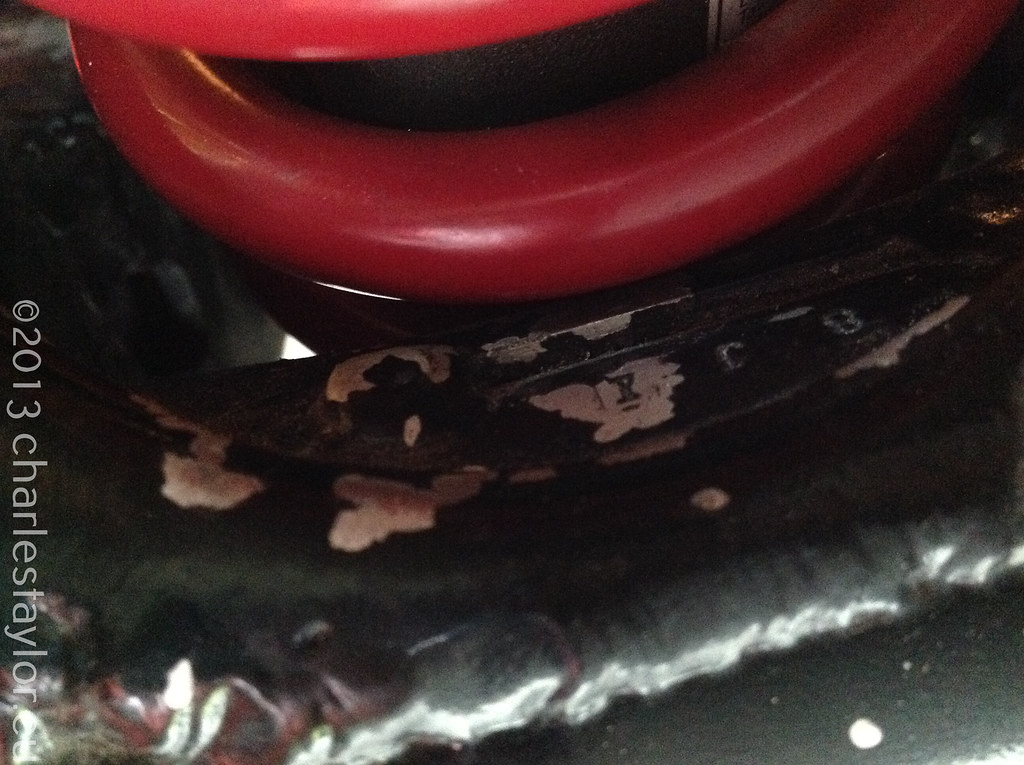
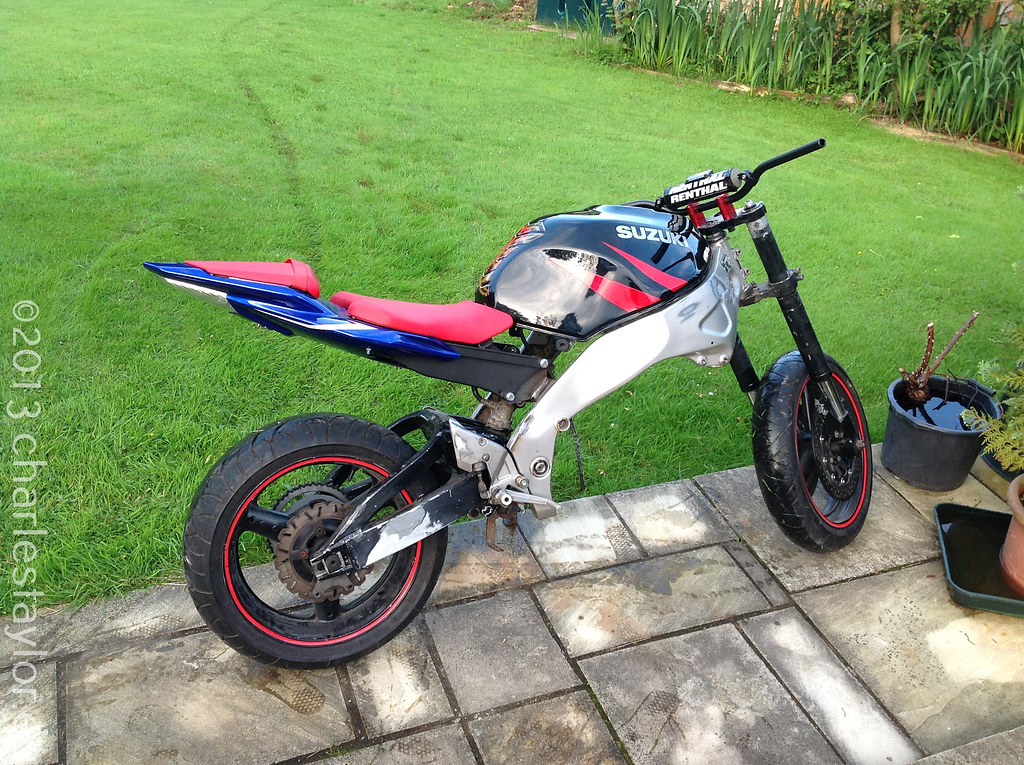
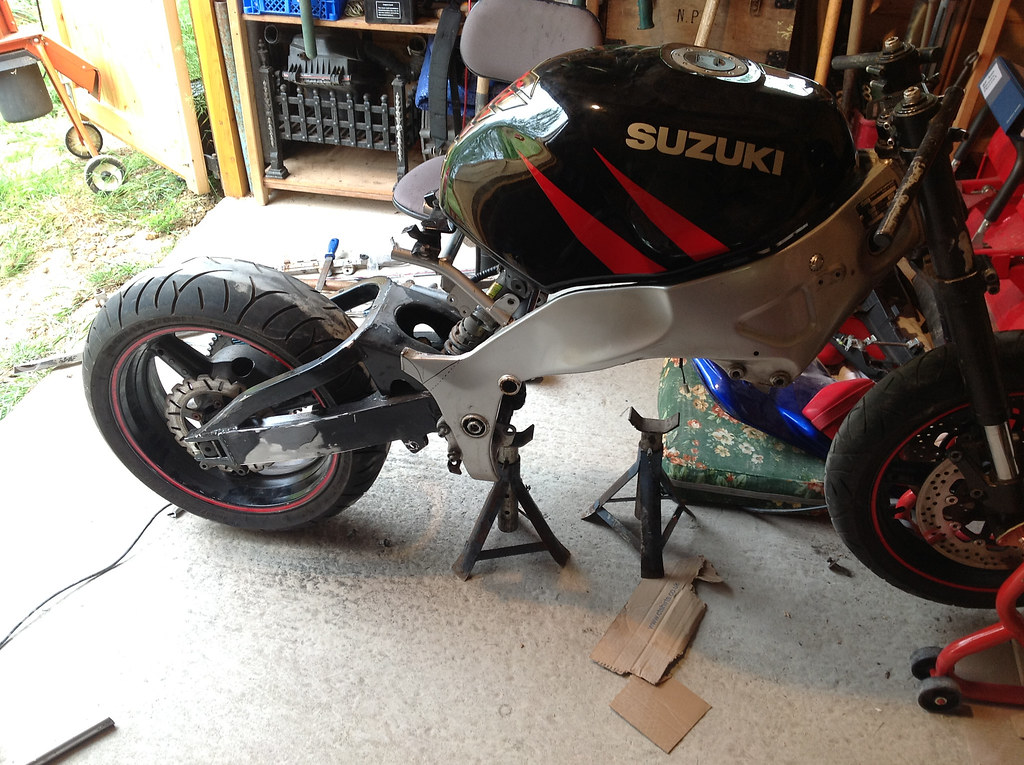
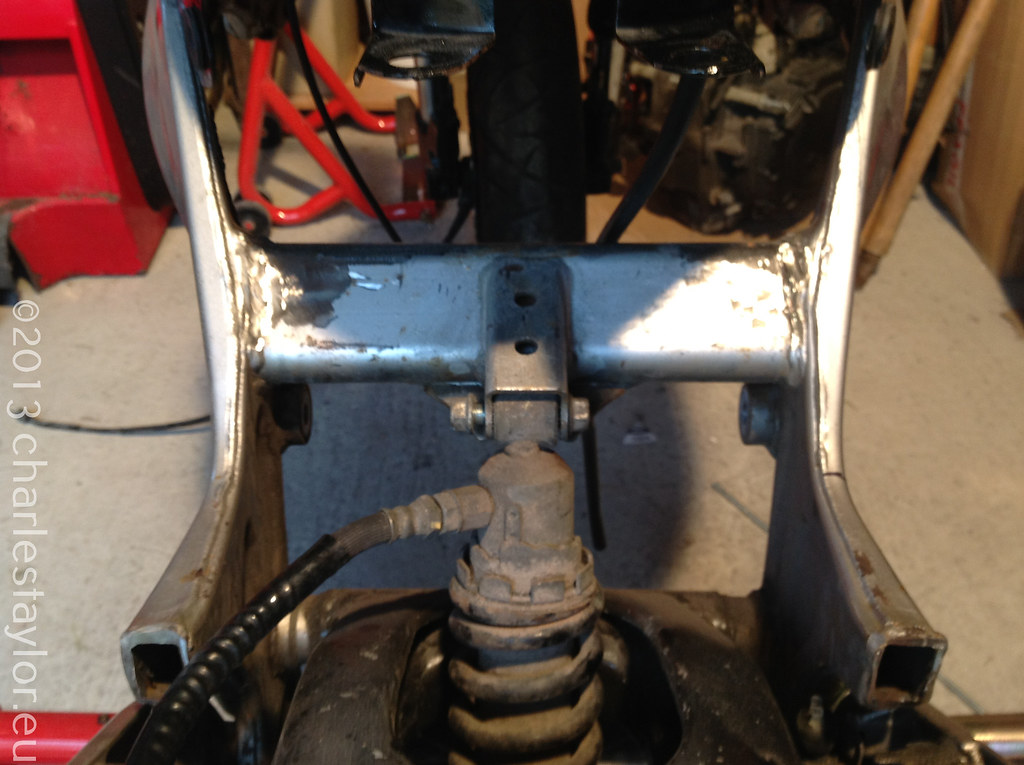
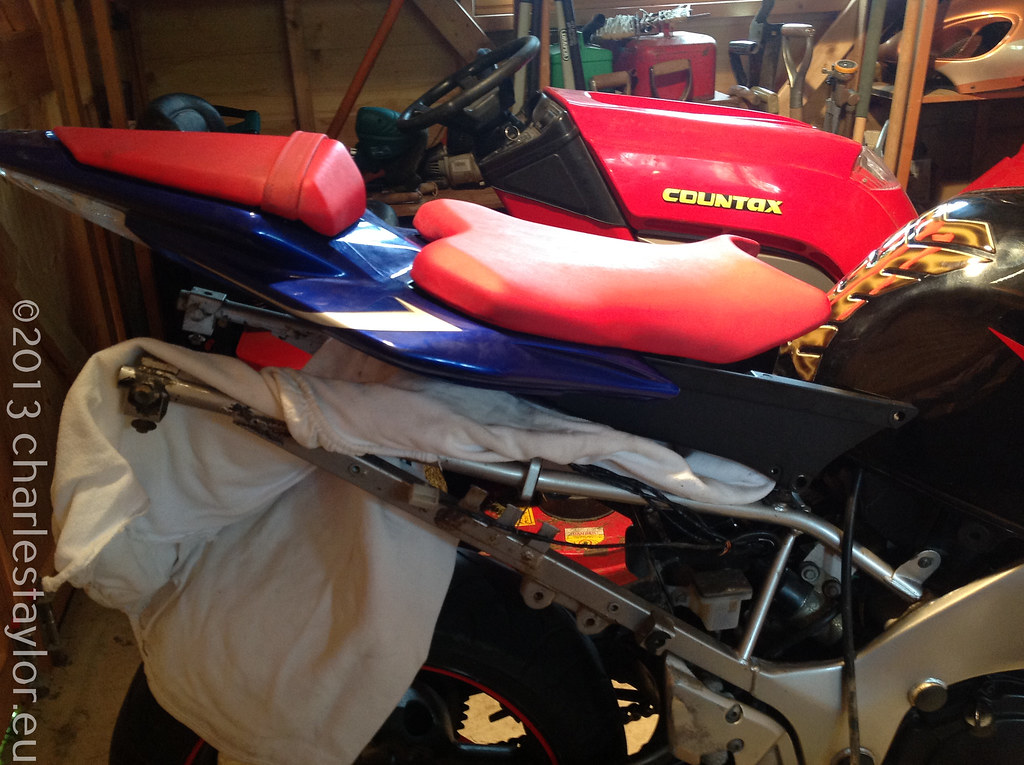
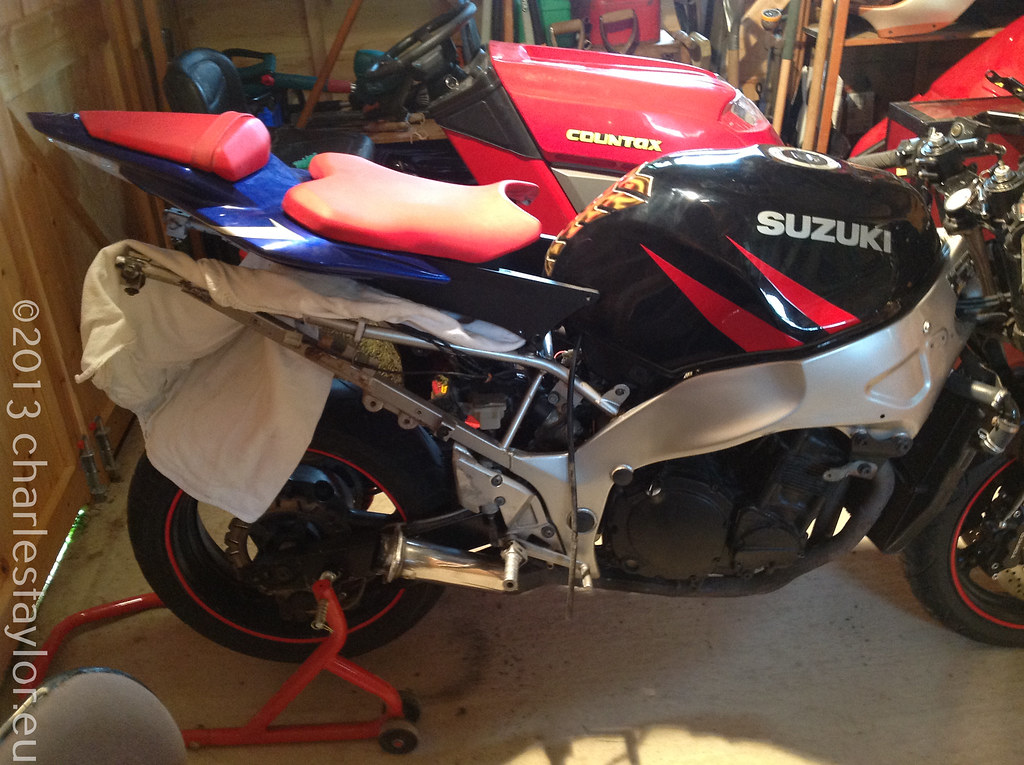
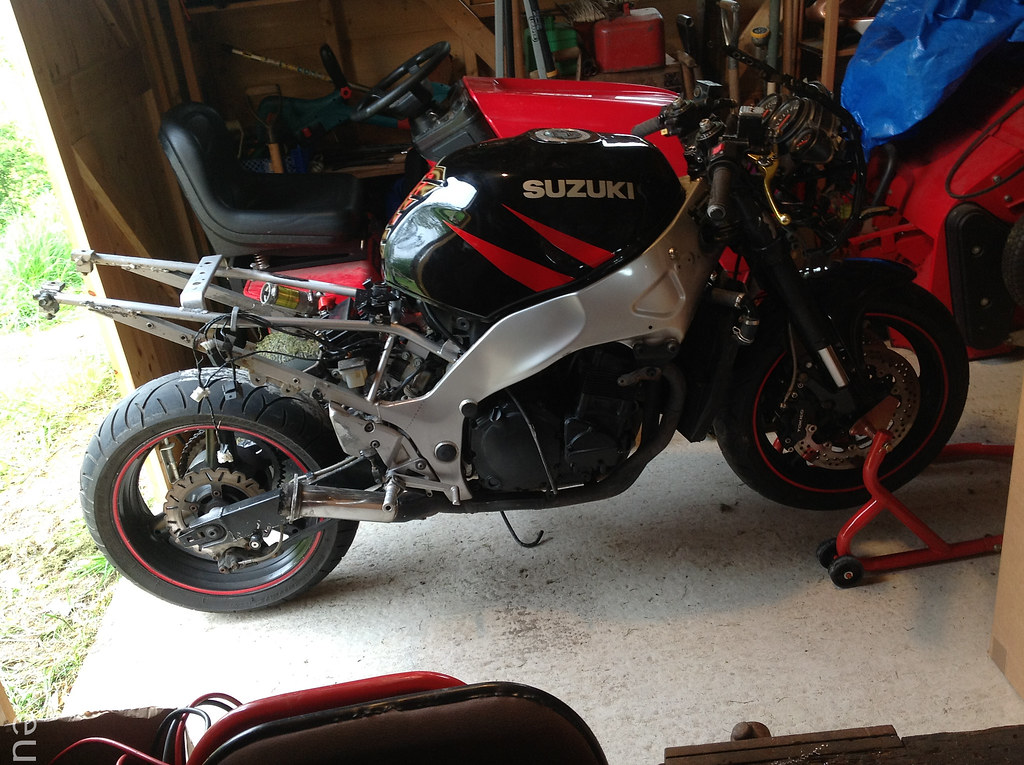
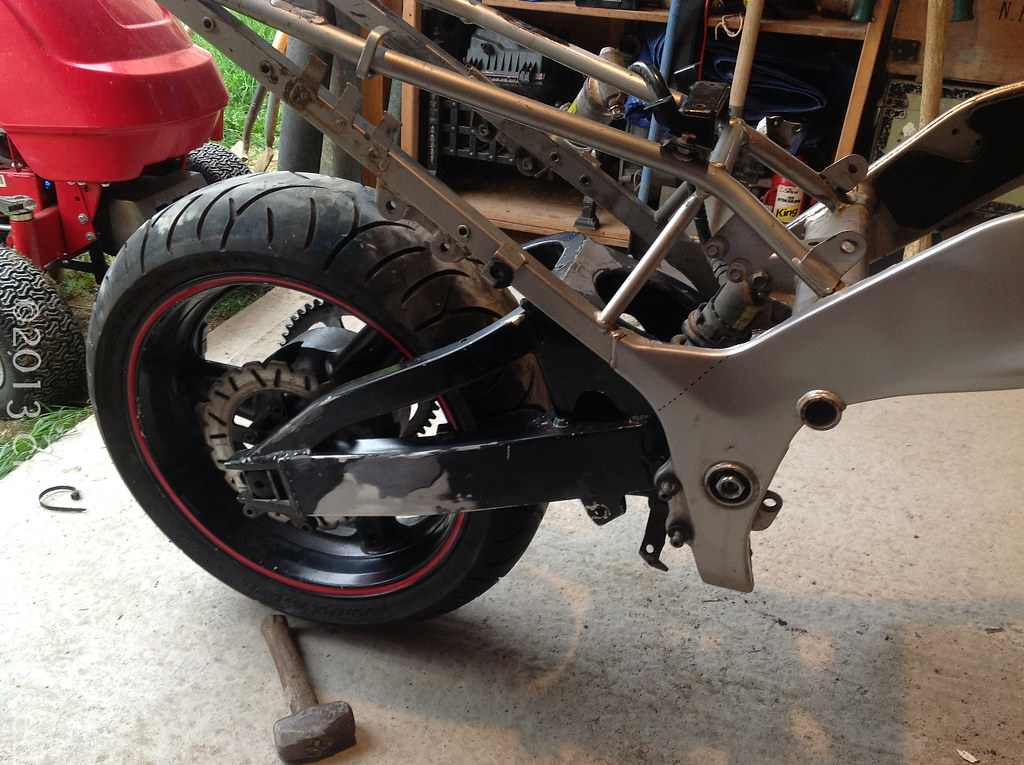
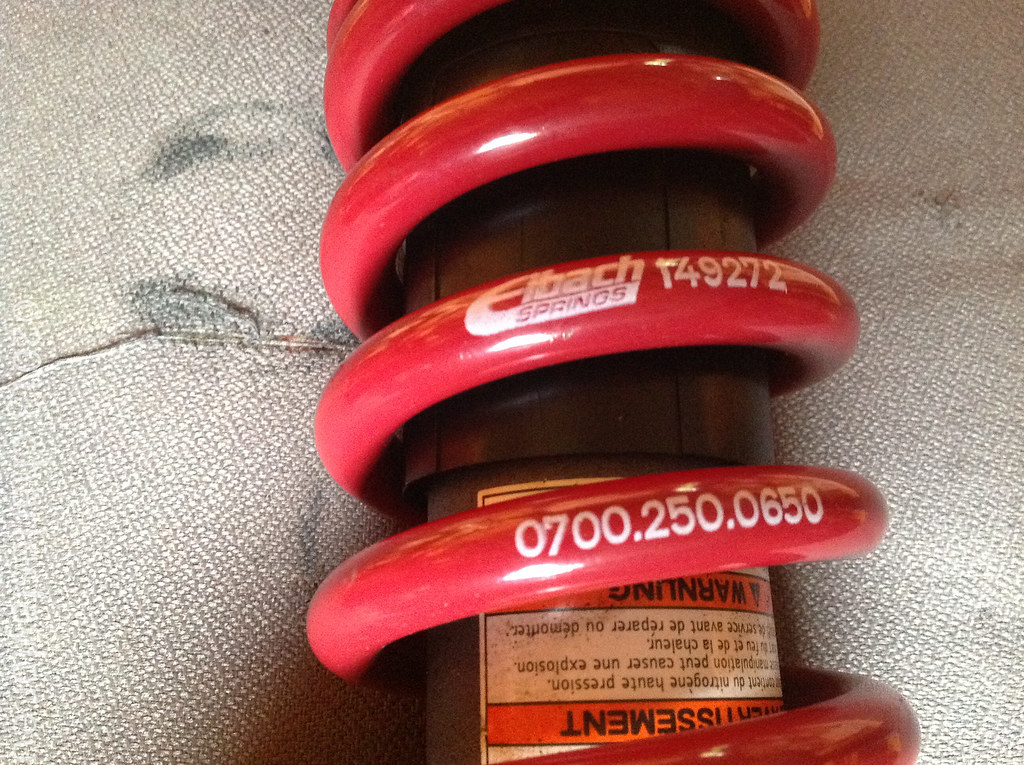 It fits! (phew)
Had me worried there for a second - but I can run a piece of card between the spring and swing arm when it's fully extended.
It fits! (phew)
Had me worried there for a second - but I can run a piece of card between the spring and swing arm when it's fully extended.
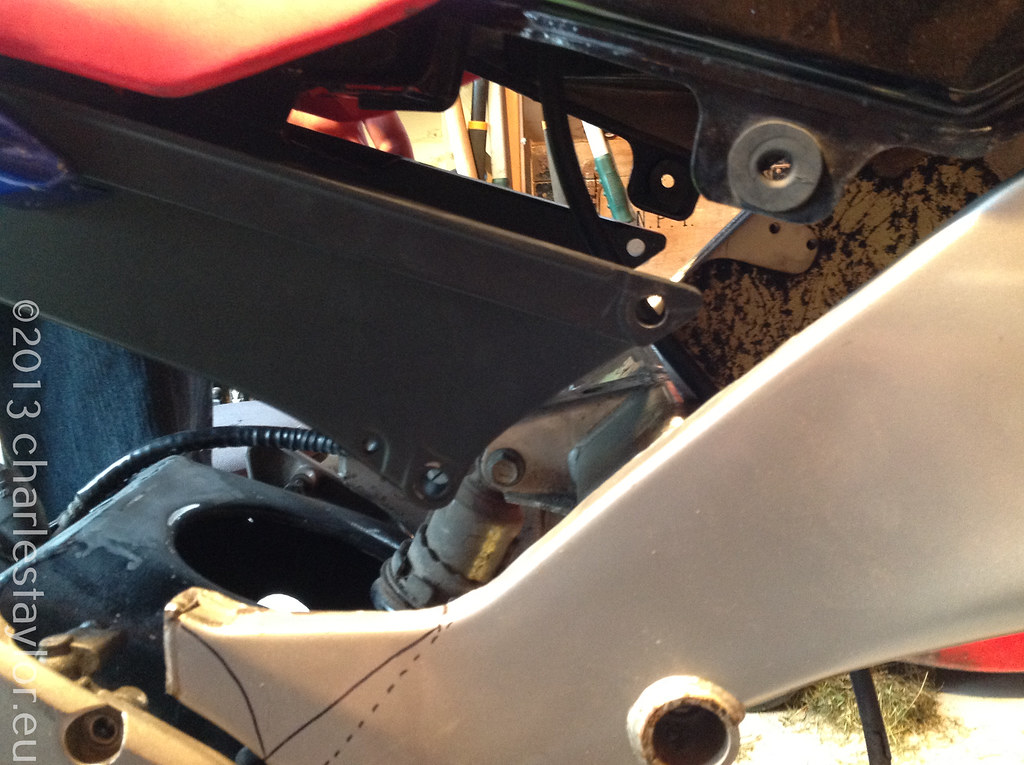
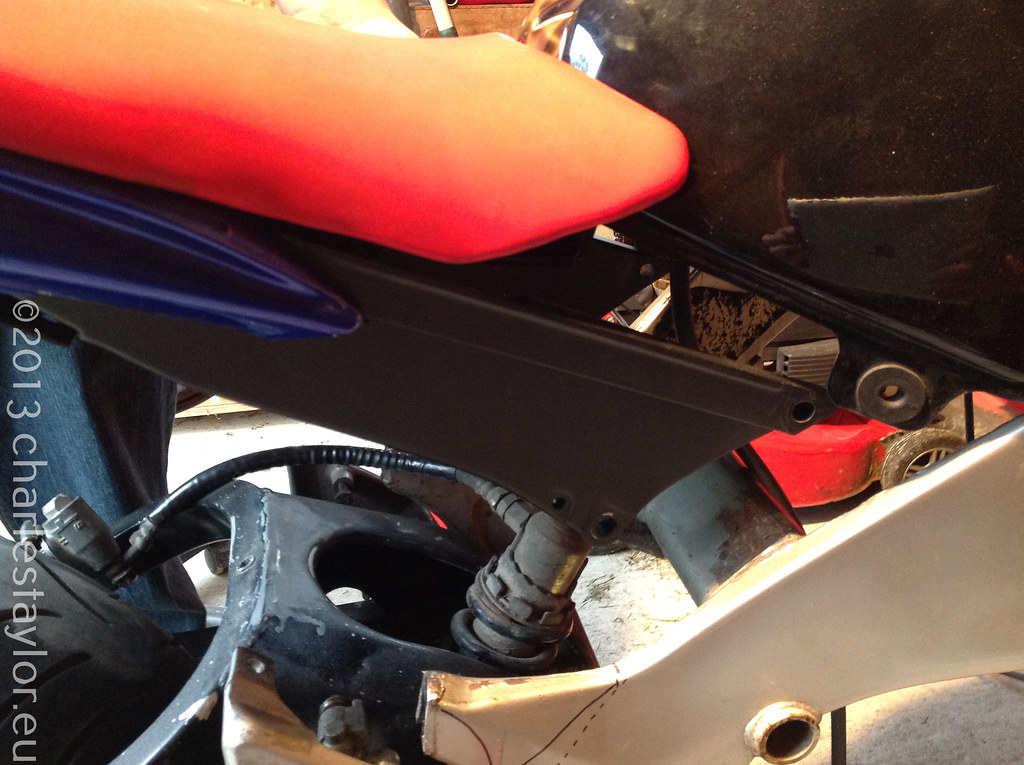
 Subframe – RF900 Tail Swap")
 I was really pleased with the work. I used a Gosport company,
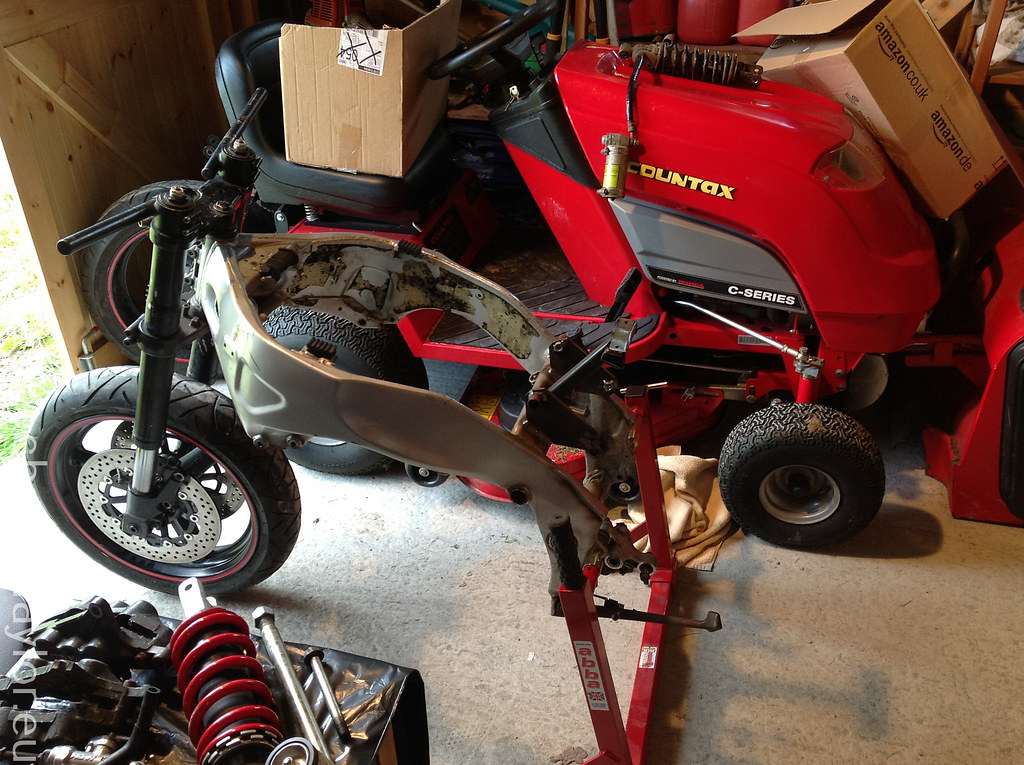
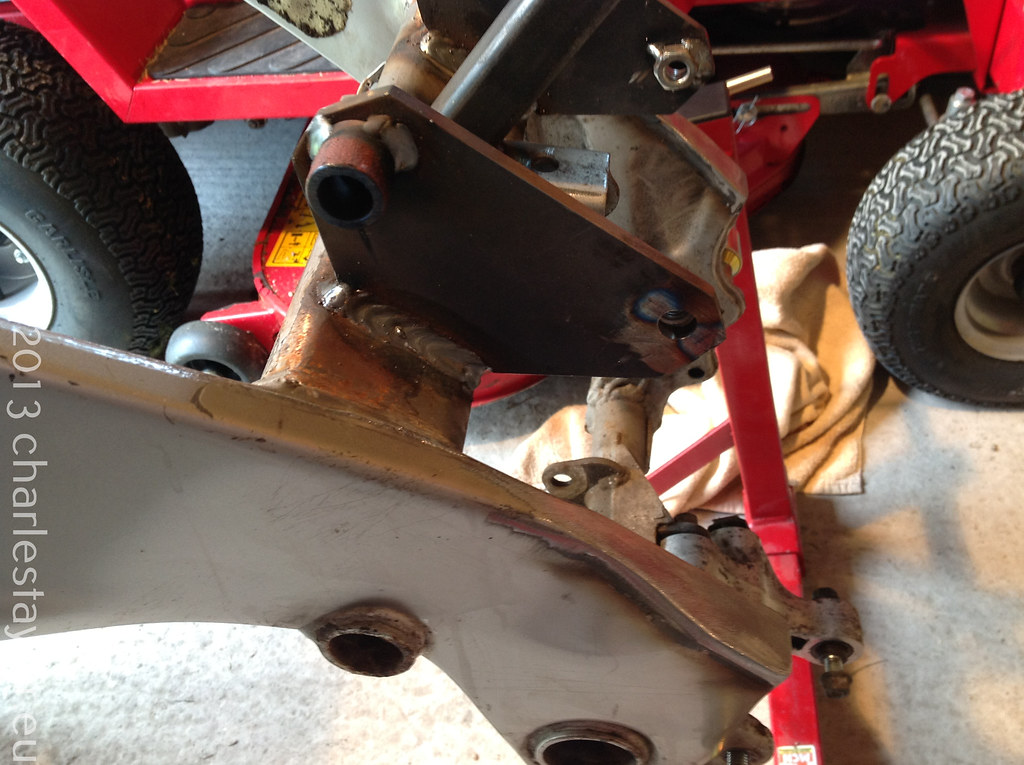
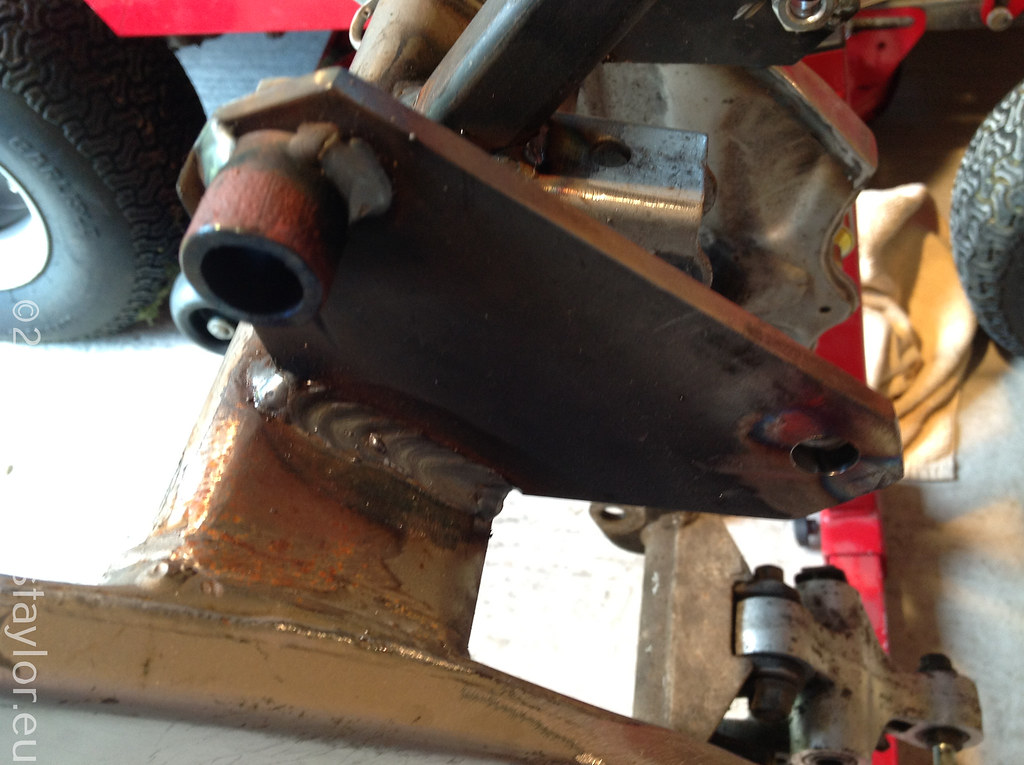
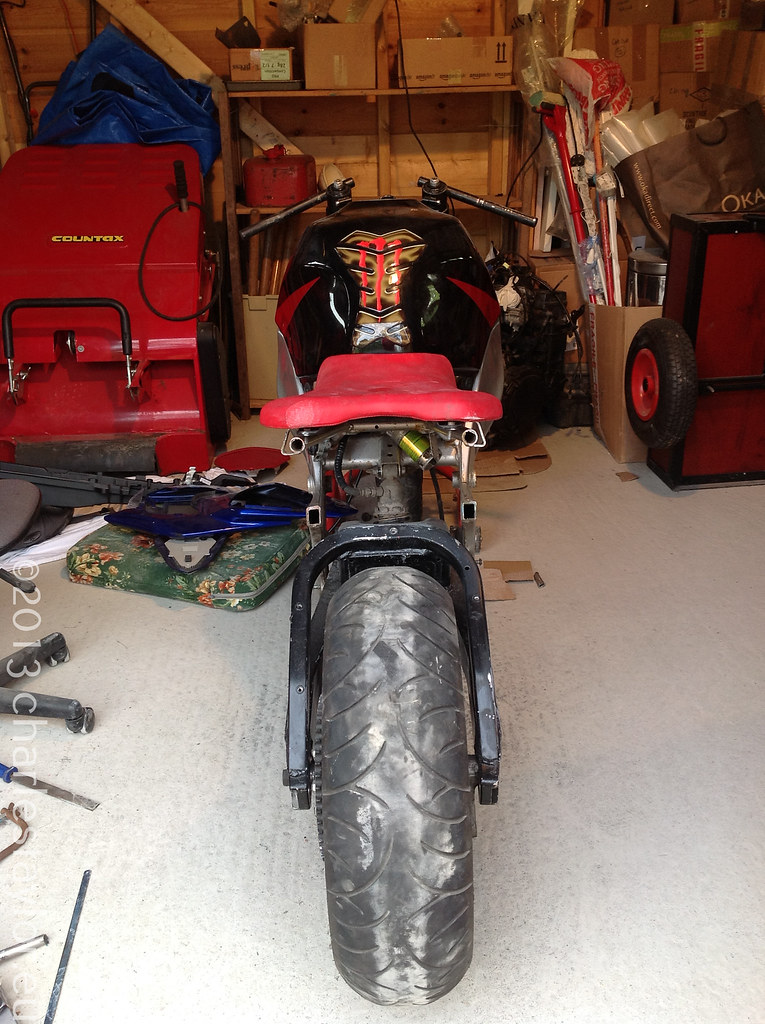
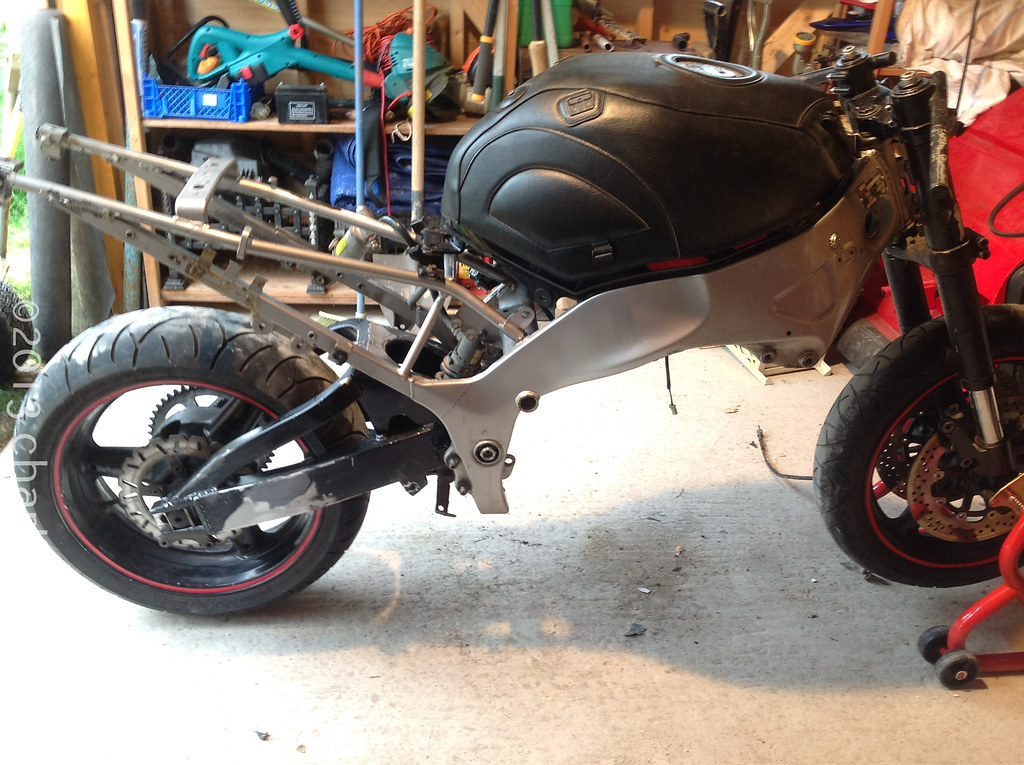
 I bought some rental bars and a Dan moto mini speedometer which I plan to hide in the brace. I am still torn between the raised handle bars versus clip ons so I want to get an idea of what both look like with the new tail swap before powder coating.
Hello my pretty...
I bought some rental bars and a Dan moto mini speedometer which I plan to hide in the brace. I am still torn between the raised handle bars versus clip ons so I want to get an idea of what both look like with the new tail swap before powder coating.
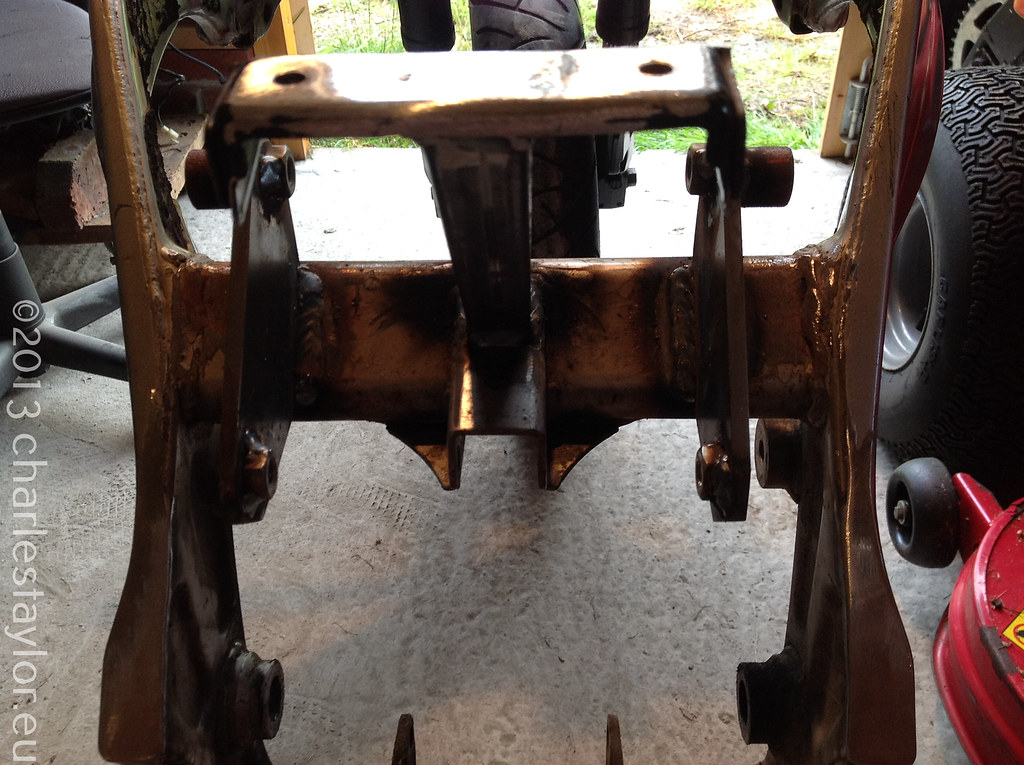
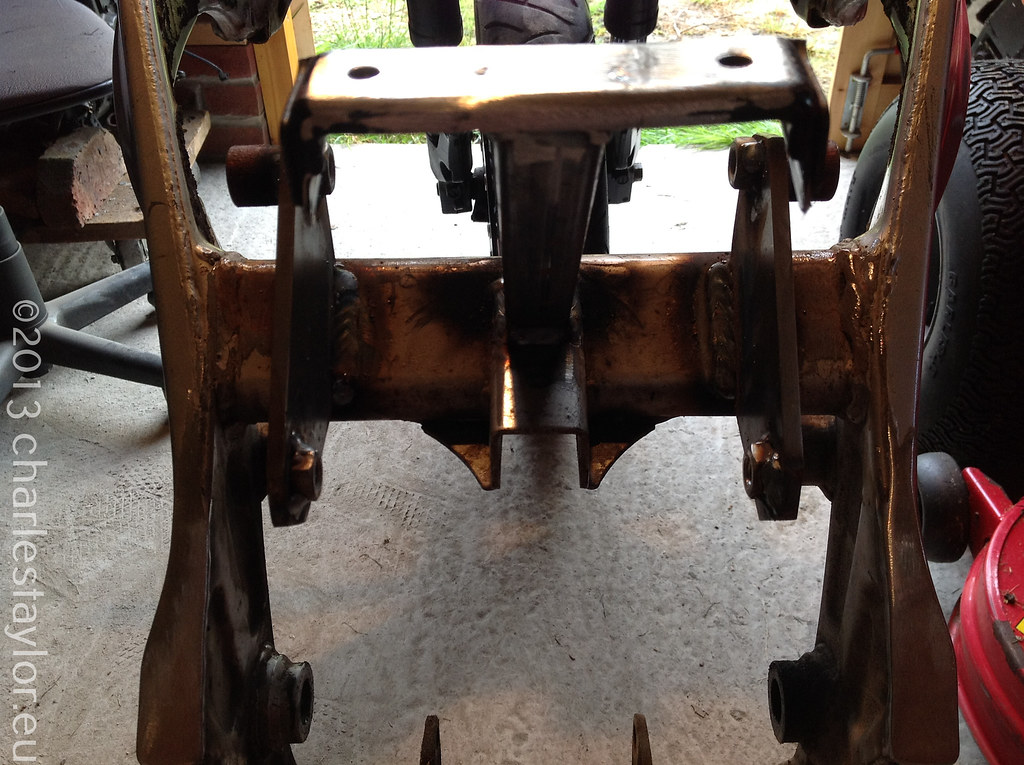
Hello my pretty...


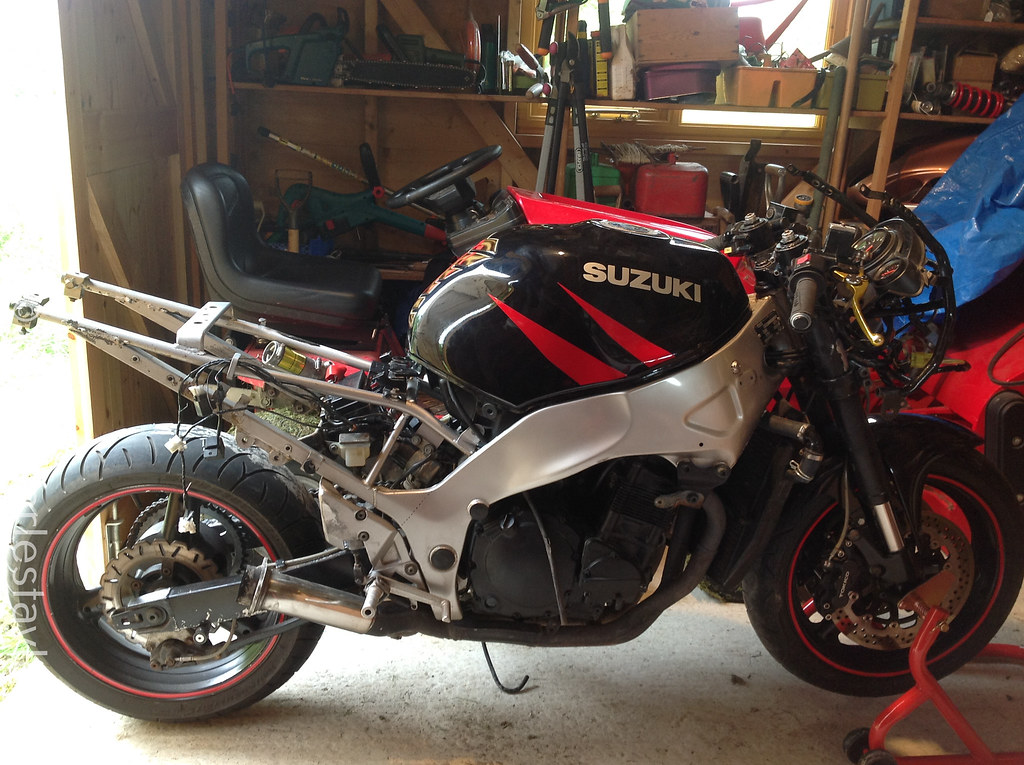
 I personally think the frame and the lines look a lot better now with the smooth curves.
")
 Grab the tools...
(remember safety first)..
Grab the tools...
(remember safety first)..
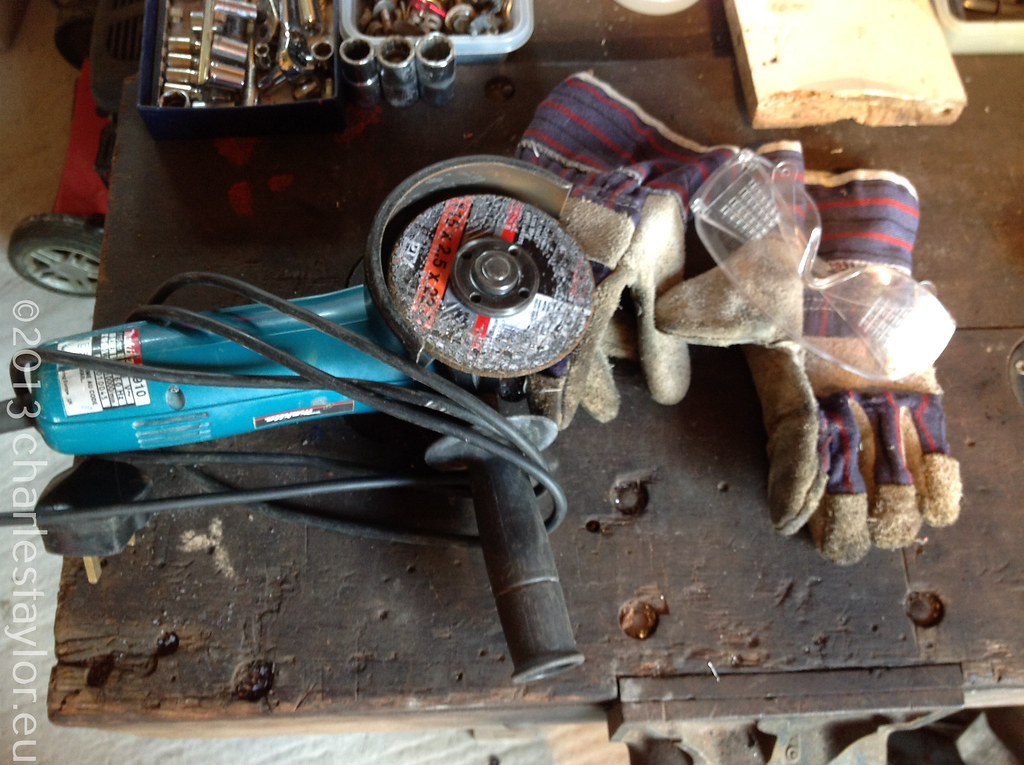 ...and set to work

 RF bobber anyone? 😉
 And then there was none....
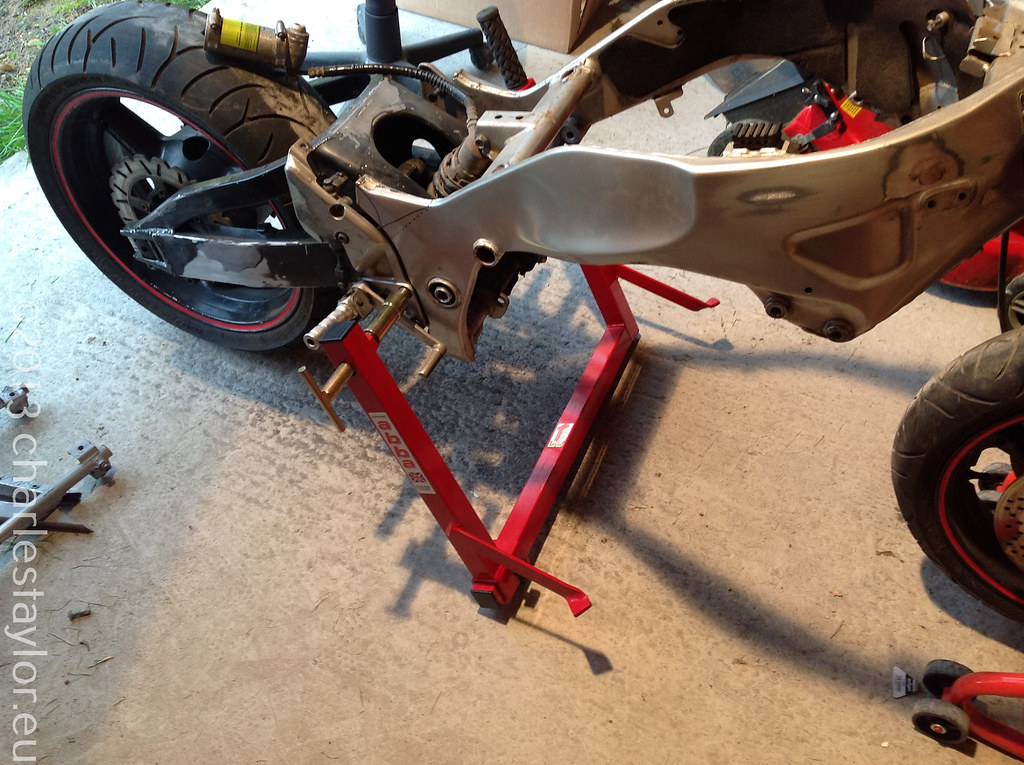
 The stand: Figured out pretty quickly that a proper stand was going to be needed, so I picked up an
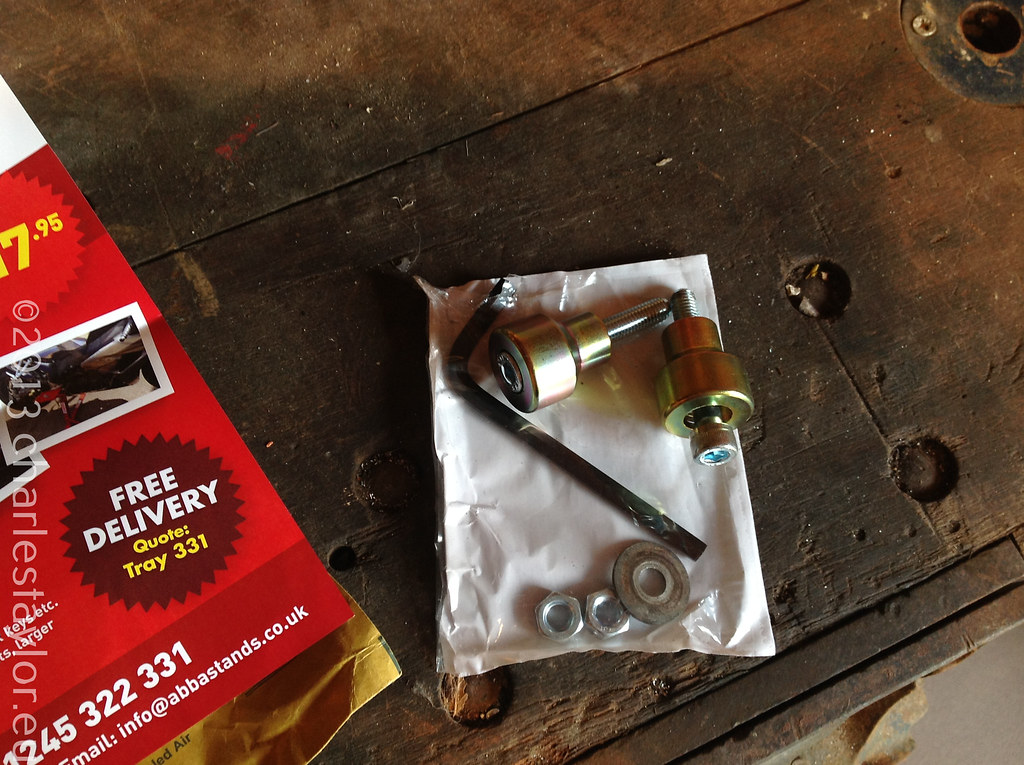
 Bye bye mysterious, nasty lumps
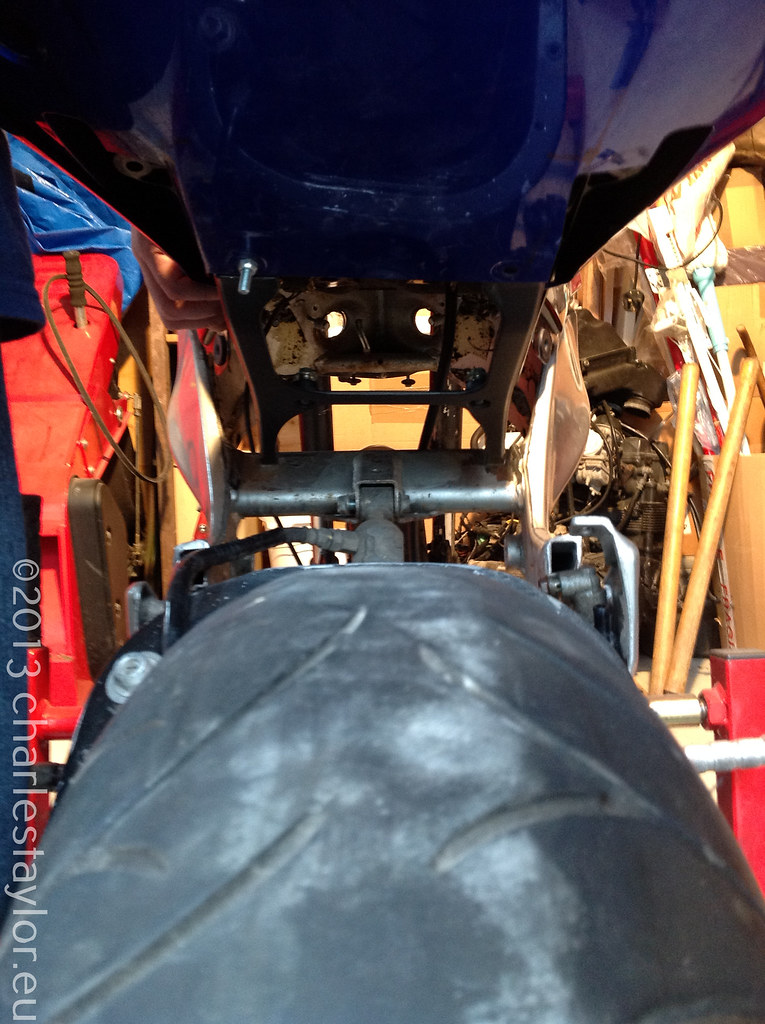
 With the subframe gone I could now get an idea of the mock up for the new subframe and tail.
Definitely a 2 man job, so got my little brother to help out...where does the new subframe go?
With the subframe gone I could now get an idea of the mock up for the new subframe and tail.
Definitely a 2 man job, so got my little brother to help out...where does the new subframe go?

 A few pictures before it was picked up for the welder.
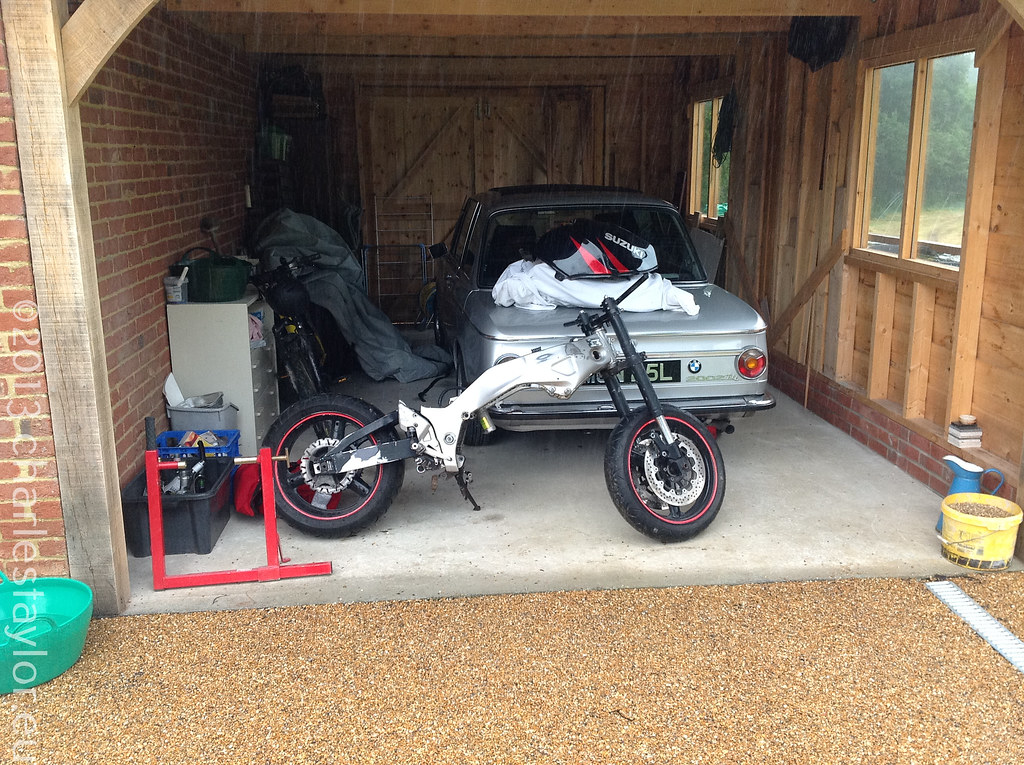
(For anyone interested, check out the BMW 2002tii in the background - our father-son bonding project.)
A few pictures before it was picked up for the welder.
(For anyone interested, check out the BMW 2002tii in the background - our father-son bonding project.)


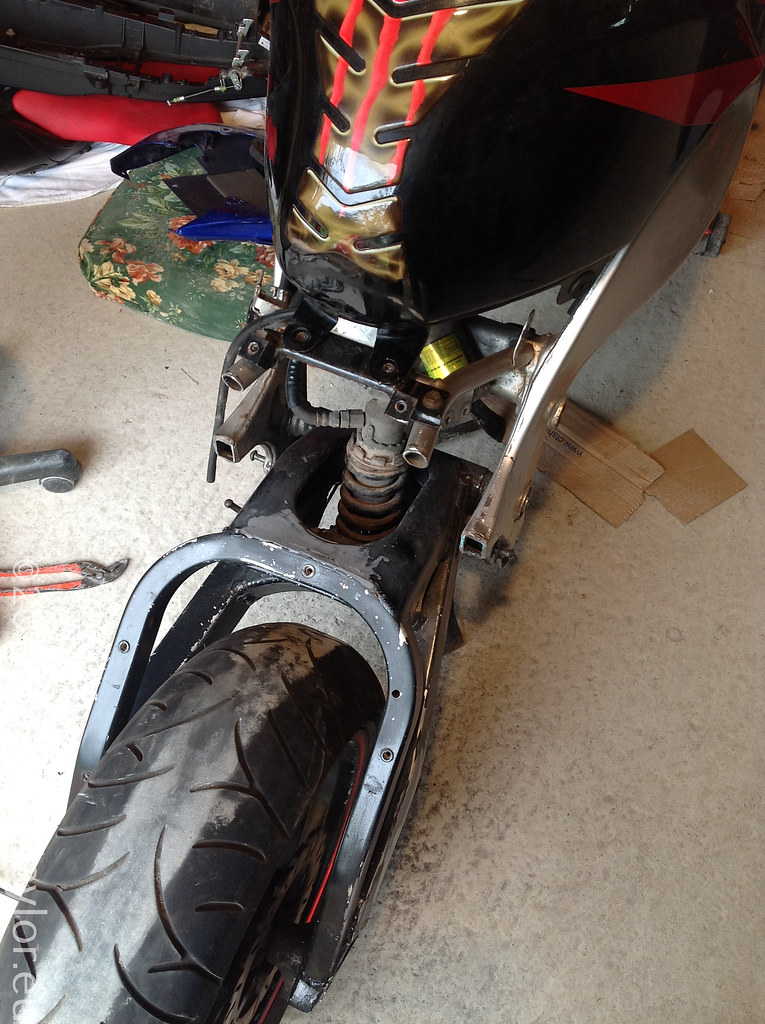
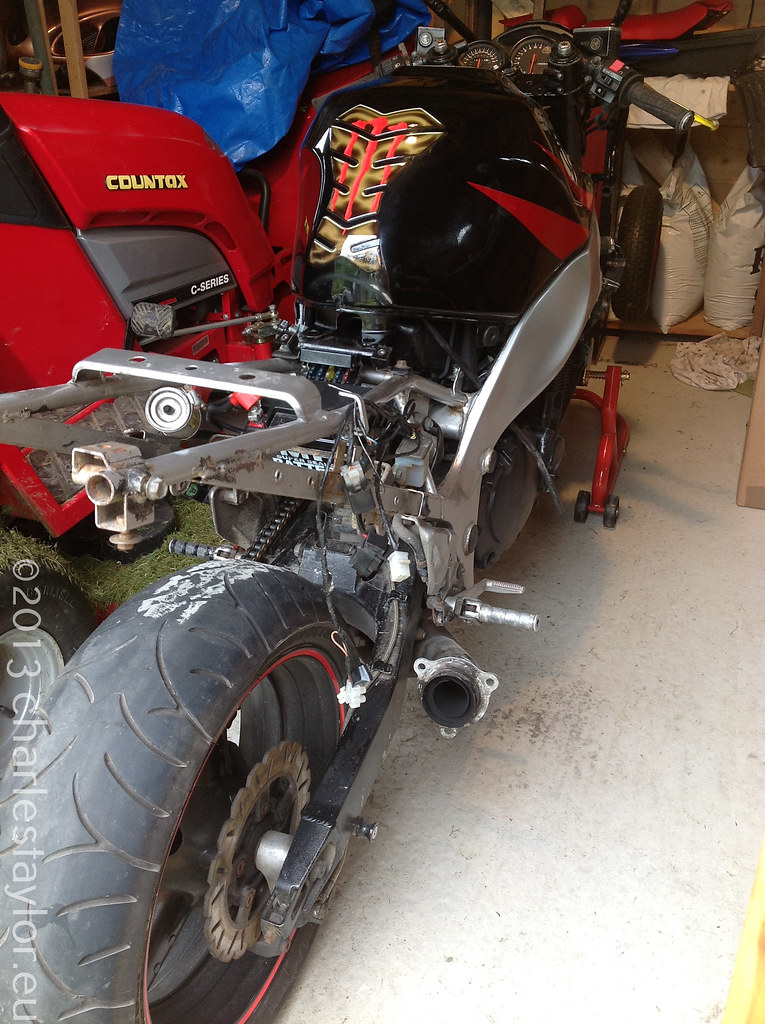
 Found a cheap tail off a 2007 R6 2c0 on eBay. Most of the mount points on the fairing were broken (not said in the description, was very angry) but the subframe was good so I kept it.
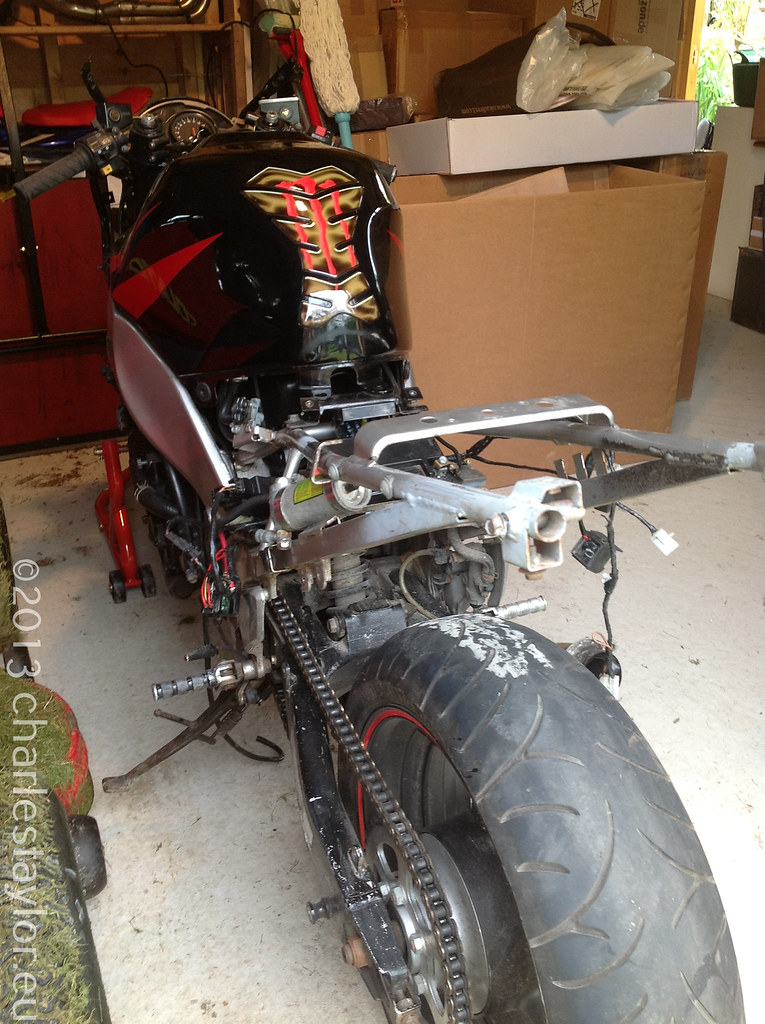
 Just seeing what it might look like... : ) . Very exciting.
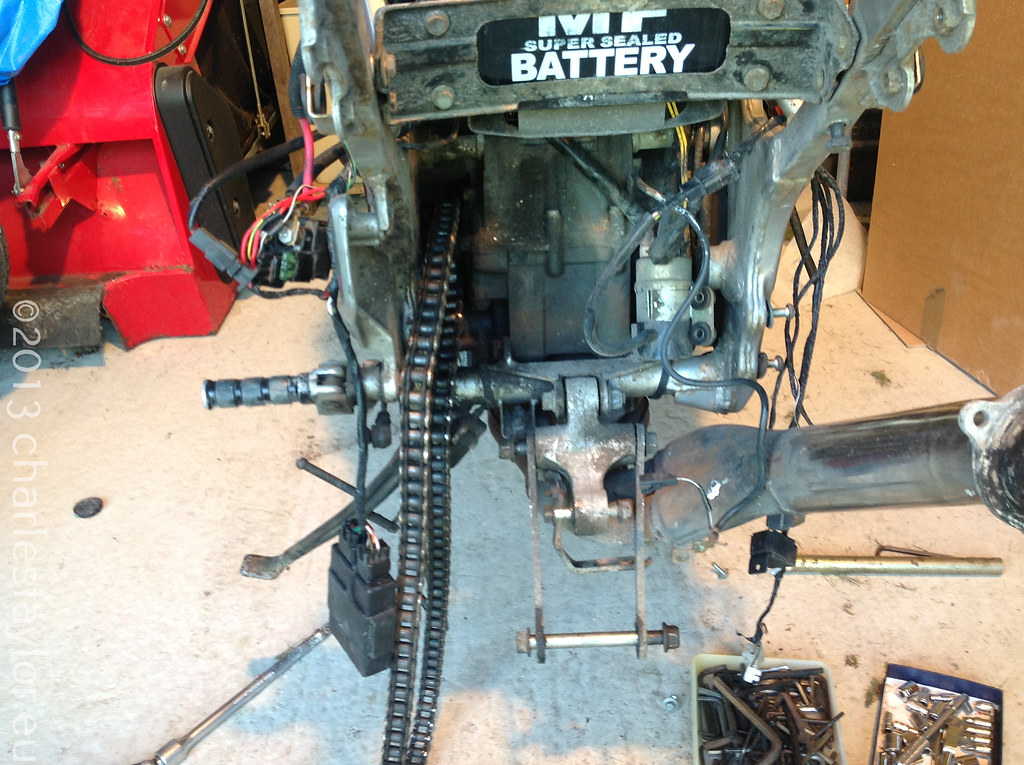
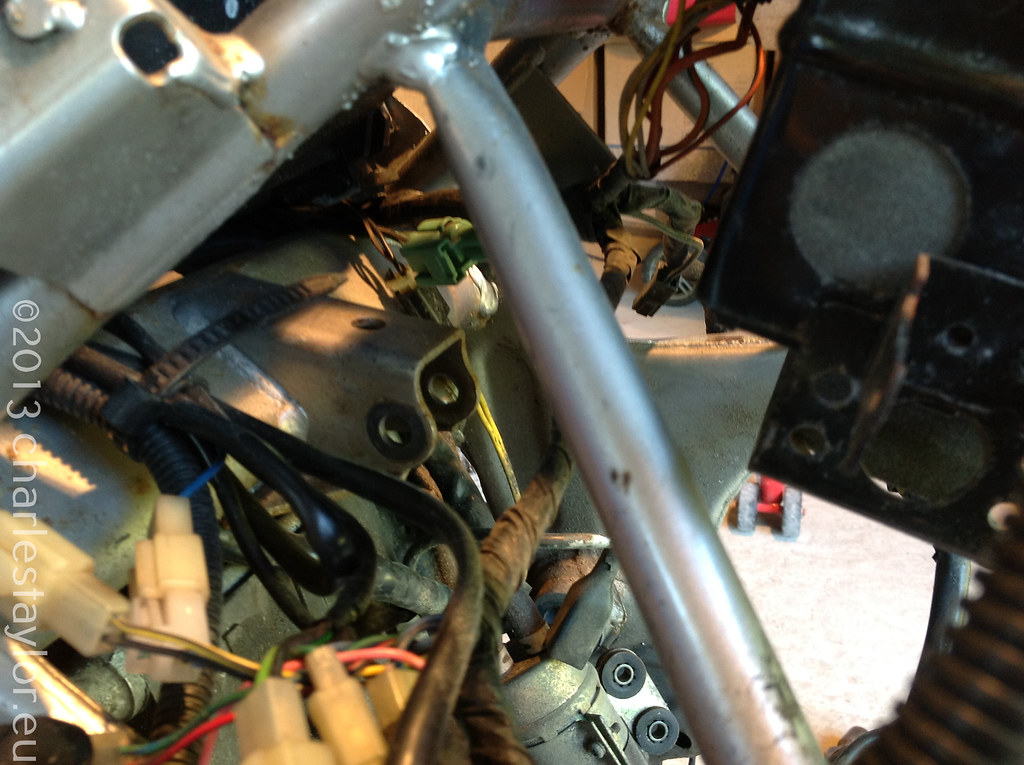
 Back to disassembly...
 Aaaand, back to disassembling...

")


 And on to the new and improved...
")


 A short video of the bike running. Unfortunately, I had a bad camera at the time and the picture quality is piss-poor - I'm trying to do something about that and will upload a walk around for the Suzuki RF 900 when I have something semi-decent to show you all.