5.
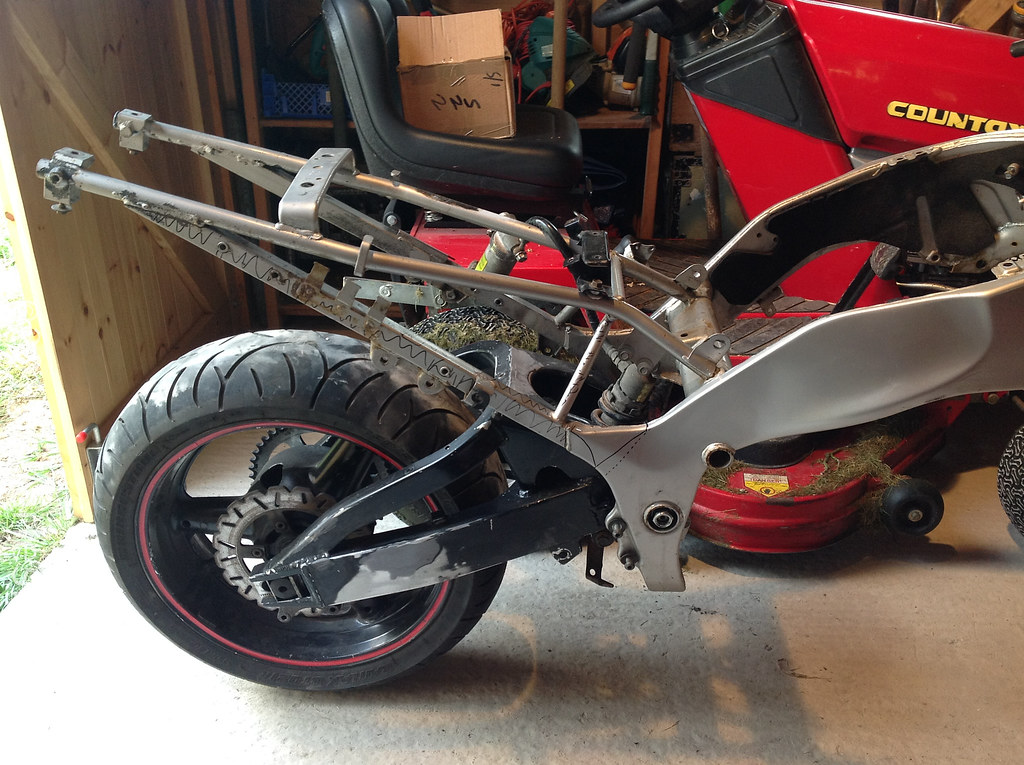
Now everything had been taken off it was time to call the surgeon. Although I never minded the tail of the RF, I wanted a new look for my custom RF and therefore it had to go…
Used pen to mark off the parts for surgery...
(Don't want to accidentally cut anything else off!)
 Grab the tools...
(remember safety first)..
Grab the tools...
(remember safety first)..
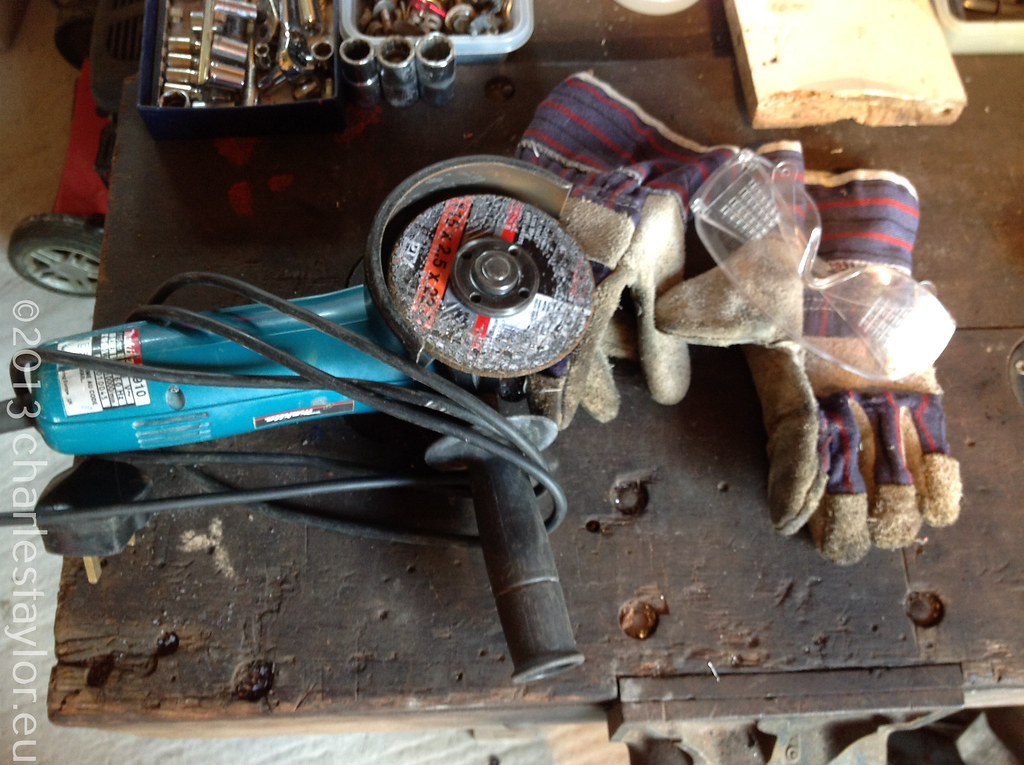 ...and set to work

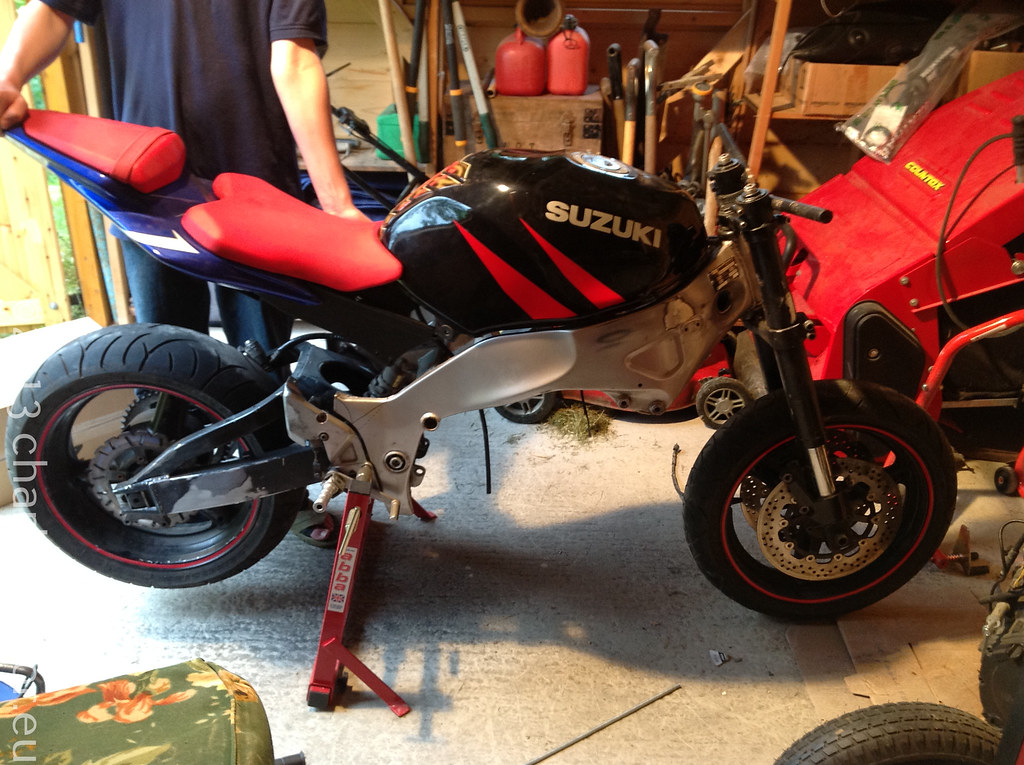
 RF bobber anyone? 😉
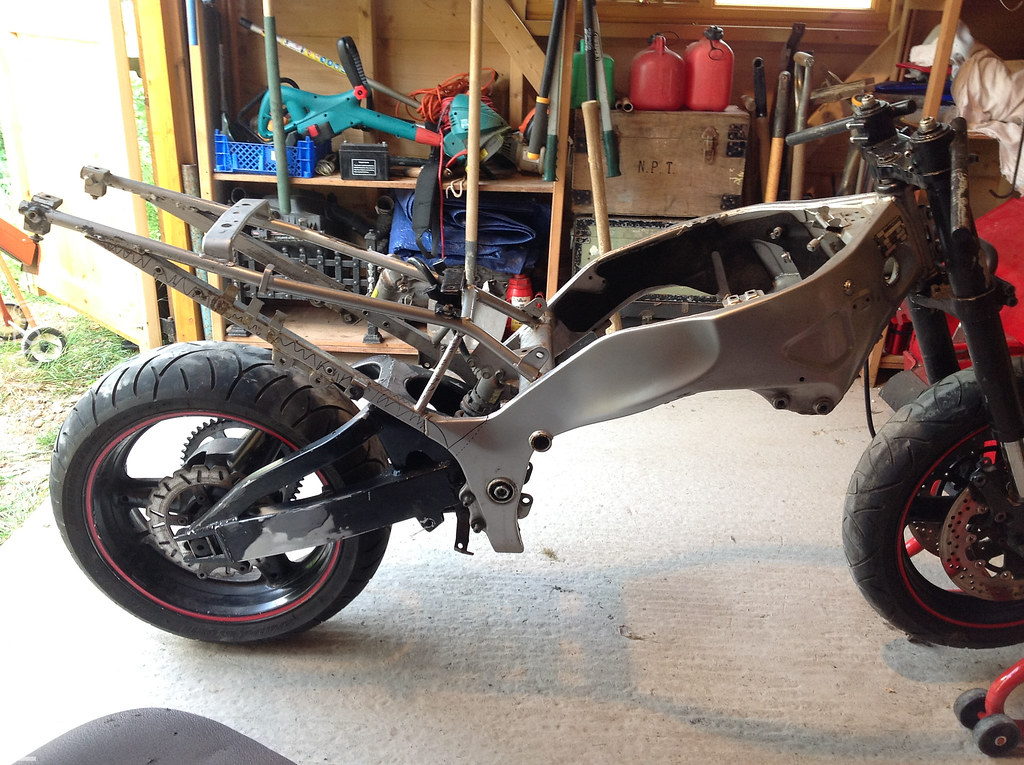
 And then there was none....
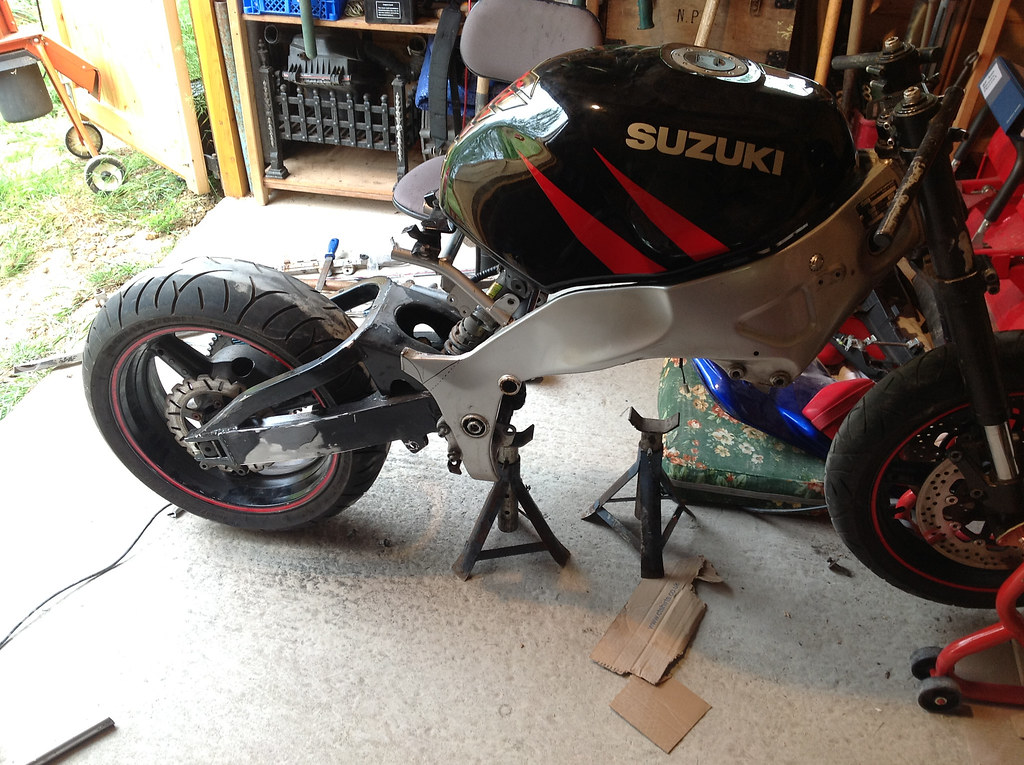
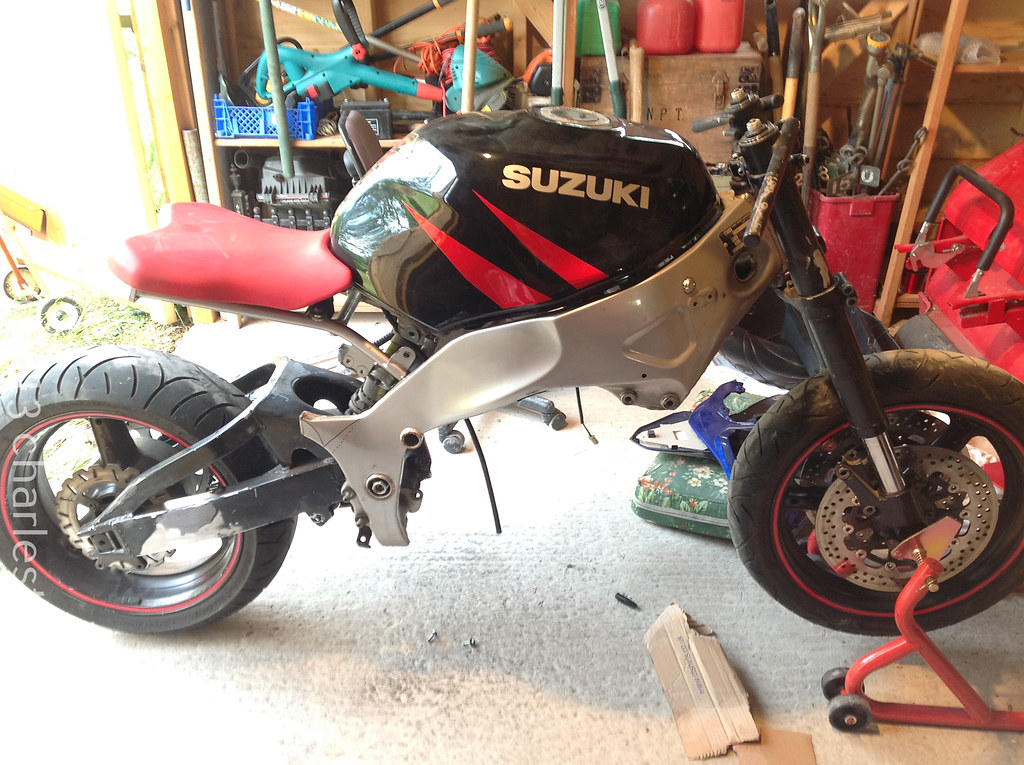
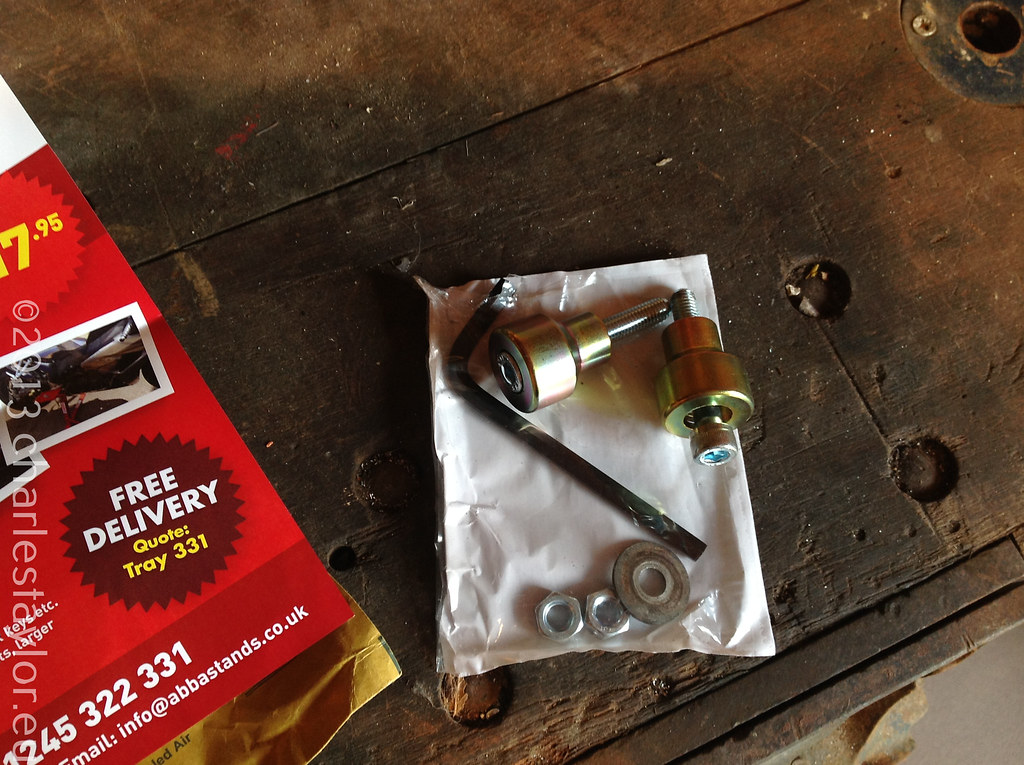
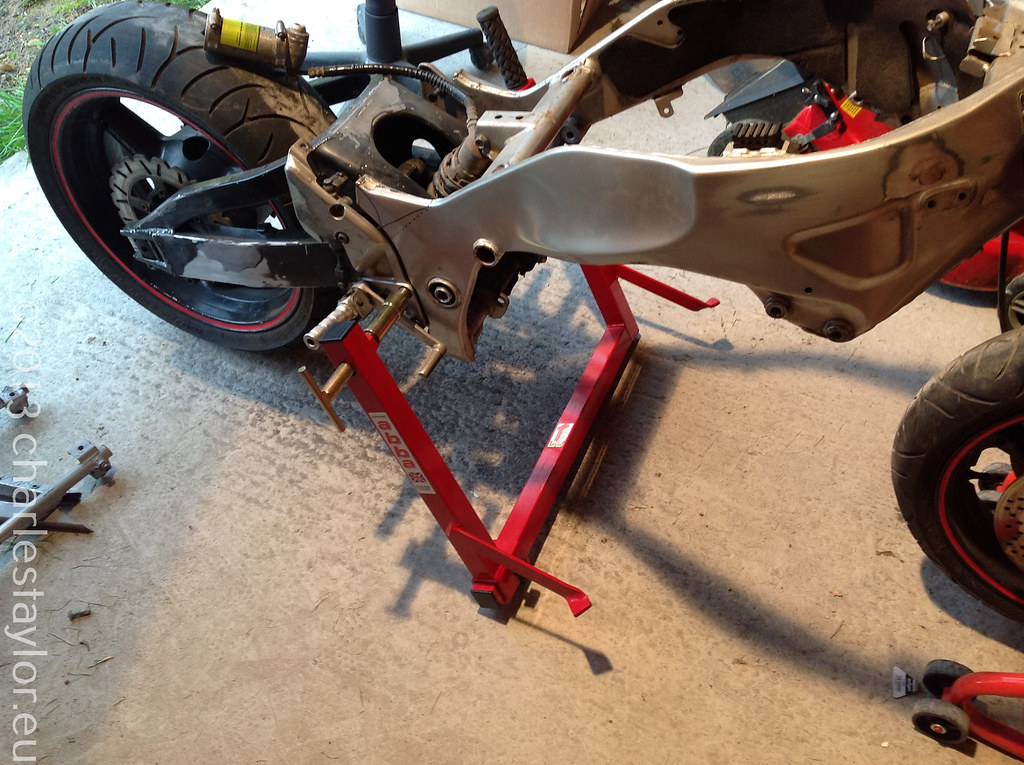
 The stand: Figured out pretty quickly that a proper stand was going to be needed, so I picked up an Abba stand and footrest adapters so I could work on both ends without worrying about it falling over.
(p.s. worth every penny)
The stand: Figured out pretty quickly that a proper stand was going to be needed, so I picked up an Abba stand and footrest adapters so I could work on both ends without worrying about it falling over.
(p.s. worth every penny)
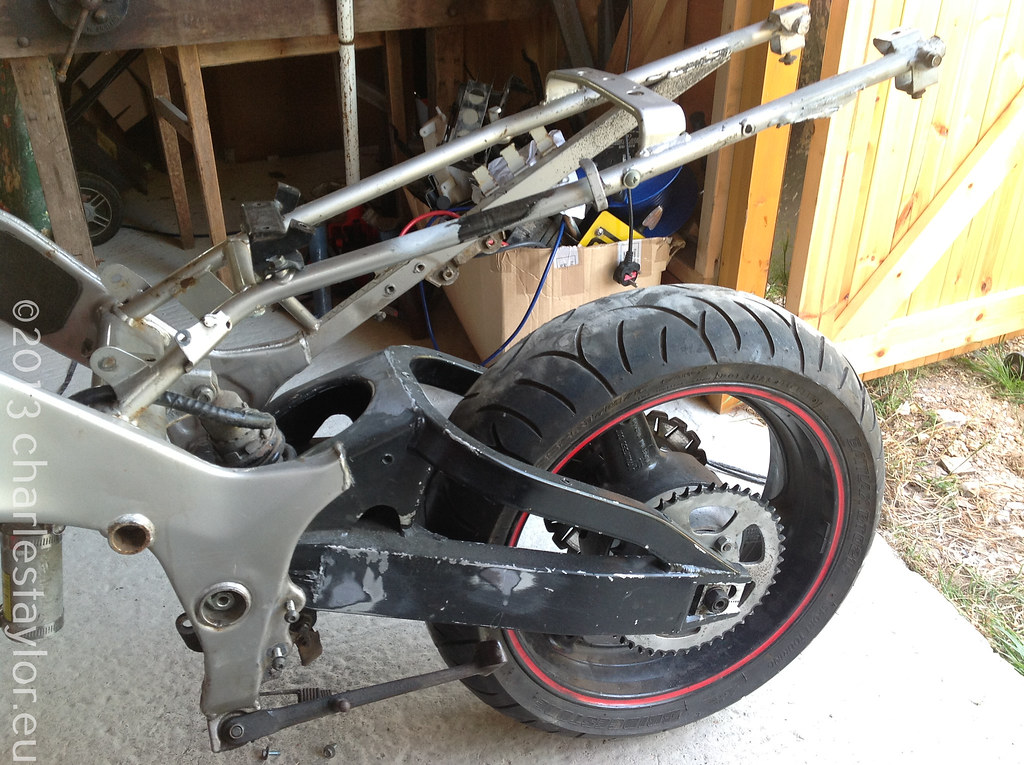
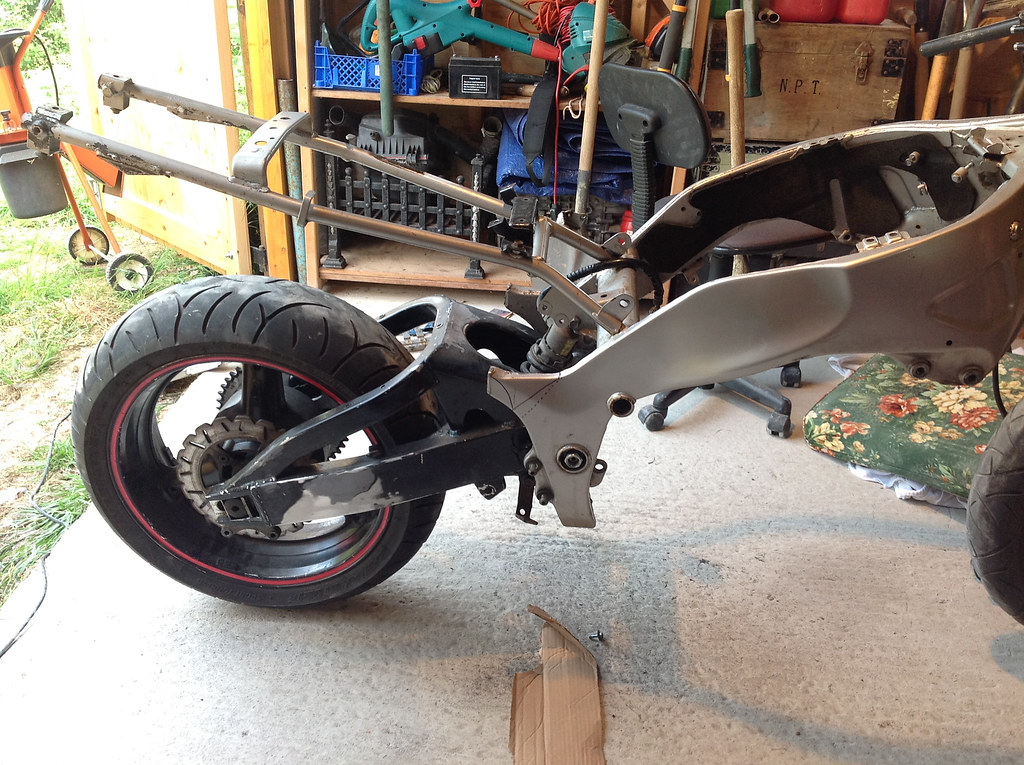
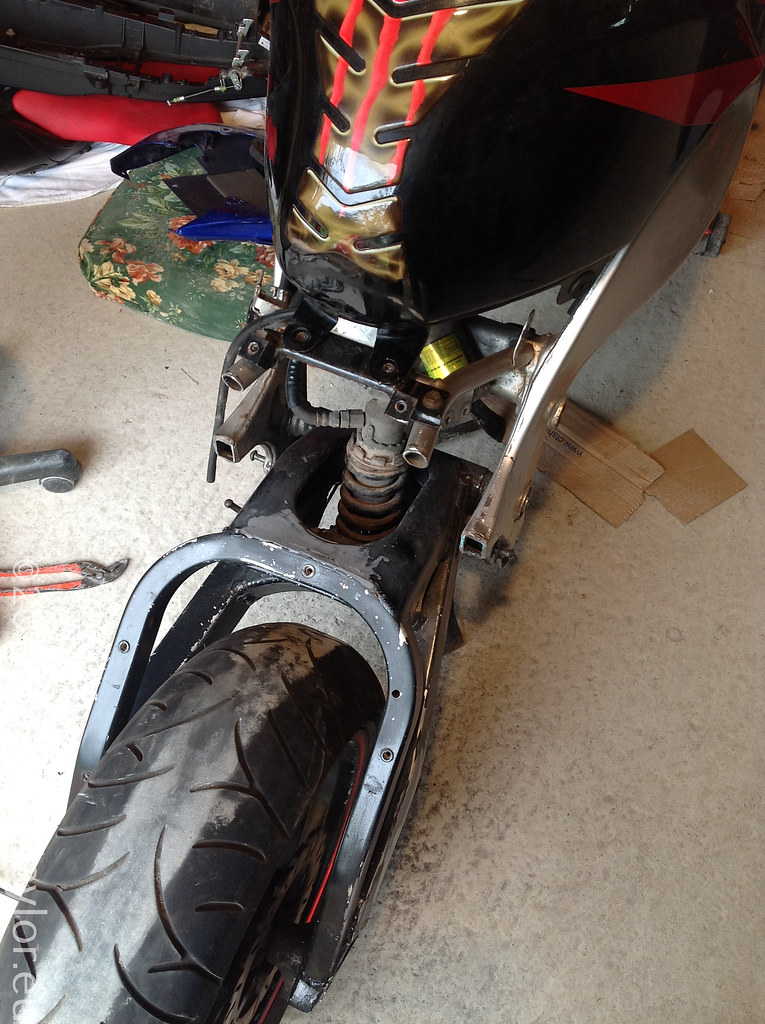
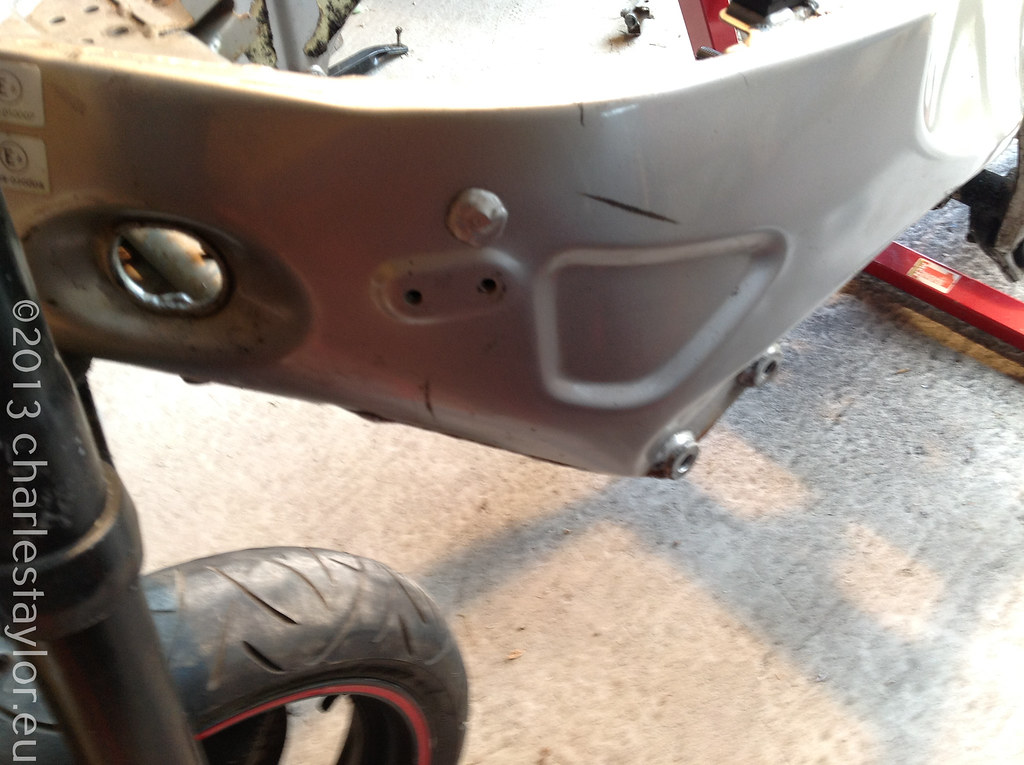
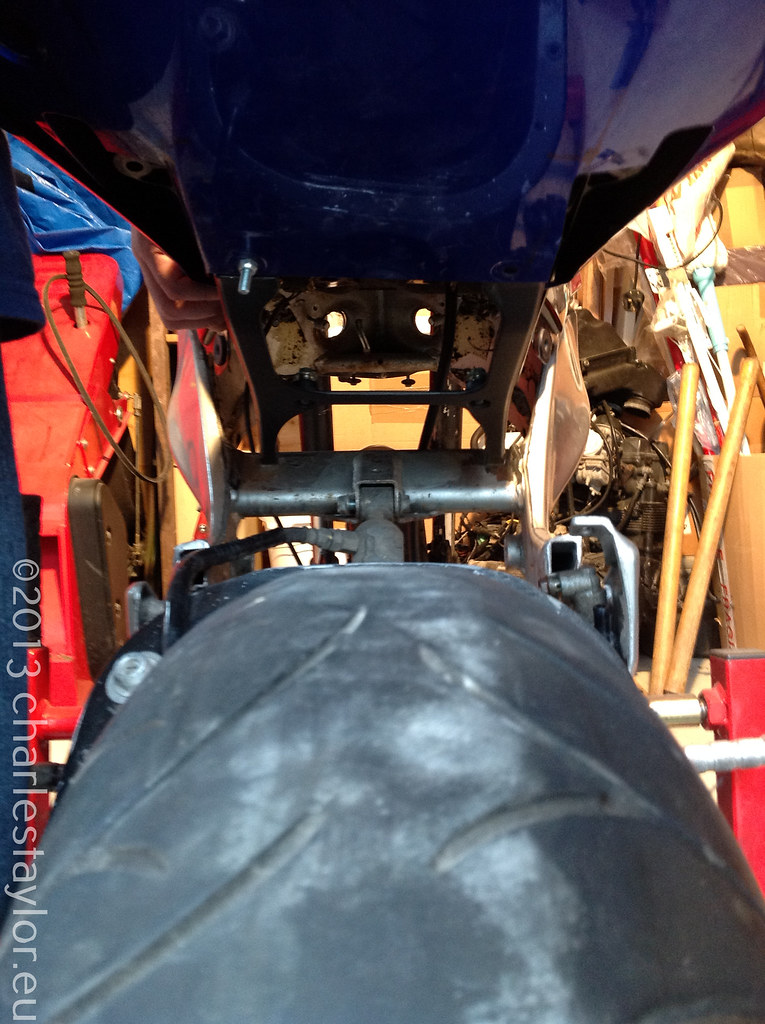
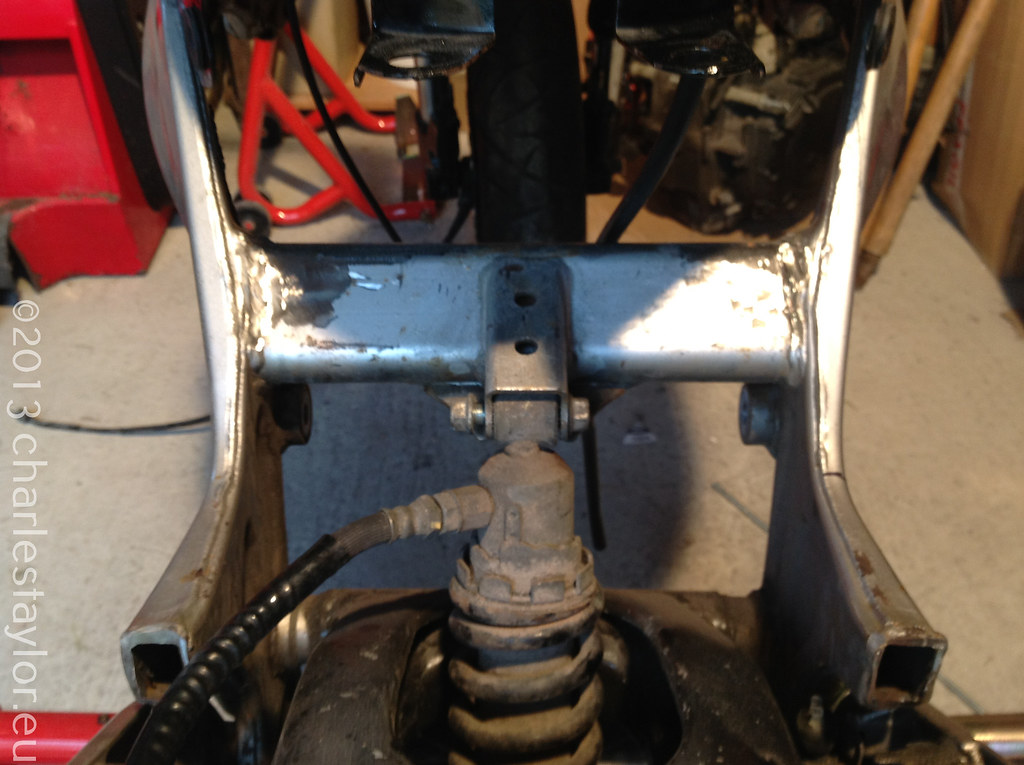
 Bye bye mysterious, nasty lumps
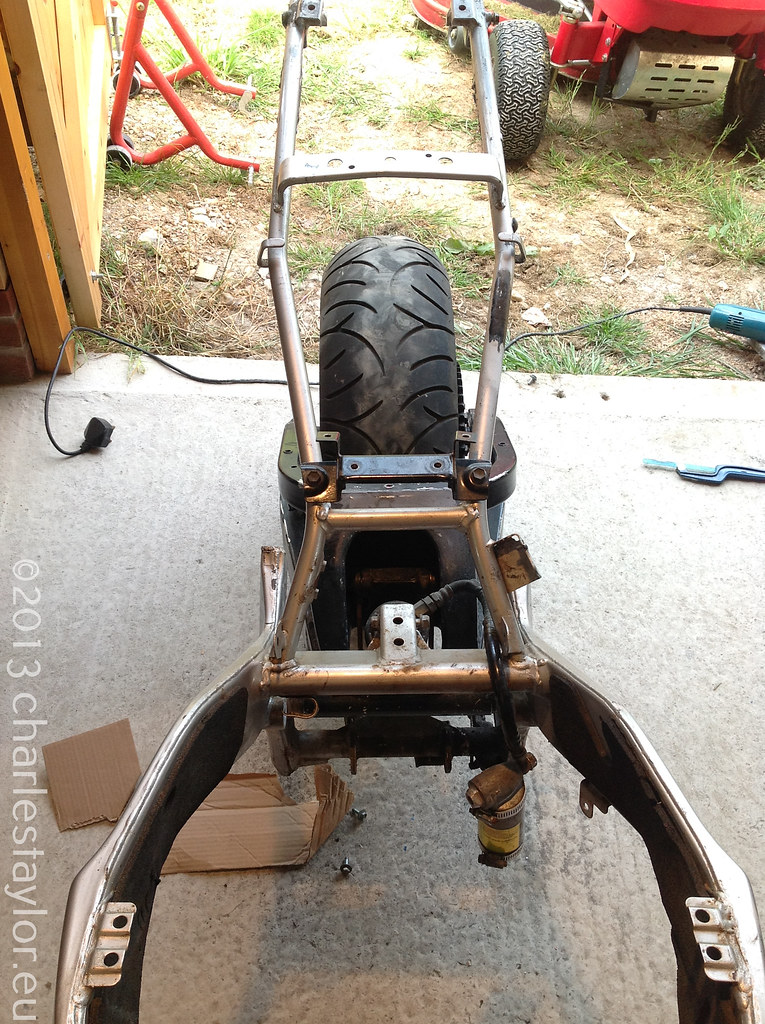
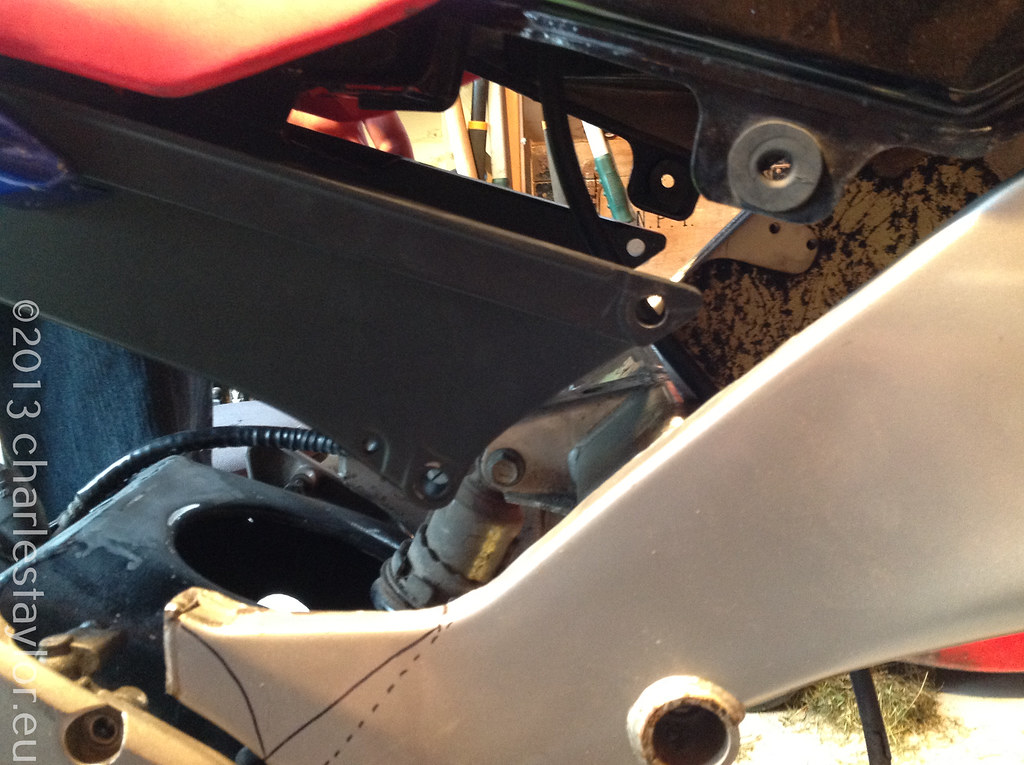
 With the subframe gone I could now get an idea of the mock up for the new subframe and tail.
Definitely a 2 man job, so got my little brother to help out...where does the new subframe go?
With the subframe gone I could now get an idea of the mock up for the new subframe and tail.
Definitely a 2 man job, so got my little brother to help out...where does the new subframe go?

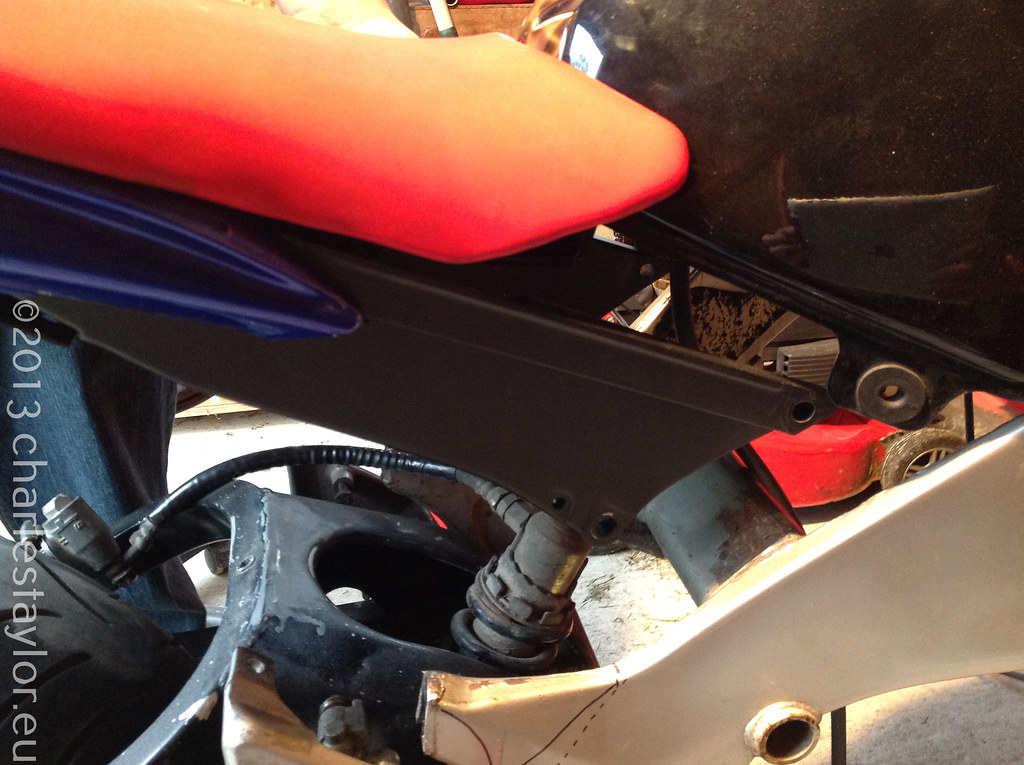
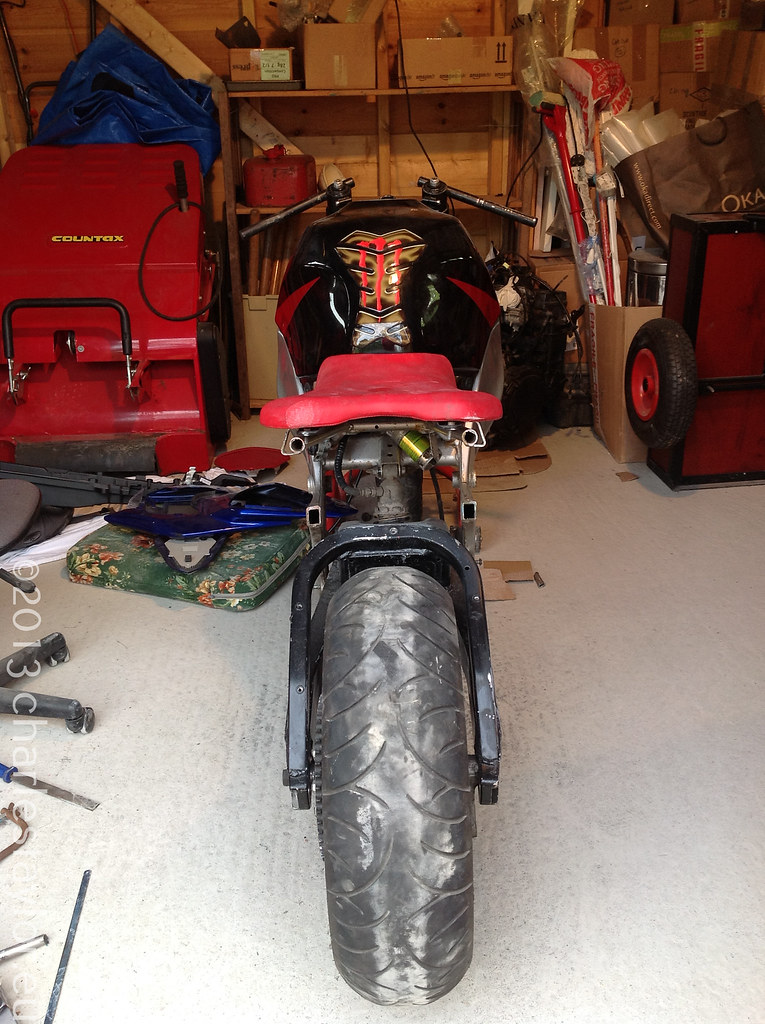
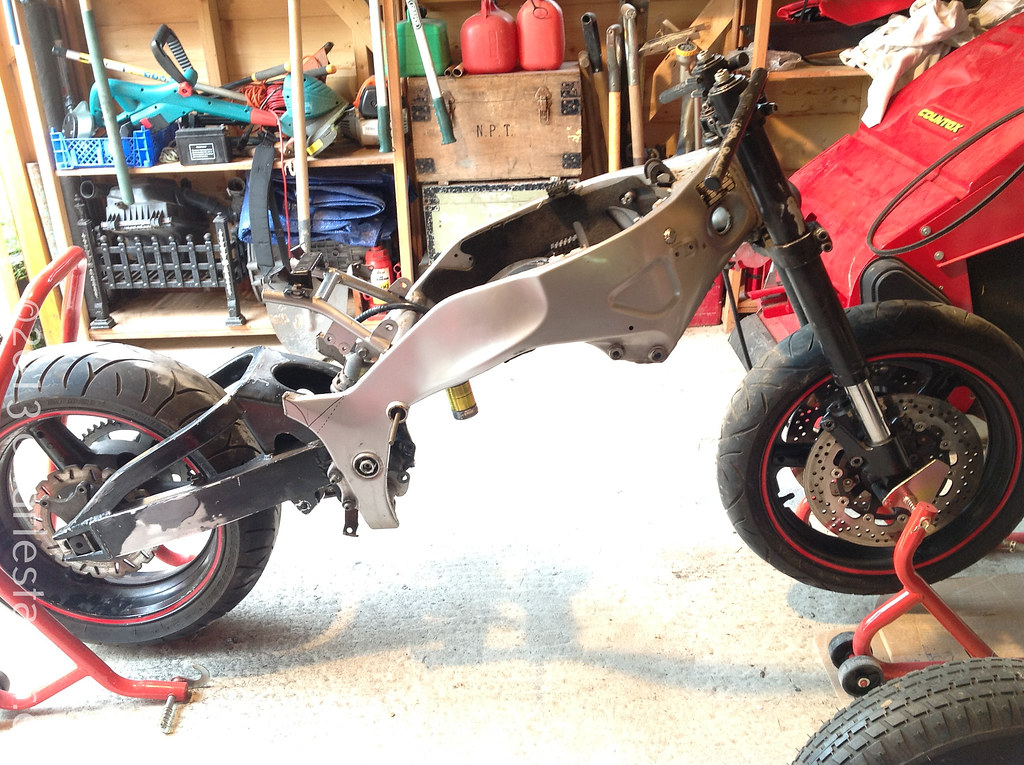
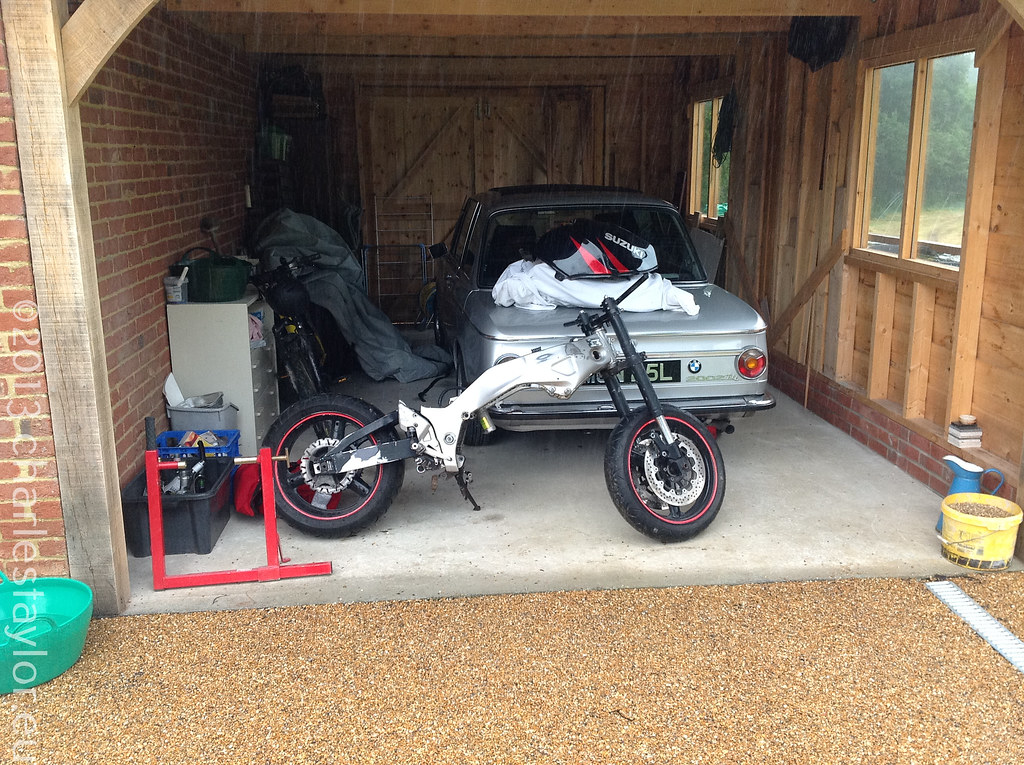
 A few pictures before it was picked up for the welder.
(For anyone interested, check out the BMW 2002tii in the background - our father-son bonding project.)
A few pictures before it was picked up for the welder.
(For anyone interested, check out the BMW 2002tii in the background - our father-son bonding project.)
")
Grab the tools...
(remember safety first)..
...and set to work
RF bobber anyone? 😉
And then there was none....
The stand: Figured out pretty quickly that a proper stand was going to be needed, so I picked up an Abba stand and footrest adapters so I could work on both ends without worrying about it falling over.
(p.s. worth every penny)
Bye bye mysterious, nasty lumps
With the subframe gone I could now get an idea of the mock up for the new subframe and tail.
Definitely a 2 man job, so got my little brother to help out...where does the new subframe go?
A few pictures before it was picked up for the welder.
(For anyone interested, check out the BMW 2002tii in the background - our father-son bonding project.)